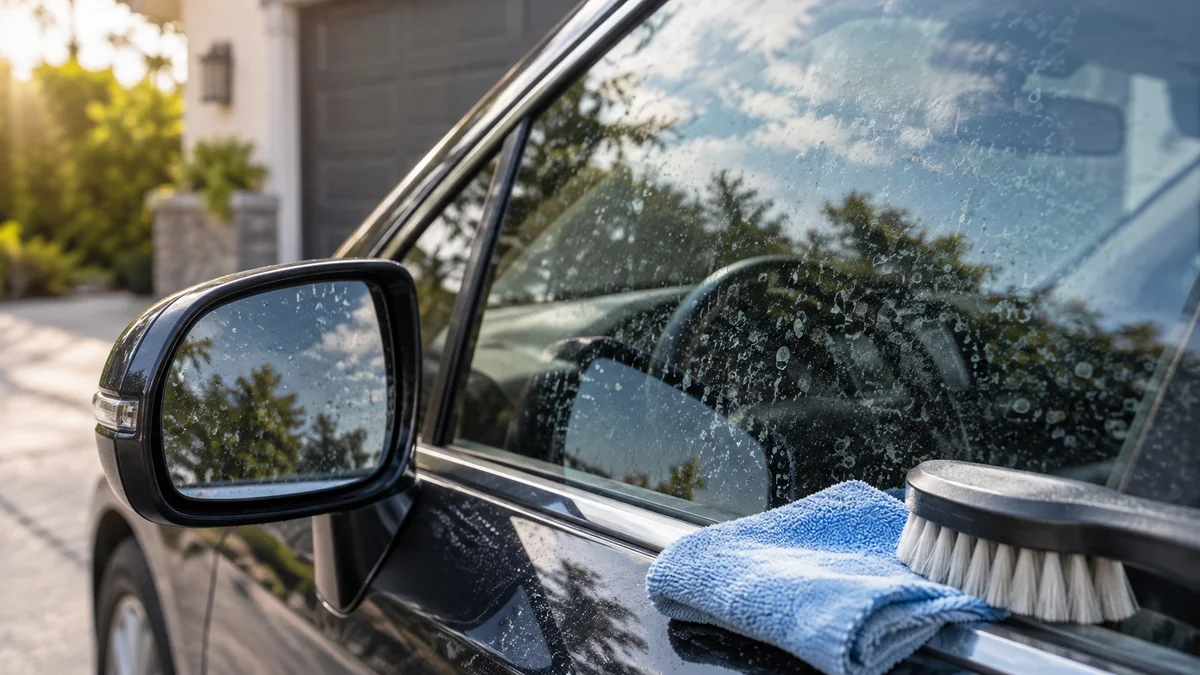
To get water spots off car windows and mirrors, wash and dry the glass, dissolve fresh mineral deposits with diluted white vinegar or a purpose-made remover, then use clay or glass polish only when necessary. Work in shade on cool glass, prevent the solution from drying, and test one small area before treating the entire vehicle.
Key facts at a glance
Water spots are usually calcium, magnesium, silica, and other minerals left after water evaporates.
Fresh deposits often respond to a 1:1 mixture of distilled white vinegar and distilled water.
Rough, raised scale requires chemical treatment and controlled mechanical agitation.
Smooth-looking marks that remain after cleaning may be permanent glass etching.
Exterior mirror glass can be treated like a window, but plastic housings need milder products.
A hydrophobic glass sealant reduces future bonding but cannot repair existing pits.
What Are Water Spots on Automotive Glass?
Water spots are mineral deposits left on car windows, windshields, and exterior mirror glass when droplets evaporate. Tap water, rainwater, and irrigation water can contain calcium, magnesium, silica, and other dissolved solids; the water disappears, while the solids remain as rings, haze, or chalky scale.
The deposit is not ordinary dirt. A conventional glass cleaner can remove oils and fingerprints, but it may leave calcium carbonate and related mineral residue untouched. Sprinkler overspray is especially troublesome because repeated droplets dry on hot glass and build layers quickly.
Water spots become more difficult when sunlight repeatedly heats the panel or when acidic pollution alters the mineral deposit and the glass surface. A water mark that feels raised is usually a surface contaminant. A mark that remains after the surface is chemically clean may be an etched depression in the glass.
How can you tell deposits from etching?
A rough or gritty surface usually indicates bonded mineral scale, while a smooth surface with a persistent ring pattern suggests etching. Clean and dry a small section, inspect it at an angle under a flashlight, and compare the treated section with the untreated area before selecting an aggressive method.
Use a clean fingertip, not a fingernail, to assess texture. A fingernail can catch on contamination and encourage unnecessary pressure. If the glass feels rough before treatment, begin with chemical dissolution. If the glass feels smooth but the ring remains, polishing may be required.
| Observation | Likely condition | First treatment | Escalation point |
|---|---|---|---|
| White haze, less than 48 hours old | Fresh surface deposit | 1:1 vinegar solution | Dedicated remover after 2 attempts |
| Rough rings, several weeks old | Bonded mineral scale | Acidic glass cleaner and clay | Fine glass compound |
| Smooth ring visible under light | Chemical etching | Glass polish on test area | Professional correction |
| Oily rainbow film | Wiper, silicone, or product residue | Ammonia-free glass cleaner | Alcohol-based panel wipe |
| Marks inside a tinted window | Interior contamination or film damage | Film-safe cleaner | Tint specialist inspection |
What Is the Safest Removal Sequence?
The safest sequence is wash, dry, test, chemically dissolve, lightly agitate, rinse, and polish only if the mark remains. A typical vehicle takes 20-45 minutes for light or moderate deposits, while etched glass correction can take 1-3 hours and carries a higher risk of optical distortion.
Before you start
| Requirement | Typical specification |
|---|---|
| Working temperature | Cool glass, ideally below 90°F or 32°C |
| Location | Shade, away from windblown grit and direct sun |
| Basic materials | 2 clean microfiber towels, wash mitt, bucket, hose |
| Chemical option | 4-8 fluid ounces of diluted vinegar or labeled remover |
| Lubricant | 8-12 fluid ounces of soapy water or clay lubricant |
| Test area | 6 x 6 inch section on one window |
| Typical DIY cost | $5-$35 for basic or dedicated products |
Avoid treatment immediately after driving, when the glass may still be hot. Heat accelerates evaporation and can dry an acidic product into a more concentrated residue. Keep a hose or spray bottle of clean water available for an accidental spill or an area that begins drying.
Step 1: Wash away loose grit
Wash the car glass with pH-neutral car shampoo and a clean microfiber wash mitt. Rinse the glass thoroughly, because grit trapped under a towel or clay bar can create scratches even when the mineral scale itself is harmless.
Clean one panel at a time. Pay attention to the lower windshield, mirror edges, and the area beneath the wiper blades, where road film accumulates. Do not begin spot removal over visible sand, mud, or oily traffic film.
You will know it worked when: the surface has no loose dirt and the rinse water carries away visible grime.
Common mistake: using one dirty towel across every window.
Step 2: Dry and inspect the surface
Dry the glass with a clean, tight-weave microfiber towel. Run clean fingertips over the panel and inspect it from several angles, because direct overhead light can hide shallow rings.
Mark the test section mentally or with low-tack painter’s tape on adjacent trim. Never place tape across a windshield camera, rain sensor, heated mirror element, or rubber seal.
You will know it worked when: the panel is dry, the texture is clear, and you can distinguish mineral scale from oily haze.
Common mistake: diagnosing the glass while it is still wet.
Step 3: Dissolve fresh deposits
For light deposits, mix equal parts distilled white vinegar and distilled water in a clean spray bottle. Apply enough to keep a small section wet for 2-3 minutes, wipe with microfiber, and rinse with clean water before repeating.
Vinegar contains acetic acid, which can dissolve alkaline mineral deposits. The solution is not a universal glass polish: it will not level a pit, remove deep scratching, or reliably defeat months of baked-on scale.
Work in sections of approximately 2 square feet. Do not allow the mixture to dry. Vinegar can affect waxes and some sealants, and prolonged contact with rubber, unpainted plastic, or delicate coatings is avoidable.
You will know it worked when: the roughness decreases and the ring wipes away without heavy pressure.
Common mistake: leaving vinegar on a hot panel until it evaporates.
Step 4: Use a dedicated water-spot remover for bonded scale
If vinegar produces little improvement, use an automotive water-spot remover designed for glass and follow its label dwell time. Many products use organic acids or chelating agents, but formulas vary substantially, so a product’s stated surface compatibility matters more than its color or thickness.
Apply a small amount to a microfiber applicator, not directly across the entire car. Work vertically and horizontally with light pressure for approximately 30-60 seconds, then rinse or neutralize exactly as the manufacturer directs.
Mask nearby rubber and unpainted plastic when the label warns against contact. A dedicated product is usually more effective than household acid on multilayer deposits, but stronger chemistry increases the consequences of drying, splashing, or ignoring the stated dwell time.
You will know it worked when: the surface becomes uniformly smooth after rinsing and drying.
Common mistake: mixing different acidic products to make one “stronger” cleaner.
Step 5: Clay only when the surface remains rough
Use an automotive clay bar only after chemical treatment has loosened the deposits. Keep the glass wet with clay lubricant or soapy water, flatten a clean piece of clay, and glide it in straight lines with minimal pressure.
Clay removes raised contamination through controlled contact. It does not repair etching, and it can leave marring if used dry, dropped on the ground, or dragged across unwashed glass. Fold the clay frequently so the exposed surface remains clean.
You will know it worked when: the clay moves smoothly and the glass feels even under clean fingertips.
Common mistake: scrubbing aggressively because the clay initially feels resistant.
Step 6: Rinse, dry, and reassess under angled light
Rinse all chemical residue from the glass, seals, mirror edges, and surrounding paint. Dry with a fresh microfiber towel, then inspect with a flashlight held at a shallow angle rather than directly facing the panel.
A clean surface that still shows a fixed ring has probably moved beyond removable deposits. Stop escalating household remedies at that point. Repeated chemical applications can damage adjacent materials without changing the etched glass.
You will know it worked when: no chalky residue transfers to a clean towel and the remaining mark does not change after a second rinse.
Common mistake: mistaking leftover product haze for permanent etching.
Can Vinegar Remove Water Spots From Car Glass?
Vinegar can remove fresh mineral deposits from automotive glass when the spots are shallow, the glass is cool, and the solution remains wet for 2-3 minutes. Vinegar usually cannot remove chemical etching, deep scale that has bonded for months, or damage inside a window tint film.
Use distilled white vinegar rather than flavored, colored, or cleaning products with added detergents. Distilled water reduces the chance of adding another mineral load, although clean tap water is acceptable for the final rinse in many areas.
Do not use lemon juice as a preferred substitute. Lemon juice contains sugars and organic compounds that can leave residue, and its acidity varies. Vinegar also strips some waxes and can weaken existing glass sealants.
Which Water-Spot Removal Method Should You Choose?
Choose the mildest method that matches the diagnosis: vinegar for fresh deposits, a labeled glass remover for bonded scale, clay for remaining raised contamination, and cerium oxide polishing for confirmed etching. The most aggressive method is not automatically the fastest because glass correction requires heat and optical control.
| Method | Best condition | Typical time | Typical cost | Main limitation |
|---|---|---|---|---|
| Vinegar and distilled water | Fresh deposits, under 2 days | 10-20 minutes | $2-$6 | Weak against etching |
| Automotive spot remover | Bonded scale, weeks old | 15-30 minutes | $12-$30 | Can harm trim if misused |
| Clay bar and lubricant | Raised residue after chemistry | 10-25 minutes | $10-$25 | Does not repair pits |
| Hand glass compound | Small etched areas | 30-90 minutes | $15-$35 | Labor-intensive and uneven |
| DA polisher with cerium oxide | Broad, confirmed etching | 1-3 hours | $50-$120 DIY | Heat and distortion risk |
| Professional glass correction | Severe or safety-critical damage | 1-4 hours | $150-$400 typical | Higher service cost |
When should you use cerium oxide polish?
Use cerium oxide only when ordinary cleaning, chemical treatment, and controlled clay treatment leave a smooth but visibly etched mark. Cerium oxide is an abrasive glass-polishing compound, so it removes a minute amount of glass rather than dissolving the mineral.
A dual-action polisher is generally easier to control than a rotary machine for a novice. Use a suitable rayon or glass-polishing pad, modest pressure, frequent inspection, and enough product to keep the work area lubricated. Keep the pad moving and allow the glass to cool between passes.
Do not polish a windshield aggressively near a driver’s primary viewing zone without experience. Uneven correction can create optical distortion, glare, or a warped reflection. Replace or professionally assess glass when chips, cracks, delamination, or broad visibility impairment are involved.
How Should You Treat Exterior Mirrors?
Clean exterior mirror glass with the same wash, chemical, rinse, and inspection sequence used on windows, but protect the plastic housing and avoid flooding the mirror seam. Foldable, heated, power-adjustable, and camera-equipped mirrors contain components that do not benefit from prolonged chemical saturation.
Apply product to an applicator rather than spraying into the housing. Use a smaller microfiber towel around the perimeter, and check whether the mirror has a factory hydrophobic coating. Aggressive polishing can remove that coating and may create a visually inconsistent patch.
Never treat a blind-spot camera lens or surround with a clay bar or abrasive compound. Use the vehicle manufacturer’s recommended lens-safe cleaner for camera surfaces, because camera housings may use coated plastic rather than glass.
What Should You Avoid?
Avoid household scouring pads, coarse steel wool, dry melamine foam, baking soda paste, toothpaste, and razor blades on automotive glass. These methods can create fine scratches or haze, while their abrasive action does not correct subsurface etching evenly.
Grade #0000 steel wool is sometimes used by experienced detailers on uncoated glass with abundant lubrication, but it is not the safest default recommendation. Automotive glass varies, and contamination trapped in the fibers can cause damage. A dedicated glass compound or clay bar provides more controllable material selection.
Avoid ammonia on aftermarket tint unless the tint manufacturer specifically permits it. Interior tint film can discolor, weaken, or separate from the glass. Clean tinted windows from the interior with a film-safe, ammonia-free product and a soft microfiber towel.
| Mistake | Result | Recovery |
|---|---|---|
| Product dries in sunlight | Streaks or chemical residue | Rinse immediately and rewash |
| Coarse abrasive is used | Permanent scratches or haze | Stop; seek polishing assessment |
| Acid touches rubber repeatedly | Drying, whitening, or swelling | Rinse and apply compatible trim care |
| Clay is used dry | Marring and drag | Rewash, lubricate, and use fresh clay |
| Tint is treated from inside | Film damage or adhesive marks | Stop and consult a tint installer |
| Etching is over-polished | Optical distortion | Stop and obtain professional inspection |
Why Do Spots Return So Quickly?
Water spots return when mineral-rich droplets dry on the car before they are rinsed or wiped away. Irrigation sprinklers, hard tap water, automatic car washes, and parking near construction or cooling towers can repeatedly expose the same panels.
Dry the vehicle after washing with a clean drying towel or filtered air. Do not let sprinkler water remain on horizontal glass, mirror caps, or the roof. If local water is hard, a final rinse using filtered or deionized water can reduce mineral residue.
Apply a glass sealant after the surface is clean and residue-free. A sealant makes droplets shed more easily and provides a sacrificial layer, but it does not make glass immune to hard-water deposits or eliminate the need for drying.
How much do prevention and correction cost?
Basic prevention costs approximately $10-$30 for a drying towel and glass sealant. Moderate DIY correction usually costs $15-$50, while professional polishing commonly costs $150-$400 depending on the number of panels and the severity of etching.
| Situation | DIY time | DIY materials | Professional range | Recommended decision |
|---|---|---|---|---|
| Fresh rain or tap-water spots | 10-20 minutes | $2-$10 | $30-$75 | DIY |
| Several weeks of sprinkler scale | 20-45 minutes | $15-$35 | $75-$175 | DIY with test spot |
| Smooth etching on one side window | 45-90 minutes | $25-$70 | $100-$250 | Experienced DIY or pro |
| Windshield visibility damage | 1-3 hours | $50-$120 | $150-$400 | Professional assessment |
| Repeated spots after every wash | 10 minutes per wash | $10-$30 | $50-$150 | Change water and drying routine |
Troubleshooting Haze, Streaks, and Wiper Chatter
Cloudy residue after treatment usually means product remains on the surface, while persistent wiper chatter often indicates oily contamination or an incompatible glass coating. Rewash the panel, use a clean ammonia-free glass cleaner, and buff with a dry waffle-weave microfiber towel.
If the haze changes when wiped, it is probably residue. If the mark remains identical under changing light and the clean glass feels smooth, suspect etching. If a rainbow film appears only when the wipers operate, clean the wiper blades and inspect for silicone or deteriorated rubber transfer.
Do not continue adding chemicals when the symptom is optical distortion. Scrubbing cannot reverse a scratched windshield, a damaged tint film, or a failed coating. Photograph the mark in angled light and obtain a glass specialist’s assessment when the driver’s view is affected.
FAQ
Are water spots permanent on car windows?
Water spots are not always permanent. Fresh mineral deposits can often be dissolved and wiped away, while older deposits may chemically etch the glass. If a clean, smooth panel still shows the same ring under angled light, removal requires glass polishing or professional replacement assessment rather than more household cleaner.
Can I use a shower-door water-spot remover on a car?
Use a shower-door product only when its label explicitly lists automotive glass and surrounding materials as compatible. Bathroom formulas may contain stronger acids or ingredients intended for ceramic tile, and those ingredients can damage rubber seals, plastic mirror housings, coatings, or nearby paint.
Does baking soda remove hard-water spots from glass?
Baking soda is a mild abrasive and alkaline powder, so it is a poor first choice for mineral spots on automotive glass. It may leave residue and can create fine marring when rubbed dry. Use a diluted acid or automotive glass product for mineral dissolution instead.
Can WD-40 remove water spots from mirrors?
WD-40 can loosen oily contamination, but it does not reliably dissolve mineral scale and leaves an oily film that can impair mirror clarity. If it has already been used, wash the mirror with car shampoo and finish with an automotive glass cleaner rather than adding more solvent.
Should I replace glass with severe water-spot etching?
Replace or professionally assess glass when etching affects the driver’s view, creates glare, includes cracks or chips, or remains after a controlled polishing test. Minor side-window etching may be correctable, but polishing large areas unevenly can create distortion that is more distracting than the original marks.
How often should I apply glass sealant?
Apply glass sealant according to its product interval, commonly every 3-6 months for consumer products. Reapply after polishing or using an acidic remover because those processes can strip protection. Clean and degrease the glass first so the sealant bonds to glass rather than mineral residue.
The Bottom Line
The reliable way to get water spots off car windows and mirrors is to identify the damage before choosing a product. Wash and dry the glass, use diluted vinegar for fresh deposits, move to a labeled automotive remover for bonded scale, and reserve clay or cerium oxide polishing for contamination that chemistry cannot remove. Finish with a glass sealant and dry the vehicle promptly after future washes.