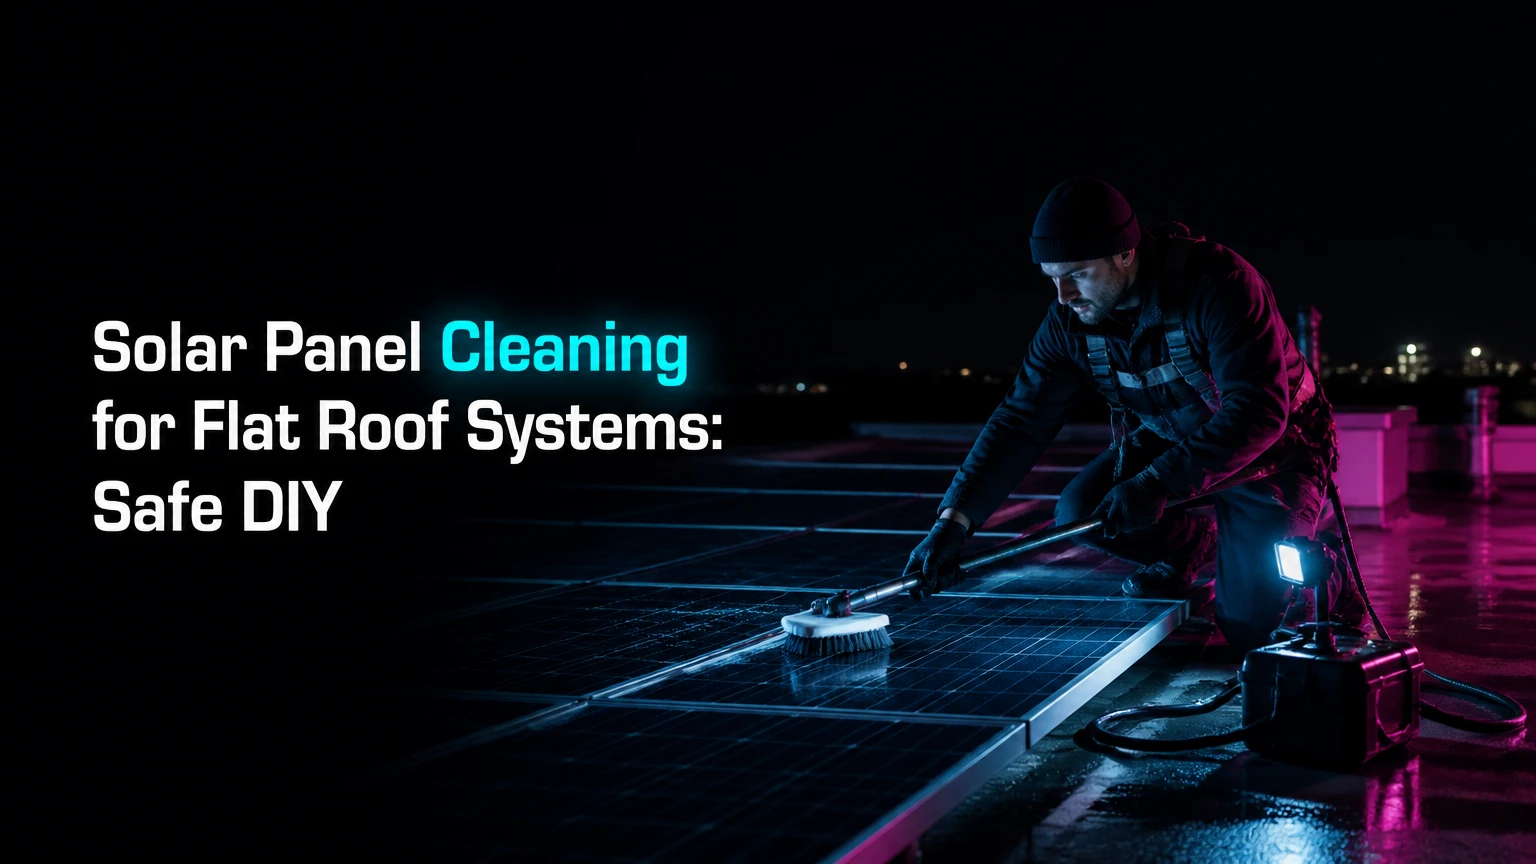
Solar panel cleaning for flat roof systems removes dust, pollen, bird deposits, soot, and mineral residue from low-slope photovoltaic modules. A safe cleaning routine uses a roof-access assessment, cool panel temperatures, soft non-abrasive tools, controlled water, and production checks afterward. The correct schedule depends on soiling rate, rainfall, panel angle, and cleaning payback.
Key Facts at a Glance
Low-slope solar modules commonly collect a persistent soil band along their lower frame because rainwater drains slowly.
Typical ordinary dust losses range from 5%-15%, but actual losses depend on climate, dirt composition, rainfall, tilt, and module technology.
Reverse-osmosis or deionized water reduces mineral spotting; test rinse water rather than assuming a filter still works.
Never walk on photovoltaic modules, use abrasive tools, or direct a pressure washer at glass edges, seals, junction boxes, or wiring.
A six-month inspection interval is a useful starting point, not a universal cleaning requirement.
Cleaning is financially sensible when recovered electricity value exceeds service cost over the expected cleaning interval.
Why Flat Roof Solar Panels Soil Faster
Flat-roof solar panels usually operate at a shallow mounting angle, often around 5°-15°, although ballast systems and tilted racks can use different geometry. The low angle slows runoff, allowing water to evaporate near the lower aluminum frame and leave concentrated dust, pollen, salts, or soot behind.
A visible lower-edge band matters because it can cover active cell area and create uneven illumination across a module. Bird droppings create a different risk: a small opaque deposit can shade several cells, while the surrounding cells continue producing current. Bypass diodes may limit the electrical effect, but repeated shading can increase localized heating.
Rain is not a reliable cleaning system for shallow arrays. Light rain can turn dry dust into an adherent film, and a long dry period can bake that film onto the glass. Industrial sites, farms, coastal properties, and roofs below bird perches generally soil faster than suburban arrays in clean air.
Does dirt always reduce output by 5%-15%?
No. The 5%-15% figure is a practical planning range for ordinary dust, not a guaranteed loss for every flat roof array. The National Renewable Energy Laboratory’s soiling research treats soiling loss as site-specific because deposition, rainfall, tilt, surface properties, and cleaning events differ substantially between locations.
A production comparison is more useful than a visual inspection. Compare the array’s specific yield, measured in kilowatt-hours per kilowatt of installed capacity, with a clean-weather baseline or a nearby reference module. A cloudy day, inverter clipping, grid curtailment, snow, or a failed optimizer can mimic soiling loss.
When Should You Clean a Flat-Roof Array?
Clean a flat-roof array when measured production loss, visible deposits, or a high-soiling event justifies the work. Inspect monthly during the first year, then set a cleaning interval from production data; many residential sites land near one or two cleanings annually, while dusty commercial sites may need monthly rinsing or more frequent spot treatment.
A fixed six-month schedule is reasonable for a new system when no monitoring baseline exists. It should change after evidence arrives. If a cleaning recovers only 1%-2% of annual energy, repeating the service may cost more than the recovered electricity is worth.
Inspect after:
- Extended dry weather lasting 6-8 weeks.
- Pollen release, harvest activity, or nearby construction.
- Wildfire smoke or industrial emissions.
- Bird activity above the array.
- A rain event that leaves visible streaks or mud bands.
- A sudden unexplained production decline without inverter alarms.
How do you calculate whether cleaning pays?
Estimate recoverable energy, multiply it by the value of each kilowatt-hour, and compare that amount with the cleaning price. For example, a 6-kilowatt system producing 7,200 kWh annually may lose 8% to soiling, or approximately 576 kWh. At $0.20 per kWh, the gross annual value is about $115. A $200 cleaning may not pay back annually unless the loss is larger or electricity has a higher value.
Use interval testing where possible. Record output for several comparable sunny days before cleaning, clean the array, and compare normalized output afterward. Do not attribute every gain to cleaning because irradiance, temperature, cloud cover, and inverter clipping also change production.
What Equipment Does Flat-Roof Cleaning Require?
Safe residential cleaning typically requires a soft water-fed brush, an extendable pole, a low-pressure hose, a TDS meter, suitable footwear, roof-edge protection, and a way to isolate or control the electrical system according to manufacturer instructions. Commercial arrays may need DI or RO filtration carts, runoff management, fall protection, and documented work permits.
Use equipment that keeps the operator off the modules. A carbon-fiber pole reduces weight at long reach, while a soft nylon or microfiber head loosens film without scratching the glass. A rubber squeegee can remove standing water, but only when its blade is clean and free of grit.
Which water quality is appropriate?
Use low-mineral water for the final rinse when local tap water leaves spotting. A practical target is below 10 parts per million total dissolved solids, with near-zero TDS preferred for large flat arrays that cannot drain quickly.
| Water option | Typical TDS condition | Main use | Primary risk |
|---|---|---|---|
| Reverse-osmosis permeate | 5-30 ppm before polishing | Pre-rinse and wash | Residual minerals can spot glass |
| RO plus DI polish | 0-10 ppm | Final rinse on shallow arrays | Resin exhaustion can go unnoticed |
| Softened tap water | 100-500 ppm, site-dependent | Initial wetting only | Sodium and minerals may remain |
| Untreated hard tap water | 200-600+ ppm, site-dependent | Avoid for final rinse | Calcium carbonate spotting |
| Rainwater, filtered | 10-80 ppm, site-dependent | Limited rinse use | Roof and tank contamination |
A TDS meter measures dissolved conductivity, not every contaminant. A reading near zero does not prove that the water is free from oil, biological growth, or cleaning chemical residue. Change DI resin when the meter rises toward the service limit set by the filtration manufacturer.
How Do You Clean Flat-Roof Solar Panels Safely?
Clean the array in seven controlled steps, usually requiring 30-60 minutes for a small 10-panel installation and 1-3 hours for a 40-panel array. The decisive factor is safe access, not brush speed, because a clean module has little value if the operator damages the roof membrane, wiring, or glass.
Before You Start
| Requirement | Typical residential value | Commercial consideration |
|---|---|---|
| Work time | 30-60 minutes for 10 panels | 1-3 hours for 40 panels |
| Water volume | 20-60 liters for 10 panels | 2-5 liters per panel with controlled flow |
| Water target | Below 10 ppm TDS | 0-10 ppm TDS for final rinse |
| Brush reach | 6-20 feet | 15-60 feet or robotic equipment |
| Service cost | $150-$300 typical visit | $1-$10 per panel, site-dependent |
| Weather condition | Cool glass, low wind | Roof permit, rescue plan, runoff controls |
Confirm the module, inverter, racking, roof membrane, and cleaning-product warranties before using chemicals or automated equipment. Identify skylights, fragile roof coverings, drains, fire lanes, HVAC intakes, exposed conductors, and ballast that could shift under foot traffic.
Step 1: Assess Roof Access and Isolate the System
Inspect the roof from a safe access point, establish a protected route, and follow the inverter manufacturer’s shutdown procedure. Do not assume that switching off the inverter makes every conductor de-energized, because photovoltaic modules can still generate DC voltage in daylight.
Keep water away from inverters, disconnects, cable connectors, junction boxes, roof penetrations, and open conduits. A qualified solar electrician should handle isolation when the system lacks clear instructions or has damaged wiring.
Success checkpoint: The work route, roof edge, drains, and electrical equipment are identified before water is introduced.
Common mistake: Treating a roof ladder or parapet as complete fall protection.
Step 2: Choose a Cool, Calm Cleaning Window
Work in early morning, late afternoon, or an overcast period when glass temperatures are moderate and evaporation is slow. Avoid freezing conditions, strong wind, lightning, and wet roof surfaces that reduce traction.
Cool water on hot tempered glass is not automatically guaranteed to cause instant breakage, but large temperature differences can increase stress, especially where glass already has edge damage or manufacturing defects. A temperature-sensitive infrared thermometer can confirm surface conditions; avoid washing panels above approximately 45°C when practical.
Success checkpoint: The glass is cool enough that rinse water does not flash-evaporate immediately.
Common mistake: Cleaning at midday because sunlight makes dirt easier to see.
Step 3: Remove Loose Debris Without Scraping
Use a clean, soft-bristle brush or air method approved for the installation to remove leaves, twigs, gravel, and dry dust. Move debris away from module edges and drains without dragging grit across the glass.
Do not use a household broom, leaf rake, metal scraper, steel wool, or stiff natural bristles. Abrasive particles trapped in a brush can create scratches that increase future soiling and reduce optical transmission.
Success checkpoint: Loose material is removed while the glass remains free of new linear marks.
Common mistake: Dry-scrubbing bird deposits, which can drag grit across the anti-reflective surface.
Step 4: Pre-Rinse With Controlled Pure Water
Apply low-pressure RO or DI water from the upper edge downward, keeping the nozzle approximately 30 centimeters from the module surface. The objective is to soften and mobilize contamination, not to force water beneath seals.
A garden hose at normal low pressure may be acceptable for rinsing if the manufacturer permits it, but pressure-washer jets are inappropriate for photovoltaic modules. High-pressure water can damage seals, connectors, labels, roof membranes, and nearby flashing.
Success checkpoint: The surface is uniformly wet, and softened dirt moves toward the lower edge without entering electrical enclosures.
Common mistake: Using a narrow jet that concentrates force on a frame seam or connector.
Step 5: Agitate Film and Mud Bands Gently
Pass the water-fed soft brush in overlapping strokes from the upper module toward the lower frame. Use light pressure only; the pole should carry the brush head, not the operator’s body weight. Spend additional time on the lowest 5-8 centimeters, where evaporation commonly concentrates dirt.
For baked pollen or bird residue, soak the area for 3-5 minutes and repeat gentle passes. Use a solar-compatible, pH-neutral wetting agent only when plain pure water cannot release the deposit, and follow the module manufacturer’s chemical restrictions.
Success checkpoint: The glass feels smooth under the wet brush, with no gritty resistance or remaining opaque deposits.
Common mistake: Leaning on a module or pressing harder when a second soak would be safer.
Step 6: Rinse and Remove Standing Water
Rinse from the high side downward until foam, suspended dirt, and loosened residue are gone. Use a clean, soft rubber squeegee only if water remains pooled and the blade is free of grit; pull in straight overlapping passes without twisting against the glass.
Some module manufacturers permit air drying with purified water, while others recommend drying to prevent pooling at frames. The correct choice depends on water quality and local minerals. Do not leave hard tap water to evaporate on a shallow array.
Success checkpoint: No visible film, foam, or mineral droplets remain after the final rinse.
Common mistake: Reusing a dirty squeegee blade that transfers grit across every module.
Step 7: Restore Operation and Verify Production
Restore the system using the inverter manual, check for fault codes, and inspect the array from the ground for remaining streaks, cracked glass, displaced clamps, loose cable management, or water near electrical components. Compare normalized output with the pre-cleaning baseline after irradiance and temperature are comparable.
Cleaning cannot repair delamination, microcracks, failed bypass diodes, PID, inverter faults, or shading from new vegetation. If output remains low after a clean surface is confirmed, schedule electrical testing rather than repeating the wash.
Success checkpoint: The inverter reports normal operation and production rises relative to comparable conditions.
Common mistake: Declaring success from an instantaneous power reading during changing cloud cover.
Which Cleaning Method Fits Your Roof?
Manual water-fed poles suit small arrays and roofs with HVAC units, skylights, or irregular access. Robotic crawlers become more attractive on large, repetitive commercial arrays, while fixed spray systems suit sites that need frequent light rinsing and can manage water, maintenance, and electrical controls.
| Method | Suitable array size | Typical water use | Main limitation |
|---|---|---|---|
| Manual water-fed pole | 6-40 panels | 2-6 liters per panel | Labor and roof-access exposure |
| Professional pole crew | 25-500 panels | 2-5 liters per panel | Recurring service cost |
| Robotic crawler | 500-10,000+ panels | 0.2-2 liters per panel | Capital cost and track compatibility |
| Fixed spray system | 100-10,000+ panels | 1-10 liters per cycle per panel | Nozzle, pump, and water infrastructure |
| Dry robotic brush | 500-10,000+ panels | 0 liters per cycle | Requires controlled dust conditions |
| Nano-coating | Any size | 0 liters during use | Reapplication and uncertain site performance |
Robots are not automatically the best choice. A crawler must match module dimensions, gaps, surface wetness, roof pitch, edge conditions, and manufacturer requirements. Tracks can carry grit, lose traction on residue, or approach unprotected array edges incorrectly.
Fixed sprinklers prevent heavy deposits only when cycles are frequent enough and water chemistry is controlled. They cannot remove thick bird droppings or industrial crust reliably, and untreated hard water can create a larger maintenance problem.
Hydrophobic and hydrophilic coatings may reduce adhesion, but coating life, optical effects, warranty acceptance, and real-world performance vary. Treat a coating as a maintenance-reduction measure, not as a substitute for inspection.
How Much Does Flat-Roof Solar Cleaning Cost?
Typical professional pricing ranges from $150-$300 for a small residential visit, $5-$10 per panel for smaller commercial arrays, approximately $1-$3 per panel for larger contracted arrays, and roughly $0.40-$1 per panel for high-volume robotic work. Local roof access, fall protection, travel, water treatment, and bird-control work can change the price substantially.
| Installation | Typical service price | Typical duration | Cost driver |
|---|---|---|---|
| 6-10 residential panels | $150-$250 | 30-60 minutes | Minimum service charge |
| 20-25 residential panels | $200-$350 | 1-2 hours | Roof access and edge protection |
| 40 commercial panels | $200-$500 | 1-3 hours | Labor and obstacles |
| 100-500 commercial panels | $1-$5 per panel | 3-16 labor hours | Contract frequency |
| 1,000+ industrial panels | $0.40-$2 per panel | 1-8 hours with robots | Mobilization and equipment |
| Fixed rinse installation | $5,000-$30,000+ | 1-5 installation days | Pumps, controls, filtration |
These are typical planning ranges, not universal 2026 prices. Request a written scope that identifies water quality, roof safety, electrical exclusions, runoff handling, broken-module reporting, and whether the quoted price includes a second rinse.
Common Mistakes and How to Fix Them
Using Tap Water on a Mineral-Prone Roof
White spots or cloudy film usually indicate mineral scaling or detergent residue. Rewash with low-TDS water and remove standing water with a clean squeegee; do not use acidic scale removers unless the module manufacturer explicitly approves them.
Applying Dish Soap or Car Shampoo
Household detergents can leave surfactant film, fragrances, salts, or additives on photovoltaic glass. Stop using the product, rinse repeatedly with purified water, and check the module warranty before trying any solar-specific chemical.
Walking on Modules
Walking, kneeling, or placing tools on modules can create cell microcracks that remain invisible while reducing future output. Use designated roof routes and a long-reach pole; a tempered glass surface is not a load-bearing walkway.
Cleaning Only the Center of Each Panel
The lower frame and inter-module gaps often hold the most persistent residue. Detail the bottom edge, drainage channels, and adjacent roof areas where loose dirt can wash back onto the glass.
Ignoring Bird Droppings
A single deposit below a nesting or roosting point can repeatedly recreate a shaded patch. Remove the deposit after soaking, then address the cause with approved bird deterrence that does not shade modules or violate local wildlife rules.
Blaming Soiling for Every Production Loss
A clean-looking array can still have inverter, optimizer, shading, or wiring faults. Compare production against irradiance data and inverter diagnostics before authorizing repeated cleaning.
Situational Cleaning Strategies
Dust, Pollen, and Agricultural Residue
Use frequent low-volume rinsing during pollen or harvest periods instead of waiting for a thick mud band. A monthly visual inspection and post-event spot clean can reduce labor compared with two intensive annual restorations.
Bird Droppings Under Rooftop Equipment
Clean deposits after soaking, not by dry scraping. Inspect HVAC housings, parapets, antennas, and nearby trees because the source location determines whether cleaning alone will solve the recurrence.
Industrial Soot and Coastal Salt
Industrial soot may require a solar-approved wetting agent and longer dwell time, while coastal salt benefits from a purified-water rinse after wind events. Coordinate runoff controls where contaminated water could enter storm drains or HVAC intakes.
Winter or Freezing Conditions
Do not wash when water can freeze on modules, walkways, drains, or access ladders. Snow removal should follow the module and racking manufacturer’s instructions, because improvised scraping can damage glass and frames.
When Should You Hire a Professional?
Hire a qualified solar or roof-maintenance contractor when the roof lacks compliant fall protection, the array is near skylights or fragile membrane, wiring is damaged, modules are cracked, or the work requires walking among ballast and electrical equipment. Professional cleaning does not eliminate the need for a site-specific safety plan.
Ask contractors for evidence of:
- Roof-access and fall-protection procedures.
- Solar-module cleaning experience and insurance.
- Water TDS testing before the final rinse.
- A no-walking-on-modules policy.
- Documentation of broken glass, loose clamps, cable damage, and inverter alarms.
- A clear statement about chemical products and warranty responsibility.
An honest limitation matters here: cleaning companies cannot promise a fixed percentage production increase without a controlled baseline. Weather, inverter clipping, shading, and module degradation can make the gain smaller than the visible dirt suggests.
FAQ
Can rain clean solar panels on a flat roof?
Rain can remove loose dust, but it often leaves dissolved minerals and mud along the lower frame on shallow modules. A clean, heavy rain may delay service, while light rain after a dusty period can create a more adherent film. Inspect after rainfall rather than treating rain as a guaranteed cleaning cycle.
Can I clean panels from the ground?
Ground-based cleaning is possible when a water-fed pole reaches every module without excessive force or unsafe overhead handling. Operators should not stretch beyond stable footing, direct water toward electrical equipment, or use a pole near overhead power lines. Hire a professional when the roof edge or array layout prevents controlled reach.
Is deionized water better than reverse-osmosis water?
Deionized water generally produces the lowest mineral residue, while reverse osmosis removes much of the dissolved load before a DI stage polishes the water. RO-only water can work in low-mineral areas, but a TDS reading below 10 ppm is a safer final-rinse target for shallow arrays.
Do solar panels need cleaning after every rain?
No. Cleaning after every rain wastes water and labor unless the rain creates visible mud, salt, pollen, or bird-residue deposits. Use production monitoring and visual inspection to identify events that justify cleaning. A six-month review is a reasonable starting point for sites without historical soiling data.
Are solar cleaning robots safe for all flat roofs?
No. Robots require compatible module dimensions, gaps, roof pitch, traction conditions, edge detection, and loading limits. A robot can reduce labor on repetitive commercial arrays, but it may be unsuitable around skylights, tight HVAC layouts, fragile membranes, or heavy crust that requires soaking.
Does cleaning remove solar-panel microcracks?
No. Cleaning removes surface contamination but cannot reverse cell fractures, delamination, hotspot damage, or failed electrical components. If output remains abnormal after cleaning, review inverter diagnostics and arrange electroluminescence, IV-curve, or infrared testing through a qualified technician.
The Bottom Line
Solar panel cleaning for flat roof systems works best as a monitored maintenance task, not an automatic twice-yearly ritual. Start with safe access, cool modules, soft tools, and low-TDS rinse water; focus on the lower frame where shallow slopes concentrate residue. Compare normalized production before and after service, then choose manual cleaning, professional crews, robots, or fixed rinsing according to array size, soiling rate, roof hazards, and financial return.


