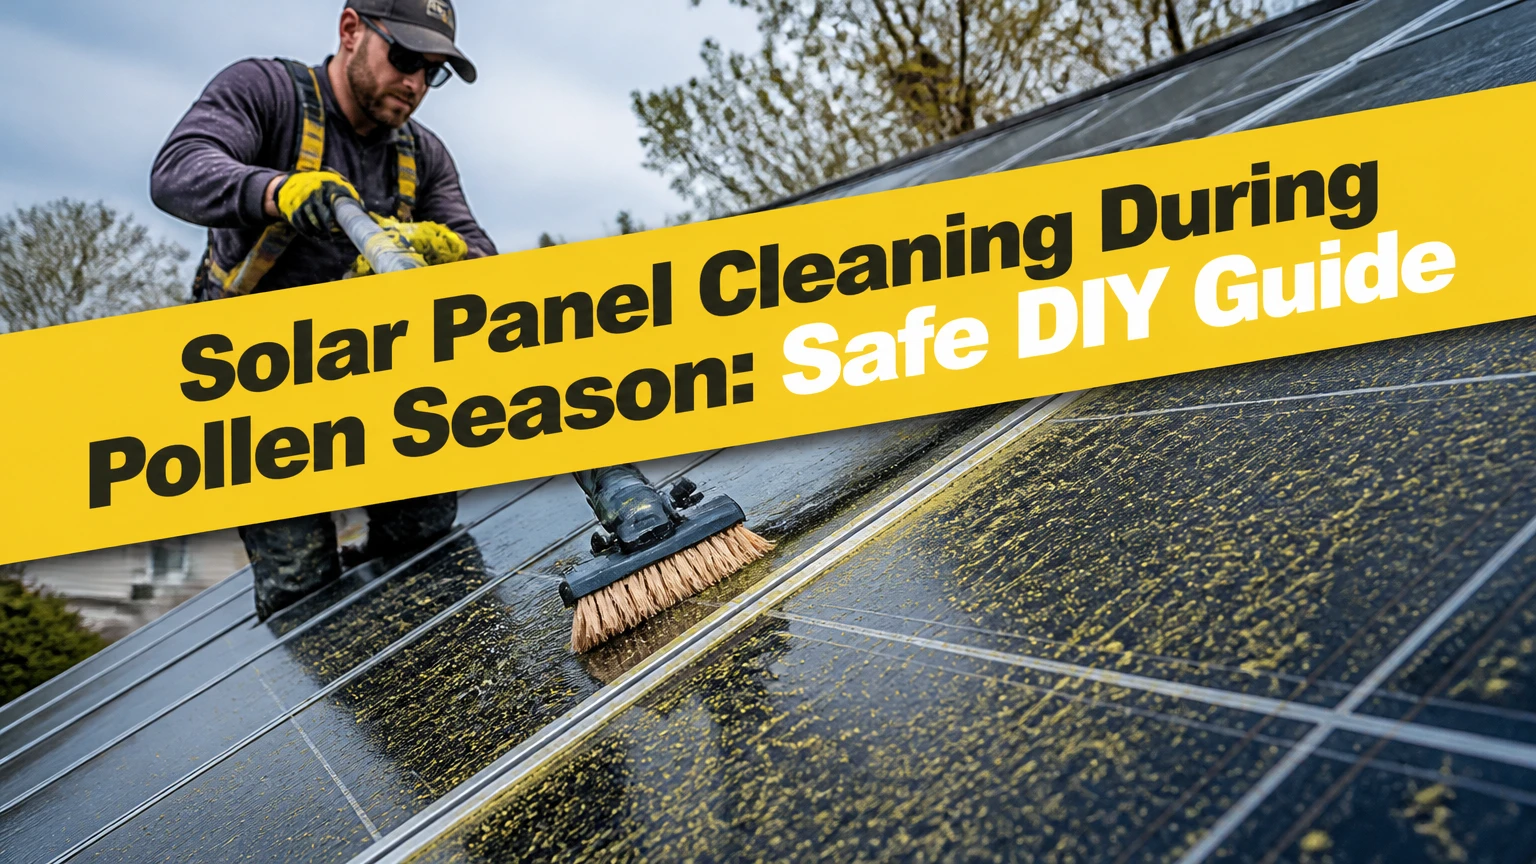
Solar panel cleaning during pollen season is safest when performed on cool panels with loose debris removed first, purified water used for soaking and rinsing, and a soft, nonabrasive brush. Clean only accessible systems, avoid pressure washers and dry scrubbing, and compare measured energy output before and after washing to confirm that cleaning justified the risk.
Key Facts at a Glance
- Pollen mixed with dew or sap can form a sticky film that remains after ordinary rain.
- Solar-panel output loss from pollen varies widely with pollen type, deposit thickness, rainfall, tilt, and array shading; 15%-30% is a possible field range, not a universal rule.
- Cool, shaded panels and low-pressure water reduce thermal and mechanical stress during cleaning.
- Water below about 50 parts per million total dissolved solids usually dries with fewer mineral spots than untreated hard tap water.
- Roof-mounted panels should be cleaned from the ground or by an insured professional; system shutdown does not remove every electrical or fall hazard.
- A before-and-after production comparison is more reliable than judging cleanliness by glass appearance alone.
How Pollen Reduces Solar Output
Pollen reduces photovoltaic output by adding an optical layer between sunlight and the panel’s glass. The layer absorbs and scatters some incoming light, while clumps near cell boundaries can create partial shading that affects more than the visibly dirty area.
Pollen is not chemically identical across regions. Pine pollen can be relatively dry and granular, while oak, birch, grass, and tree pollen may combine with dew, airborne dust, bird residue, or tree sap. Morning moisture helps deposits adhere, and repeated wetting and drying can make them harder to rinse away.
The commonly repeated 15%-30% loss estimate needs context. A uniform, heavy deposit on a low-tilt array may cause a substantial decline, but a light coating on a steep, frequently rained-on roof may have little measurable effect. The National Renewable Energy Laboratory’s photovoltaic performance guidance treats soiling as site-specific because rainfall, tilt, particle type, and cleaning frequency change the result.
Pollen shading can also create current mismatch between cells or modules. However, shaded cells do not literally “consume power rather than generate it,” as some summaries claim. Bypass diodes and module design limit certain losses, while persistent partial shading can increase stress and temperature in affected cell strings. A visible pollen film alone is not proof of a damaging hotspot.
When Should Solar Panels Be Washed?
The best time to wash solar panels is after the main pollen drop but before deposits combine with heat, sap, or dust for several days. Clean early in the morning or during cool overcast conditions, provided the glass is dry enough to work safely and no rain or freezing temperatures are imminent.
Avoid washing panels that are hot from direct sun. The concern is not a fixed universal temperature difference, because module glass, water temperature, installation quality, and manufacturer specifications differ. A gradual rinse with cool-to-moderate water is generally less stressful than applying very cold water to overheated glass.
Rainfall changes the schedule. A heavy, clean rain can remove loose pollen from a tilted array, but light drizzle may turn pollen into a streaked film. Inspect the lower frame, panel corners, and drain paths after rain.
How Often Should Panels Be Cleaned?
Most residential arrays need one inspection during peak pollen season and one cleaning when output or visible fouling justifies it. A second wash is reasonable where pine or oak pollen deposits heavily, rainfall is scarce, panel tilt is low, or the array sits below overhanging trees.
Use production data rather than a calendar alone. Compare weather-adjusted daily kilowatt-hours with the same inverter’s recent baseline, and account for cloud cover, temperature, snow, utility curtailment, and new shade. A 5%-10% unexplained decline after comparable weather is a practical trigger for inspection, not a laboratory threshold.
Which Water and Tools Are Safe?
Solar-panel cleaning requires loose debris removal, a soft solar-specific brush, low-pressure water, and a way to remove or prevent mineral residue. Purified or deionized water is preferable for the final rinse, especially in regions where tap water leaves visible white deposits.
| Item | Recommended specification | Avoid | Reason |
|---|---|---|---|
| Brush | Soft nylon or microfiber head, solar-rated | Stiff broom, abrasive pad | Reduces scratching and coating wear |
| Pole | Telescoping, insulated or nonconductive, stable locking sections | Aluminum pole near overhead lines | Limits contact and fall hazards |
| Water | Filtered, softened, or deionized; under 50 ppm TDS for spot-free drying | Untreated hard water | Minimizes calcium and magnesium residue |
| Squeegee | Clean, soft rubber blade | Worn or gritty blade | Prevents streaks and dragged particles |
| Hose nozzle | Gentle fan or open-flow rinse, typically under 35-45 psi | Pressure washer above 1,500 psi | Protects seals, frames, and wiring |
| Cleaner | Manufacturer-approved solar-glass product | Household detergent, abrasive powder, strong solvent | May leave residue or affect coatings |
A water-fed pole can reduce ladder use, but a long pole becomes difficult to control in wind. Never allow a pole, hose, ladder, or body to approach overhead utility conductors. Solar modules can produce electricity whenever illuminated, even when the inverter is off.
Manufacturers differ on detergent and brush compatibility. Read the module cleaning instructions and warranty terms before applying any chemical. Plain purified water is the least complicated option when it removes the residue.
Step-by-Step Cleaning Process
The following six-step process suits an accessible ground-mounted system or a low-slope array that can be reached without walking on the modules. A typical 20-panel residential array takes 60-120 minutes and costs about $50-$200 in initial DIY equipment, excluding roof-safety equipment.
Before You Start
| Requirement | Typical value |
|---|---|
| Cleaning time | 60-120 minutes for 20 panels |
| DIY equipment cost | $50-$200 |
| Water requirement | About 20-60 gallons, depending on rinse method |
| Minimum tools | Soft brush, hose, pole, squeegee, gloves, eye protection |
| Best conditions | Cool glass, light wind, no freezing weather |
| Access requirement | Ground access or engineered fall protection |
Do not walk on solar modules. Confirm that the roof surface, ladder position, and ground below are stable before connecting water.
Step 1: Inspect the Array and Check the Forecast
Look for cracked glass, lifted frames, loose cables, nesting animals, damaged conduit, and heavy deposits. Photograph unusual damage before cleaning, then postpone the job if wind, lightning, freezing temperatures, or unsafe roof access is present.
You will know this step worked when the array has a clear cleaning route and no exposed electrical damage. The common mistake is treating a roof-access problem as a cleaning problem. Hire an insured solar or roof-cleaning professional when ground-based tools cannot reach safely.
Step 2: Follow the Manufacturer’s Shutdown Procedure
Use the installation manual to stop normal operation, then follow the inverter’s labeled AC and DC disconnect sequence if the manufacturer requires it. Shutdown reduces operational risk, but it does not make illuminated modules electrically dead.
You will know this step worked when the inverter display or monitoring system indicates shutdown according to its manual. The common mistake is assuming that one indoor switch eliminates DC voltage at the array. Do not unplug module connectors or open junction boxes during washing.
Step 3: Remove Loose Pollen and Debris
Use a soft, dry brush only when the surface contains loose, nonabrasive material and no gritty contamination is being dragged across the glass. A low-setting leaf blower can remove dry leaves and loose pollen from ground-mounted panels.
You will know this step worked when leaves, twigs, and thick surface deposits are gone without visible dragging marks. The common mistake is aggressive dry scrubbing, which can move sand or grit across the glass and create permanent micro-scratches.
Step 4: Pre-Rinse and Soak the Pollen
Rinse from the upper edge downward with gentle flow, then allow water to soften the film for two to five minutes. Do not use a pressure washer, concentrated jet, or hot-to-cold shock treatment.
You will know this step worked when the yellow film becomes visibly fluid and the brush can move without resistance. The common mistake is beginning agitation while the glass remains dry. Reapply water instead of increasing brush pressure.
Step 5: Agitate With a Soft Wet Brush
Clean one panel or a small row at a time using a wet, soft brush and light overlapping passes. Concentrate on the lower frame and corners, where runoff carries pollen and sap, but do not force residue beneath seals or frames.
You will know this step worked when the brush lifts the film and the rinse water becomes clear after a few passes. The common mistake is using a household broom because its bristles feel soft by hand. Solar brushes have softer, cleaner fibers and are less likely to hold grit.
Step 6: Rinse Completely and Remove Water
Rinse until no yellow or soapy-looking runoff remains, then use a clean rubber squeegee if the water contains minerals or drying conditions are windy. Pull the blade in straight overlapping strokes, wiping the blade between passes.
You will know this step worked when the glass dries clear without white rings, yellow streaks, or pooled residue. The common mistake is allowing hard tap water to air-dry. Re-wet mineral spots with purified water and remove them before they harden.
DIY Versus Professional Cleaning
DIY cleaning is appropriate for accessible, low-risk arrays, while professional service is usually the better choice for steep roofs, fragile roofing, complex electrical layouts, and multi-story buildings. The correct decision depends more on fall exposure and water handling than on the number of panels alone.
| Situation | DIY suitability | Typical professional price | Preferred approach |
|---|---|---|---|
| Ground mount, 10-24 panels | High | $100-$250 | DIY with soft brush and filtered water |
| Low-slope roof, one story | Moderate | $150-$350 | DIY only with safe ground access |
| Steep roof, 20-30 panels | Low | $200-$500 | Insured professional |
| Commercial array, 100-500 kW | Very low | $5-$10 per panel or contract rate | Robotic or commercial service |
| Remote off-grid array | Moderate | $250-$600 if available | Low-water manual cleaning |
| Array under trees with heavy sap | Moderate | $200-$500 | Professional if residue needs approved cleaner |
A professional invoice should identify insurance, roof-access method, water treatment, cleaning chemicals, and whether the company inspects visible module or wiring damage. A cheap service that walks directly on modules or uses a pressure washer creates avoidable warranty and damage risks.
What Are the Alternatives to Hand Washing?
Robotic cleaning suits large, continuous arrays where labor, safety, or water use dominates operating cost. Fixed sprinkler systems suit installations designed around automated rinsing, but they can spread minerals, waste water, and fail to remove baked-on pollen or sap.
| Method | Best installation | Typical cost | Water use | Main limitation |
|---|---|---|---|---|
| Manual water-fed pole | Residential, ground mount | $50-$200 DIY gear | 20-60 gallons per visit | Labor and access |
| Professional hand wash | Steep or complex residential roof | $150-$500 per visit | 15-50 gallons | Recurring service cost |
| Crawler robot | Large flat commercial rows | $2,000-$10,000-plus equipment | Low to moderate | Requires compatible layout |
| Fixed sprinkler line | Planned commercial or remote system | $1,500-$4,000 installation | Moderate to high | Mineral scale and incomplete removal |
| Dry robotic brush | Water-limited commercial site | Site-specific contract | Very low | Dry grit can scratch glass |
Robots are not automatically safer for every array. A crawler must be approved for the module frame, roof surface, tracker geometry, and allowable point loads. Fixed nozzles also require filtration and backflow planning; untreated hard water can replace a yellow film with a permanent white scale.
Removing Stubborn Pollen, Sap, and Residue
Baked-on pollen should be softened with repeated wetting before any stronger cleaner is considered. Tree sap is a different contaminant and may require a manufacturer-approved, biodegradable solar-glass cleaner applied at the stated dilution.
| Residue | Identification clue | First treatment | Escalation |
|---|---|---|---|
| Loose pollen | Powdery yellow layer | Gentle rinse and soft brush | Repeat rinse |
| Wet pollen film | Yellow translucent streaks | Two-to-five-minute soak | Approved cleaner if needed |
| Tree sap | Clear or amber tacky spots | Warm water and dwell time | Manufacturer-approved cleaner |
| Hard-water scale | White cloudy rings | Purified-water rewetting | Professional mineral removal |
| Bird droppings | Localized opaque patches | Soak, then lift gently | Repeat, never dry scrape |
| Soot or ash | Gray-black fine coating | Low-pressure pre-rinse | Professional wash after wildfire exposure |
Never scrape sap with a razor, use abrasive cream, or apply acetone, ammonia-heavy glass cleaner, bleach, or undiluted alcohol. If a product is allowed, test it on a small area only after checking the module manufacturer’s instructions.
Does Rain Solve the Problem?
Rain removes loose pollen but does not reliably remove pollen bonded with sap, dust, or dried minerals. A strong storm can improve output, yet light rain often creates streaks along the lower frame and leaves concentrated residue after evaporation.
Inspect the array after the next rainfall rather than assuming that a wet panel is clean. Rainwater itself is relatively low in dissolved minerals, but roof runoff can carry dirt, asphalt particles, bird residue, and plant material onto the modules.
How Can Owners Confirm Cleaning Worked?
Owners can confirm cleaning worked by comparing weather-adjusted energy production before and after washing, not by relying on a brighter-looking glass surface. Use inverter monitoring data, the same time window on comparable days, and module-level data when available.
Record these values:
- Daily kilowatt-hours for three to seven days before cleaning.
- Cloud cover, temperature, and unusual shade during both periods.
- Cleaning date, start time, water type, and visible residue.
- Daily kilowatt-hours for three to seven days afterward.
- Inverter alarms, clipping, curtailment, or grid outages.
A cloudy day after cleaning proves nothing. A sustained improvement during comparable irradiance provides stronger evidence. If output remains low after clear glass, inspect for new shade, inverter faults, string disconnection, module degradation, snow, bird mesh obstruction, or utility limitations.
Safety Limits and Common Failure Modes
The highest cleaning risk is usually falling from the roof, not damaging the glass. Electrical exposure, fragile roofing, slipping water, overhead lines, and hidden module damage all justify professional help when access is uncertain.
What Does Inverter Shutdown Not Prevent?
Inverter shutdown does not eliminate voltage produced by illuminated modules or necessarily isolate every conductor between the array and disconnects. Water can also enter damaged connectors or junction areas, so never open electrical enclosures during cleaning.
Why Do White Streaks Appear?
White streaks usually indicate dissolved minerals from hard water, while yellow streaks usually indicate incomplete pollen removal. Rewet the affected area with deionized or suitably filtered water and remove it before drying; do not polish mineral scale with abrasive material.
Why Did Scratches Appear?
Scratches result from dragging grit, coarse pollen, dirty brush fibers, or a worn squeegee across the glass. Scratched anti-reflective surfaces cannot be restored by ordinary washing, so replace contaminated tools and stop dry brushing immediately.
When Is a Panel Defective Rather Than Dirty?
A hotspot, browning, delamination, cracked glass, burn mark, persistent localized heating, or unexplained module-level underperformance requires inspection rather than repeated washing. Pollen can reduce light transmission, but cleaning cannot repair a failed bypass diode, damaged cell interconnect, or moisture ingress.
Recommendations by Installation Type
Residential Roof Arrays
Use a professional for steep, tall, fragile, or difficult-to-reach roofs. Use a telescoping water-fed pole only when the operator can remain on stable ground, keep clear of utility lines, and control the brush without leaning or climbing onto modules.
Ground-Mounted Arrays
Ground mounts are the strongest DIY use case because they reduce fall exposure and make rinsing easier. Keep pets and children away from wet work areas, protect nearby electrical equipment from direct spray, and check the underside for nesting or animal damage.
Off-Grid Systems
Off-grid owners should prioritize energy value per gallon of water. Capture clean rainwater where lawful, filter sediment, use a small amount for soaking, and reserve purified water for the final rinse; avoid cleaning merely for appearance when battery state and weather make recovered energy insignificant.
Commercial and Tracker Systems
Commercial operators should compare labor, water, safety, and recovered kilowatt-hours across a maintenance contract rather than selecting a robot by purchase price. Tracker arrays need cleaning procedures that account for stow position, motor clearance, row spacing, wind limits, and manufacturer-approved equipment weight.
Bifacial Modules
Bifacial modules need attention to rear-side conditions as well as front glass. Cleaning the front surface may not recover much energy if weeds, dust, snow, or construction debris shade the rear side, while aggressive access beneath the array can damage cables and racking.
What Does Pollen-Season Cleaning Cost?
Residential pollen-season cleaning typically costs $150-$350 for a standard roof array, while DIY equipment commonly costs $50-$200. Commercial pricing varies by access, array size, water treatment, automation, and contract terms, so a per-panel rate alone does not reveal total operating cost.
| Service scope | Typical time | Typical price | Cost driver |
|---|---|---|---|
| DIY, 20 panels | 1-2 hours | $50-$200 equipment | Pole, brush, filtration |
| Professional, 20 panels | 45-90 minutes | $150-$350 | Roof access and insurance |
| Steep or multi-story roof | 1-3 hours | $250-$600 | Fall protection and setup |
| Commercial manual wash | Site-specific | $5-$10 per panel | Labor, access, water |
| Robotic commercial cleaning | Site-specific | $2,000-$10,000-plus equipment | Robot and deployment |
| Fixed rinse installation | Installation project | $1,500-$4,000 | Plumbing, filtration, controls |
A useful economic test is recovered value per cleaning. If washing restores 1 kilowatt-hour per day for 30 days, the recovered energy is 30 kilowatt-hours. Multiply that by the applicable electricity rate, then compare the result with service cost, water cost, and risk. A small residential output gain may not justify a dangerous roof visit.
FAQ
Can I clean solar panels with a garden hose?
Yes, a garden hose can rinse accessible panels when used with gentle flow and a suitable nozzle. A hose alone may not remove pollen mixed with sap or dried dust, and untreated hard water can leave mineral spots. Use a soft brush for bonded residue and filtered water for the final rinse.
Can dish soap damage photovoltaic panels?
Dish soap is not automatically safe for photovoltaic modules because formulas contain surfactants, fragrances, salts, or additives that may leave residue or conflict with glass coatings. Use plain purified water unless the panel manufacturer specifically approves a diluted cleaner and provides the required concentration.
Should I clean panels after every pollen drop?
No. Clean after a heavy deposit, measurable output decline, or persistent residue, not after every visible release. Frequent washing can waste water and increase abrasion or access risk. Ground-mounted arrays in severe pollen regions may need two or three washes, while steep roofs may need none after heavy rain.
Do solar panels lose efficiency permanently from pollen?
Pollen usually causes temporary optical soiling that cleaning can remove. Permanent loss can occur indirectly when abrasive particles scratch glass, harsh chemicals affect surfaces, or a separate electrical fault is mistaken for dirt. A persistent output decline after cleaning requires diagnostic testing rather than more aggressive scrubbing.
Is deionized water necessary for every solar-panel wash?
Deionized water is most useful for the final rinse when local tap water is hard or panels must dry spot-free. It is not essential for every pre-rinse if water is removed promptly, but low-mineral water reduces calcium and magnesium deposits that can become difficult to remove.
How do I clean panels covered with bird droppings and pollen?
Soak the affected area until the material softens, then lift it with a soft wet brush and rinse thoroughly. Do not dry-scrape droppings or use abrasive tools. Wear gloves and eye protection, keep runoff away from edible plants, and call a professional when contamination is extensive or roof access is unsafe.
The Bottom Line
Solar panel cleaning during pollen season is worthwhile when sticky deposits cause a measured or clearly visible performance problem, but safe access determines whether DIY cleaning is appropriate. Use a cool-panel, low-pressure, soft-brush process; choose purified water when mineral spotting is likely; and treat roof safety, electrical isolation limits, sap, rain, and system-specific manufacturer instructions as part of the cleaning decision.


