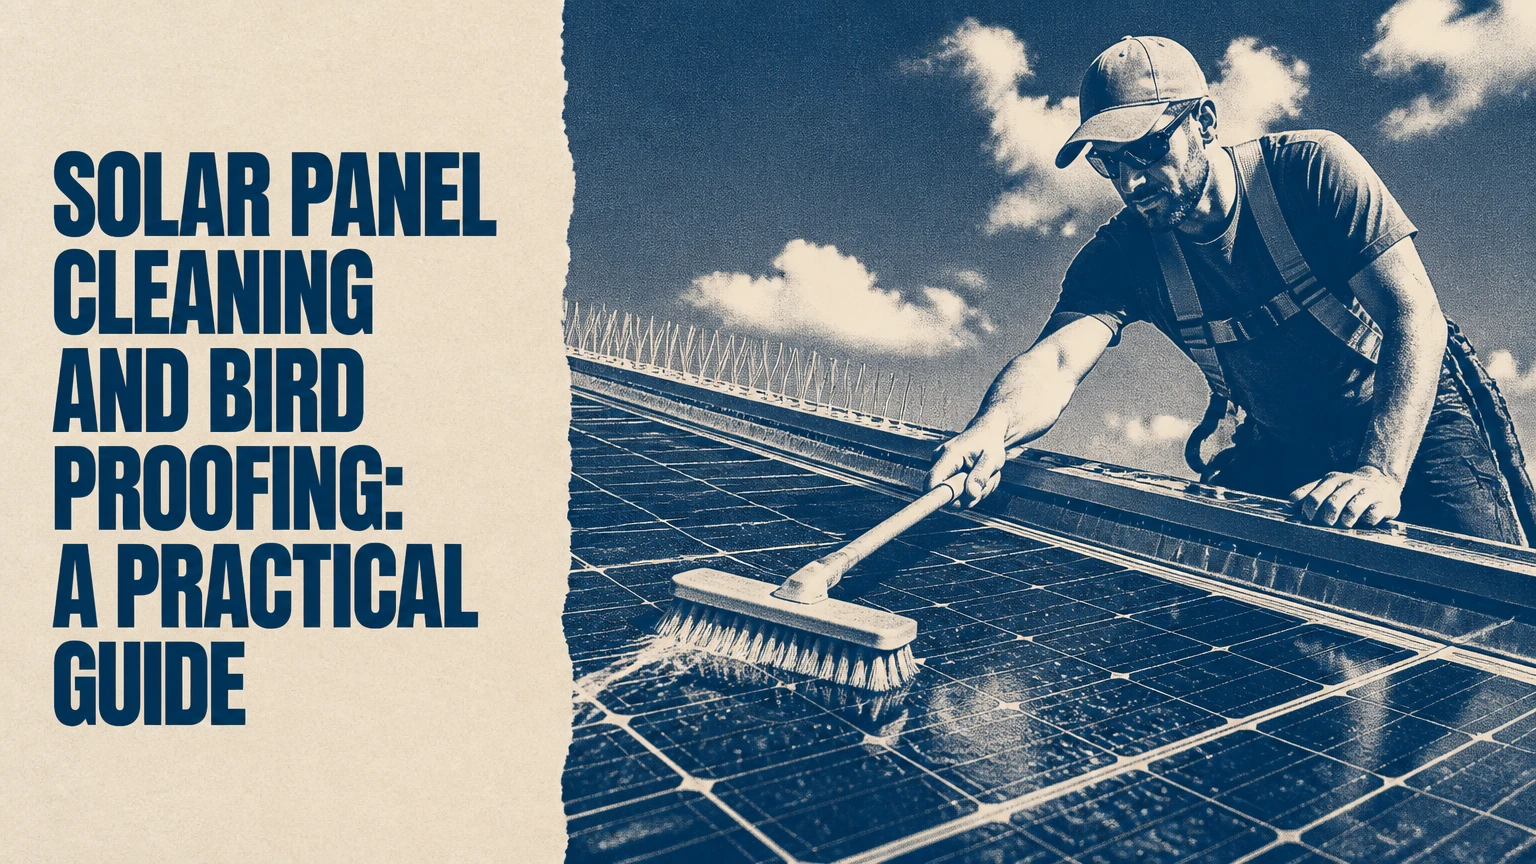
Solar panel cleaning removes dust, pollen, mineral residue, and bird droppings from photovoltaic glass, while bird proofing blocks birds from nesting beneath the array. Cleaning addresses light transmission and soiling; bird proofing protects wiring, roofing, airflow, and equipment from nesting debris and droppings. Both services work best after a roof and electrical inspection.
Key Facts at a Glance
- Heavy soiling can reduce solar output by 10%-25%, but typical losses vary widely with rainfall, dust, tilt, and droppings.
- Bird proofing normally uses UV-resistant metal mesh attached with non-penetrating clips around the panel perimeter.
- Bird spikes on top of panels do not reliably stop birds from entering the sheltered space beneath them.
- Cool panels, soft brushes, and low-mineral or deionized water reduce the risk of glass damage and spotting.
- Typical residential cleaning costs $150-$350, while bird proofing commonly costs $500-$1,200.
- Active nests may be legally protected, so removal should follow local wildlife rules and avoid disturbing eggs or chicks.
What Solar Panel Cleaning and Bird Proofing Do
Solar panel cleaning restores the glass surface so sunlight reaches the photovoltaic cells, whereas solar bird proofing prevents birds and other small animals from occupying the gap below the panels. Cleaning is a periodic performance task; proofing is a physical exclusion measure that remains installed for years.
Solar modules are designed to operate outdoors, so ordinary dust does not automatically justify washing. Rain may remove loose dust from tilted arrays, but rain often leaves a concentrated edge of dirt, pollen film, salt, or bird waste. The decision should follow measurable production loss, visible contamination, local water conditions, and safe roof access.
Birds choose the underside of an array because the space is shaded, dry, protected from wind, and warmer than exposed roof surfaces. Pigeons are common offenders, but starlings, sparrows, mynas, and occasionally rodents can create similar problems. A complete service therefore includes more than attaching mesh: the contractor should inspect the array, document damage, and handle debris safely.
Why Birds Nest Under Solar Panels
Bird nesting beneath solar panels creates contamination, blockage, noise, and electrical risks. Nest materials can obstruct drainage, droppings can stain roof surfaces, and chewing animals can damage cable insulation or connectors. Droppings are not guaranteed to permanently corrode a panel, but repeated deposits can etch or discolor surfaces and create localized hot, shaded areas.
Bird proofing should occur before nesting becomes established. A contractor should distinguish an empty nest from an active nest, because wildlife protection laws vary by country, state, and species. Homeowners should not seal birds, chicks, or eggs inside the array.
How Much Production Can Cleaning Restore?
Solar panel cleaning can restore less than 1% on a lightly soiled, frequently rained-on array and more than 10% on a heavily contaminated array. The often-quoted 10%-25% gain describes a possible severe-soiling result, not a reliable annual expectation for every installation.
The National Renewable Energy Laboratory has reported that soiling losses vary by site and weather, with rainfall, particle composition, panel tilt, and cleaning practices driving the result. A 2013 NREL analysis of photovoltaic performance found that soiling rates commonly differed substantially between locations, which is why a fixed “cleaning restores 25%” promise is unreliable.
Bird droppings deserve separate treatment. One dropping can shade a small cell area disproportionately because cells are electrically connected in strings. Bypass diodes can limit some hotspot effects, but they do not make persistent droppings harmless.
The most defensible way to estimate benefit is to compare production with historical weather-normalized data. Review inverter monitoring, daily kilowatt-hours, irradiance if available, and nearby unsoiled modules. A sudden drop in output with clean glass may indicate wiring, inverter, shading, or module failure rather than dirt.
| Condition | Typical output effect | Recommended response | Evidence to check |
|---|---|---|---|
| Light dust after regular rain | 0%-3% loss | Monitor production | Visual inspection and inverter history |
| Pollen film or urban grime | 2%-8% loss | Clean if access is safe | Yellow film, lower daily yield |
| Desert dust after dry weather | 5%-15% loss | Schedule cleaning | Dust thickness and rainfall history |
| Heavy bird droppings | 5%-20% localized or array loss | Spot-clean promptly | Droppings, hotspots, string imbalance |
| Thick mud, ash, or salt residue | 10%-25% possible loss | Professional cleaning | Opaque deposits and persistent decline |
These ranges are practical planning ranges, not guaranteed performance results. Module age, inverter clipping, shading, and seasonal sunlight can mask the effect.
How Solar Panels Are Cleaned
A professional solar panel cleaning visit normally takes 1-3 hours for a standard home and uses a soft brush with purified water. The technician first assesses roof access and module condition, removes loose debris, wets and agitates the glass, rinses residue away, and checks the array after cleaning.
Deionized water is useful because dissolved minerals do not dry into calcium or magnesium spots. A water-fed pole can deliver purified water from the ground or a stable roof position, reducing ladder and walking risks. A brush should be soft, non-abrasive, and suitable for photovoltaic glass.
Panel shutdown requires care. Turning off an inverter does not remove all DC voltage from illuminated modules, and many systems remain electrically live on the module side during daylight. Homeowners should not disconnect connectors or enter restricted electrical areas. The cleaning contractor should follow the module, inverter, and workplace safety instructions.
Safe Cleaning Process
- Review the manufacturer instructions. Check whether the module maker restricts detergents, pressure, brushes, or access. Record cracked glass, loose frames, exposed cables, and failed seals before washing.
- Choose a cool period. Early morning or late afternoon reduces rapid temperature change. Do not direct cold water onto hot glass in intense sun.
- Remove loose debris. Use a soft dry brush for leaves, twigs, feathers, and loose nest material. Do not drag grit across the surface.
- Apply purified water. Use low-pressure deionized or suitably low-mineral water. Avoid high-pressure jets aimed at frame joints, cable entries, or seals.
- Agitate contamination gently. Use a photovoltaic-safe brush and moderate pressure. Hardened droppings may need soaking rather than scraping.
- Rinse and inspect. Rinse until no detergent or dirt remains, then check for spots, cracks, delamination, hot areas, and remaining shade.
You will know the cleaning worked when the glass dries without mineral spotting and monitoring data improves under comparable sunlight. The common mistake is judging success from a brighter appearance alone.
Which Bird Barrier Works Best?
UV-resistant galvanized or stainless steel mesh attached to the panel frame with manufacturer-compatible clips is usually the most effective general-purpose bird barrier. Mesh blocks the physical entry route while preserving a ventilated cavity, but its performance depends on continuous perimeter coverage and secure attachment.
The mesh should fit tightly against the roof without crushing tiles, blocking drainage, or contacting vulnerable cables. Contractors commonly use black PVC-coated mesh because it blends with panel shadows, while stainless steel offers better corrosion resistance in coastal environments. Plastic skirts can look cleaner but may age, crack, or reduce airflow if poorly designed.
Bird spikes are a limited solution. They can discourage landing on a ledge or roof ridge, but they do not close the underside gap and therefore should not replace perimeter exclusion.
| Barrier type | Typical material | Expected service life | Main limitation | Best application |
|---|---|---|---|---|
| PVC-coated steel mesh | Galvanized steel, PVC coating | 8-15 years | Coating can degrade in severe sun | Most residential arrays |
| Stainless steel mesh | 304 or 316 stainless steel | 12-20 years | Higher material cost | Coastal or corrosive locations |
| Polycarbonate skirt | UV-stabilized plastic | 5-10 years | Possible ventilation restriction | Low-profile arrays with approved airflow |
| Bird spikes | Stainless steel or polycarbonate | 5-15 years | Does not block underside entry | Roof edges and landing points |
| Netting enclosure | UV-resistant polymer | 3-10 years | Visible and vulnerable to gaps | Complex structures or temporary control |
Manufacturer warranty terms need review before installation. Drilling into a module frame, roof flashing, or mounting rail can create leak and warranty issues. Non-penetrating clips are preferable, but clips must be compatible with the panel frame and must not pinch cables or interfere with module expansion.
What Is the Professional Installation Process?
Professional bird proofing normally follows six stages: inspection, lawful nest assessment, debris removal, cleaning, perimeter measurement, and non-penetrating barrier installation. A typical residential job takes 2-5 hours when the array is accessible and no major wiring or roof repairs are needed.
The contractor should photograph the underside before work begins. Those images establish whether damaged connectors, chewed insulation, broken tiles, or blocked drains existed before installation.
Active nests require special handling. Local rules may prohibit disturbing certain species or nests during breeding periods. A responsible contractor pauses the job, identifies the issue, and recommends a compliant removal or wildlife-control route.
Mesh is cut around corners, hips, tile profiles, conduit, and roof penetrations. The finished barrier should have no continuous opening large enough for the target bird to pass through. A gap measurement alone is not enough: birds can exploit loose corners, lifted mesh, and openings around cable routes.
| Installation stage | Typical duration | Required check | Failure risk if skipped |
|---|---|---|---|
| Roof and array inspection | 20-40 minutes | Cables, nests, tiles, access | Damage hidden under debris |
| Nest and debris handling | 20-90 minutes | Active nest status | Wildlife violation or trapped animals |
| Under-array cleaning | 20-60 minutes | Dropping and odor removal | Contamination remains |
| Mesh measurement and cutting | 20-45 minutes | Full perimeter and corners | Short sections create entry gaps |
| Clip and mesh installation | 60-180 minutes | Airflow, drainage, cable clearance | Loose barrier or roof damage |
| Final inspection and photos | 15-30 minutes | Continuous exclusion line | Defects missed at handover |
Panels usually do not need removal for standard bird proofing. Removal may be necessary when installers cannot access a damaged section, when the array has a design fault, or when wiring requires repair.
How Often Should Panels Be Serviced?
Most homes need visual inspection twice a year and cleaning once a year or less, while dusty agricultural, construction, coastal, and wildfire-affected sites may need cleaning every 3-6 months. Bird proofing is usually a one-time installation followed by an annual perimeter inspection.
Rainfall is a better scheduling variable than a universal calendar. A steep array in a rainy climate may remain acceptably clean for years, while a shallow array under trees can accumulate pollen and organic debris within weeks.
Schedule sooner when production falls against comparable weather, droppings cover active cells, nearby construction creates dust, or salt deposits appear. Avoid cleaning solely because a contractor recommends a monthly package without showing production or contamination evidence.
| Site environment | Cleaning interval | Bird inspection interval | Special trigger |
|---|---|---|---|
| Rainy suburban roof | 12-24 months | Every 12 months | Visible droppings or nest material |
| Dry urban area | 6-12 months | Every 6-12 months | Dust film and output decline |
| Agricultural or desert site | 3-6 months | Every 6 months | Harvest dust, irrigation minerals |
| Coastal property | 6-12 months | Every 6-12 months | Salt haze and corrosion |
| Construction or wildfire zone | 1-3 months initially | Every 3-6 months | Ash, concrete dust, damaged mesh |
What Tools and Materials Are Used?
Water-fed carbon-fiber poles, photovoltaic-safe brushes, deionization filters, roof-safety equipment, inspection cameras, and non-penetrating mesh clips cover most residential jobs. Robotic cleaners are more practical on large commercial arrays with uniform layouts than on small roofs with obstructions.
A DI system should be tested rather than assumed to be effective. A conductivity meter can confirm whether the final rinse water is sufficiently low in dissolved solids for spot-free drying. Exact acceptable readings depend on the equipment and local water conditions, but a contractor should be able to explain the measurement.
| Equipment | Typical specification | Suitable scale | Main trade-off |
|---|---|---|---|
| Water-fed pole | 30-60 feet reach | Residential roofs | Lower reach control in wind |
| Soft solar brush | 12-18 inch head | Small and medium arrays | Manual labor |
| DI resin tank | 0-20 ppm output target | Residential and light commercial | Resin replacement cost |
| Rotary brush | Water-powered or battery-driven | 25-200 panels | Greater equipment cost |
| Crawler robot | Soft rollers, remote control | Large flat commercial roofs | Poor fit for steep or irregular roofs |
How Much Do Cleaning and Bird Proofing Cost?
Typical residential solar cleaning costs $150-$350, bird proofing costs $500-$1,200, and a combined visit costs approximately $600-$1,400 before major repairs. Commercial pricing often uses per-panel cleaning rates or linear-foot bird-proofing rates, with access, array geometry, and safety systems driving the final quote.
Prices rise when a roof is steep, fragile, tall, obstructed, or difficult to reach. Nest removal, disinfecting, broken tiles, chewed wiring, scaffolding, lift rental, and panel removal should appear as separate line items.
| Service | Typical residential price | Typical commercial price | Typical duration |
|---|---|---|---|
| Solar cleaning | $150-$350 | $3-$8 per panel | 1-3 hours |
| Bird proofing | $500-$1,200 | $10-$20 per linear foot | 2-5 hours |
| Combined service | $600-$1,400 | Custom volume quote | 3-8 hours |
| Wiring repair after nesting | $200-$1,500+ | Site-specific | 1-8 hours |
| Scaffolding or lift access | $300-$1,500 add-on | Project-specific | 1-3 days |
These are typical planning ranges in US-dollar equivalents, not universal rates. Obtain a written quote that states mesh material, clip method, warranty period, nest handling, cleaning method, and whether electrical repairs are excluded.
DIY or Professional Service?
Professional service is the safer choice when panels are on a pitched roof, above one story, near overhead conductors, or surrounded by active nests. DIY cleaning is reasonable only when the array can be reached from the ground or a stable, compliant access point without walking on modules or handling electrical connections.
A garden hose may be acceptable for a quick low-mineral rinse in some areas, but hard water can leave deposits. Tap water is not automatically damaging, yet mineral-rich water that dries on the glass can create persistent spotting and may require later polishing or professional treatment.
Homeowners should not pressure-wash modules, scrape droppings with metal tools, drill panel frames, disconnect MC4 connectors, or seal an active nest inside the array. The fall and electrical hazards outweigh modest labor savings on many roofs.
A Practical Decision Rule
Choose professional cleaning when roof access requires climbing, when glass is cracked, or when output has fallen without an obvious dirt explanation. Choose professional bird proofing when birds are nesting, mesh must follow complex tile profiles, or wiring damage is possible.
DIY ground-level rinsing can handle loose dust, but it cannot substitute for an electrical inspection or a complete perimeter barrier. The limitation matters: cleaning cannot repair a failed bypass diode, damaged optimizer, corroded connector, or shaded module.
Common Problems and How to Fix Them
White Spots Remain After Cleaning
White spots usually indicate mineral residue or detergent that dried on the glass. Rewash the cool modules with verified low-mineral water and a clean photovoltaic brush; do not use abrasive powder or household glass polish.
Birds Return After Mesh Installation
Birds commonly return because a corner, cable route, roof transition, or short mesh section remains open. Inspect the entire perimeter, not only the location where birds are visible, and have the installer reinforce gaps with compatible UV-resistant clips or mesh.
Output Stays Low After Cleaning
Persistent low production after cleaning points toward shading, inverter faults, module degradation, wiring damage, or monitoring errors rather than remaining dirt. Compare individual string data, inspect alarms, and call a qualified solar technician before opening electrical enclosures.
Droppings Keep Accumulating on the Glass
Bird proofing blocks access beneath modules but cannot prevent birds from landing on top or on nearby roof features. Address roosting ledges, trees, vents, and neighboring structures separately; spikes may help those landing points but will not replace underside mesh.
Roof Leaks Appear After Proofing
A leak after installation may result from damaged tiles, displaced flashing, inappropriate fasteners, or blocked drainage. Stop attributing the leak to the panels automatically, document the location after rainfall, and require the installer to inspect every attachment and roof transition.
Nest Removal Reveals Damaged Wiring
Chewed insulation, exposed conductor, burn marks, melted connectors, or inverter ground-fault alarms require immediate electrical assessment. Do not tape a damaged DC cable as a permanent repair or restart the system after visible conductor damage.
Which Service Plan Fits?
Suburban homeowners with pigeons should combine an inspection, lawful nest assessment, debris removal, mesh installation, and panel cleaning. Annual perimeter checks are usually sufficient once the barrier has passed its first wet and windy season.
Agricultural and desert properties often gain more from a recurring cleaning plan than from bird proofing. Install exclusion only when inspection confirms nesting or repeated access, because unused mesh adds cost without improving output.
Coastal owners should prioritize corrosion-resistant fasteners and 316 stainless mesh where salt exposure is severe. The barrier should be inspected for coating failure, rust staining, and loosened clips at least annually.
Commercial operators should track soiling through inverter data, revenue loss, and production benchmarks. Robotic cleaning can reduce labor on large, flat arrays, but edge inspection, bird control, and electrical maintenance still require human assessment.
Newly installed systems should be checked against the installation warranty before either service. Some manufacturers permit cleaning but restrict chemicals, pressure, walking, or attachment methods.
FAQ
Can rain clean solar panels effectively?
Rain removes loose dust from tilted solar panels but rarely removes baked-on bird droppings, pollen film, salt, ash, or oily urban residue. Rain can also concentrate minerals along the lower frame. Inspect the glass and compare production data instead of assuming rainfall has restored the array.
Do solar panels need to be removed for bird proofing?
Most solar panels do not need removal for standard perimeter mesh installation. Removal becomes appropriate when technicians cannot reach a damaged section, wiring needs repair, the mounting layout has an access defect, or the roof requires reconstruction. Any removal should be performed by a qualified solar installer.
Does bird proofing reduce panel efficiency?
Correctly installed mesh should not reduce photovoltaic efficiency because it blocks underside access while preserving designed airflow. Solid skirts or poorly fitted barriers can restrict ventilation, contact cables, obstruct drainage, or create shading. The installer should maintain clearances specified by the panel and racking manufacturers.
Are bird spikes better than mesh?
Bird spikes are better for stopping landing on a narrow ledge, ridge, or roof feature, while mesh is better for blocking entry beneath panels. Spikes do not close the underside cavity, so they are not a substitute for perimeter exclusion when nesting is the problem.
Will cleaning remove permanent bird-dropping damage?
Cleaning removes surface contamination but cannot reverse etched glass, coating damage, corrosion, delamination, or a hotspot caused by prolonged shading. A technician should inspect affected modules after cleaning and use inverter or thermal data to determine whether replacement is warranted.
Is solar panel cleaning worth the price?
Solar panel cleaning is financially worthwhile when expected production recovery exceeds the service cost and the roof can be accessed safely. Heavy dust, ash, salt, or droppings support cleaning; light dust on a rain-washed array may not. Bird proofing becomes worthwhile when nesting threatens wiring, drainage, roofing, or recurring maintenance costs.
The Bottom Line
Solar panel cleaning and bird proofing solve different problems and should be specified separately, even when performed during one visit. Clean panels address soiling and droppings; a ventilated, non-penetrating barrier prevents birds from returning beneath the array. Use production data and visible contamination to time cleaning, and use evidence of nesting to justify proofing. Always inspect wiring, roof condition, wildlife restrictions, and manufacturer requirements before work begins.


