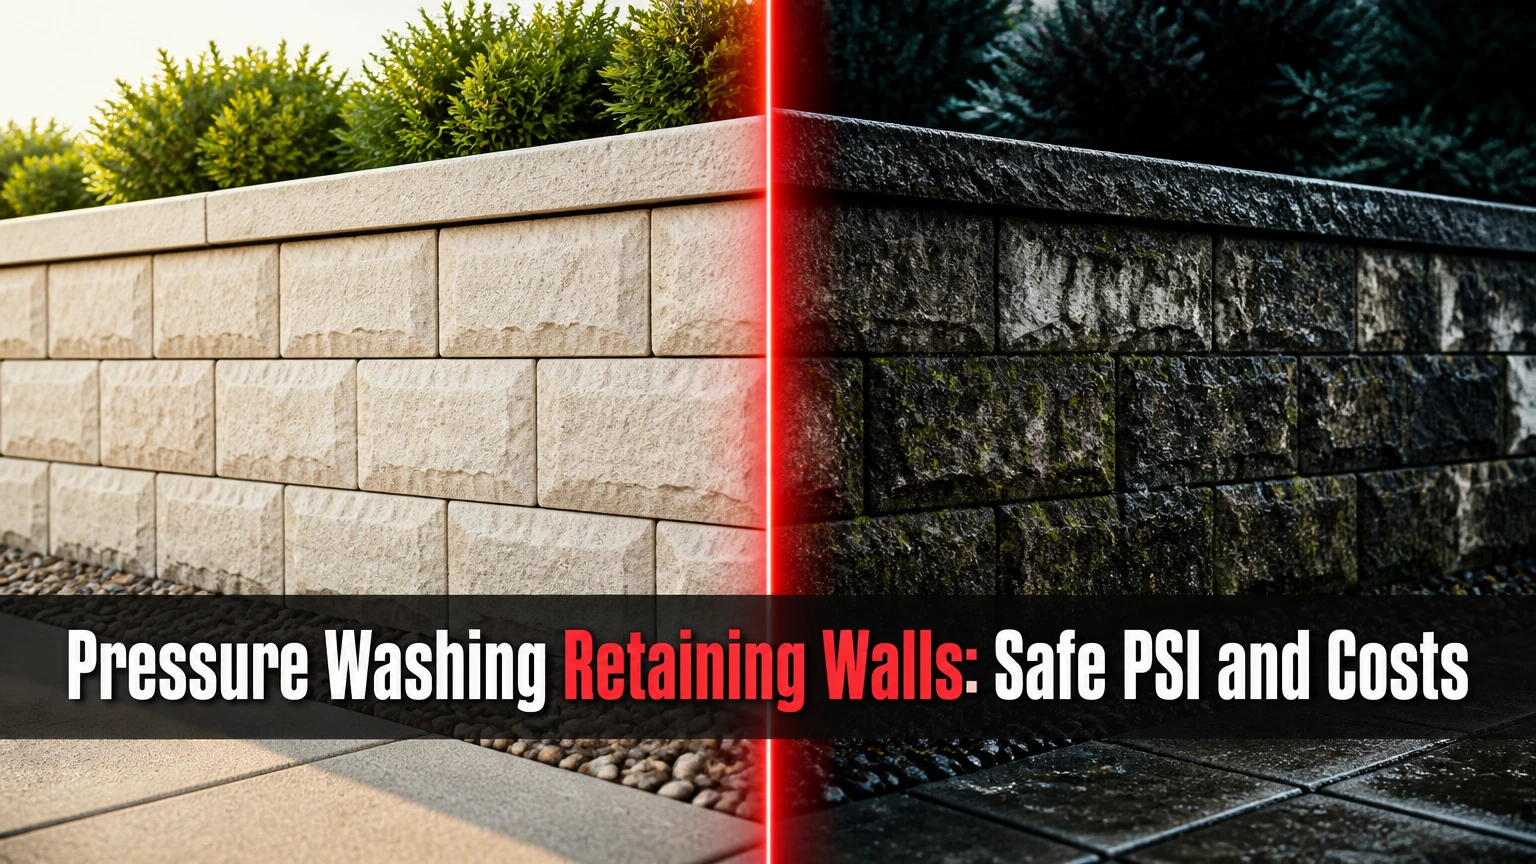
Pressure washing retaining walls removes soil film, algae, mold, lichen, efflorescence, and some stains when the wall is structurally sound and the pressure matches its material. Start with a low-pressure test area, use detergent for organic growth, keep the nozzle moving, and never wash a bowing wall, loose mortar, or exposed drainage system aggressively.
Key Facts at a Glance
Concrete retaining-wall blocks commonly clean safely at approximately 800-2,000 PSI, not automatically 3,000 PSI.
Soft stone, weathered brick, and wood usually require 300-1,000 PSI and a wide fan nozzle.
Sodium hypochlorite can remove algae and mold, but concentration, runoff, plants, and surface compatibility determine safety.
A 25-degree nozzle provides more cleaning force than a 40-degree nozzle; a 0-degree nozzle can permanently gouge masonry.
Typical professional pricing is $0.50-$1.50 per square foot, with many small projects subject to a $300-$900 minimum.
Cleaning cannot correct wall movement, poor drainage, failed footing, displaced blocks, or eroded joints.
Can You Pressure Wash a Retaining Wall Safely?
You can pressure wash a retaining wall safely when the wall has stable geometry, intact joints, adequate drainage, and a compatible surface. The safest method combines chemical pretreatment with controlled rinsing, because detergent loosens organic films while water removes the residue.
Retaining walls differ from ordinary vertical siding. A retaining wall resists lateral soil pressure, and water behind it increases that load. Washing does not normally destabilize a sound wall by itself, but concentrated spray can remove joint material, expose filter fabric, force water through cracks, or conceal movement under a clean surface.
The U.S. Environmental Protection Agency states, “The key to mold control is moisture control.” That principle matters here: removing green growth without correcting leaking irrigation, blocked weep holes, or persistently wet soil usually produces a short-lived result.
When Should You Not Wash?
Do not pressure wash a wall that is visibly bowing, leaning, separating, rotating, or losing blocks. Stop if a crack widens, mortar falls away under light brushing, the footing is undermined, or soil is escaping through joints.
Also postpone cleaning when temperatures may freeze within 24-48 hours, when runoff could enter a pond or storm drain, or when the surface contains unknown lead paint. A professional should inspect segmental block walls with displaced courses and masonry walls with horizontal cracks.
What PSI and Nozzle Should You Use?
Use the lowest pressure that removes the loosened residue, beginning around 500-800 PSI on a test patch and increasing gradually. A 40-degree nozzle is the safest starting point for delicate masonry and wood, while a 25-degree nozzle may suit sound concrete after testing.
PSI alone does not describe cleaning capacity. Gallons per minute controls rinsing volume, while nozzle orifice, spray distance, temperature, detergent, and dwell time affect the result. A 2,000-PSI machine can damage a surface at close range, whereas a lower-pressure machine with effective detergent may clean more evenly.
| Wall material | Starting pressure | Practical upper range | Nozzle and distance |
|---|---|---|---|
| Sound poured concrete | 1,000 PSI | 2,000-2,500 PSI | 25-degree, 12-18 inches |
| Concrete block or pavers | 800 PSI | 1,500-2,000 PSI | 25-40 degree, 12-18 inches |
| Sound granite or dense stone | 800 PSI | 1,500-2,000 PSI | 25-degree, 12-18 inches |
| Limestone or sandstone | 300 PSI | 800-1,000 PSI | 40-degree, 18-24 inches |
| Older brick and mortar | 300 PSI | 800-1,000 PSI | 40-degree, 18-24 inches |
| Pressure-treated wood | 300 PSI | 800-1,000 PSI | 40-degree, 18-24 inches |
These are conservative starting ranges, not guaranteed settings. A weathered concrete block can fail at a pressure that a new slab tolerates. Never use a red 0-degree tip on a retaining wall, and avoid turbo nozzles until a trained operator has confirmed the substrate can tolerate concentrated impact.
How Do Pressure and Flow Remove Dirt?
Pressure supplies impact energy, and flow carries loosened material away from the wall. Detergent reduces the bond between organic residue and the surface, so a 1.2-GPM electric washer can produce a cleaner result than a powerful machine used without pretreatment.
Keep the wand 12-18 inches away for sound masonry and farther away for soft stone or wood. Hold the spray at roughly 30-45 degrees across mortar joints rather than directly into them. Overlap each horizontal pass by about 25-30 percent to prevent striping.
Which Cleaner Matches the Stain?
Organic growth responds to an appropriate biocidal cleaner, while efflorescence requires dry brushing and a masonry-compatible mineral deposit treatment. Oil, rust, irrigation scale, and soot need different chemistry, so one solution should not be applied to every stain.
Identify the stain before choosing a chemical. Green or black films are often algae, mold, or lichen; white powder is usually efflorescence; orange marks may be iron; dark glossy spots near a driveway can indicate oil. Unknown discoloration deserves a test patch.
| Stain or deposit | First treatment | Typical dwell or contact | Main limitation |
|---|---|---|---|
| Green algae | Diluted sodium hypochlorite or labeled outdoor biocide | 5-10 minutes | Protect plants and rinse thoroughly |
| Black mold or mildew | Labeled biocide with surfactant | 10-15 minutes | May require repeat application |
| Moss or lichen | Biocide, then gentle brushing | 10-20 minutes | Do not tear rooted growth from loose joints |
| White efflorescence | Dry nylon brushing, then masonry efflorescence cleaner | 2-5 minutes | Acid can damage limestone and mortar |
| Oil or grease | Alkaline degreaser and absorbent | 10-20 minutes | May leave a shadow in porous concrete |
| Rust or iron staining | Oxalic or phosphoric product labeled for masonry | Product label | Test for color change first |
| Irrigation scale | Mild, compatible mineral cleaner | 2-5 minutes | Hard-water deposits may need repeated treatment |
Sodium hypochlorite is effective against organic growth, but the final concentration must follow the product label and substrate requirements. A commonly used field range for exterior masonry is approximately 0.5-1.5 percent available chlorine at the surface, though heavily contaminated areas may require a different labeled dilution.
Never mix bleach with acids, ammonia, or other cleaners. Use a dedicated downstream injector or pump sprayer, wear chemical-resistant gloves and eye protection, and control overspray. Vinegar is not a universal efflorescence solution, and muriatic acid diluted 1:10 is not a safe default for retaining walls because it can etch concrete, attack mortar, corrode metal, and dissolve limestone.
How Do You Treat Efflorescence?
Treat efflorescence by removing dry salts first, identifying the moisture source, and using a compatible cleaner only if deposits remain. High-pressure water alone can dissolve salts and draw additional minerals to the surface as the wall dries.
Brush the deposit with a stiff nylon brush, not a wire brush, then collect the powder. Check sprinklers, cap drainage, soil contact, and water migration behind the wall. If a cleaner is necessary, test a small area and follow the manufacturer’s dilution and neutralization instructions.
Do not acid-wash calcium-based stone. Limestone, travertine, and some sandstone can become lighter, rougher, or permanently etched after acidic treatment.
How Do You Pressure Wash Retaining Walls?
A safe retaining-wall cleaning process takes approximately 2-6 hours for a typical 50-foot residential wall, including setup, pretreatment, rinsing, and cleanup. The most important factor is not machine size; it is matching chemical action and spray force to the wall’s material and condition.
Step 1: Inspect the Wall and Drainage
Walk the entire wall and record cracks, leaning, bulges, open joints, loose caps, displaced blocks, exposed footing, clogged weep holes, and wet areas. Check whether downspouts or irrigation heads discharge behind or directly onto the wall.
Lightly probe suspicious mortar with a screwdriver. If the joint powders or falls away, repair it before washing. New mortar commonly requires about 28 days to cure, but the repair product’s instructions control the actual waiting period.
Success checkpoint: The wall is stable, joints resist light probing, and drainage outlets remain open.
Common mistake: Treating structural movement as a cosmetic stain.
Step 2: Test the Surface
Choose a shaded, inconspicuous area measuring about 1-2 square feet. Wet the area, apply the intended cleaner, rinse with the intended nozzle, and let it dry completely before judging color or damage.
Look for etched spots, color loss, loosened sand, raised wood fibers, mortar loss, or a visible clean stripe. Test sealers separately because some products darken porous stone or create an uneven sheen.
Success checkpoint: The test patch is clean without surface texture change after drying.
Common mistake: Testing only the detergent while skipping the pressure test.
Step 3: Protect Plants, Utilities, and Runoff Paths
Water nearby plants before applying chemicals, cover sensitive foliage temporarily, and move furniture, toys, and pet bowls. Tape or shield outdoor electrical receptacles, low-voltage lighting connections, and irrigation controls.
Block chemical runoff from ponds, streams, storm drains, and neighboring property with temporary berms or absorbent materials where local rules permit. Never allow concentrated bleach or degreaser to collect in planting beds.
Success checkpoint: Overspray has a controlled direction, and clean water is available for immediate plant rinsing.
Common mistake: Covering plants with plastic in direct sun for hours, which can trap heat and cause leaf damage.
Step 4: Apply the Cleaner
Pre-wet the wall with clean water, then apply detergent from the bottom upward in overlapping sections. Bottom-up application reduces dirty vertical trails, while top-down chemical application can create concentrated runoff lines.
Use a low-pressure injector or pump sprayer. Let the cleaner dwell for approximately 5-15 minutes, keeping the surface wet and working in sections small enough to rinse before drying.
Success checkpoint: Organic film softens, dark deposits lighten, and the cleaner remains wet.
Common mistake: Applying stronger chemical instead of extending safe dwell time.
Step 5: Rinse From the Top Down
Rinse from the top of the wall downward with a 25- or 40-degree nozzle, moving horizontally at a steady pace. Keep the tip 12-18 inches away from sound masonry and 18-24 inches away from soft stone, old brick, or wood.
Use the least force that removes residue. Do not hold the spray on a joint, crack, cap edge, or drainage opening. A second gentle rinse is safer than one aggressive pass.
Success checkpoint: Rinse water runs clear, no horizontal bands remain, and joint material stays in place.
Common mistake: Moving the wand too quickly near the bottom, where dirty runoff accumulates.
Step 6: Flush, Neutralize, and Dry
Flush plants, hardscape, and soil with clean water after using an alkaline or chlorine-based cleaner. If an acidic product was used and its label requires neutralization, follow that label rather than improvising with baking soda.
Allow the wall to dry for 24-72 hours before sealing or evaluating recurring efflorescence. Drying time depends on sun, wind, porosity, humidity, and wall drainage.
Success checkpoint: No chemical odor, slippery residue, or standing runoff remains.
Common mistake: Sealing a damp wall and trapping moisture behind the surface.
How Do Materials Change the Method?
Concrete block and dense poured concrete tolerate more mechanical cleaning than old brick, soft stone, or wood, but porous block can retain moisture and salts. Material age, surface coating, joint condition, and local climate matter as much as the material label.
| Surface | Primary risk | Preferred cleaning method | Sealer or finish timing |
|---|---|---|---|
| Segmental concrete block | Surface erosion and joint-sand loss | Detergent plus 800-1,500 PSI rinse | After 48-72 dry hours |
| Poured concrete | Etching and tiger striping | Pretreat plus 1,000-2,000 PSI rinse | After moisture test passes |
| Brick veneer | Spalled faces and mortar erosion | Low-pressure soft wash | Only after mortar is sound |
| Granite or slate | Etching at seams and color change | Neutral cleaner, controlled rinse | Optional penetrating sealer |
| Limestone or sandstone | Gouging and acid dissolution | Low-pressure neutral wash | Stone-specific product only |
| Pressure-treated wood | Fuzzing, splintering, gouging | 300-800 PSI wide fan | After several dry days |
Pressure-treated wood and railroad ties may appear cleaner after washing, but the process can raise fibers and expose weathered surfaces. Sanding or brightening may be needed after drying, and washing cannot restore timber that has internal rot.
Is Soft Washing Better Than Pressure Washing?
Soft washing is usually better for algae, mold, and lichen on retaining walls because chemical dwell time does most of the cleaning at low pressure. Pressure rinsing remains useful for removing soil, loose residue, and detergent, but it should not be the primary force on fragile masonry.
| Method | Typical pressure | Best use | Main drawback |
|---|---|---|---|
| Garden-hose rinse | 40-80 PSI | Loose dust and final plant flushing | Limited stain removal |
| Soft wash | 50-300 PSI | Organic growth on sound surfaces | Chemical runoff and plant risk |
| Controlled pressure wash | 500-2,000 PSI | Ground-in soil and durable concrete | Can erode joints or texture |
| Hot-water wash | 800-2,000 PSI | Oil, soot, commercial grime | Higher equipment and burn risk |
Soft washing is not automatically safe. Strong chlorine solution can discolor fabrics, harm foliage, corrode metal, and damage coatings even when spray pressure is low. Pressure washing is also not automatically superior because greater impact cannot correct a biological or mineral cause.
What Problems Appear After Cleaning?
The most common post-cleaning problems are striping, recurring efflorescence, mortar loss, wood fuzzing, and rapid regrowth. Each symptom points to a different failure, so repeating the same pressure pass often makes the defect worse.
Tiger Striping
Tiger stripes result from inconsistent wand distance, uneven overlap, dried detergent, or a nozzle that is too narrow. Re-rinse with a wider fan at a consistent distance, or apply a compatible detergent and work smaller sections.
Crumbling Mortar
Crumbling mortar indicates excessive impact or pre-existing deterioration. Stop immediately, photograph the affected area, remove only loose material after drying, and arrange repointing with compatible mortar before further washing.
White Powder Returns
Returning efflorescence indicates ongoing moisture movement, not necessarily an incomplete rinse. Brush off dry salts, inspect drainage and irrigation, and avoid sealing until the moisture source is addressed.
Stains Become More Visible
Cleaning can expose differences in weathering, previous repairs, or replacement blocks. A wall may be cleaner but less uniform because older sections absorbed contaminants differently. Clean complete visual sections rather than isolated rectangles.
Mold Returns Within Weeks
Fast regrowth usually means shade, irrigation overspray, blocked drainage, or persistent dampness remains. Correct the water source, improve airflow where possible, and use a labeled maintenance treatment rather than increasing pressure.
How Much Does It Cost and How Long Does It Take?
Professional retaining-wall cleaning typically costs $0.50-$1.50 per square foot, with a common small-project minimum of $300-$900. Access, height, stain type, chemical handling, water recovery, repairs, and regional labor rates can move the quote outside that range.
| Project condition | Typical duration | Typical professional price | Cost driver |
|---|---|---|---|
| 50-foot, 2-foot sound block wall | 2-4 hours | $300-$600 | Minimum service charge |
| 50-foot, 4-foot algae-covered wall | 3-6 hours | $450-$900 | Pretreatment and rinsing |
| Old brick with mortar repairs | 1-2 days including cure planning | $600-$1,500+ | Inspection and repointing |
| Restricted-access hillside wall | 4-8 hours | $700-$1,800+ | Hose access and runoff control |
| Commercial wall with oil staining | 4-8 hours | $1,000-$3,000+ | Hot water and wastewater handling |
DIY rental commonly costs $40-$100 per day for a pressure washer, plus $20-$75 for cleaner, protective equipment, hoses, and plant protection. A 50-foot wall may take a homeowner 4-8 hours because setup, repositioning, testing, and cleanup consume more time than the actual rinsing.
Water use depends on flow. A 2.5-GPM machine running for two hours consumes approximately 300 gallons before pauses, while a 4-GPM machine consumes about 480 gallons. Local water restrictions and runoff rules should be checked before work begins.
Should You Hire a Professional?
Hire a professional when the wall is taller than 6 feet, difficult to access, adjacent to a pond or storm drain, made from historic masonry, coated with unknown paint, or showing movement. A professional should document pre-existing defects and identify the cleaning chemistry before starting.
DIY cleaning is reasonable for a short, sound concrete-block wall with manageable runoff and mild organic staining. It is a poor choice when the owner cannot perform a test patch, control chemical overspray, or distinguish efflorescence from structural cracking.
Ask a contractor for the intended PSI, nozzle, cleaner, dwell time, runoff plan, insurance, and repair exclusions. A quote that says only “pressure wash wall” does not establish that the operator understands retaining-wall drainage or masonry risks.
What Should Happen After Cleaning?
A penetrating silane-siloxane sealer can reduce water absorption on compatible concrete and masonry, but it cannot waterproof a wall with defective drainage. Film-forming coatings may trap moisture, peel, or conceal cracking, so they are generally less forgiving on retaining walls.
Seal only after the substrate is clean, dry, salt-free, and structurally sound. Follow the product’s moisture limit and coverage rate; many products require a dry period of 24-72 hours, while porous stone may need longer.
Sealing does not guarantee that algae will stop growing. Shaded, wet walls still support organic growth, although reduced absorption can make maintenance easier.
The Bottom Line
Pressure washing retaining walls works best as a controlled cleaning system, not as maximum-force blasting. Inspect structure and drainage first, use detergent for organic growth, begin below 1,000 PSI on an inconspicuous test patch, rinse with a wide nozzle, and stop immediately if mortar, stone, wood fibers, or wall geometry deteriorate.
What Is the Best Way to Clean a Mossy Retaining Wall?
The best method is to apply a labeled biocidal cleaner at low pressure, keep it wet for 5-15 minutes, brush stubborn moss gently, and rinse with a 40-degree nozzle. Do not pull rooted moss from loose joints because the growth may be masking missing mortar or unstable blocks.
Can Pressure Washing Remove Paint From a Retaining Wall?
Pressure washing can remove loose paint, but it may also strip sound coatings, expose masonry, and spread hazardous chips. Test for lead on older painted surfaces, follow local containment rules, and use a qualified contractor when paint is flaking or the wall predates modern lead-paint restrictions.
How Often Should a Retaining Wall Be Cleaned?
Most sound residential walls need cleaning every 1-3 years, while shaded walls beside irrigation may need annual light treatment. Cleaning frequency should follow moisture and biological growth, not a fixed calendar, because a dry sunny wall accumulates contaminants much more slowly.
Can I Use a Surface Cleaner on a Vertical Wall?
A conventional flat-surface cleaner is designed for horizontal surfaces and may be unsafe or ineffective on a vertical retaining wall. Use a wide-fan wand technique or equipment specifically rated for vertical masonry, maintaining even distance and preventing concentrated spray at joints.
Why Does My Retaining Wall Smell After Washing?
Odor after washing usually comes from decomposing algae, trapped organic material, stagnant drainage, or residual chemical solution. Flush thoroughly, improve drainage, and allow ventilation and drying; persistent odor behind the wall may indicate wet soil or blocked drainage rather than a surface-cleaning problem.
Does Pressure Washing Fix a Leaning Retaining Wall?
Pressure washing cannot fix a leaning retaining wall. Leaning, bulging, separated courses, horizontal cracking, or soil discharge require structural assessment, and aggressive washing can remove evidence or worsen loose joints before repair work begins.


