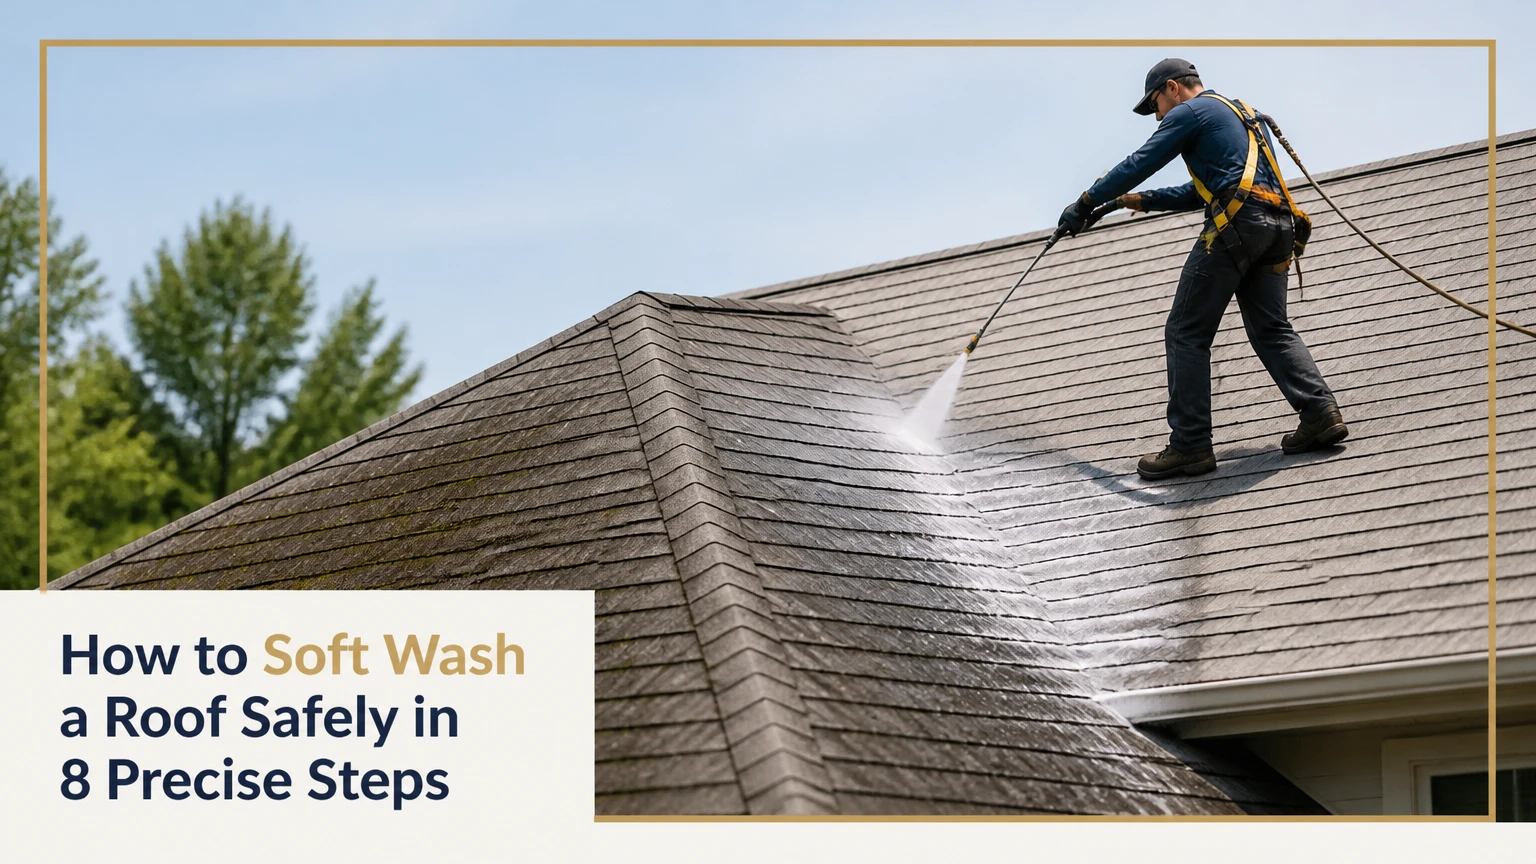
To soft wash a roof, inspect the surface, calculate a 3%-4% sodium hypochlorite mix, protect plants, apply it at low pressure, allow 15-20 minutes of dwell, rinse, and flush the equipment; expect 2-4 hours, moderate difficulty, and success depends most on runoff control and preventing the solution from drying.
Before You Start
Time required: 2-4 hours for a typical 2,000-square-foot roof, including setup, treatment, rinsing, and cleanup. A large or steep roof can take longer.
Difficulty: Moderate to high. This task combines chemical handling, roof access, fall hazards, pump operation, and runoff management. Hire a roof-cleaning professional if the roof is steep, brittle, wet, damaged, more than one story above ground, or difficult to access safely.
Typical cost: About $150-$400 for a homeowner equipment-and-chemical setup if you already have safe ground access, or approximately $400-$1,200 for professional cleaning. Local rates vary with roof size, height, access, growth, and roof material.
Tools and Materials Checklist
| Item | Quantity or specification | Typical cost | Purpose |
|---|---|---|---|
| Soft-wash pump | 12V, gas, or air-diaphragm; 60-150 PSI operating range | $100-$900 | Delivers high volume without blasting granules |
| Bleach-compatible hose | 1/2-inch or 5/8-inch PVC, All-Clear, or braided hose | $40-$150 | Carries the cleaning solution |
| Spray gun and nozzles | Poly gun; 0040 or 0050 shooter; 4040 fan | $30-$150 | Reaches the ridge and controls close spray |
| Sodium hypochlorite | 15 gallons of 12.5% solution per 50-gallon batch | $60-$150 | Kills algae, moss, and lichen |
| Water | 35 gallons per 50-gallon batch, plus rinse water | Varies | Dilutes chemical and protects plants |
| Roof surfactant | 16-32 ounces per 50-gallon batch, per label | $20-$60 | Helps the solution cling to shingles |
| Garden hose | One active supply with adjustable nozzle | $30-$80 | Pre-wets and rinses vegetation |
| PPE | Chemical-resistant gloves, Tyvek suit, rubber boots, eye and face protection | $50-$200 | Limits chemical exposure |
| Respiratory protection | Correctly fitted, approved respirator only when the product label and risk assessment require it | $50-$200 | Controls inhalation risk |
| Runoff controls | Downspout bags, collection containers, tarps, absorbent materials | $30-$150 | Directs or captures contaminated runoff |
| Fresh water for flushing | Enough to flush pump, hose, and fittings thoroughly | Varies | Prevents chemical corrosion |
Use the chemical manufacturer’s label as the controlling instruction. Never mix sodium hypochlorite with acids, ammonia, vinegar, solvents, or other cleaners. Sodium hypochlorite can release dangerous gas when combined with incompatible chemicals.
Solution Strength and Batch Calculation
For the overview’s standard example, combine 15 gallons of 12.5% sodium hypochlorite with 35 gallons of water and 16-32 ounces of surfactant. This produces approximately 3.75% sodium hypochlorite before accounting for the small surfactant volume.
The calculation is:
Source concentration × source volume ÷ final batch volume = approximate final concentration
For a different source strength, calculate the chemical volume first, then add water to reach the final volume. Do not assume every product labeled “pool chlorine” is 12.5%; confirm the current concentration on the container because storage and age reduce available chlorine.
| Roof condition | Typical roof-strength target | Practical approach |
|---|---|---|
| Light black streaks | 2%-3% | Use a controlled test patch first |
| Moderate algae | 3%-4% | Standard treatment range |
| Dense moss or lichen | 3%-4%, sometimes repeat treatment | Follow the product label and avoid aggressive scraping |
| Unknown roof material | Do not guess | Obtain manufacturer or professional guidance |
The 3%-4% figures are typical practitioner targets, not a substitute for the chemical label or shingle manufacturer’s instructions.
Step Summary
| Step | Action | Typical time | Most common mistake |
|---|---|---|---|
| 1 | Inspect the roof and choose a safe method | 15-30 minutes | Treating a damaged or unsafe roof |
| 2 | Measure the roof and calculate materials | 15-30 minutes | Using the wrong source concentration |
| 3 | Protect property and control runoff | 20-40 minutes | Ignoring downspout outlets |
| 4 | Prepare equipment and test a patch | 10-20 minutes | Starting with a leaking or unprimed pump |
| 5 | Pre-wet vegetation and surfaces | 15-20 minutes | Wetting plants once and abandoning them |
| 6 | Apply the cleaning solution | 30-45 minutes | Applying too heavily or against the wind |
| 7 | Manage dwell and rinse the roof | 30-45 minutes | Letting the solution dry |
| 8 | Inspect, flush, and monitor | 20-30 minutes | Storing bleach in the pump |
Inspect and Plan the Roof
Step 1: Inspect the Roof and Choose a Safe Method
Inspect the roof, identify its material and condition, and decide whether ground-based work is safe before opening any chemical container.
From the ground, identify asphalt shingles, metal panels, clay or concrete tile, slate, or wood shakes. Look for lifted or missing shingles, exposed underlayment, cracked tile, rust, loose flashing, blocked gutters, skylights, fragile sealants, and overhead electrical lines. Check the roof pitch and the height of every working position.
Do not walk on wet growth, slate, brittle shingles, or damaged tiles. Do not rely on a ladder without proper footing, tie-off, and a safe access plan. Fall protection should follow local workplace requirements and the equipment manufacturer’s instructions. A respirator also requires correct cartridge selection, fit testing where applicable, and a clean-shaven seal area for tight-fitting models.
Choose a professional if you cannot work entirely from a stable, protected position or if the roof warranty prohibits chemical cleaning.
You’ll know it worked when: you have identified the roof material, hazards, drainage path, weather conditions, and a safe place to spray from.
The common mistake is treating the chemical mix as the main risk. Falls and uncontrolled runoff cause more serious incidents than a slow algae response.
Measure the Surface and Prepare the Mix
Step 2: Measure the Roof and Calculate Materials
Measure the roof area, estimate solution demand, and prepare only the amount permitted by the product label.
Estimate each roof plane as length multiplied by slope-adjusted width, then add the planes together. If you cannot safely measure the roof, use building dimensions and a roof-area calculator that accounts for pitch. A typical application may use roughly 0.5-1 gallon of finished solution per 100 square feet, but spray pattern, growth thickness, roof pitch, and operator technique can move that figure substantially.
For a 2,000-square-foot roof with moderate growth, prepare the stated 50-gallon example only if your application rate and runoff plan justify it: 15 gallons of 12.5% sodium hypochlorite, 35 gallons of water, and 16-32 ounces of surfactant. Add surfactant last, slowly, to reduce foaming.
Keep the solution in a labeled, compatible container. Use fresh product where possible, store it out of sunlight, and never use a metal tank or fitting that the chemical can corrode.
You’ll know it worked when: the final batch volume and approximate strength are written down, the product label is available, and you have enough rinse water for the roof and landscaping.
The common mistake is copying the 15-gallon figure for a smaller batch. Scale every ingredient proportionally and verify source strength first.
Protect the Property and Runoff Path
Step 3: Protect Plants, Gutters, and Drainage
Protect every surface below the roof and establish a controlled path for chemical runoff before treatment begins.
Remove patio furniture, toys, fabrics, and portable metal objects. Close windows and doors. Cover sensitive plants only with lightweight, ventilated protection that does not trap heat, and never leave plastic over foliage in direct sun. Disconnect or extend downspouts where practical. Attach collection bags or place suitable containers at outlets that discharge onto flowerbeds or manicured grass, but do not create a blocked gutter or overflow hazard.
Identify where runoff will travel across siding, walkways, soil, and neighboring property. Keep clean water running through a garden hose. Plan for one person to watch the ground while another sprays. That helper should rinse plants, siding, and hardscape whenever solution reaches them.
Protect painted surfaces and test a hidden area for color change. Sodium hypochlorite can discolor fabrics, damage some metals, and harm vegetation.
You’ll know it worked when: every downspout has a safe discharge or collection plan, plants are saturated with clean water, and the helper can see the complete runoff path.
The common mistake is relying on tarps alone. Tarps redirect liquid, but they do not neutralize it or protect exposed leaves at their edges.
Prepare and Test the Soft-Wash System
Step 4: Prime the Pump and Test a Small Area
Assemble the chemical-compatible system, prime it with clean water, check the spray pattern, and test an inconspicuous roof section.
Use a dedicated soft-wash pump or chemical agricultural pump. A downstream injector is acceptable only when it delivers the manufacturer-approved product through a specialized low-pressure soap or shooter tip. Do not install a high-pressure tip for roof cleaning.
Connect the 1/2-inch or 5/8-inch compatible hose and poly-spray gun. Use a 0040 or 0050 shooter nozzle for distant ridge areas and a 4040 fan nozzle for close, controlled application. Prime the lines with clean water first. Inspect clamps, suction fittings, hose connections, and the pump for leaks. Typical practitioner operating pressure is 60-150 PSI, although the actual pressure at the roof depends on the pump, hose length, nozzle, and elevation.
Apply the mix to a small test patch. Wait several minutes while observing shingle color, runoff, nearby materials, and the reaction of the growth.
You’ll know it worked when: the pump runs smoothly, the spray is even, the test patch changes as expected, and no material shows discoloration or damage.
The common mistake is diagnosing poor reach by increasing pressure. Change the nozzle, hose, pump flow, or spray position instead.
Wet the Surroundings
Step 5: Pre-Wet Vegetation and Ground Surfaces
Flood all plants, grass, shrubs, trees, soil, and exposed surfaces near the drip line with clean water for 15-20 minutes before spraying the roof.
Use a garden hose on a gentle shower setting rather than a sharp jet. Wet both the upper and lower leaf surfaces, the soil around roots, siding below the eaves, and hardscape that may receive overspray. Keep the water supply active because protection continues during application and after rinsing.
A second person should keep watching the ground. If wind changes direction, stop spraying and re-wet or improve protection before continuing. Do not spray during gusty weather, and avoid hot, sunny conditions that evaporate water quickly. An overcast, calm day is easier to control, but the product label and local weather remain the final guide.
Do not allow plastic covers to remain over heat-sensitive plants longer than necessary. Remove them after the chemical risk has passed and rinse foliage again.
You’ll know it worked when: water has thoroughly saturated the vegetation and soil, and leaves remain visibly wet immediately before roof application.
The common mistake is pre-wetting only the grass. Shrubs, tree leaves, and exposed root zones also receive runoff and need protection.
Apply the Cleaning Solution
Step 6: Apply the Diluted Solution Evenly
Apply the tested roof-cleaning solution from the lower edge toward the ridge with low pressure, a controlled fan, and the wind at your back.
Start at the bottom edge so the upper application does not wash untreated contamination over dry lower areas. Work in manageable sections. Use the 0040 or 0050 shooter tip for distant sections, then switch to the 4040 fan tip when close enough to control coverage. Keep the nozzle directed at the roof, not under shingle laps, flashing, vents, skylights, or ridge openings.
Saturate the shingles evenly, but stop when the surface is wet and the solution begins to move toward the gutter. Excessive runoff wastes chemical and increases property risk. Keep the spray pressure low. The objective is chemical coverage, not mechanical force; pressure above 200 PSI can dislodge asphalt-shingle granules and may affect roof life or warranty coverage.
Keep checking the ground. Stop immediately if wind carries mist toward people, windows, neighboring property, or unprotected vegetation.
You’ll know it worked when: each section has an even wet film, black streaks begin changing color, and runoff remains controlled rather than pouring over the eaves.
The common mistake is spraying from the ridge downward. That can overload lower courses and create uncontrolled runoff.
Control Dwell and Rinse
Step 7: Hold the Dwell Time and Rinse From the Ridge
Allow the solution to dwell for 15-20 minutes, keep it wet, then rinse the roof and surrounding property thoroughly from the top down.
Watch the treated section continuously. Black algae may turn brown, gray, or clear. Moss and lichen may turn pale, white, or yellow. Those visual changes indicate chemical activity, not necessarily complete physical removal. If the surface starts drying before the dwell period ends, lightly mist it with clean water or apply a very light secondary coat, following the product label.
Do not scrape wet moss or lichen aggressively. Dead growth can remain attached and loosen gradually through rain over the following weeks. After dwell, rinse from the ridge toward the eaves using clean water and low pressure. A helper should keep rinsing landscaping, siding, and hardscape below. Continue until visible chemical residue and foam are gone.
For asphalt shingles, some products permit weathering without a post-rinse, but rinsing is generally more controllable and reduces chemical exposure to gutters and plants.
You’ll know it worked when: treated areas show the intended color change, the roof is free of visible cleaner, and runoff is diluted and directed safely.
The common mistake is leaving solution to dry in direct sun. Dried residue can concentrate chemicals and create uneven results.
Finish, Flush, and Monitor
Step 8: Inspect the Roof, Flush Equipment, and Recheck Growth
Inspect the finished roof from a safe position, rinse every chemical component with fresh water, and monitor remaining growth rather than forcing it off.
Check gutters, downspouts, fascia, siding, windows, plants, and ground surfaces. Look for white residue, missed streaks, trapped moss, and runoff that reached an unintended area. If algae changed color but remains visible, let the surface dry and reassess. A second targeted application may be appropriate, but do not increase strength automatically.
Flush the pump, suction line, hose, gun, and nozzle with fresh water until the discharge is clear. Follow the pump manufacturer’s maintenance instructions. Sodium hypochlorite can corrode seals, valves, and fittings; a standard demand pump may need compatible Viton diaphragms if chemical exposure has degraded them. Never store mixed solution in the pump.
Bag and dispose of captured debris and chemical-contaminated materials according to local rules. Photograph the roof after completion so future regrowth can be compared.
You’ll know it worked when: equipment discharges clear water, the property has no visible residue or plant stress, and the roof has an even result without granule loss.
The common mistake is judging success immediately. Moss and lichen often need days or weeks to detach naturally.
Common Mistakes and How to Fix Them
| Symptom | Likely cause | Corrective action |
|---|---|---|
| Algae turns brown but remains visible | Growth is thick or the mix was weak | Let it dry, then use a targeted repeat application at the same label-compliant strength |
| Moss or lichen stays green after 20 minutes | Dense, waxy growth or poor coverage | Improve surfactant only within label limits, maintain wet dwell, and allow dead growth to decay naturally |
| Pump sputters or loses pressure | Suction-side air leak, clogged filter, or chemical damage | Check clamps and fittings, clean the filter, flush with fresh water, and inspect compatible diaphragms |
| Plants wilt or bleach the next day | Poor pre-wetting, overspray, or concentrated runoff | Flood foliage and soil with clean water immediately; contact a landscape professional about suitable soil treatment |
| Cleaner dries in patches | Excess sun, heat, wind, or slow application | Work smaller sections, choose calmer conditions, and keep the surface damp without flooding it |
| Shingle granules appear in gutters | Excess pressure or physical brushing | Stop mechanical cleaning, document the condition, and have a roofer assess whether damage was pre-existing or treatment-related |
Do not neutralize runoff with an improvised acid. Acid mixed with hypochlorite can release chlorine gas. Use only a treatment specifically approved for the chemical, surface, and discharge situation, and follow local disposal requirements.
Variations for Roof Type and Equipment
Asphalt Shingles
Use the lowest effective pressure and avoid lifting shingle edges. A 3%-4% roof-strength solution is a common practitioner range for moderate organic growth, but the shingle manufacturer’s cleaning instructions and warranty control. Rinse carefully because granules can already be loose on an aging roof.
Metal Roofing
Metal panels tolerate different cleaning methods, but sodium hypochlorite can affect coatings, fasteners, and nearby metals. Test a hidden section, protect aluminum and galvanized components, and rinse thoroughly. Do not allow cleaner to dry on painted finishes. A manufacturer-approved detergent may be preferable for light dirt or oxidation.
Tile, Slate, and Wood Shakes
Do not assume the asphalt-shingle procedure transfers safely. Slate can fracture under foot traffic, tile can crack, and wood shakes may require specialized preservation methods. The National Park Service’s preservation guidance emphasizes testing cleaning agents and controlling runoff on historic materials. Obtain material-specific instructions before treatment.
Using a Pressure Washer
A pressure washer can sometimes supply water through a downstream injector, but it should not blast the roof. Use only the injector and specialized low-pressure soap or shooter tip approved for that system. If the injector cannot deliver adequate chemical strength at the roof, use a dedicated chemical pump rather than increasing pressure.
Light Algae Versus Heavy Moss
Light black streaks may respond to one controlled application. Thick moss cushions and lichen usually need more time and sometimes a repeat treatment. Never pry or scrape growth from shingles while wet because the roots may pull granules or roofing material loose.
How Long Does It Take and What Does It Cost?
A typical 2,000-square-foot roof takes about 2-4 hours for one treatment when setup, plant protection, application, rinsing, and flushing are included. The overview’s individual timing is 15-20 minutes for vegetation pre-wetting, 10 minutes for setup, 30-45 minutes for application, 15-20 minutes of dwell, and 30-45 minutes for rinsing.
| Situation | Typical time | Typical homeowner cost | Typical professional cost |
|---|---|---|---|
| Small, low-slope roof with light algae | 1.5-3 hours | $100-$250 | $300-$700 |
| 2,000-square-foot roof with moderate growth | 2-4 hours | $150-$400 | $400-$1,200 |
| Large, steep, or heavily overgrown roof | 4+ hours | Equipment-dependent | $900-$2,000+ |
Roof height, pitch, access, material, plant protection, chemical disposal, and repeat treatments move the price within each range. A low quote that excludes runoff control may cost more after landscape or siding damage.
Alternatives to Chemical Soft Washing
For light dirt on a manufacturer-approved metal roof, a low-pressure detergent wash may be sufficient. For moss on delicate historic materials, hand treatment from a protected position or a specialist preservation service may be safer. Zinc or copper strips can reduce future algae growth in some roof designs, but they do not replace removal of existing growth and may not suit every drainage system.
High-pressure washing is a poor default for asphalt shingles because mechanical force can remove granules, drive water beneath laps, and shorten roof life. Mechanical brushing has similar risks when growth is firmly rooted. If the roof is unsafe to access, the best alternative is professional cleaning or roof replacement assessment, not a more aggressive nozzle.
Frequently Asked Questions
Can I soft wash a roof without walking on it?
Yes, when the roof layout and equipment allow complete coverage from the ground, a ladder platform, or another protected position. A long-range shooter nozzle can reach some ridges, but distance reduces control and increases overspray risk. If you cannot see the spray landing accurately, stop and use a professional with suitable access and fall-protection equipment.
Will soft washing remove moss immediately?
It kills or weakens moss, but it may not remove the physical cushion immediately. Moss and lichen can remain attached, turn pale, and detach gradually through rain over several weeks. Do not scrape aggressively while wet. If growth is thick enough to hide damaged shingles, arrange a roof inspection before repeating treatment.
Is sodium hypochlorite safe for asphalt shingles?
A properly diluted, label-compliant solution can be used on some asphalt-shingle roofs, but safety depends on concentration, exposure time, temperature, runoff, and the shingle manufacturer’s instructions. Test first, prevent drying, avoid pressure, and rinse surrounding materials. Do not treat an aged or damaged roof without professional advice.
What weather is best for roof treatment?
Choose calm, overcast conditions with no immediate rain forecast and moderate temperatures permitted by the product label. Avoid strong wind, intense sun, and very hot surfaces because the solution can dry before its dwell period ends. Rain can dilute the treatment and carry runoff unpredictably before you complete protection and rinsing.
How often should a roof be soft washed?
There is no universal interval. Inspect annually and treat when algae, moss, or lichen returns, while correcting shade, blocked gutters, and persistent moisture where possible. Many roofs need several years between treatments, but heavily shaded or humid locations may regrow sooner. Follow the roof warranty and avoid preventive chemical use without a reason.
What should I do if the cleaner reaches a neighbor’s property?
Stop spraying, notify the affected person, and flush the contacted surface with large amounts of clean water if safe. Keep chemical containers and product labels available. Do not conceal damage or apply an unapproved neutralizer. If vegetation, waterways, painted surfaces, or public drainage were affected, contact local environmental or emergency authorities for appropriate guidance.
Conclusion
A successful how to soft wash a roof project depends on safe access, an accurately diluted solution, low-pressure coverage, wet dwell control, and disciplined runoff protection. Inspect first, protect the property, test a small area, apply from the eaves upward, rinse from the ridge downward, and flush the system completely. Stop and hire a professional whenever the roof or chemical exposure exceeds your equipment and training.


