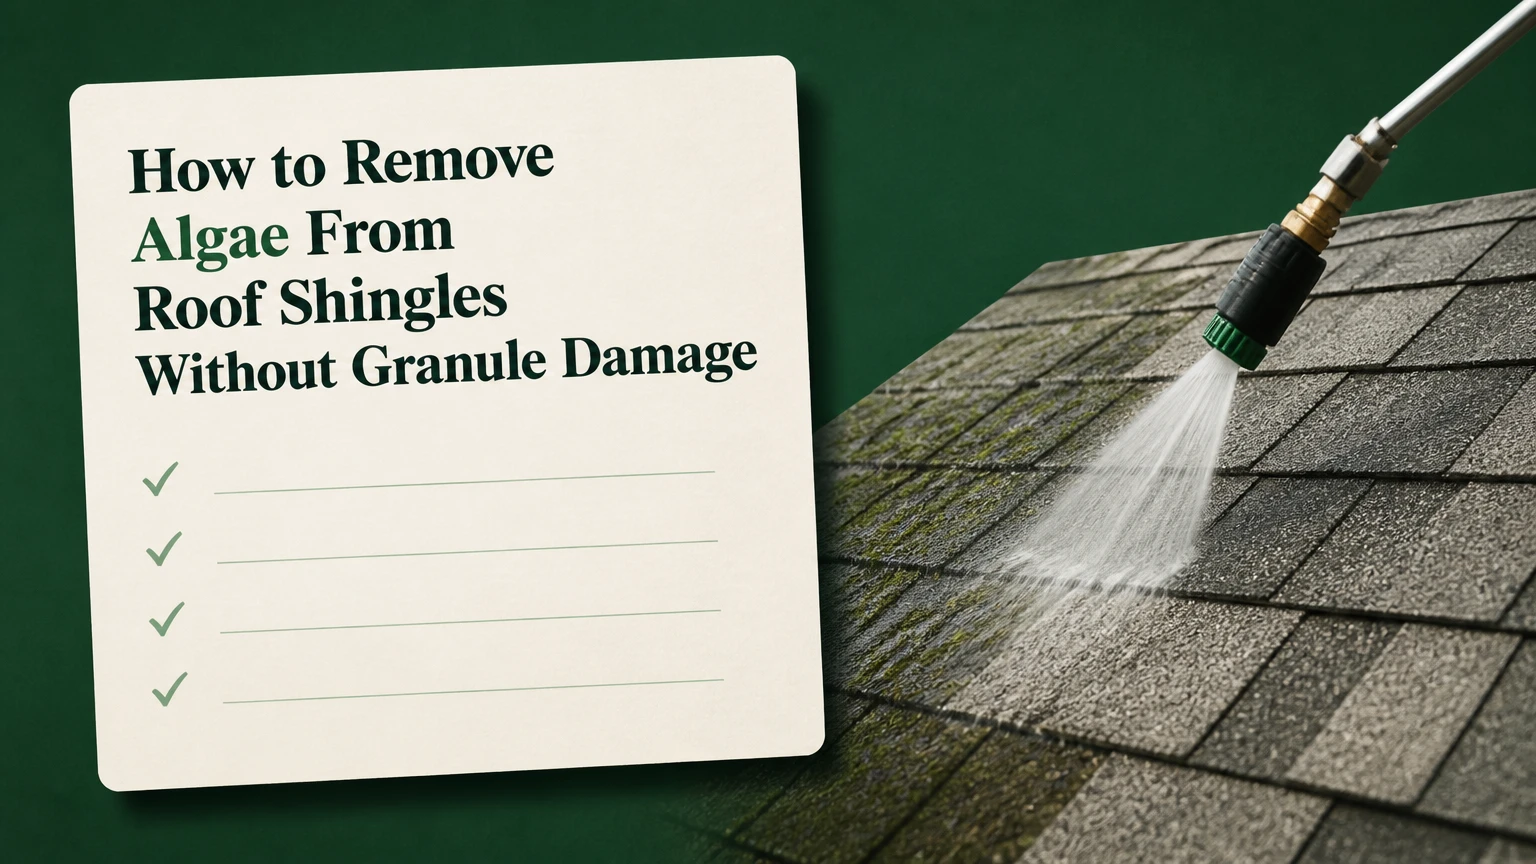
To remove algae from roof shingles, inspect the roof, protect landscaping, mix a 50:50 bleach solution, spray, dwell, rinse, and prevent regrowth in 8 steps. Allow 2-4 hours for an average roof, use moderate skill, and prioritize calm, cool weather because keeping the solution wet determines success.
Before You Start
Use this method only on compatible asphalt shingles after checking the roofing manufacturer’s maintenance instructions. Asphalt Roofing Manufacturers Association guidance warns against high-pressure cleaning because it can strip protective granules and damage the shingle surface.
Do not climb onto a roof that is steep, wet, brittle, visibly damaged, or inaccessible without secure fall protection. A roof with widespread missing shingles, exposed underlayment, sagging decking, or loose granules needs a roofing professional before cleaning.
Typical total cost: $35-$100 for a homeowner using existing hose and ladder equipment. Professional soft washing commonly costs about $250-$800, depending on roof size, pitch, access, and regional labor rates.
| Item | Quantity or specification | Typical cost | Purpose |
|---|---|---|---|
| Household chlorine bleach | 7.5 L (2 gal), standard 6% sodium hypochlorite | $8-$20 | Kills surface algae |
| Tap water | 7.5 L (2 gal) | Minimal | Dilutes bleach to 1:1 |
| Liquid dish soap | 15 mL (1 tbsp), ammonia-free | $1-$5 | Helps the solution cling |
| Pump sprayer | 7.5-11.4 L (2-3 gal), adjustable nozzle | $15-$40 | Applies solution at low pressure |
| Garden hose and nozzle | Gentle shower or spray setting | $20-$60 | Rinses shingles and plants |
| Plastic sheeting or tarps | Enough to cover the roof edge below | $10-$30 | Protects landscaping |
| Safety goggles and rubber gloves | Chemical-resistant gloves | $10-$25 | Protects eyes and skin |
| Slip-resistant footwear | Clean, closed-toe shoes or boots | Existing or $25-$80 | Reduces slip risk |
| Ladder and stabilizer | Level setup, secured at the base | Existing or $60-$150 | Provides controlled access |
| Zinc or copper strip | Roof-compatible flashing material | $30-$150 | Helps limit future growth |
Gather a bucket, clean water for emergency rinsing, plastic bags for contaminated sheeting, and a helper if you must move a hose or monitor ladder stability. Keep children, pets, and rain barrels away from the work area.
Eight-Step Summary
| Step | Action | Typical time | Most common mistake |
|---|---|---|---|
| 1 | Inspect the growth and roof | 15-30 min | Treating damaged or unsafe shingles |
| 2 | Choose conditions and protect surroundings | 30-45 min | Leaving plants exposed to runoff |
| 3 | Set up equipment and safe access | 15-30 min | Walking unnecessarily on shingles |
| 4 | Mix the cleaning solution | 10 min | Adding ammonia or concentrated bleach incorrectly |
| 5 | Apply the solution at low pressure | 45-60 min | Spraying from the top and forcing runoff |
| 6 | Keep the solution wet during dwell | 15-20 min | Letting the cleaner dry |
| 7 | Rinse the roof and surroundings | 30-45 min | Using high pressure or rinsing upward |
| 8 | Inspect, clean up, and prevent return | 20-40 min | Assuming stains must disappear immediately |
Inspect and Prepare the Roof
Step 1: Confirm the Growth and Roof Are Suitable
Inspect the roof from the ground and confirm that the surface is suitable for low-pressure cleaning.
Use binoculars to examine dark streaks, shaded roof planes, valleys, and areas below trees. Blue-green algae usually appears as flat black, brown, or blue-green streaks. Moss forms raised green clumps, while lichen appears crusty and attached to the shingle. Rust-colored marks may come from metal, not biological growth.
Check gutters, downspouts, flashing, skylights, roof vents, and painted siding for vulnerable finishes. Do not proceed if shingles are curling, cracking, lifting, missing granules, or shedding heavily into the gutters. Check the roof pitch from the attic documents or by asking a roofer; avoid walking on slopes above approximately 6:12 unless you have proper fall protection and training.
You will know it worked when you can identify the staining area, locate every runoff path, and confirm that no obvious structural or access hazard exists. Do not mistake a clean-looking stain for a sound roof.
The common mistake is treating moss like flat algae. Do not scrape or aggressively scrub moss from shingles, because attached growth can pull away granules and loosen tabs; arrange professional assessment instead.
Step 2: Select Weather and Protect the Property
Choose a cool, overcast, calm day and protect every surface that may receive chemical runoff.
Plan for no rain during the 15-20-minute dwell period and several hours afterward. Avoid hot, sunny conditions because evaporation can dry the solution before it contacts the algae long enough. Wind should be light enough that spray does not drift toward windows, neighbors, vehicles, or plants.
Move outdoor furniture and cover shrubs, grass, flowers, and soil below the roofline with plastic sheeting. Do not seal plants under plastic for a long period in direct sun. Wet exposed leaves thoroughly with clean hose water immediately before covering them, then keep a hose ready for immediate rinsing.
Close windows and doors. Disconnect or cover rain barrels, outdoor electrical equipment, ponds, and sensitive metal decorations. Remove or protect objects that bleach can discolor. Tell everyone to stay clear of the work zone.
You will know it worked when all roof-edge landscaping is covered or wet, every downspout discharge path is visible, and the weather forecast provides a dry working window.
The common mistake is covering plants but ignoring runoff from valleys and downspouts. Extend tarps beyond the drip line, and keep runoff from collecting against siding or entering a pond.
Set Up the Cleaning Equipment
Step 3: Prepare the Sprayer, Hose, and Access
Set up the pump sprayer and garden hose on level ground so you can work without carrying chemicals on the roof.
Place the 7.5-11.4-liter (2-3 gallon) handheld pump sprayer near the ladder, but outside the expected runoff path. Inspect the tank, hose, wand, seals, and nozzle for leaks. Fill the garden hose with clean water and select a gentle shower or spray pattern before climbing.
Set the ladder on stable, level ground, secure its feet, and use a stabilizer where appropriate. Keep three points of contact while accessing the roof. Work from a ladder or roof edge only when you can reach the treatment area without leaning sideways. A second person should steady the ladder and manage the hose.
Avoid walking on shingles whenever possible. If roof access is unavoidable, use clean, soft-soled roofing footwear and step on the lower portion of shingle courses, never on exposed edges or brittle tabs. Never carry an open sprayer up a ladder.
You will know it worked when the sprayer reaches the entire treatment zone from a stable position, the hose cannot snag the ladder, and you can retreat without crossing wet chemical areas.
The common mistake is choosing a fine mist setting. Fine droplets drift into the air and onto nearby property, so use a coarse fan pattern that produces wet coverage with minimal airborne spray.
Step 4: Mix the Bleach Solution Correctly
Mix 7.5 liters of standard 6% household bleach with 7.5 liters of water, then add 15 milliliters of ammonia-free dish soap.
Verify the bleach concentration on its label and use ordinary, unscented household chlorine bleach rather than a scented, thickened, splashless, or mixed cleaning product unless the shingle manufacturer permits it. Add the water to the pump sprayer first, then add the bleach slowly to reduce splashing. Add 15 mL, or 1 tablespoon, of ammonia-free dish soap last.
Close the sprayer and swirl it gently. Do not shake it vigorously, because pressure and foam make controlled application harder. Never add vinegar, acids, ammonia, toilet cleaner, hydrogen peroxide, or any other chemical. Bleach mixed with ammonia can produce toxic chloramine gas.
Prepare only the amount you can use that day. Label the sprayer, keep it upright, and never store the mixture in a sealed container. If it contacts skin or eyes, flush with clean water immediately and follow the product label’s first-aid instructions.
You will know it worked when the mixture is uniform, the sprayer has no leaks, and the label confirms that every ingredient is compatible.
The common mistake is assuming every dish soap is safe. Read the ingredient and warning label; if ammonia is listed or the product is uncertain, omit the soap rather than guessing.
Apply and Rinse the Shingles
Step 5: Apply the Cleaner From Bottom to Top
Spray the solution across the algae-stained shingles with a coarse fan pattern at low pressure, starting at the bottom edge and moving upward.
Pump the sprayer enough to maintain a broad, controlled fan without creating a forceful jet. Hold the wand close enough for wet coverage, but not so close that the stream cuts into shingle joints. Saturate the stained shingles until they are visibly wet, using overlapping passes rather than repeatedly targeting one spot.
Begin at the lowest treatment area and move toward the ridge. This reduces the chance that dirty solution runs over areas you already treated. Keep the wand pointed away from siding, windows, vents, and exposed metal. Do not scrub, brush, scrape, or use a pressure washer. Asphalt Roofing Manufacturers Association maintenance guidance specifically recommends avoiding aggressive cleaning methods that can remove granules.
Treat one manageable section at a time, especially on a large roof. A typical 150-square-meter roof takes 45-60 minutes to spray, depending on access and staining density.
You will know it worked when every dark streak is uniformly wet and the solution is clinging rather than bouncing off or producing uncontrolled mist.
The common mistake is starting at the ridge. Downward runoff then dilutes and displaces cleaner on lower sections, while overspray can reach gutters and siding.
Step 6: Maintain the Full Dwell Period
Let the solution remain on the shingles for 15-20 minutes without allowing the surface to dry completely.
Start a timer after the final section is saturated. Watch the first areas treated because they have the longest exposure. On warm or breezy days, lightly mist drying spots with more solution, but do not flood the roof or create avoidable runoff.
Do not interpret immediate color change as the only success measure. Algae may die while dark pigment remains embedded in the shingle surface; weathering and subsequent rain can remove that discoloration over time. Avoid extending dwell time beyond the product label or repeatedly applying strong bleach to fragile shingles.
Keep the hose ready and inspect gutters, downspouts, and tarps during the wait. If runoff reaches an unprotected plant, rinse that plant immediately with large amounts of clean water.
You will know it worked when the surface stayed wet for the full 15-20 minutes and the algae looks duller, lighter, or less attached, even if every stain has not vanished.
The common mistake is allowing the solution to dry into a concentrated residue. Re-wet drying areas promptly, and stop work if wind increases enough to carry spray beyond the protected zone.
Step 7: Rinse From the Ridge Downward
Rinse the shingles thoroughly with clean water using a gentle shower or spray setting, working from the top downward.
Begin at the highest treated area and guide clean water down the roof slope. Use enough water to remove dead algae and bleach residue, but keep the nozzle pressure low. The water should fan across the surface, not strike it like a concentrated lance.
Rinse valleys, gutters, downspouts, flashing, siding, windows, and tarps. Flush plants and grass with clean water after the roof is clear. Continue until no foamy residue or strong bleach odor remains on reachable surfaces. Do not direct concentrated runoff toward a pond, storm drain, vegetable garden, or neighboring property.
Never use a pressure washer. High pressure can dislodge ceramic granules, expose asphalt, bend flashing, and shorten shingle life. The Asphalt Roofing Manufacturers Association and major shingle manufacturers consistently favor low-pressure cleaning for asphalt roofing.
You will know it worked when the rinse water runs clear, the shingles have no visible cleaner film, and the surrounding landscaping has received a final clean-water rinse.
The common mistake is rinsing upward from the eaves. That drives dirty water beneath shingle laps, so always rinse with the roof’s drainage direction.
Verify the Result and Prevent Regrowth
Step 8: Inspect, Clean Up, and Add Prevention
Inspect the dry roof and property, remove protective materials, and install compatible metal strips only after confirming the roof is sound.
Wait until the shingles are dry before judging the final appearance. Check for remaining patches, loose granules, damaged tabs, bleach contact on siding, and residue in gutters. Bag disposable sheeting carefully so wet chemical residue does not touch plants or skin. Rinse reusable equipment with clean water according to the bleach label, and never discharge concentrated solution into a storm drain.
If dark staining remains but the algae has stopped spreading, allow several rain cycles for natural weathering. Do not immediately scrub the surface. If growth remains visibly active, repeat only the affected sections after the roof dries and the weather again provides a 15-20-minute dwell window.
For recurring algae, install zinc or copper flashing strips near the roof peak when the shingle manufacturer permits it. Rainwater can carry small amounts of metal down the roof, making the surface less favorable to algae. Flashing is a prevention measure, not a substitute for repairing shade, clogged gutters, or persistent moisture.
You will know it worked when the roof is free of wet residue, gutters are clear, plants show no chemical injury, and the treated area is no longer spreading.
The common mistake is expecting all discoloration to disappear on cleaning day. Judge biological activity first, then appearance after drying and weathering.
Common Mistakes and How to Fix Them
| Problem | Likely cause | Recovery |
|---|---|---|
| Algae does not lighten or stop spreading | Solution dried, coverage was incomplete, or growth is thick | Reapply only the affected area, maintain a full 20-minute wet dwell, then rinse gently |
| Stains return within months | Heavy shade, persistent moisture, or surface-only treatment | Clean gutters, trim overhanging branches, improve ventilation, and consider zinc or copper strips |
| Granules appear in gutters | Pressure, scrubbing, or already deteriorated shingles | Stop cleaning, photograph the condition, and have a roofer assess remaining shingle life |
| Plants turn brown or bleach-spotted | Runoff or overspray reached foliage | Rinse immediately and repeatedly with clean water; remove contaminated tarp water from the root zone |
| Cleaner dries before 15 minutes | Sun, heat, wind, or treating too large an area | Work in smaller sections, choose cooler overcast weather, and lightly mist drying areas |
| White residue or bleach odor remains | Incomplete rinsing | Rinse shingles, gutters, siding, and plants again with clean water |
Never correct poor results with a pressure washer or a stronger unmeasured chemical mixture. Both responses increase surface damage and chemical exposure without solving the underlying moisture problem.
Variations for Different Roofs and Situations
For a Steep or High Roof
Do not use this process from the roof surface if the pitch requires specialized fall protection, if the roof is wet, or if you cannot maintain stable footing. A professional roof cleaner can use ground-based soft-wash equipment, roof anchors, and controlled collection methods. A garden sprayer is appropriate only when it allows complete coverage from a safe position.
For Thick Moss or Lichen
Do not treat raised moss or crusted lichen as ordinary algae. The bleach solution may kill it, but forcefully pulling or brushing it away can remove granules and shingle adhesive. Have a roofer or experienced soft-wash contractor assess the roof, especially when growth has lifted shingle edges or blocked drainage.
For a Small Porch or Garage Roof
Use a smaller batch while keeping the same 1:1 ratio. For example, mix 1 liter of 6% bleach with 1 liter of water and add approximately 2 mL of ammonia-free dish soap. Confirm the cleaner label and shingle warranty first, then use a hand pump sprayer with a coarse fan. Reduce the work area, not the dwell standard.
For Homeowners Avoiding Chlorine
Use a roof-specific, manufacturer-approved algae treatment labeled for asphalt shingles. Follow its dilution, dwell, personal protective equipment, and runoff instructions exactly, because oxygen-based cleaners and commercial biocides do not share chlorine bleach’s mixing ratios. Low pressure remains the safer application principle.
For Wood Shingles or Metal Roofing
Do not transfer the asphalt-shingle recipe automatically. Wood can discolor or absorb cleaning chemicals, while some metals react with bleach or contaminated runoff. Check the roofing manufacturer’s instructions and use a product specifically labeled for that material. Collect or divert runoff where required by local environmental rules.
How Long Does It Take and What Does It Cost?
A homeowner should allow about 2-4 hours for an average 150-square-meter roof, including 30 minutes of preparation, 10 minutes of mixing, 45-60 minutes of application, 15-20 minutes of dwell, 30-45 minutes of rinsing, and cleanup. Roof height, pitch, access, wind, and the number of stained sections move the total toward the upper end.
| Work type | Typical duration | Typical homeowner cost |
|---|---|---|
| Small porch or garage roof | 1-2 hours | $20-$50 |
| Average 150-square-meter roof | 2-4 hours | $35-$100 |
| Large, steep, or heavily stained roof | 4+ hours or professional service | $250-$800 professional range |
| Zinc or copper prevention strip | 1-3 hours to install | $30-$150 in materials |
The chemical mixture itself is inexpensive. The main cost difference comes from safe access, fall protection, landscaping protection, and whether a contractor must work on a steep or fragile roof.
FAQ
Will bleach remove black streaks from asphalt shingles?
A properly diluted chlorine solution can kill the algae that causes many black streaks, but it may not erase the pigment immediately. Allow the roof to dry and weather naturally. If the streaks remain active or spread, repeat a controlled treatment only after checking the shingle manufacturer’s instructions.
Can I clean roof shingles with a pressure washer?
No. A pressure washer can remove the protective ceramic granules embedded in asphalt shingles, damage adhesive bonds, and force water beneath laps. Use a pump sprayer for the cleaning solution and a garden hose on a gentle shower or spray setting for rinsing.
Should I scrub algae off roof shingles?
Do not scrub ordinary algae stains. Spray, maintain the 15-20-minute dwell, and rinse gently. Scraping or brushing is especially risky when moss or lichen has attached to shingle edges, because the mechanical force can remove granules or lift tabs.
How often should roof algae be treated?
There is no universal interval. Inspect the roof at least twice yearly and after long wet periods, then treat when active streaking returns and the roof remains within its serviceable condition. Shade, humidity, tree cover, clogged gutters, and roof orientation determine whether recurrence takes months or several years.
Are zinc and copper strips safe for every roof?
No. They must be compatible with the roofing material and correctly secured near the ridge. Metal runoff can affect some gutters, fixtures, plants, ponds, and downstream materials. Confirm the product and placement with the roofing manufacturer or a qualified roofer before installation.
What should I do if bleach gets on siding or plants?
Rinse the affected surface immediately with abundant clean water. Continue flushing plants, grass, siding, windows, and metal surfaces while the solution is still wet. Remove tarp water from the root zone, keep pets away, and follow the bleach label’s first-aid or spill instructions if anyone experiences exposure.
Conclusion
The safest way to remove algae from roof shingles is to inspect the roof first, protect the property, apply a 50:50 bleach-and-water solution at low pressure, keep it wet for 15-20 minutes, rinse from the ridge downward, and address the moisture conditions that cause regrowth. Skip the pressure washer, protect every runoff path, and hire a professional when roof access is unsafe.


