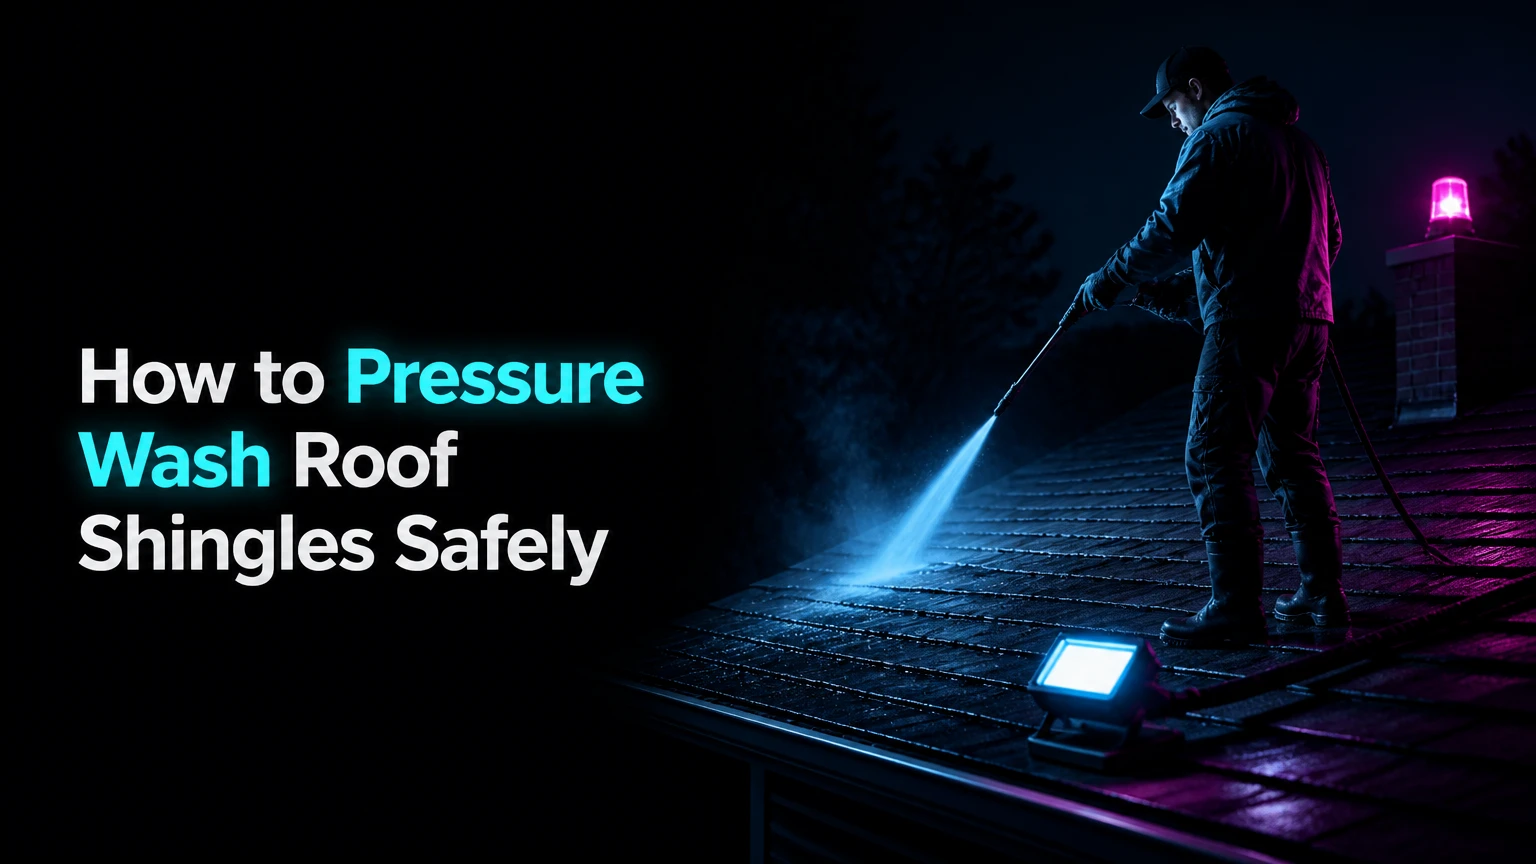
To pressure wash roof shingles safely, do not use a conventional high-pressure setting. Clean asphalt shingles with a manufacturer-compatible soft-wash solution, low-impact application, controlled dwell time, and a gentle downward rinse. The most important factors are fall protection, chemical runoff control, and avoiding force that removes protective granules.
Key Facts at a Glance
- Asphalt Roofing Manufacturers Association guidance warns against power-washing asphalt shingles because force can remove granules and damage the roof surface.
- Soft washing removes algae primarily through cleaning chemistry, not water pressure.
- A typical professional roof-cleaning rinse uses much less force than a driveway-washing setup, but there is no universal PSI value that makes every roof safe.
- Black streaks are commonly caused by roof algae, while moss and lichen require more cautious treatment because they attach physically to the shingle surface.
- Sodium hypochlorite can injure plants, corrode metals, damage finishes, and harm aquatic life when runoff is uncontrolled.
- A roof with brittle shingles, active leaks, steep slopes, fragile flashing, or heavy moss is a poor DIY project.
Can You Pressure Wash Roof Shingles?
You can use a pressure-washer pump as part of a controlled soft-wash setup, but conventional pressure washing is not appropriate for asphalt shingles. A standard pressure washer may deliver 1,500-4,000 PSI, while a roof-cleaning application should rely on chemical dwell time and a broad, low-impact spray rather than a concentrated jet.
The often-repeated “500 PSI maximum” is not a manufacturer-approved universal threshold. Actual risk changes with nozzle size, spray angle, standoff distance, pump flow, shingle age, wind, and whether the operator directs water beneath the shingle laps. A low PSI reading can still damage granules if the nozzle is close or narrow.
The Asphalt Roofing Manufacturers Association recommends avoiding power-washing asphalt shingles. ARMA’s maintenance guidance instead describes using a solution of chlorine bleach and water for algae or fungus, followed by careful rinsing, while warning against aggressive scrubbing and power washing.
What Roof Condition Should Stop the Project?
Do not clean the roof yourself when any of these conditions apply:
- The roof is too steep to stand on securely without a designed fall-protection system.
- Shingles are curling, cracked, brittle, loose, or missing granules.
- The roof has active leaks, soft decking, damaged flashing, or exposed underlayment.
- Moss has lifted shingle edges or grown beneath overlapping courses.
- The work requires walking near skylights, fragile ridge vents, solar panels, or overhead electrical service.
- Local regulations, insurance requirements, or the shingle warranty require licensed service.
A roof cleaner cannot reverse granule loss or repair damaged decking. Cleaning a failing roof can convert a cosmetic project into a leak claim.
Why Does Soft Washing Clean Shingles?
Soft washing works because the cleaning solution breaks down biological growth while low-impact water removes residue and dead material. The process is different from driveway cleaning, where high-energy water strips dirt from concrete through mechanical force.
Black streaks on asphalt shingles commonly come from cyanobacteria, often identified as Gloeocapsa magma. Moss and lichen are more difficult because they retain moisture and attach to the surface. Chemical treatment can kill the growth, but dead material may remain visible for days or weeks and should not be forcibly scraped away.
Dwell time is conditional. A typical roof-cleaning treatment may remain wet for 10-20 minutes, but strong sun, high wind, cool temperatures, porous growth, and product instructions can change that interval. Never allow a chemical product to dry on glass, painted siding, metal trim, or vegetation.
What Does Each Part of the Process Do?
| Process part | Typical operating detail | Purpose | Main risk |
|---|---|---|---|
| Solution application | 10-20 minutes of wet dwell time | Kills or loosens organic growth | Drying, overspray, chemical exposure |
| Soft-wash delivery | Broad spray with controlled flow | Covers the shingle surface evenly | Runoff or excessive impact |
| Downward rinse | Ridge toward eaves | Removes residue without forcing water uphill | Granule loss or gutter overflow |
| Gutter flushing | 5-15 minutes per downspout | Dilutes and removes residue | Uncontrolled discharge |
| Post-rinse | Immediate plant watering | Dilutes chemical contact | Plant burn if delayed |
Before You Start: Tools, Safety, and Materials
A typical small asphalt-shingle cleaning project requires one or two people, 4-8 hours of preparation and work, and a safe way to apply and rinse from the ground or a properly protected roof position. The safest DIY method is often a telescoping pole or ground-based sprayer, because reducing fall exposure matters more than increasing pump capacity.
Before-Work Checklist
| Requirement | Typical specification | Why it matters |
|---|---|---|
| Weather window | 50-85°F, low wind, no rain for 12-24 hours | Reduces rapid drying and drift |
| Water supply | Garden hose, 40-60 PSI household supply | Provides rinse water and plant protection |
| Sprayer | Dedicated pump sprayer or soft-wash system | Prevents contamination of garden equipment |
| PPE | Chemical goggles, gloves, long sleeves, non-slip footwear | Limits eye, skin, and slip injuries |
| Fall protection | Rated anchor, harness, lifeline, and training | Reduces severe fall risk |
| Runoff control | Downspout socks, collection containers, hose routing | Keeps solution away from drains and ponds |
| Cleaning product | Roof-labeled product used as directed | Avoids incompatible or excessive chemistry |
Do not mix sodium hypochlorite with acids, ammonia, toilet cleaner, vinegar, or other household products. The combination can release dangerous gases. Read the product Safety Data Sheet, confirm the label permits roofing use, and use the concentration stated by that product rather than copying a recipe from an unrelated website.
How Do You Protect Landscaping and Drainage?
Water plants, shrubs, grass, and soil beneath the roof before applying any cleaner. Keep them wet during the job, redirect downspouts, and continue rinsing plants after the roof and gutters are flushed.
Plastic sheeting can trap concentrated droplets and heat, so use it only briefly and remove it as soon as practical. Cover delicate plants with breathable protection rather than sealing them under hot plastic. Disconnect or protect rain barrels, keep solution away from ponds and streams, and prevent runoff from entering storm drains unless local rules allow it.
How to Pressure Wash Roof Shingles Without Damage
The safe sequence is preparation, inspection, controlled chemical application, monitored dwell time, gentle rinse, and cleanup. Work from stable access points whenever possible, keep the spray aimed down the roof plane, and stop immediately if granules, shingle edges, or flashing begin to move.
Step 1: Inspect the Roof and Test a Small Area
Check the roof from a ladder, attic, ground view, or trained inspection position before applying anything. Look for loose shingles, exposed nails, damaged vents, deteriorated sealant, algae streaks, moss mats, lichen spots, and granules in the gutters.
Test the selected product on a small, inconspicuous section. Follow the label’s dilution and dwell instructions, then inspect the shingle color, granule retention, metal flashing, siding, and nearby plant response.
Success checkpoint: The test area loses organic staining without color change, granule release, or damage to adjacent materials.
Common mistake: Treating the entire roof before discovering that the solution discolors painted trim or dries too quickly.
Step 2: Establish Fall Protection and Ground Controls
Set ladders on stable footing, use a proper standoff, and keep three points of contact while climbing. A harness is not effective by itself; it needs a compatible anchor, lifeline, clearance, and correct use.
Pre-wet landscaping, cover vulnerable fixtures, route hoses away from walking paths, and place downspout controls before opening the sprayer.
Success checkpoint: Every person knows the exit route, the water supply is accessible, and runoff has a controlled destination.
Common mistake: Starting from the roof ridge and discovering that the hose, rescue plan, or rinse water cannot reach the work area.
Step 3: Prepare the Roof-Cleaning Solution
Use a roof-labeled cleaner and measure it with the same care used for any hazardous chemical. Professional cleaners often use sodium hypochlorite solutions, but the final strength varies by product, starting concentration, temperature, growth severity, and application method.
Some industry practitioners use approximately 1%-4% available chlorine at the roof surface for asphalt-shingle algae and moss treatment. That is a typical professional range, not a universal DIY formula. Follow the product label, wear chemical PPE, and mix only the amount needed for the current job.
Add a compatible surfactant only when the product instructions permit it. Surfactant improves cling, but excess soap can increase runoff and complicate rinsing.
Success checkpoint: The solution is clearly labeled, freshly mixed, compatible with the sprayer, and kept away from children, pets, metals, and drains.
Common mistake: Assuming household bleach strength, pool chlorine strength, and roof-surface concentration are interchangeable.
Step 4: Apply the Cleaner in Manageable Sections
Apply the solution evenly to a small roof section, usually beginning near the eaves and working upward. The lower-to-upper application pattern reduces the chance that concentrated runoff immediately crosses untreated areas and helps the operator maintain wet coverage.
Use a broad fan pattern. Do not use a turbo nozzle, zero-degree nozzle, rotating surface cleaner, or close-range jet. Keep the spray away from roof penetrations, open joints, attic vents, skylight seals, and electrical equipment.
Success checkpoint: The shingles are evenly wet, black streaks begin to lighten, and no concentrated stream strikes the shingle surface.
Common mistake: Applying too much liquid to a steep roof, where chemical runoff reaches gutters before the solution can work.
Step 5: Maintain the Dwell Time
Allow the product to work for the label-specified period, often 10-20 minutes. Keep the section damp if the label permits rewetting, but never increase concentration or dwell time simply because stains are stubborn.
Algae may lighten quickly. Moss and lichen may need repeat treatment, weathering, or careful removal after they die. Chemical treatment does not instantly erase every biological shadow.
Success checkpoint: Growth has changed color or loosened, while the solution has not dried on shingles, siding, windows, plants, or metal.
Common mistake: Scrubbing live moss during dwell time, which can pull off ceramic granules along with the attached growth.
Step 6: Rinse From the Ridge Toward the Eaves
Rinse with clean water using a broad, low-impact spray aimed down the roof slope. Keep the wand far enough away that water does not disturb granules or drive beneath shingle laps.
Use short passes and inspect gutters as you work. Do not rinse upward into the shingle courses. Water forced beneath laps can reach underlayment, roof decking, insulation, or interior ceilings.
Success checkpoint: The rinse water runs clear enough for the product instructions, gutters are not overflowing, and shingle edges remain flat and intact.
Common mistake: Chasing every remaining stain with more pressure. Residual discoloration may fade as dead growth weathers.
Step 7: Flush Gutters, Downspouts, and Surrounding Surfaces
Flush gutters and downspouts with clean water after rinsing the roof. Remove collected organic debris by hand while wearing gloves, and dispose of it according to local waste rules.
Rinse siding, windows, decks, vehicles, HVAC housings, plants, soil, and hardscape. Inspect metal surfaces for droplets or residue because sodium hypochlorite can accelerate corrosion.
Success checkpoint: Downspouts discharge clear diluted water, plants are fully rinsed, and no cleaner remains on windows, painted surfaces, or metal.
Common mistake: Removing plant protection before all roof runoff has passed through the gutters.
Which Roof-Cleaning Method Should You Choose?
Soft washing is the usual choice for intact asphalt shingles because it uses chemistry rather than concentrated mechanical force. A roof-labeled non-bleach treatment can reduce chemical exposure, but it usually works more slowly and may leave dead growth for longer.
| Method | Typical pressure or action | Best use | Important limitation |
|---|---|---|---|
| Professional soft wash | Low-impact spray, often 100-300 PSI equipment output | Asphalt-shingle algae and moderate moss | Requires runoff and chemical controls |
| Conventional pressure wash | 1,500-4,000 PSI machine output | Concrete, masonry, some hard surfaces | High risk of granule loss and water intrusion |
| Non-bleach treatment | Low-pressure spray, label-dependent dwell | Light growth and sensitive landscaping | Slower visual results, repeat applications possible |
| Manual moss removal | Hand tools after growth treatment | Loose dead mats and heavy accumulations | Scraping live growth can damage shingles |
| Roof replacement | Roofing work, not cleaning | Failed, brittle, or severely damaged roofs | Highest cost and requires roofing assessment |
The winner for sound asphalt shingles is soft washing with controlled chemistry and minimal impact. The winner for a deteriorated roof is a roofing inspection, not any cleaning method.
Why Is 500 PSI Not a Universal Safe Limit?
A pressure rating describes pump output, not the force delivered at the shingle. Nozzle orifice, spray angle, distance, flow rate, and the operator’s movement change the energy reaching the roof.
A wide fan at a greater distance can be less damaging than a narrow stream at the same machine setting. Conversely, “low pressure” can still lift granules when a wand is held close to brittle shingles. Manufacturer instructions and a test area provide better control than one numerical limit.
How Should You Handle Moss and Lichen?
Treat moss and lichen chemically first, then allow dead material to loosen naturally or remove it with minimal contact. Do not pressure-wash, wire-brush, or aggressively scrape growth from asphalt shingles because the attachment points can remove granules and weaken the surface.
Heavy moss can indicate persistent shade and moisture, but it can also hide lifted shingle edges or trapped debris. If moss has penetrated beneath laps, a roofer should inspect the roof before cleaning.
After treatment, trim branches that shade the roof, clear leaves from valleys, and consider zinc or copper strips where appropriate. Metal strips can slow new growth when rainwater carries ions over the shingles, but they do not repair existing damage or replace cleaning.
What Problems Can Occur After Cleaning?
Roof-cleaning problems usually come from excessive force, uncontrolled chemistry, rushed rinsing, or a pre-existing roof defect. The correct response depends on whether the issue affects plants, materials, drainage, or the roof’s weather barrier.
| Symptom | Likely cause | Immediate response | When to escalate |
|---|---|---|---|
| White film on shingles | Dried cleaner or mineral residue | Rinse gently with clean water | If discoloration persists after drying |
| Brown or wilted plants | Chemical overspray or runoff | Saturate foliage and soil with clean water | If damage spreads over 24-48 hours |
| Granules in gutters | Excessive impact or brittle shingles | Stop cleaning and photograph the area | Roofing inspection required |
| Interior leak | Water under laps or pre-existing failure | Stop roof access and contain interior water | Roofer or emergency repair |
| Stains remain | Growth depth, weak treatment, or shadowing | Wait for labeled repeat-treatment window | Professional assessment for recurring growth |
| Metal corrosion spots | Cleaner left on flashing or fixtures | Rinse immediately and inspect finish | Replace damaged components if needed |
Do not add acids or random “neutralizers” to the roof after chlorine treatment. Water dilution and thorough rinsing are the first controls; any neutralizing product must be specifically approved for that chemical and surface.
How Long Does the Work Take?
A professional crew commonly needs 2-5 hours for an average single-family roof, while a careful DIY project can require one full day or longer when setup, plant protection, access, rinsing, and cleanup are included. Moss treatment may produce a clean appearance gradually rather than immediately.
| Project factor | Typical range | Effect on time |
|---|---|---|
| Small, lightly stained roof | 2-4 hours | Limited setup and one treatment |
| 2,000-square-foot roof | 3-6 hours | More hose routing and gutter flushing |
| Heavy moss or lichen | 1-2 visits | Repeat treatment or delayed removal |
| Steep or complex roof | 5-8 hours | More access and fall-protection work |
| Non-bleach treatment | 1-4 weeks of visible change | Slower biological breakdown |
Avoid cleaning during rain, strong wind, freezing conditions, or intense heat that dries the solution rapidly. The best window is a calm, mild period with enough time to complete rinsing and cleanup.
How Much Does Shingle Cleaning Cost?
Typical U.S. professional roof cleaning costs about $0.30-$0.70 per square foot, or approximately $600-$1,400 for a 2,000-square-foot roof. Actual quotes change with roof pitch, height, access, growth severity, regional labor rates, plant protection, and whether gutters or repairs are included.
| Service scope | Typical price range | Common price driver |
|---|---|---|
| Light algae treatment | $300-$700 | Small roof and easy access |
| Average asphalt roof | $600-$1,400 | 2,000 square feet and moderate staining |
| Heavy moss treatment | $900-$2,000+ | Repeat visits and manual debris handling |
| Complex or steep roof | $1,200-$3,000+ | Fall protection and difficult access |
| DIY materials | $75-$300 | Sprayer, PPE, cleaner, hoses, and runoff supplies |
Ask whether the quote includes plant protection, downspout flushing, window and siding rinsing, insurance, and a written statement of the cleaning method. A low quote that excludes runoff control can transfer the environmental and repair risk to the homeowner.
When Should You Hire a Professional?
Hire a licensed and insured roof-cleaning or roofing contractor when the roof is steep, high, fragile, heavily moss-covered, or difficult to access. Professional service is also the better choice when the home has solar panels, delicate landscaping, complex drainage, overhead power lines, or an active warranty.
Before hiring, request:
- Proof of liability and workers’ compensation insurance.
- The proposed pressure method and nozzle type.
- The product name, label directions, and runoff plan.
- A pre-work roof-condition report with photographs.
- Confirmation that no high-pressure surface cleaner or turbo nozzle will be used.
- A clear distinction between cleaning, moss removal, repairs, and replacement.
A two-year or three-year cleaning warranty is not automatically meaningful. Ask whether the warranty covers recurrence, missed areas, plant damage, or only a return visit for visible streaks.
How Do You Prevent Roof Stains From Returning?
Reduce shade, moisture, and organic debris to slow recurrence after cleaning. Keep gutters clear, trim branches away from the roof, remove leaf accumulation from valleys, and inspect the roof annually from the ground or through a qualified professional.
Algae can return in humid, shaded environments within a few years. A clean roof may remain visually improved for roughly 3-5 years, but local climate and tree cover determine the interval more than the cleaning date.
Do not apply a new chemical treatment on a fixed schedule without inspecting the shingles first. Repeated treatments can expose metal, paint, plants, and roofing materials to unnecessary chemical contact.
FAQ
Will Pressure Washing Void an Asphalt-Shingle Warranty?
Pressure washing may conflict with asphalt-shingle manufacturer maintenance guidance and can create damage that is excluded from warranty coverage. Review the warranty and maintenance documents before cleaning, and ask the manufacturer or roofing contractor what method is approved for the specific shingle line.
Can I Clean a Roof From a Ladder?
A ladder provides access but does not make roof work safe. Ground-based application and rinsing are safer when they can reach the roof effectively, while roof access requires stable footing, suitable fall protection, and training. Never lean sideways from a ladder to extend spray reach.
Can Rain Wash Roof Cleaner Into a Pond?
Yes. Roof-cleaning runoff can carry sodium hypochlorite, surfactant, organic debris, and dissolved metals into ponds or streams. Disconnect rain barrels, block or redirect downspouts, protect aquatic environments, and follow local wastewater and stormwater rules.
Should I Use Vinegar Instead of Bleach on Shingles?
Vinegar is not a universal substitute for a roof-labeled cleaner. Its effectiveness varies with growth type, concentration, contact time, and roof condition, while acidic products can affect metals and sealants. Use a manufacturer-compatible product and test a small area first.
How Often Should Asphalt Shingles Be Cleaned?
Inspect asphalt shingles annually and clean only when biological growth is visible or recommended by the manufacturer. Many roofs need attention every 3-5 years in shaded, humid conditions, while sunny roofs with good airflow may need less frequent treatment.
The Bottom Line
How to pressure wash roof shingles safely is really a question about controlled soft washing, not blasting the roof with a conventional pressure washer. Use a compatible cleaner, broad low-impact application, conditional dwell time, downward rinsing, and aggressive runoff protection. For steep, brittle, leaking, or heavily moss-covered roofs, hire an insured professional before cleaning.


