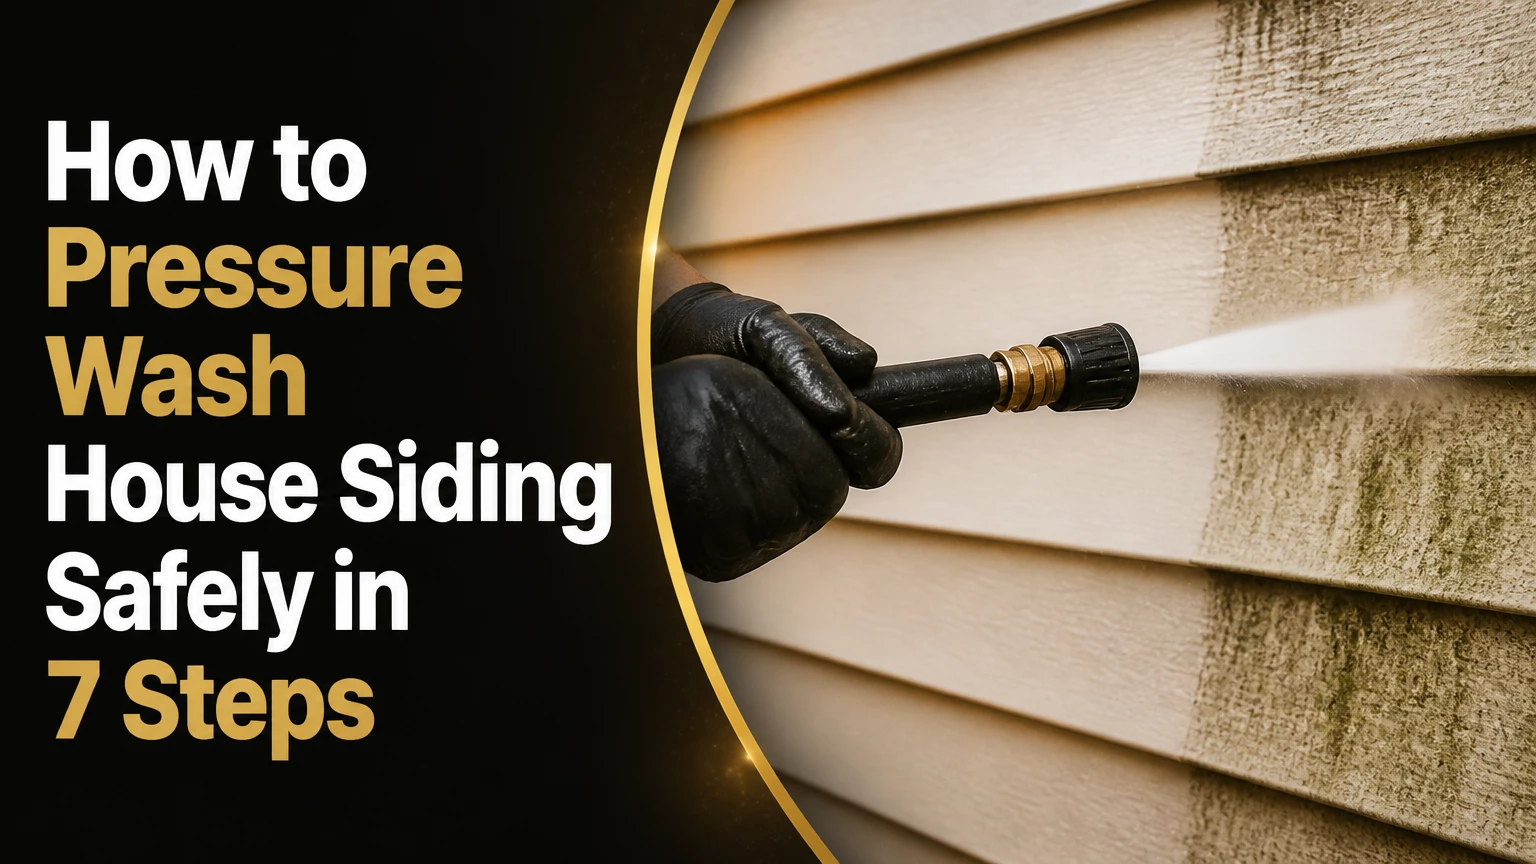
To pressure wash house siding safely, identify the siding material, protect openings and plants, apply compatible detergent from bottom to top, allow 5-10 minutes of dwell time, then rinse from top to bottom with low-to-moderate pressure. The process usually takes 2-6 hours for an average home, and the correct pressure and spray angle matter more than maximum machine PSI.
Key Facts
- A 25° or 40° nozzle is safer for most siding than a narrow 0° or 15° nozzle.
- Soap loosens organic growth, while water pressure removes the loosened residue.
- Spray downward and keep the tip about 12-18 inches from sound siding.
- Never use a pressure washer to clean damaged, loose, or severely oxidized siding.
- Soft washing is usually safer than high-pressure cleaning for wood, stucco, EIFS, and painted surfaces.
- Typical DIY equipment costs range from $40-$90 for a rental day or $100-$600 for a purchase.
What Does Pressure Washing House Siding Do?
Pressure washing house siding removes surface dirt, pollen, cobwebs, mud, algae, and some mildew with a motor-driven pump and spray wand. The pump increases water pressure, the nozzle shapes the spray, and detergent reduces the bond between biological growth and the siding surface.
A pressure washer has two important operating measurements. PSI, or pounds per square inch, describes pressure at the outlet, while GPM, or gallons per minute, describes water volume. Higher GPM can rinse faster, but neither measurement tells you whether a siding surface can tolerate the setting.
Cleaning units, calculated as PSI multiplied by GPM, provide a rough equipment comparison. Cleaning units do not replace surface judgment. A 2,000-PSI machine can still damage vinyl if the operator uses a narrow nozzle close to a seam.
The cleaning result depends on four linked variables: detergent chemistry, dwell time, water temperature, and mechanical force. For house siding, chemical action and controlled rinsing usually outperform aggressive pressure because concentrated spray can drive water behind panels or remove paint.
Before You Start: Time, Cost, and Tools
Prepare the work area before connecting the machine. A typical one-story, 1,500-2,000-square-foot home requires 2-4 hours, while a two-story home commonly takes 4-6 hours because setup, hose movement, and access consume more time than spraying.
| Requirement | Typical amount or range | Practical specification |
|---|---|---|
| Electric pressure washer | $100-$250 purchase | 1,300-1,800 PSI, 1.2-1.5 GPM |
| Gas pressure washer | $250-$600 or more | 2,000-3,000 PSI, 2.0-3.0 GPM |
| Rental | $40-$90 per day | Confirm included nozzles and downstream injector |
| House-wash detergent | 1-3 gallons | Use a siding-compatible product; follow its label dilution |
| Garden hose | 50-100 feet | Full-flow 5/8-inch hose is preferable |
| Safety equipment | $20-$75 | Eye protection, closed shoes, gloves, and hearing protection |
You also need a trigger gun, extension wand, nozzle-cleaning tool, plastic sheeting, painter’s tape, a soft brush, and a garden hose for plant rinsing. Use an extension wand instead of standing on a ladder while operating the spray gun; recoil and wet footing make ladder work unstable.
Check the siding in daylight. Stop if panels are loose, cracked, bowed, missing fasteners, or separated at corners. Inspect caulk around windows, door trim, dryer vents, hose bibs, and utility penetrations because pressure can expose or enlarge existing failures.
Do not pressure wash surfaces that may contain deteriorating lead-based paint without following local renovation and containment requirements. The U.S. Environmental Protection Agency’s Renovation, Repair and Painting rule applies to many pre-1978 homes when paid contractors disturb lead paint, and high-pressure water can spread contaminated chips and runoff.
Step 1: Identify the Siding and Choose a Conservative Setting
Match the method to the weakest part of the exterior, not the strongest part. A sound vinyl panel and a failing aluminum coating may share one wall, so begin with the lowest practical pressure and increase only after a test patch succeeds.
| Siding or exterior material | Conservative starting approach | Typical working range | Main risk |
|---|---|---|---|
| Vinyl siding | Detergent plus white 40° tip | 1,000-1,500 PSI | Cracks, loose panels, water behind laps |
| Aluminum siding | Low pressure and wide spray | 800-1,300 PSI | Dents, chalking, stripped paint |
| Fiber cement, including Hardie siding | Low-to-moderate pressure | 1,000-1,500 PSI | Damaged seams, coating loss |
| Painted wood or cedar | Soft wash and gentle brushing | 500-800 PSI | Gouges, splinters, raised grain |
| Stucco or EIFS | Soft wash, minimal pressure | 500-1,000 PSI | Texture loss and water intrusion |
| Brick veneer and mortar | Moderate pressure after inspection | 1,500-2,000 PSI | Mortar erosion and damaged joints |
These ranges are typical operating starting points, not universal manufacturer approvals. Product installation instructions take priority, especially for fiber cement, engineered wood, EIFS, and recently painted siding.
Apply a small test patch in an inconspicuous area. Use the selected nozzle at the intended distance, rinse it, and inspect after drying. You will know the setting is acceptable when the surface loses dirt without fuzzy paint edges, streaks, exposed substrate, loosened caulk, or water entering behind the panel.
Which Pressure Washer Is Appropriate?
An electric pressure washer is usually adequate for a small vinyl-sided home because it is quieter, lighter, and easier to control. Gas equipment becomes useful for large surfaces because its higher GPM reduces rinsing time, but extra output increases the consequences of poor technique.
| Machine choice | Typical PSI | Typical GPM | Best use |
|---|---|---|---|
| Compact electric | 1,300-1,600 | 1.2-1.5 | Small homes and spot cleaning |
| Full-size electric | 1,600-2,000 | 1.4-1.8 | One-story vinyl or aluminum siding |
| Light-duty gas | 2,000-2,500 | 2.0-2.5 | Larger homes and longer hose runs |
| Commercial gas | 2,500-4,000 | 3.0-5.0 | Trained operators and professional soft-wash setups |
A machine advertised at 3,000 PSI does not force you to clean at 3,000 PSI. The operator controls effective force through the nozzle angle, distance, trigger position, and movement speed.
Step 2: Protect People, Openings, Plants, and Equipment
Close every window and exterior door, then cover outdoor outlets, light fixtures, doorbells, cameras, and vents with suitable plastic protection. Keep water away from electrical connections, attic vents, soffit openings, and unsealed wall penetrations.
Move furniture, toys, grills, decorations, and vehicles at least 10-20 feet away. Remove fragile screens if the manufacturer permits it, and cover air-conditioning disconnects without blocking required ventilation.
Pre-wet grass, shrubs, and ornamental plants with clean water. Cover delicate plants temporarily, but do not leave plastic over foliage in direct sun or during a long cleaning session because trapped heat can damage leaves.
Plan runoff before applying detergent. Keep wash water away from storm drains, ponds, vegetable gardens, and neighboring property. Follow the detergent label and local wastewater rules, particularly when using sodium hypochlorite or a mold-treatment product.
You will know preparation is complete when every opening is closed or protected, hoses have a clear path, the water source reaches the pump without kinks, and no person or pet can enter the spray area.
Step 3: Test the Detergent and Apply It Bottom to Top
Use a siding-compatible house-wash detergent through a low-pressure soap nozzle, foam cannon, or downstream injector. Apply from the bottom upward in overlapping sections so detergent does not dry as irregular vertical trails on an otherwise dry wall.
Always test the detergent on a hidden area first. Do not mix bleach with ammonia, acids, or other cleaners. The American Cleaning Institute’s basic chemical-safety instruction is direct: “Read and follow all label directions.” Concentrated products can damage plants, metals, seals, and painted finishes even when the pressure is low.
Work in sections of approximately 100-300 square feet. Keep the surface uniformly wet, especially in direct sun or warm weather. Apply more solution to green or black organic staining, but avoid flooding window joints, soffits, and siding overlaps.
A black soap nozzle normally produces low pressure and a wide fan. A foam cannon attached to a pressure washer may create thick visible foam without delivering enough active cleaner, so judge performance by dwell and cleaning, not foam volume.
You will know application is working when dirt begins to loosen, organic staining loses contrast, and the detergent remains wet across the section. The common mistake is applying soap top to bottom, then allowing dirty, concentrated runoff to dry on lower panels.
Step 4: Allow Dwell Time Without Letting the Siding Dry
Let the detergent dwell for about 5-10 minutes, unless the product label specifies a different interval. Dwell time allows surfactants and microbial cleaners to break down soil, reducing the pressure needed during rinsing.
Stay with the surface during dwell. Re-mist dry areas with the garden hose or low-pressure spray, and divide large walls into smaller sections when sunlight, wind, or high temperature accelerates evaporation.
Do not use dwell time to compensate for damaged siding or untreated structural moisture. Black discoloration may be fungal growth, but it can also indicate failed flashing, leaking gutters, or persistent shade. Cleaning removes the symptom while the moisture source remains.
You will know the detergent has had enough time when the surface remains wet and loosened residue rinses away with a broad, controlled stream. The common mistake is waiting for the soap to dry because dry detergent can leave streaks and require another wash.
Step 5: Rinse From Top to Bottom With a Wide Spray
Switch to a white 40° nozzle for most sound vinyl siding, or use the broadest nozzle that removes residue without forcing water behind the cladding. Start at the top and rinse downward, keeping the wand about 12-18 inches from the surface while moving continuously.
Aim the spray downward, generally at a 30-45° angle rather than directly into laps or seams. Upward spraying can force water behind overlapping vinyl panels, under flashing, or into window and door joints. Some siding manufacturers permit different methods, so their instructions override generic technique.
Use horizontal passes that overlap by roughly 25-50 percent. Release the trigger before changing direction or walking across obstacles, and never point the wand at people, pets, glass, electrical equipment, or vehicles.
You will know rinsing is complete when runoff is clear, no slippery detergent remains, and the siding has an even appearance from corner to corner. The common mistake is holding the nozzle stationary over a stain; patience and another detergent application are safer than a concentrated blast.
Which Nozzle Should You Use?
The white 40° nozzle is the safest general-purpose rinse tip for sound siding, while the black 65° tip is intended for low-pressure detergent application. Red 0° and yellow 15° tips are poor choices for house siding because their concentrated streams can gouge wood, strip coatings, crack brittle vinyl, or damage mortar.
| Nozzle color | Fan angle | Siding use | Recommended distance |
|---|---|---|---|
| Black | 65° | Soap application | 12-24 inches |
| White | 40° | General siding rinse | 12-18 inches |
| Green | 25° | Limited spot treatment on durable surfaces | 18-24 inches |
| Yellow | 15° | Usually avoid on siding | At least 24 inches if approved |
| Red | 0° | Never use on siding | Do not use |
Nozzle color conventions are common but not perfectly universal, so verify the angle on the tip or in the manufacturer’s manual. A replacement nozzle with a similar color may have a different orifice size and produce different flow.
Step 6: Rinse Plants, Remove Protection, and Inspect
Rinse plants, grass, walls, windows, and nearby hardscape with clean water after detergent application. Remove plastic covers promptly, then inspect outlets, vents, trim, seams, and corners before putting furniture back.
Look for missed dirt beneath eaves, behind downspouts, around hose bibs, and along the bottom course of siding. Do not immediately increase pressure on a missed spot. Reapply detergent, brush gently if the material allows it, and rinse again.
Inspect for new damage while the siding is wet. Warning signs include lifted panels, exposed wood, paint flakes, chalky runoff, fresh streaks, loose caulk, and moisture at interior window sills. Stop cleaning if any appear.
A clean surface should dry with consistent color and no detergent film. Green staining that returns quickly indicates an ongoing moisture source, not a need for stronger pressure.
Step 7: Dry the Exterior Before Painting or Sealing
Allow the siding to dry fully before painting, caulking, sealing, or making repairs. A typical exterior needs 24-48 hours of dry weather, although shaded walls, humid climates, porous stucco, and wood siding can require longer.
Use a moisture meter when the next coating has strict moisture limits. Paint manufacturers commonly specify a maximum substrate moisture percentage, but the acceptable value varies by product, so follow the coating’s technical data sheet rather than guessing.
Pressure washing is not the same as surface preparation for every coating. It removes dirt and some loose paint, but it does not replace scraping, sanding, priming, lead-safe containment, or repair of rotten wood.
The process is complete when the siding is dry, seams remain intact, trim is undamaged, and no moisture appears inside. Photograph problem areas before repairs so a later coating does not conceal an unresolved leak.
Is Soft Washing Better Than Pressure Washing?
Soft washing is usually better for organic growth on wood, stucco, EIFS, painted siding, and fragile or aging surfaces because it relies on detergent at low pressure rather than impact force. Pressure washing is more useful for heavy mud and durable masonry when the surface and mortar are sound.
| Factor | Pressure washing | Soft washing |
|---|---|---|
| Primary cleaning action | Water impact plus detergent | Detergent plus low-pressure rinse |
| Typical pressure | 1,000-3,000 PSI | Often below 500 PSI at the surface |
| Best surfaces | Sound vinyl, masonry, durable hardscape | Wood, stucco, EIFS, painted or aged siding |
| Main damage risk | Water intrusion and coating loss | Chemical runoff and plant damage |
| Mold or algae treatment | May remove visible growth | More likely to chemically treat organic residue |
| Operator requirement | Careful nozzle and distance control | Accurate dilution and runoff control |
“Soft wash” is not a guarantee of safety. A strong chemical mixture can discolor aluminum, burn foliage, corrode metal, or damage a failed coating. Low pressure also cannot correct rotten sheathing, failed flashing, or loose siding.
What Problems Can Occur During Siding Cleaning?
Most pressure-washing failures come from excessive force, poor spray direction, incompatible chemicals, or cleaning a surface that was already failing. The correct recovery is usually to stop, let the area dry, and diagnose the material rather than making another aggressive pass.
| Problem | Likely cause | Immediate response |
|---|---|---|
| White or chalky streaks | Oxidized aluminum or vinyl coating | Stop pressure washing; test gentle hand cleaning |
| Water behind siding | Upward spray or failed seam | Stop, inspect interior, allow drying, repair entry point |
| Uneven stripes | Nozzle too close or stationary | Rewash evenly with detergent and broad spray |
| Washer loses pressure | Kinked hose, clogged inlet, inadequate supply | Turn off machine and clear water path |
| Plants wilt or discolor | Chemical overspray or runoff | Rinse immediately with abundant clean water |
| Black stains remain | Deep organic growth or moisture source | Repeat labeled treatment and inspect drainage |
Oxidation deserves special caution. High pressure can remove loose oxidized pigment in visible bands, leaving permanent-looking stripes that a later wash will not blend. Test with a white cloth before washing; chalk transfer suggests that aggressive pressure is inappropriate.
A pressure washer that bogs down may be starved for water. Open the faucet fully, remove hose kinks, clean the inlet screen, and confirm the household supply can meet the machine’s minimum GPM requirement.
A partially clogged nozzle can create an uneven fan and unstable pressure. Shut down the machine, release trigger pressure, and clean the tip with the manufacturer’s tool; never inspect a pressurized nozzle with your hand.
When Should You Hire a Professional?
Hire an insured professional soft-washing contractor for two-story work, fragile siding, suspected lead paint, extensive mold, difficult runoff, or any exterior with active water intrusion. A professional should explain the detergent, pressure range, plant-protection plan, insurance coverage, and repair exclusions before work begins.
| Project condition | DIY suitability | Typical professional price |
|---|---|---|
| Small, sound vinyl home | Suitable with testing | $200-$400 |
| Average 2,000-square-foot home | Possible with careful setup | $250-$600 |
| Two-story home with difficult access | Usually poor DIY choice | $400-$900 |
| Wood, EIFS, or delicate painted siding | Better with trained operator | $350-$900 |
| Lead-paint or major mold concern | Use qualified specialist | Varies by containment scope |
Typical professional house-washing prices range from about $0.15-$0.40 per square foot, but access, regional labor, height, buildup, and chemical containment can change the quote. Ask whether windows, gutters, soffits, decks, and plant protection are included.
Avoid contractors who promise that maximum PSI will remove every stain or who refuse to identify the cleaning chemical. A competent operator measures risk by substrate condition, not by the machine’s advertised pressure.
How Much Time and Money Does Siding Washing Take?
DIY siding cleaning typically costs $55-$125 for a rental, detergent, and incidental supplies, excluding repairs, while purchasing equipment costs approximately $100-$600 or more. An average one-story home often takes 2-4 hours, and a two-story home commonly takes 4-6 hours.
Professional cleaning often takes 1-3 hours with commercial equipment, but scheduling, setup, plant protection, and inspection add time. Commercial GPM can shorten rinsing without requiring dangerous pressure.
Budget extra for damaged caulk, replacement screens, gutter repairs, extension wands, or a second detergent application. The cheapest machine is not always the lowest-cost option if it lacks a soap injector, has inadequate GPM, or requires repeated passes.
FAQ
Can You Pressure Wash Siding With a Garden Hose Only?
A garden hose can rinse loose dust and pollen but usually cannot remove embedded algae, mildew, or heavy grime as efficiently as a pressure washer. A hose-end cleaner may improve results, but its chemical dilution and spray control vary widely. Use low-pressure brushing when the siding is fragile or damaged.
How Often Should House Siding Be Washed?
Most homes benefit from cleaning every 1-3 years, with the interval determined by shade, humidity, trees, road dust, and gutter overflow. A north-facing wall beneath trees may need annual treatment, while a sunny, dry exterior can remain acceptable for several years.
Can Pressure Washing Remove Mold Permanently?
Pressure washing removes visible mold and mildew but does not permanently prevent regrowth when moisture remains. Repair leaking gutters, blocked drainage, failed caulk, poor ventilation, or shaded damp conditions, then use a labeled treatment compatible with the siding.
Should You Pressure Wash Before Painting?
Clean siding before painting, but allow it to dry for at least 24-48 hours and complete additional scraping, sanding, repair, and priming as the coating manufacturer requires. Pressure washing alone does not make peeling paint, rotten wood, or chalking surfaces paint-ready.
Can You Pressure Wash in Cold Weather?
Avoid pressure washing when freezing temperatures are expected within the drying period. Water trapped behind siding, in hose bibs, or around trim can freeze and expand, while cold vinyl becomes more brittle and more likely to crack.
Should You Clean Gutters Before or After Siding?
Clean gutters before washing siding, then inspect downspouts and drainage after rinsing. Overflowing gutters can immediately re-soil a newly cleaned wall, and clogged downspouts can create the persistent moisture that causes algae and mildew to return.
The Bottom Line
To pressure wash house siding safely, use the mildest effective method: identify the material, test a small area, protect openings and plants, apply compatible soap from bottom to top, and rinse downward with a wide nozzle from 12-18 inches away. Choose soft washing for fragile, painted, wood, stucco, EIFS, or heavily organic-stained surfaces, and hire an insured professional when access, paint hazards, or water intrusion raises the risk.


