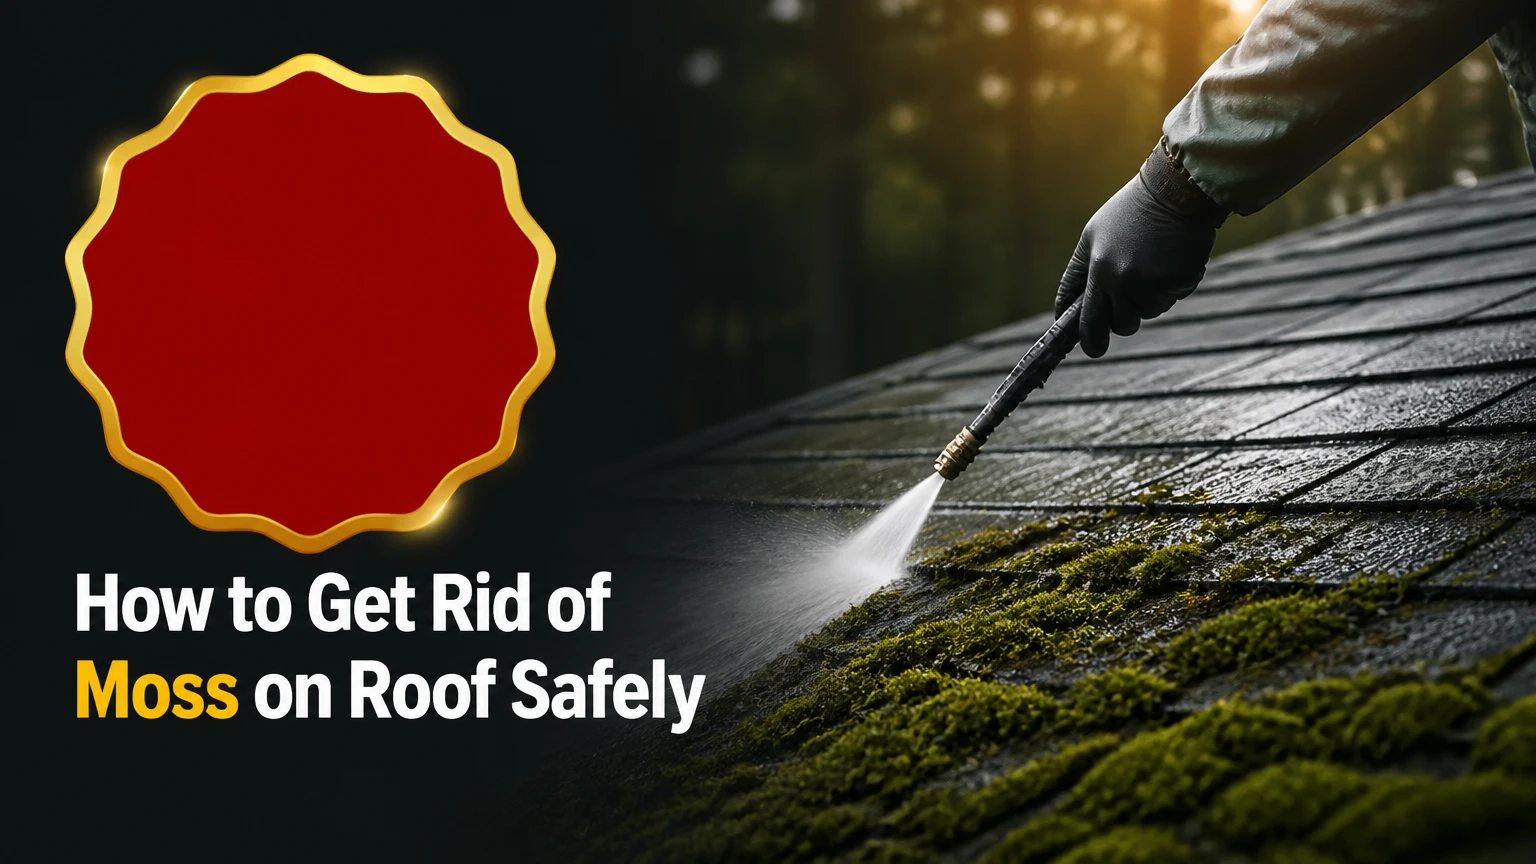
To get rid of moss on a roof, protect the ground, remove thick growth with a soft tool moving downward, clear the gutters, and apply a roof-safe moss treatment according to its label. Never pressure-wash asphalt shingles, climb a steep or wet roof, or assume treatment repairs shingles that moss has already lifted.
Key Facts at a Glance
- Roof moss grows fastest where shade, moisture, debris, and poor airflow persist.
- Downward brushing protects shingle edges; upward scraping can break seals and lift tabs.
- A garden hose is safer than a pressure washer for treated asphalt shingles.
- Chlorine bleach can kill moss quickly but may damage plants, metals, finishes, and aquatic systems.
- Zinc or copper strips reduce new growth only after existing moss is removed.
- A roof with loose shingles, exposed underlayment, rot, fragile tiles, or unsafe access needs a roofing professional.
What Roof Moss Is and Why It Grows
Roof moss is a small, nonvascular plant that absorbs water through its leaves rather than using a conventional vascular root system. Asphalt shingles provide a suitable surface when nearby trees create shade, organic debris accumulates, and the roof remains damp long enough for spores to establish.
Moss is different from roof algae and lichen. Algae commonly appears as black or green staining, while lichen forms a crusty partnership between a fungus and an alga. A treatment that discolors algae may not remove established moss, and a moss scraper can damage shingles when used aggressively against firmly attached lichen.
Oregon State University Extension identifies shade, moisture, and debris as major conditions behind roof-moss growth. Those conditions matter more than a single rainy week. A shaded north-facing roof with clogged valleys can regrow faster than a sunny roof treated with the same product.
Can moss damage a roof?
Roof moss can damage roofing when thick mats retain moisture, wedge between overlapping materials, or keep roof components damp through repeated wetting and freezing. Small, new patches are usually a maintenance problem, but lifted shingles, exposed fasteners, rotten wood, and persistent leaks indicate a roof-repair problem.
Moss does not normally send deep roots through sound asphalt shingles. The damage comes from attachment, moisture retention, expansion, and mechanical lifting. During freezing weather, trapped water expands inside small gaps and can worsen cracks in brittle shingles, clay tiles, or wood shakes.
The highest-risk signs are:
- Shingle tabs that no longer lie flat
- Missing granules collected in gutters
- Brown or soft roof decking visible at an edge
- Water stains in the attic after rain
- Moss growing beneath flashing or around a chimney
- Repeated leaks at the same roof section
Moss removal cannot restore lost granules, reseal broken tabs, or replace rotten decking. Arrange an inspection before cleaning when any of those conditions appear.
Before You Start: Safety, Tools, and Conditions
Roof moss removal is suitable for a low-slope, one-story roof only when the surface is dry, sound, and safely reachable. A fall from a roof can cause severe injury; OSHA states that “Falls are the leading cause of fatalities in the construction industry,” which is why a homeowner should treat roof access as the primary decision, not the cleaning product.
DIY preparation checklist
| Item | Typical quantity or specification | Purpose |
|---|---|---|
| Non-slip footwear | 1 pair with clean, flexible soles | Reduces slipping on dry, low-slope surfaces |
| Eye protection and gloves | 1 set per worker | Protects against debris and treatment splash |
| Nylon roof brush | 1, 8-12 inch head | Removes loose moss without metal edges |
| Plastic roof scraper | 1, 6-10 inch blade | Lifts thick mats from compatible shingles |
| Pump sprayer | 1, 1-2 gallon capacity | Applies a labeled treatment evenly |
| Garden hose with adjustable nozzle | 1, low-pressure setting | Performs gentle rinsing |
| Ground covers and absorbent material | Enough for plants and downspout exits | Limits chemical contact and runoff |
| Extension ladder and stabilizer | 1 correctly sized set | Provides controlled gutter access |
Do not use a ladder on unstable soil, wet grass, icy ground, or a roof edge without proper setup. Do not walk on fragile clay tiles, slate, aged cedar shakes, corrugated panels, or visibly damaged asphalt shingles. A harness is not a substitute for an appropriate anchor, training, and a safe rescue plan.
Protect landscaping by covering sensitive plants where the product label permits covers, wetting foliage before application, and routing downspout discharge away from ponds, vegetable beds, and rainwater tanks. Read the treatment label before use because some products prohibit contact with storm drains, aquatic environments, or edible crops.
Step 1: Inspect the Roof and Remove the Cause
Inspect the roof from the ground first, then examine accessible areas from a stable ladder rather than immediately climbing onto the surface. Identify the moss-covered zones, roof material, pitch, nearby trees, gutter condition, flashing, and any evidence of leaks or lifted roofing.
Trim branches only when you can do so safely from the ground or with an insured tree professional. Remove leaves from valleys and gutters, but do not drag tools across shingles. A roof can remain damp even after a sunny afternoon if dense branches block airflow.
Match the method to the roof material
| Roof material | Safe starting approach | Main restriction | Professional trigger |
|---|---|---|---|
| Asphalt shingles | Soft downward brushing plus labeled roof treatment | No pressure washing or metal scraping | Granule loss, lifted tabs, steep pitch |
| Cedar shakes | Gentle dry removal and wood-compatible treatment | No aggressive brushing or chlorine assumption | Splitting, brittleness, decay, two-story access |
| Clay or concrete tile | Remove debris from safe access points | Avoid concentrated foot pressure and impact | Cracked tiles, fragile glaze, steep roof |
| Slate | Professional inspection before cleaning | Do not walk directly on slate | Any loose, cracked, or displaced slate |
| Painted metal | Soft brush and manufacturer-approved cleaner | Avoid abrasive tools and incompatible chemicals | Coating failure, rust, difficult access |
You will know the inspection is complete when you can identify the roof material, the affected area, the safe access route, the runoff destination, and any defects that cleaning could worsen. The common mistake is treating all roofs like asphalt shingles.
Step 2: Remove the Bulk of the Moss
Remove thick, dry moss with a plastic scraper or soft nylon brush, working from the ridge toward the eave in the same direction as water flows. Use light pressure and short strokes; the goal is to detach the moss mat, not to scour the roof surface.
Work in sections of approximately 25-50 square feet. Place loosened moss on a tarp instead of allowing it to enter the gutters. On asphalt shingles, preserve the granule layer by keeping the tool flat and avoiding repeated passes over clean areas.
Do not pull moss upward against shingle tabs. Upward force can catch the lower edge, break the factory seal, and loosen the shingle from its fasteners. If a mat will not release with light downward brushing, stop and use a labeled treatment to weaken it rather than increasing force.
You will know Step 2 worked when most thick green material has been removed, the shingle surface remains intact, and no granule-heavy dust appears below the work area. The common mistake is wet-scraping, which turns moss into a slippery paste and increases fall risk.
Step 3: Clear Gutters and Control Debris
Clear gutters, valleys, and downspout inlets immediately after dry removal. Moss clumps absorb water and can create dense plugs, causing overflow at the eaves and keeping fascia, soffits, and roof edges wet.
Scoop debris by hand or with a plastic gutter tool, then flush the gutter with a low-flow hose from the end farthest from the downspout. Check that water exits freely and does not discharge onto a foundation, septic area, pond, or rainwater collection system.
Bag solid moss rather than washing it into a storm drain. If treatment runoff will enter a rain barrel, disconnect or bypass the collection system until the product label permits reconnection and the roof has received several uncontaminated rainfalls.
You will know the drainage stage worked when each gutter section carries water continuously and every downspout outlet remains open. The common mistake is cleaning the roof but leaving moss packed in the drainage system.
Step 4: Apply a Roof-Safe Moss Treatment
Apply a registered, roof-compatible moss treatment with a pump sprayer on a calm, cool day when rain is not expected during the label’s required dwell period. Coverage, dilution, contact time, and rinsing instructions vary by product, so the label controls over generic recipes.
Typical application conditions are 50-75°F, low wind, and an overcast sky. Fast-acting products may require approximately 15-45 minutes of contact, while slower biocides can leave dead moss to weather away over days or weeks. Do not increase concentration to make a product work faster.
Which moss treatment should you choose?
| Treatment | Typical action time | Main advantage | Main limitation |
|---|---|---|---|
| Sodium hypochlorite cleaner | 15-45 minutes | Rapidly kills exposed moss and algae | Can harm plants, metals, coatings, and aquatic life |
| Sodium percarbonate cleaner | Several hours to days | Lower chlorine odor and oxygen-based chemistry | Often slower on dense, established mats |
| Potassium-salt biocide | Days to weeks | Useful where residual control matters | Must still follow runoff and plant precautions |
| Manufacturer-approved roof biocide | Product-specific | Formulated for a stated roofing material | Cost and performance vary by label |
| Vinegar or household detergent | Unreliable | Inexpensive and readily available | Usually insufficient for established roof moss |
Chlorine bleach is not automatically safe because it kills moss quickly. Oxygen bleach is not automatically harmless because concentrated solutions can still irritate skin, damage finishes, and affect plants. Vinegar is a poor choice for most roof applications because household-strength acetic acid often lacks dependable residual control and can affect metals or surrounding vegetation.
Keep the sprayer pointed down-slope. Do not mix bleach with ammonia, acids, or other cleaners, because dangerous gases or reactions can result. If product contacts plants, follow the label’s first-aid and cleanup directions; prompt rinsing with clean water can reduce injury, but it does not guarantee recovery.
You will know Step 4 worked when the moss darkens, loses its green color, or becomes visibly weakened within the product’s stated time. The common mistake is choosing a product by internet recipe rather than checking the roof-material and runoff instructions.
Step 5: Rinse Gently and Recheck the Roof
Rinse treated asphalt shingles with a standard garden hose only when the product label requires rinsing. Direct water downward, use the lowest effective flow, and stop if granules begin appearing in the runoff or if water reaches under shingle laps.
Never pressure-wash asphalt shingles, cedar shakes, slate, or clay tile as a general moss-removal method. High-pressure water can remove protective granules, drive water beneath overlaps, fracture brittle materials, and force repairs that cost more than the original cleaning.
Some slow-acting products are designed to remain on the roof and allow dead moss to weather away. In that case, rinsing too soon can reduce performance. Read the label before wetting the surface.
You will know the final cleaning worked when loose debris is gone, drainage is open, moss is no longer firmly attached, and no shingle edge, flashing, tile, or coating has been displaced. Photograph the cleaned sections from the ground for future comparison.
How to Prevent Roof Moss From Returning
Prevent roof moss by reducing shade, moisture, debris, and spore retention rather than relying on a metal strip alone. Trim overhanging branches, keep gutters clear, remove leaves from valleys, improve attic ventilation where appropriate, and schedule periodic visual inspections.
Zinc or copper strips can suppress new growth as rain carries metal ions down the roof slope. Install a compatible strip near the ridge according to the roofing manufacturer’s and strip manufacturer’s instructions. Metal strips do not remove existing moss, do not treat areas below obstructions, and may stain light-colored siding or roofing.
A practical maintenance schedule varies by climate:
| Roof condition | Inspection interval | Typical treatment interval | Main prevention action |
|---|---|---|---|
| Sunny, dry climate | Every 12 months | 3-5 years if needed | Remove debris after storms |
| Shaded, wet climate | Every 6 months | Annual spot treatment may be needed | Prune branches and improve airflow |
| Heavy tree cover | Every 3-6 months | 12-24 months is possible | Clean valleys and gutters promptly |
| Cold, freeze-thaw climate | Before winter and spring | Product-specific | Remove moisture traps before freezing |
| Rainwater harvesting roof | After every treatment | Label-dependent | Isolate collection system during runoff |
Visible regrowth within 12-24 months is plausible on wet, shaded roofs, but no universal schedule applies. Product residual life, roof orientation, tree cover, rainfall, and roof texture change the result.
Which Moss Removal Method Works Best?
For most sound, low-slope asphalt roofs, dry downward removal followed by a labeled roof biocide offers the best balance of immediate cleaning and reduced regrowth. Manual removal alone is useful for thick mats, chemical treatment alone is gentler on sound shingles, and metal strips are preventive rather than curative.
| Method | DIY material cost | Typical professional cost | Best use | Key risk |
|---|---|---|---|---|
| Manual removal | $30-$60 | $0.60-$1.00 per sq. ft. | Thick loose mats | Granule loss or falls |
| Soft washing | $20-$80 | $0.30-$0.80 per sq. ft. | Light to medium growth | Runoff and chemical damage |
| Slow biocide | $40-$100 | $0.15-$0.30 per sq. ft. | Long residual control | Delayed cosmetic result |
| Zinc or copper strip | $20-$40 per 10-foot roll | $2-$5 per linear foot | Preventing new growth | Does not clean existing moss |
| Roof replacement | Material-dependent | Often $5-$15 per sq. ft. | Structural failure | Highest total cost |
Professional prices are typical United States planning ranges, not fixed quotes. A 1,500-1,700-square-foot roof may cost roughly $340-$1,200 for professional cleaning, with steepness, stories, roof material, access, and disposal creating the largest differences.
The practitioner rule is simple: spend money first on safe access and roof inspection when damage is possible. A cheap chemical treatment cannot compensate for a broken shingle seal or unsafe footing.
Common Mistakes and How to Fix Them
Pressure washing the roof
Pressure washing is the most damaging common shortcut for asphalt shingles. Stop immediately if granules are being stripped, then arrange a roofing inspection because visible surface loss can shorten shingle life.
Scraping upward
Upward scraping can catch shingle tabs and break their seals. Replace or reseal displaced shingles according to the roofing system rather than brushing over the damage.
Using chlorine near plants or metal
Chlorine runoff can brown foliage and corrode some metals. Flood affected plant foliage and soil with clean water when the label permits, collect concentrated runoff where feasible, and use a less aggressive labeled product on the next application.
Treating a leaking roof as a cleaning project
Moss removal does not repair underlayment, decking, flashing, or failed penetrations. Photograph the leak location, inspect the attic after rain, and have a roofer repair the source before applying chemicals.
Cleaning in wet or windy conditions
Wet moss creates slippery footing, while wind carries spray beyond the target area. Wait for a dry surface, low wind, and a label-compliant forecast.
Installing metal strips over existing moss
Metal runoff reaches only areas below the strip and cannot dissolve a thick mat. Remove or treat the existing growth first, then install compatible prevention.
When Should You Hire a Professional?
Hire a professional when the roof is steep, higher than one story, wet, fragile, damaged, or difficult to reach without walking on it. Professional help is also appropriate for slate, cedar shakes, tile, extensive moss blankets, suspected rot, active leaks, or runoff near ponds and rainwater systems.
Ask for proof of liability insurance, a written description of the cleaning method, roof-material experience, plant protection procedures, and confirmation that pressure washing will not be used on asphalt shingles. A credible quote should separate cleaning from repairs and state whether gutter clearing and debris disposal are included.
A professional is not automatically better because a truck carries a pressure washer. The method matters more than the equipment. Request the chemical name, dilution instructions, dwell time, rinse method, and protection plan for landscaping and drainage.
Variations for Common Situations
How do you remove moss from a cedar roof?
Use a cedar-compatible treatment and very gentle downward removal, preferably from safe access points rather than by walking across the shakes. Cedar becomes fragile as it dries, splits, and loses its protective surface, so a roofing contractor should evaluate decay before cleaning.
What if the roof has solar panels?
Do not spray beneath or across solar panels unless the panel and roofing manufacturers permit it. Moss around panel edges can indicate trapped debris and poor drainage, so coordinate cleaning with a solar installer or roof professional.
What if moss is only on one roof slope?
Treat the slope’s cause, not only the visible patch. A north-facing elevation, a tree shadow, a leaking gutter, or a roof-plane obstruction can explain why one section stays damp while other slopes remain clean.
How Long and How Much Does Moss Removal Take?
A low-slope, one-story roof with light moss typically takes 2-4 hours for preparation, dry removal, gutter clearing, treatment, and cleanup. Thick growth, slow biocides, steep access, and weather delays can extend the process from one day to several weeks before the dead moss disappears.
| Project type | DIY time | Typical DIY cost | Typical professional cost |
|---|---|---|---|
| Light patch, 500 sq. ft. | 2-3 hours | $25-$60 | $150-$350 |
| Medium growth, 1,500 sq. ft. | 4-8 hours | $50-$150 | $340-$800 |
| Heavy growth, 1,700 sq. ft. | 1-2 days plus treatment time | $75-$200 | $700-$1,200 |
| Fragile or steep roof | Not recommended | Not applicable | Quote required |
The most important cost variable is access. A small steep roof may cost more than a large low-slope roof because fall protection, setup time, and specialized labor increase the job.
FAQ
Does baking soda kill moss on a roof?
Baking soda is not a dependable primary treatment for established roof moss. It may affect small surface patches in some conditions, but it provides no reliable control for thick mats, does not repair lifted shingles, and can enter soil through runoff. Use a product labeled for the roofing material instead.
Can I use vinegar to remove roof moss?
Household vinegar is generally a weak and short-lived roof-moss solution. Acetic acid can affect plants, metals, and coatings, while household concentrations may not penetrate dense moss. A labeled roof biocide provides clearer application, dwell-time, and runoff instructions.
Should I remove moss in summer or winter?
Dry, mild weather is usually safer than winter because wet, frozen, or icy roofing increases fall risk. In many regions, late spring or early fall provides workable temperatures, but the product label and local forecast determine the acceptable application window.
Will roof moss grow back after treatment?
Roof moss can return after treatment when shade, dampness, debris, and poor drainage remain. Wet, heavily shaded roofs may show regrowth within 12-24 months, while roofs with better airflow and regular gutter maintenance can remain clear for several years.
Can moss be removed without chemicals?
Light, loose moss can sometimes be removed with a soft brush and careful downward strokes. Dense or firmly attached growth usually needs a labeled treatment to reduce the force required. Chemical-free removal is not safer if it requires dangerous roof access or aggressive scraping.
Does roof moss mean I need a new roof?
Roof moss alone does not prove that replacement is necessary. Replacement becomes more likely when inspection finds widespread granule loss, brittle or curled shingles, recurring leaks, exposed underlayment, rotten decking, or roofing beyond its expected service life.
The Bottom Line
To get rid of moss on roof surfaces safely, inspect the material and damage first, remove thick growth downward with minimal pressure, clear every gutter and downspout, and apply a roof-compatible treatment under label-approved conditions. Reduce shade and moisture afterward, because cleaning without prevention often allows roof moss to return within 12-24 months.


