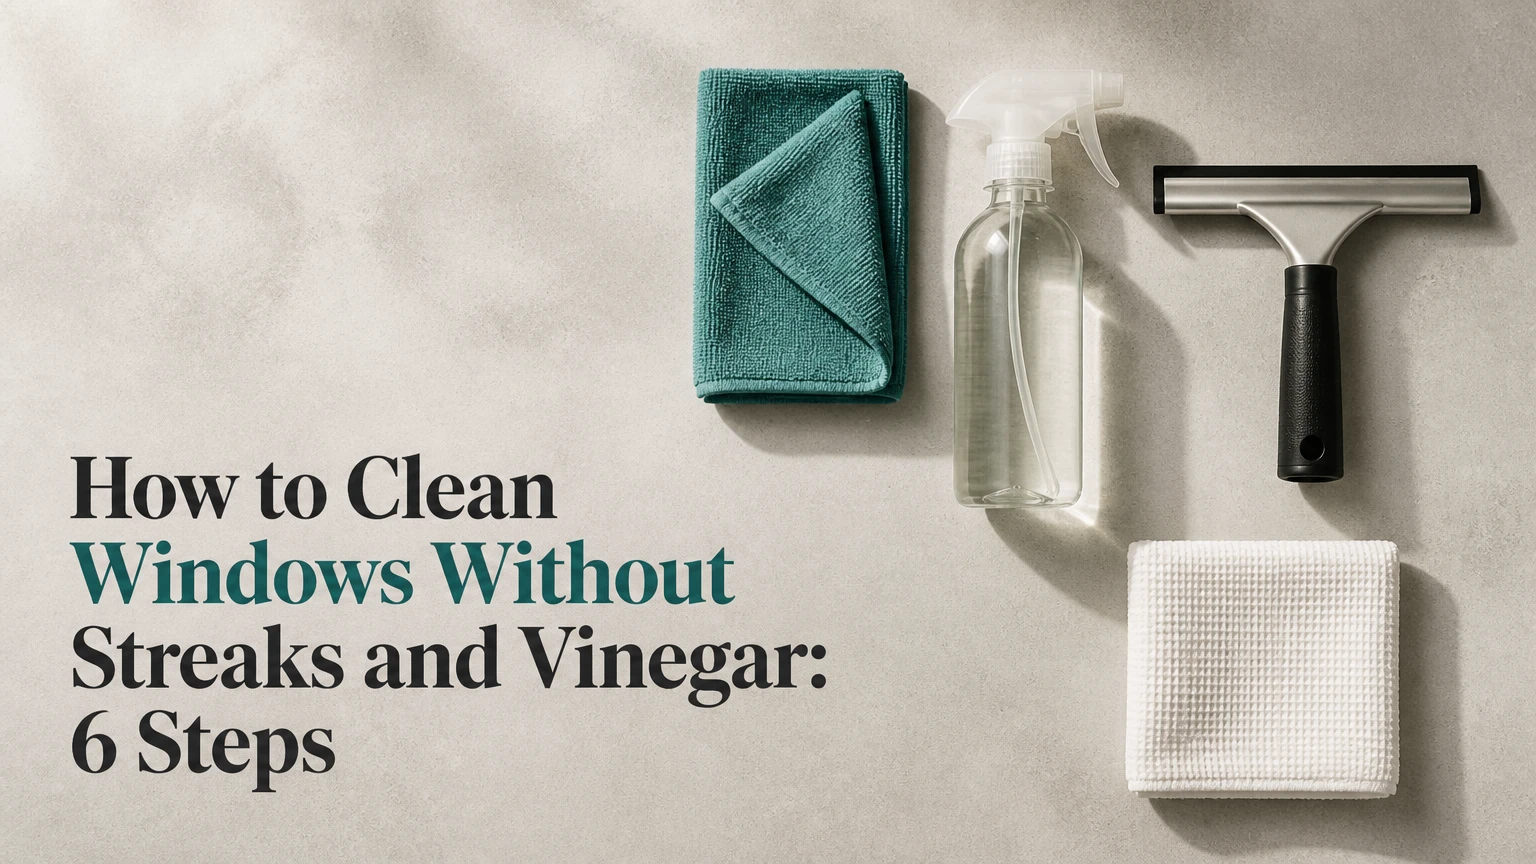
Clean windows without vinegar in six controlled steps: inspect, dust, mix diluted dish soap, wash, squeegee, and detail. Expect 10-15 minutes per average window at an easy skill level, with success determined mainly by cool glass, minimal soap, and a clean rubber blade.
Before You Start
Choose a cloudy period or work when the glass is shaded and cool to the touch. Direct sun heats the pane, causing water to evaporate before the squeegee can remove the solution. Do not clean exterior glass from an unsafe ladder position or lean outside a window opening.
Time, difficulty, and cost
- Time: 10-15 minutes for one average-sized window. Allow 15-25 minutes for a large, neglected, or divided window.
- Difficulty: Easy for reachable interior windows; moderate for exterior windows and large panes.
- Typical cost: $10-$35 if you need basic supplies. Existing household items can reduce the additional cost to about $2-$5 for soap and replacement cloths.
- Best working condition: Shaded glass, moderate temperature, little wind, and enough time to finish one pane without interruption.
Tools and materials checklist
| Item | Quantity or specification | Typical cost | Purpose |
|---|---|---|---|
| Liquid dish soap | 1/2 teaspoon | $2-$5 per bottle | Loosens oily soil |
| Warm water | 3.8 liters, or 1 gallon | Usually negligible | Dilutes the soap |
| Bucket | 5-10 liter capacity | $5-$12 | Holds the cleaning solution |
| Microfiber cloths | 3-4 clean, lint-free cloths | $6-$15 | Dusting, blade wiping, and drying |
| Squeegee | Sharp rubber blade, sized to pane | $8-$20 | Removes liquid without wiping film |
| Scrubber or sponge | Nonabrasive, or microfiber applicator | $3-$10 | Spreads the solution |
| Dry towel | 1 large towel | Existing or $3-$8 | Protects floors and catches drips |
| Optional soft brush | 1 small brush | $3-$8 | Cleans tracks and corners |
Use only a nonabrasive scrubber. Avoid scouring pads, razor blades on coated glass, and cloths washed with fabric softener, because residue and scratches can remain after the water is removed.
Six-step summary
| Step | Action | Typical time | Most common mistake |
|---|---|---|---|
| 1 | Inspect the glass and prepare the area | 2-3 minutes | Working in direct sun |
| 2 | Dry-clean frames, tracks, sill, and glass | 2-4 minutes | Wetting dust into muddy streaks |
| 3 | Mix diluted dish soap | 1 minute | Adding too much soap |
| 4 | Wash the entire pane | 2-4 minutes | Leaving the glass dripping |
| 5 | Squeegee in overlapping passes | 2-4 minutes | Using a dirty or damaged blade |
| 6 | Dry edges and inspect the result | 1-2 minutes | Leaving water in the gaskets |
Phase 1: Prepare the Window
Step 1: Inspect the Glass and Protect the Work Area
Inspect the window, choose a shaded time, and protect the sill and floor before applying water.
Check for loose grit, hard water deposits, tape, paint, scratches, tint, and manufacturer-applied coatings. Look at the frame and gasket for loose sealant. If the glass has a specialty film, follow its care instructions first; some films prohibit ammonia, abrasive tools, or concentrated detergent.
Place a large dry towel beneath an interior window. Open curtains and move nearby electronics, books, and furniture. For a double-hung window, unlock and tilt it only if the manufacturer’s mechanism allows safe access. Clean reachable exterior sections from the ground or a secure platform, not by leaning through the opening.
Work on one pane at a time. If the glass feels hot, wait until shade reaches it. A typical pane should remain wet for the entire washing and squeegee sequence.
You’ll know it worked when the work area is protected, the pane is cool or shaded, and you can reach every part without stretching or climbing unsafely.
The common mistake is starting with a hot pane or an unstable ladder. Avoid both. Stop and change the setup before cleaning.
Phase 2: Remove Dry Soil
Step 2: Dry-Clean the Frame, Tracks, Sill, and Glass
Remove loose dust, cobwebs, and grit with a dry microfiber cloth before wetting the glass.
Fold a clean, dry microfiber cloth into quarters. Wipe the top frame first, then the side frames, sill, tracks, and finally the glass. Use a soft brush or the folded cloth to loosen dirt from corners and drainage channels. On exterior glass, brush away sand, pollen, and insect debris before introducing water.
Do not press hard against gritty glass. Lift the cloth, shake it outside, or change to a clean face when it becomes visibly dirty. Wipe the sill separately so soil from it does not return to the pane. If the frame is heavily soiled, use a second cloth rather than using the glass cloth on the frame.
For loose cobwebs, a vacuum with a soft brush attachment works well. Keep the nozzle from touching the pane. Remove stickers, tape, or paint separately instead of grinding them into the wet surface.
You’ll know it worked when a dry finger lightly passed over the pane encounters no loose grit, and the corners no longer contain visible dust.
The common mistake is skipping dry removal because the glass “will be washed anyway.” Water turns loose soil into abrasive slurry and makes the first wet pass much harder.
Phase 3: Mix the Cleaning Solution
Step 3: Mix 1/2 Teaspoon of Soap Into Warm Water
Add 1/2 teaspoon of liquid dish soap to 3.8 liters, or 1 gallon, of warm water and mix gently.
Fill a clean 5-10 liter bucket with 3.8 liters of warm water. Add the soap after filling the bucket so the stream does not create unnecessary foam. Stir with the scrubber or your hand until the water is lightly cloudy or just slightly sudsy.
The solution should feel slippery but not thick. If foam covers the surface, you used too much agitation or detergent. Do not add window cleaner, bleach, ammonia, or other chemicals to this mixture. Vinegar is unnecessary for ordinary soil, and combining cleaners can create unsafe fumes or leave a residue.
Keep a separate clean-water container available if the pane is very dirty. Rinse the applicator in that water first, then reload it from the soap solution. This prevents the main bucket from becoming muddy.
You’ll know it worked when the bucket contains mostly clear warm water with a small amount of suds, not a layer of dense foam.
The common mistake is treating more soap as more cleaning power. Excess detergent dries into a film that produces haze and attracts dust. Measure it.
Phase 4: Wash the Glass
Step 4: Wet and Scrub the Entire Pane
Wet the scrubber, wring it until damp rather than dripping, and wash the glass from the top down.
Dip the microfiber applicator or nonabrasive sponge into the diluted solution. Lift it over the bucket and wring it lightly. It should hold enough liquid to loosen soil but should not release a stream when pressed against the pane.
Wash the upper section first, then work downward in overlapping horizontal or vertical movements. Use moderate pressure, especially around fingerprints and grease. Clean corners and the strip beside the gasket with the edge of the applicator, but do not force water into vents, weep holes, or damaged seals.
For a large pane, divide it into sections about 45-60 centimeters wide. Re-wet the scrubber whenever it stops sliding freely. Do not allow a dirty applicator to drag grit across otherwise clean glass. If the water turns gray, rinse or replace the cloth.
Use the same solution on ordinary glass and many standard vinyl or aluminum frames, but keep excess water away from wood frames and unfinished surfaces.
You’ll know it worked when every area looks evenly wet, fingerprints and soil have lifted, and no dry dirty patches remain before the squeegee pass.
The common mistake is flooding the pane. Excess water runs into the frame and leaves more edge work, while insufficient moisture leaves dirt behind.
Phase 5: Remove Water Without Leaving Streaks
Step 5: Squeegee the Pane in Overlapping Passes
Create a dry 2-centimeter starting strip, then pull a clean squeegee across the pane at about a 45-degree angle.
Use a dry microfiber cloth to wipe a 2-centimeter strip along the top or one side edge. Rest the squeegee rubber in that dry zone. Hold the handle so the blade contacts the glass at roughly 45 degrees, then pull in one continuous stroke with light, even pressure.
For a vertical method, start at the upper corner and pull downward. For a horizontal method, begin at the dry side strip and pull across. Choose one direction for the pane so any faint lines are easy to identify. Overlap the next pass by about 2 centimeters. Keep the working edge in contact with the glass, and reduce pressure only enough to prevent chatter.
After every stroke, wipe the entire rubber blade dry with a clean microfiber cloth. Check the rubber for grit before placing it back on the glass. If the pane is wider than the squeegee, use parallel passes rather than trying to stretch across it.
A professional technique can use a continuous “S” pattern, but straight overlapping pulls are easier for beginners and produce reliable results.
You’ll know it worked when each pass leaves a dry, uniform path without a thin water line at either side.
The common mistake is lifting the blade, stopping midway, or wiping it only occasionally. Those actions leave tracks and redistribute dirty water.
Phase 6: Detail and Check the Finish
Step 6: Dry the Edges, Sill, and Remaining Water
Wipe the perimeter and frame with a completely dry microfiber cloth, then inspect the pane from two angles.
Wrap a dry cloth around one finger and run it along the bottom gasket, side edges, corners, and any remaining wet border. Turn to a dry section of the cloth as soon as it feels damp. Wipe the sill, frame, handles, and floor towel before they drip onto the finished glass.
Stand several feet away and view the pane from the left and right. Natural light reveals streaks that may be invisible straight on. A remaining line usually needs a targeted second pass, not another full wash. Lightly dampen a clean cloth with plain water, wipe the affected area, and immediately squeegee it.
For divided-light windows, detail each small pane separately. Check that no water remains in the gasket or frame channel, especially at the lower corners.
You’ll know it worked when the glass is clear from multiple angles, the edges are dry, and the sill contains no standing water.
The common mistake is using the same damp cloth for every edge. A wet cloth only moves water around. Use multiple clean, dry sections.
Common Mistakes and How to Fix Them
Cloudy film or overall haze
Too much dish soap, old polish, or residue from a commercial cleaner usually causes a uniform cloudy appearance. Rewash the glass with plain warm water and no soap, then squeegee it dry. Repeat once if the film is heavy.
If haze remains after two rinses, inspect for mineral deposits, etched glass, or a failing window film. Detergent cannot remove etched damage.
Vertical or horizontal lines
A straight repeated line usually indicates grit, a nick, or a hardened section of squeegee rubber. Rinse the blade, wipe it with a damp cloth, and inspect it under bright light. Replace the rubber if it is torn, curled, brittle, or permanently nicked.
Do not compensate by pressing harder. Pressure can make the damaged edge leave a wider track.
Water dries before you can squeegee
Hot glass, direct sunlight, wind, and oversized sections cause premature drying. Stop, rinse the pane with clean water if residue has started forming, and work in 45-60 centimeter sections. Move to the shaded side of the building or clean earlier or later in the day.
Small beads remain around the perimeter
The rubber blade may not reach the gasket, or the edge may have been overloaded with solution. Use a dry microfiber corner to absorb the border, then make a short squeegee pass parallel to the frame.
If beads return, inspect whether the gasket is uneven. Do not push water into a damaged seal.
Streaks appear only in certain light
This often means a thin film remains rather than the glass being scratched. Use a clean cloth dampened with plain water on the affected area, followed immediately by the squeegee. Check the cloth for fabric-softener residue, which can transfer a film.
Paper fibers or lint remain
Replace paper towels with washed, lint-free microfiber cloths. Wash microfiber separately without fabric softener and avoid dryer sheets. A visibly linty cloth should be used for frames or laundry, not final glass detailing.
Variations for Different Windows and Tools
Exterior windows with heavy soil
Rinse loose soil with a gentle hose stream or a well-rinsed scrubber before applying the soap solution. Do not use a high-pressure jet against seals, screens, or old glazing. Start at the top and control runoff so dirty water does not dry on the lower panes.
Use an extension pole only from a stable position and within its rated reach. If the window requires leaning, roof access, or a ladder beyond safe footing, hire a window professional.
Large panes or many windows
Work one pane or 45-60 centimeter section at a time. Keep the bucket close, but do not place it where someone can trip. Refresh the solution when it becomes visibly dirty. For a full house, prepare fresh solution after roughly 8-12 average panes, depending on soil level.
A 30-40 centimeter squeegee suits many residential panes. A smaller 20-25 centimeter blade handles divided lights and narrow sections more easily. Wider tools cover large glass faster but require a straighter edge and more control.
No squeegee available
Use two microfiber cloths: one damp with the diluted solution and one completely dry. Wash a small section, wring the damp cloth firmly, then dry the section immediately with the second cloth using straight overlapping strokes.
This can work for mirrors and small interior panes, but it is slower and more prone to lint or film on large windows. Do not use a bath towel or paper towel for the final polish.
Hard water stains, tape, and paint
Identify the deposit before choosing a treatment. Mineral spots look white or chalky, tape leaves a sticky outline, and paint creates a raised or hard-edged mark.
For mineral deposits, test a manufacturer-approved glass descaler on an inconspicuous area and follow its label. Vinegar is not required for ordinary cleaning, but stubborn minerals may need a dedicated acidic product. Never use acid on marble, limestone, or metal frames without checking compatibility.
For adhesive, use a glass-safe adhesive remover and a plastic scraper. For dried paint, soften it only with a product approved for the glass and coating. Do not scrape tinted, laminated, or coated glass with a metal blade unless the manufacturer permits it.
| Problem deposit | First action | Avoid |
|---|---|---|
| Dust or pollen | Dry microfiber or soft brush | Wetting it immediately |
| Hard water mineral spots | Test a glass-safe descaler | Abrasives and unknown acids |
| Tape residue | Glass-safe adhesive remover | Scrubbing dry adhesive |
| Paint drips | Manufacturer-approved softening product | Metal scraping on coated glass |
| Scratched or etched glass | Stop cleaning and assess damage | Repeated aggressive polishing |
How Long Does It Take and What Does It Cost?
For one average reachable window, preparation takes about 2-3 minutes, mixing takes 1 minute, washing takes 2-4 minutes, squeegeeing takes 2-4 minutes, and detailing takes 1-2 minutes. That produces the practical total of 10-15 minutes.
Large panes, divided lights, exterior grime, and repeated mineral spots push the time toward 15-25 minutes per window. A batch of 10 ordinary windows commonly takes about 2-3 hours once setup, bucket changes, and breaks are included.
| Project | Typical time | Typical additional cost |
|---|---|---|
| One clean interior pane | 10-15 minutes | $2-$10 |
| One dirty or large pane | 15-25 minutes | $2-$15 |
| Ten average windows | 2-3 hours | $5-$35 |
| Specialty stain treatment | Add 10-30 minutes | $5-$20 |
These are typical household figures, not fixed service prices. Cost rises when you need extension tools, specialty stain removers, replacement squeegee rubber, or professional access equipment.
Frequently Asked Questions
Can I clean windows with only warm water?
Yes, warm water alone can remove light dust and fresh water-soluble soil, especially when you use a squeegee. It is less effective against fingerprints, cooking film, and oily deposits. Start with plain water when a previous cleaner left haze, then add only 1/2 teaspoon of dish soap per 3.8 liters when grease requires more cleaning power.
Should I clean the inside or outside first?
Clean the exterior first when both sides need work, because exterior soil is heavier and can transfer onto the frame or sill. Then clean the interior with a fresh cloth and solution. If you are checking for streaks, use vertical squeegee strokes outside and horizontal strokes inside so you can identify which side needs correction.
Is dish soap safe for tinted windows?
Diluted dish soap is often tolerated by ordinary window glass and many films, but film manufacturers set different rules. Check the tint or coating care instructions before cleaning. Avoid ammonia, abrasive pads, concentrated detergent, and sharp tools. Test the diluted solution at a corner and stop if the film clouds, lifts, or changes color.
Why do my windows streak even with a clean cloth?
Streaks can come from excess detergent, hot glass, dirty rinse water, a damp drying cloth, or a damaged squeegee edge. Rinse the pane with plain water, use a fresh dry microfiber cloth, and make one controlled squeegee pass. If the same line returns in the same place, inspect the blade for a nick.
How often should windows be cleaned?
Many homes need interior cleaning two to four times per year and exterior cleaning one to four times per year, depending on pollen, traffic dust, weather, and nearby trees. Clean sooner when deposits become visible. Removing light soil regularly is easier than restoring neglected glass with mineral buildup.
Can I use newspaper instead of microfiber?
Avoid newspaper for a dependable finish. Ink, paper fibers, and surface treatments can transfer to the glass, while the paper becomes weak when wet. Use a clean, lint-free microfiber cloth for dusting and edges, and rely on the squeegee to remove most liquid from the pane.
Conclusion
To clean windows without streaks and vinegar, inspect the pane, remove dry grit, mix 1/2 teaspoon of dish soap into 3.8 liters of warm water, wash in sections, squeegee at about 45 degrees, and dry the edges. The full method takes 10-15 minutes per average window, and a clean blade plus cool glass determines the finish.


