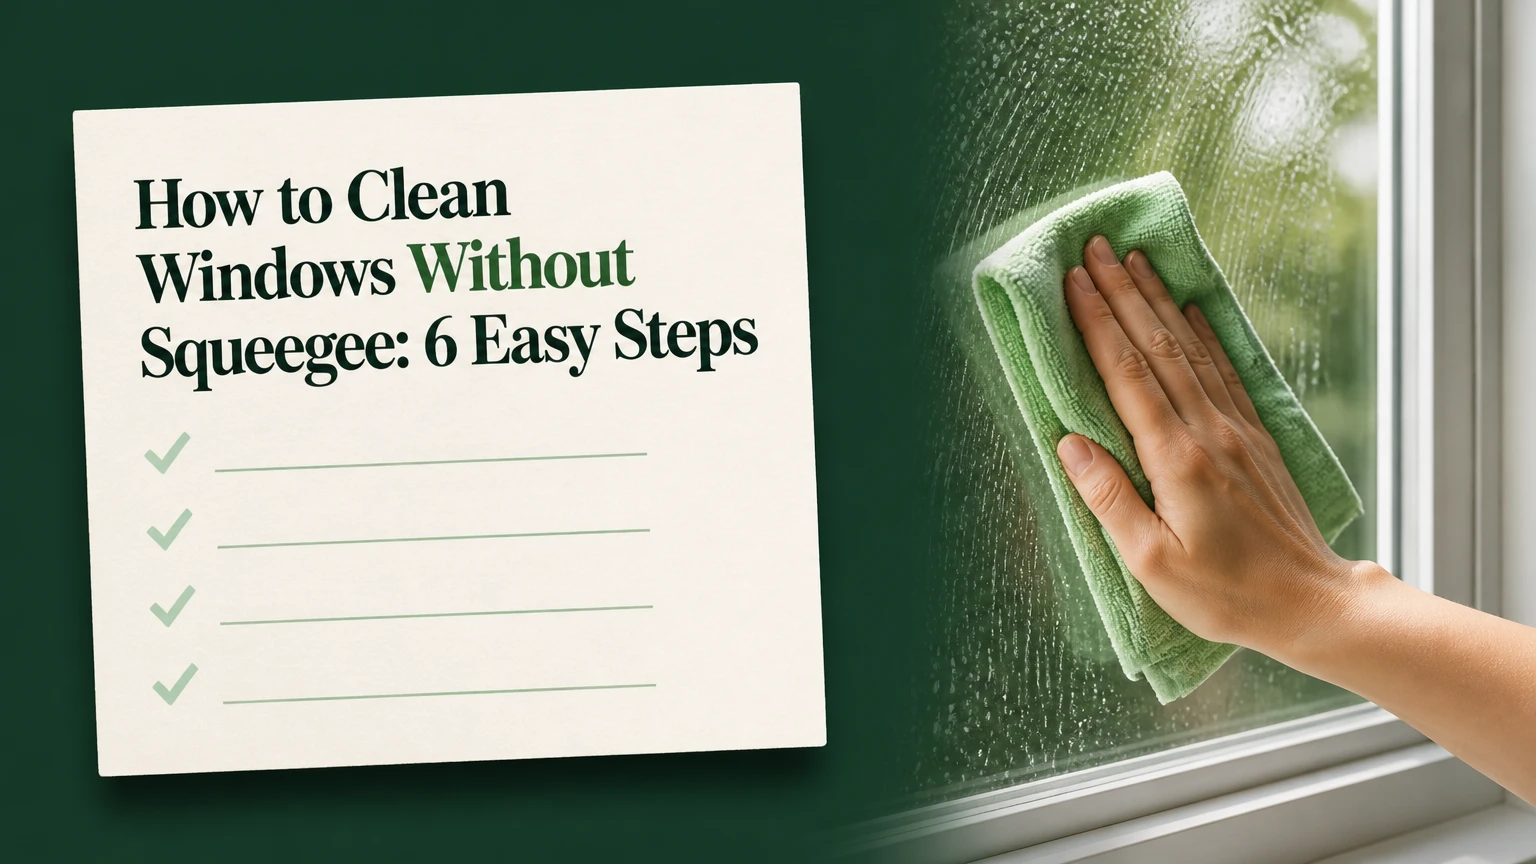
Clean windows without a squeegee in six steps: inspect, dust, mix a low-soap solution, mist, wipe with microfiber, and buff dry. Allow 8-12 minutes per ordinary window, use distilled water to reduce mineral spots, and work out of direct sunlight. The main success factor is changing to a dry cloth before streaks form.
Before You Start
Set aside about 8-12 minutes for one ordinary interior window, or 15-25 minutes for a large or heavily soiled pane. The method is beginner-friendly, but safe access matters more than speed for exterior glass. Never lean out of an upper-floor window or stretch sideways from a ladder.
The cost is typically $8-$25 if you need a spray bottle, microfiber cloths, vinegar, and distilled water. Existing household supplies can reduce the additional cost to roughly $2-$6.
Tools and Materials Checklist
| Item | Quantity or spec | Typical cost | Purpose |
|---|---|---|---|
| White vinegar | 2 cups, approximately 475 milliliters | $1-$4 | Cuts light grease and residue |
| Distilled water | 2 cups, approximately 475 milliliters | $1-$3 | Reduces mineral spotting |
| Liquid dish soap | 1/2 teaspoon | Usually already available | Helps loosen oily soil |
| Spray bottle | Empty, 32-ounce capacity | $2-$8 | Applies a controlled fine mist |
| Microfiber cloths | 4 clean, lint-free cloths | $4-$12 | Washing, detailing, and buffing |
| Cotton cloth | 1 clean cloth, optional | $1-$5 | Controls static after dry wiping |
| Black-and-white newspaper | 3-4 large sheets, optional | Usually free | Backup buffing material |
| Rubbing alcohol | 1/4 cup, optional | $2-$5 | Breaks down grease or adhesive |
| Vacuum with brush tool | Optional | Existing tool | Cleans tracks and corners |
| Plastic scraper | Optional, nonmetal | $2-$8 | Lifts softened adhesive or paint |
Wash microfiber cloths without fabric softener, bleach, or dryer sheets. Those products can leave substances that smear glass. Reserve cloths used with wax, polish, or fabric softener for other jobs.
Check the weather and the glass temperature. Shade is best. If the sun is heating one pane, clean another window first, or wait until the pane cools.
Six-Step Process
Step Summary
| Step | Action | Typical time | Most common mistake |
|---|---|---|---|
| 1 | Inspect and protect the work area | 1-2 minutes | Spraying near stone or electronics |
| 2 | Dust the frame, sill, tracks, and glass | 2-4 minutes | Turning dry grit into wet mud |
| 3 | Mix the low-soap cleaning solution | 1 minute | Adding too much soap |
| 4 | Mist a manageable section of glass | 30-60 seconds | Flooding the pane |
| 5 | Wipe with folded microfiber | 3-6 minutes | Using one saturated cloth |
| 6 | Buff, inspect, and correct defects | 2-4 minutes | Leaving corners or edges wet |
Step 1: Inspect the Glass and Protect Nearby Surfaces
Inspect the window, identify sensitive surfaces, and protect the sill, frame, flooring, and nearby objects before applying liquid.
Look for tinted film, decorative coatings, loose seals, cracked glass, peeling paint, natural stone, and unfinished wood. Put a towel along the sill. Move speakers, papers, and electrical equipment away from the spray area. If the window has film or a manufacturer care label, follow that label instead of assuming vinegar is suitable.
Test the planned solution on a 2-inch hidden area near a corner. Wait until it dries, then check for haze, color change, tackiness, or damage. Do not use a metal scraper on coated glass, film, or scratched surfaces.
For exterior windows above ground level, use an extension pole with a compatible microfiber head, or hire a professional. If you use a ladder, OSHA standard 1926.1053 specifies a 4-to-1 setup for a non-self-supporting ladder, meaning the base moves 1 foot away for every 4 feet of vertical height. Keep both hands available whenever possible.
You’ll know it worked when the glass has no visible damage, the surrounding surfaces are protected, and you can reach the pane without leaning or overextending.
Common mistake: Spraying first and checking the frame later can stain porous stone or swell unfinished wood. Protect those surfaces before opening the bottle.
Step 2: Dust the Frame, Sill, Tracks, and Glass
Remove loose dust, cobwebs, grit, and insects from the frame, sill, tracks, and glass before wet cleaning.
Start at the top of the window. Use a dry microfiber cloth on the upper frame, then the side frames, lower frame, sill, and tracks. For tracks, use a vacuum brush or a dry narrow cloth wrapped around a blunt plastic tool. Do not force the tool against the seal.
Fold the cloth into quarters. This creates eight usable sides when you turn and refold it, so a dirty side does not rub grit across the pane. Wipe the glass from top to bottom with light pressure. If the cloth picks up visible sand or black debris, replace it rather than continuing.
Clean the room-facing side first. For exterior glass, remove loose dirt with a soft brush or a low-pressure hose where appropriate, but never blast water into seals or vents.
You’ll know it worked when a dry cloth passes over the pane without collecting visible grit, and the tracks contain no loose particles that could run onto clean glass.
Common mistake: Wetting dusty glass creates abrasive mud. Most guides skip this, then the final buffing step spreads the same soil into streaks.
Step 3: Mix the Low-Soap Cleaning Solution
Combine 2 cups of distilled water, 2 cups of white vinegar, and 1/2 teaspoon of liquid dish soap in a clean 32-ounce spray bottle.
Pour in the distilled water first, followed by the vinegar and dish soap. This order reduces splashing and foam. Close the bottle and roll or shake it gently for 2-3 seconds. Do not whip the mixture into bubbles, because foam makes it harder to judge how much liquid is on the glass.
Label the bottle if you will store it. Keep it away from children, pets, food, and heat. Never add bleach, ammonia, bathroom cleaner, or other products. The CDC’s household cleaning guidance warns against mixing bleach with other cleaners because dangerous vapors can form. Rubbing alcohol also belongs in a separate, targeted treatment rather than an improvised mixture with unknown products.
The equal-parts vinegar and distilled-water formula is a typical practitioner mixture, not a universal manufacturer specification. For delicate film or uncertain coatings, begin with distilled water alone.
You’ll know it worked when the bottle contains a clear, lightly scented solution with little or no foam and the trigger produces a fine mist.
Common mistake: A teaspoon or tablespoon of soap can leave a greasy film. Measure 1/2 teaspoon, even if the window looks very dirty.
Step 4: Mist a Manageable Section of Glass
Apply a fine mist from the top of the pane downward, covering only an area you can wipe before it begins to dry.
Hold the bottle 8-12 inches from the glass. Use 2-4 trigger pulls for a standard 2-by-3-foot pane, then increase gradually for larger glass. The surface should look evenly damp, not flooded. On a large window, work in sections about 2 feet wide rather than spraying the entire pane at once.
Avoid the frame, seals, vents, and sill. Spray the cloth instead when cleaning a narrow edge or a window with a sensitive frame. For kitchen grease, let the solution sit for 30-60 seconds, but do not allow it to dry. For ordinary dust, begin wiping immediately.
Do not clean in direct sunlight, on hot glass, or in strong wind. The Consumer NZ window-cleaning guidance also recommends controlling the working area and removing loose soil before applying liquid.
You’ll know it worked when the mist forms a continuous damp film with no dry islands, heavy runs, or pooling along the lower edge.
Common mistake: Heavy spraying does not clean faster. It saturates the cloth, sends liquid into the frame, and leaves more residue to remove.
Step 5: Wipe the Wet Glass With Folded Microfiber
Wipe the damp glass immediately with a clean, folded microfiber cloth using overlapping S-shaped or Z-shaped passes from the top corner to the bottom corner.
Use firm, even pressure, but do not press hard enough to flex the glass or drag grit. Start at the upper-left corner and move across in a tight S pattern, overlapping each pass by about 1-2 inches. Finish at the lower-right area. For a rectangular pane, you can instead use horizontal passes followed by one vertical edge pass.
Refold the cloth as soon as its working side looks damp or dirty. A typical cloth should handle one ordinary pane before needing replacement, but grease and large panes may require two or more. Keep one cloth for washing, one for edges, and two completely dry cloths for finishing.
Wipe the perimeter last with a narrow folded edge. Most streaks near the frame come from solution collecting in the seal or from a cloth that dragged dirt out of the corner.
You’ll know it worked when the pane looks uniformly clean while still slightly damp, with no visible crumbs, fingerprints, or untreated strips when viewed from an angle.
Common mistake: Continuing with a saturated cloth redistributes dirty water. Change cloths at the first sign of a gray trail, not after the pane dries.
Step 6: Buff Dry, Inspect, and Correct the Pane
Buff the glass with a completely dry microfiber cloth, then inspect it from two angles and correct any remaining marks.
Use a separate dry cloth folded into quarters. Wipe in tight circles over small damp areas, then make straight vertical passes from top to bottom. Circular buffing removes local moisture; straight final passes make leftover streaks easier to see. Polish the corners and lower edge with a dry corner of the cloth.
Hold a flashlight or stand at a 45-degree angle to the glass. Inspect from the left and right sides because streaks can disappear when viewed straight on. If you see a streak, lightly mist only that area with distilled water, wipe once with a clean damp microfiber cloth, and dry it immediately.
For newspaper, use only clean black-and-white newsprint. Crumple 3-4 large sheets loosely and buff after the main wipe. Do not use colored paper, glossy magazine pages, or ink that transfers when damp.
You’ll know it worked when the pane is clear from both angles, the cloth leaves no lint, and no wet line remains along the bottom or frame.
Common mistake: A damp finishing cloth creates new streaks. The moment it stops gliding dry, replace it.
Common Mistakes and How to Fix Them
Persistent streaks
A saturated cloth, excessive spray, soap residue, or direct sunlight usually causes streaks. Stop wiping, switch to a clean bone-dry microfiber cloth, and buff the marks. If they remain, mist the area with distilled water, wipe once, and dry immediately. Reduce the next application to a fine, even mist.
Cloudy film or greasy smudges
Old wax-based cleaner, kitchen grease, or adhesive can remain after ordinary washing. First wipe the pane with the standard solution. For persistent residue, mix 1/4 cup rubbing alcohol into a fresh batch of the vinegar solution only if the surface manufacturer permits it, test a hidden area, and ventilate the room. Keep alcohol away from flames and never mix it with bleach.
For tape residue, soften the spot with the solution, wait 30 seconds, and lift it with a plastic scraper held almost flat. Never use a razor on coated glass or window film.
White hard-water spots
Vinegar may loosen light mineral deposits but will not always remove etched or long-standing spots. Lay a vinegar-dampened cloth over the mark for 2-5 minutes, keeping the frame and stone dry, then wipe and rinse with distilled water. Do not scrub with abrasive powder or a rough pad. If the glass remains cloudy, the deposit may have etched the surface and needs professional glass restoration.
Dust returns immediately
Static can develop after repeated dry wiping, especially with polyester-heavy cloths in dry air. Lightly mist the pane with pure distilled water and make one pass with a clean, damp cotton cloth, then dry with microfiber. Avoid repeatedly polishing the same area after it is already clean.
Water runs into the frame
The pane was oversprayed, the nozzle was too close, or the sill was not protected. Stop spraying, wipe the frame and seal dry, and use a cloth sprayed away from the window for the edges. Check that drainage openings remain clear, but do not push tools into them.
Lint or black fibers remain
The cloth may be worn, contaminated, or washed with fabric softener. Replace it with a clean glass-only microfiber cloth. Wash it separately using ordinary detergent, skip fabric softener and dryer sheets, and inspect it under bright light before reuse.
Variations for Different Windows and Constraints
Greasy kitchen windows
Use the same 2:2 vinegar-to-distilled-water ratio and 1/2 teaspoon of dish soap for light grease. Mist a small section, let it sit for 30-60 seconds, and wipe before drying. Heavy cooking film may need a second pass with 1/4 cup rubbing alcohol added to a fresh solution, after a compatibility test.
Clean the range hood and nearby frame first. Otherwise, airborne grease can settle back onto the glass during finishing.
Exterior windows
Remove loose grit with a soft brush first, then use an extension-pole microfiber head if the pane is reachable from the ground. Use smaller wet sections because wind accelerates drying. Work on a cloudy, calm day and keep solution away from siding, untreated wood, and outdoor electrical fixtures.
Do not climb onto roofs, exterior ledges, chairs, or furniture. A professional is the correct alternative for upper-floor panes, damaged seals, or windows that cannot be reached while maintaining stable footing.
Tinted or coated glass
Read the film or window manufacturer’s care instructions first. Use distilled water and a clean microfiber cloth if vinegar or alcohol is not approved. Spray the cloth rather than the glass, avoid abrasive scrapers, and do not press hard along film edges.
Test any solution in a hidden corner. If the test area becomes hazy, tacky, discolored, or unusually reflective, stop and use the approved cleaner.
No spray bottle
Mix the solution in a bowl and dampen, rather than soak, a microfiber cloth. Wring it until no water drips, wipe a 1-2 square-foot section, and immediately follow with a dry cloth. This works for small panes and mirrors but is slower for large windows because the cloth becomes saturated sooner.
No microfiber cloths
Use clean, tightly woven cotton cloths, old cotton T-shirts, or lint-free glass cloths. Avoid paper towels that shed fibers, terry towels that leave loops, and fabric washed with softener. Newspaper can buff a mostly clean pane, but it is less reliable for the initial wash.
How Long Does It Take and What Does It Cost?
For a standard interior window, dusting takes 2-4 minutes, spraying and wiping takes 3-6 minutes, and buffing and inspection takes 2-4 minutes. Heavy grease, multiple panes, tracks, or hard-water deposits move the total toward 15-25 minutes.
| Job size | Typical time | Typical added cost |
|---|---|---|
| One small interior pane | 5-10 minutes | $2-$8 |
| One ordinary window with frame | 8-12 minutes | $2-$10 |
| Large or greasy window | 15-25 minutes | $3-$15 |
| Four to six ordinary windows | 40-75 minutes | $5-$20 |
| Reach-limited exterior windows | Varies | Professional quote recommended |
These are typical household figures, not fixed service prices. The largest time variables are access, drying speed, soil type, and whether the tracks need separate cleaning.
Frequently Asked Questions
Can I clean windows with vinegar and water only?
Yes. Mix equal parts white vinegar and distilled water for ordinary soil, then apply a light mist and dry with microfiber. Dish soap is optional and useful for light grease, but too much creates residue. For tinted film, coated glass, natural stone, or uncertain frames, check the manufacturer’s instructions before using vinegar.
Is newspaper better than microfiber for glass?
Newspaper can buff a nearly clean pane, but microfiber is the more dependable primary tool because it absorbs liquid and reaches edges without ink transfer. Use only black-and-white newsprint, never glossy magazines or colored paper. If ink smears or the paper becomes damp, discard it and finish with dry microfiber.
Should I rinse the window after using vinegar cleaner?
Usually, no rinse is needed when the solution is lightly applied and wiped completely dry. Rinse with distilled water when the pane has heavy soap residue, when you used rubbing alcohol for buildup, or when mineral deposits were loosened. Always dry the rinse water promptly to prevent new spots.
Why do windows streak even with a clean cloth?
Streaks usually come from too much liquid, soap residue, a hot pane, or a cloth that became saturated. Work in shade, use a fine mist, measure the soap, and change cloths early. Correct a fresh streak with a lightly damp distilled-water cloth followed immediately by a dry microfiber buff.
Can I use this method on mirrors?
Yes, with less liquid. Spray the cloth rather than the mirror, especially near the edges, because liquid can seep behind the reflective coating. Wipe the center first, detail the perimeter with a nearly dry cloth, and buff with dry microfiber. Do not use abrasive tools on decorative or antique mirrors.
How often should I clean windows?
Clean interior glass whenever fingerprints, cooking film, or visible dust affects clarity. Many homes need a light cleaning every 1-3 months and a deeper frame-and-track cleaning once or twice a year. Exterior frequency depends on pollen, traffic dust, salt air, construction, and nearby trees.
Final Check
A successful result requires more than removing visible dirt. Confirm that the frame and tracks are dry, the pane is clear from two viewing angles, corners contain no residue, and no solution has entered the seals. The safest answer to how to clean windows without squeegee is controlled moisture, early cloth changes, and a genuinely dry final buff.


