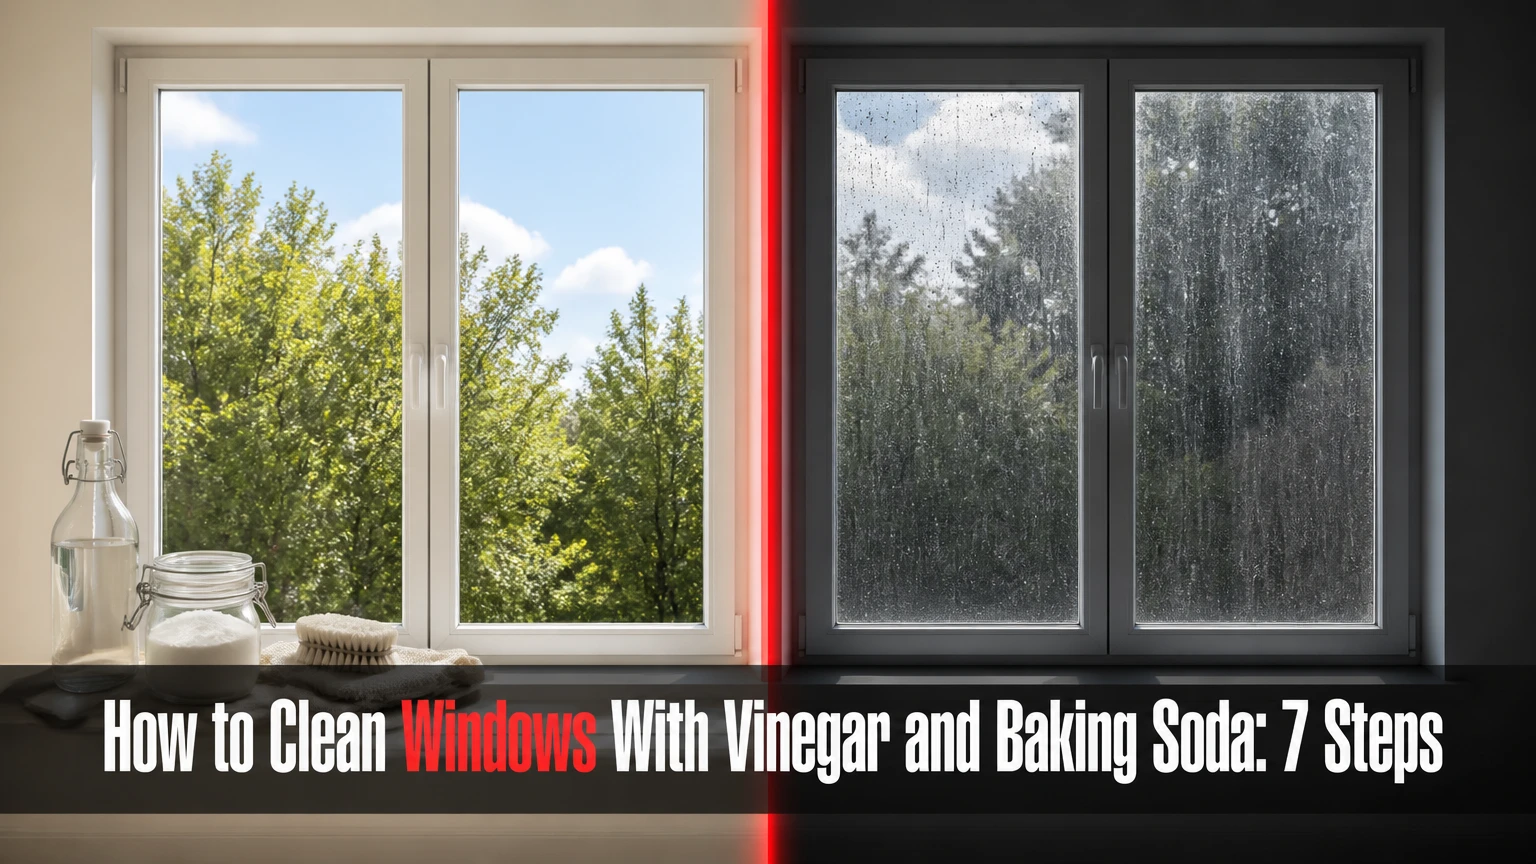
To clean windows with vinegar and baking soda, complete seven steps: inspect the glass, dry-clean the frame, prepare separate treatments, loosen deposits, wash, squeegee, and inspect. Allow 5-10 minutes per window, with low difficulty for accessible panes. Success depends most on removing grit before wiping and preventing the solution from drying.
Before You Start
The method below suits ordinary household glass with light grime, fingerprints, pollen, and moderate water residue. It is not automatically safe for acrylic, delicate antique glass, or unknown window film.
Time, difficulty, and working conditions
- Time: 5-10 minutes per standard window, excluding heavily scaled glass.
- Difficulty: Easy for ground-floor and inward-opening windows; moderate for exterior upper windows.
- Typical DIY cost: Tk 200-Tk 1,000 if you already own a bucket and cloths; a fuller professional-style starter kit commonly costs about Tk 2,500-Tk 6,000.
- Best conditions: Work in shade or on an overcast day. Direct sun can dry vinegar solution before you remove it.
- Frequency: Clean residential windows about twice a year, or more often near roads, construction, trees, or coastal air.
- Safety condition: Never lean outside an unsecured window or use a ladder on unstable ground. Use a water-fed pole from the ground or hire a professional for inaccessible glass.
Tools and materials checklist
| Item | Quantity or spec | Typical cost | Purpose |
|---|---|---|---|
| White vinegar | 250-500 ml | Tk 80-Tk 200 | Dissolves mineral residue |
| Distilled water | 250-500 ml | Tk 50-Tk 150 | Reduces new water spots |
| Baking soda | 2-4 tablespoons | Tk 30-Tk 100 | Loosens grime on frames and tracks |
| Liquid dish soap | 1 teaspoon per 4 liters | Tk 80-Tk 250 | Adds lubrication and lifts oily soil |
| Two buckets or bowls | 1-2 | Tk 150-Tk 600 | Keeps treatments separate |
| Microfiber cloths | 4-6, lint-free | Tk 200-Tk 800 | Washing, rinsing, and drying |
| Scrubber or soft sponge | Non-abrasive | Tk 100-Tk 500 | Agitates dirt |
| Squeegee | 25-35 cm blade | Tk 300-Tk 1,500 | Removes liquid without evaporation |
| Soft brush or vacuum | 1 | Tk 150-Tk 1,500 | Removes dry grit from tracks |
| Plastic scraper | 1 | Tk 50-Tk 200 | Lifts softened residue |
| Optional razor scraper | New blade, used flat | Tk 100-Tk 400 | Removes bonded paint or sap |
| Gloves and eye protection | 1 set | Tk 100-Tk 500 | Protects skin and eyes |
What you must know before starting
Identify whether the window has a manufacturer-applied coating, reflective film, low-emissivity surface, or aftermarket tint. Follow the manufacturer’s instructions when available, because abrasive powders and acidic cleaners can damage some films or seals.
Test every solution on a small corner first. Do not use baking soda as a dry powder on glass. Its particles can trap grit and create fine scratches.
Step-by-Step Window Cleaning Process
Step 1: Inspect the Glass and Secure Your Work Area
Inspect the pane, identify its risks, and establish a safe position before applying any liquid.
Check both sides for cracks, chipped edges, loose putty, failing seals, tinted film, low-emissivity coating, paint, tree sap, and mineral scale. Open or remove the window only if its design allows you to remain inside safely. Move furniture, protect the sill with a towel, and keep children and pets away from the work area.
Test a teaspoon of diluted vinegar, made from equal parts white vinegar and distilled water, on a lower corner. Leave it for 2 minutes, wipe it away, and check for discoloration or film lifting. Test a small amount of damp baking soda paste on the frame, never the glass.
You’ll know it worked when the pane is intact, the test areas show no change, and you can reach the surface without stretching or leaning dangerously.
The common mistake is treating all glass as identical. Stop if the test reveals haze, color transfer, soft film, or residue from the coating. Ask the window manufacturer or use a coating-safe cleaner instead.
Step 2: Remove Screens and Dry-Clean Frames and Tracks
Remove the screen when possible, then remove all loose dust from the frame, sill, and track before wet cleaning.
Label each screen with removable painter’s tape so it returns to the correct opening. Brush or vacuum both sides, then rinse a metal or fiberglass screen outdoors with water and let it dry completely.
Use a soft brush or vacuum crevice tool on the window track, corners, weep holes, and sill. Wipe frames with a dry microfiber cloth first. If the track contains sticky soil, spread a paste of 2 tablespoons baking soda and 1 tablespoon water on the frame or track only. Leave it for 3-5 minutes, agitate with a soft brush, and wipe it away with a damp cloth.
Do not push paste into drainage holes or rubber seals. Never brush dry baking soda across gritty glass.
You’ll know it worked when the track contains no loose sand, pollen, or cobwebs, and a dry cloth no longer picks up visible dust.
The common mistake is wetting a dusty track immediately. Water turns dust into mud, which then transfers onto the clean pane and blocks the drainage channels.
Step 3: Prepare Separate Vinegar and Soap Treatments
Mix the vinegar solution, baking soda paste, and optional soapy wash separately instead of combining them.
For mineral residue, mix 1 part white vinegar with 1 part distilled water in a labeled spray bottle or bowl. For a standard 500 ml batch, use 250 ml vinegar and 250 ml distilled water.
For frame grime, mix 2 tablespoons baking soda with 1 tablespoon water to form a soft paste. Adjust with a few drops of water so it spreads without dripping.
For oily fingerprints or a heavily dirty exterior, fill a bucket with 4 liters of warm water and add 1 teaspoon of liquid dish soap. The water should feel warm, not hot. Use only enough soap to make the surface slippery, not heavily foamy.
Vinegar is acidic and baking soda is alkaline. Mixing them causes fizzing and neutralization, so apply them in separate stages. Never mix either treatment with chlorine bleach, ammonia, or a commercial chemical cleaner.
You’ll know it worked when the vinegar mixture is clear, the baking soda paste is spreadable, and the soap bucket has minimal suds.
The common mistake is pouring vinegar over baking soda on the glass. The dramatic fizz looks active but leaves a weak mixture and can spread gritty particles across the pane.
Step 4: Loosen Mineral Spots and Bonded Debris
Treat mineral spots with diluted vinegar and soften bonded debris with soapy water before scrubbing.
Dampen a microfiber cloth with the 50:50 vinegar solution and place it over hard-water spots for 2-5 minutes. Keep the glass visibly wet during this contact time, but do not let liquid run into wooden frames, wall cavities, or electrical components. Wipe gently, then rinse the area with clean distilled water.
For bird droppings, tree sap, or paint specks, cover the spot with soapy water for 5-10 minutes. Use a plastic scraper or a new razor blade only on wet, uncoated glass. Hold a razor scraper at approximately 15 degrees, push it away from your hand with light pressure, and keep the blade flat against the lubricated surface.
Do not scrape dry glass, coated glass, acrylic, or tinted film. If a mark remains after two gentle passes, re-wet it rather than pressing harder.
You’ll know it worked when your fingertip, protected by a wet cloth, glides over the treated area without catching on a raised spot.
The common mistake is attacking scale with a dry abrasive pad. That can create permanent fine scratches, while repeated wet treatment usually removes more residue with less risk.
Step 5: Wash the Glass From Top to Bottom
Wash the entire pane with the diluted soapy solution, starting at the top and working downward.
Dip a microfiber sleeve, soft scrubber, or clean sponge into the bucket containing 1 teaspoon dish soap per 4 liters warm water. Squeeze it until wet but not dripping. Scrub in overlapping horizontal or vertical strokes, beginning at the upper edge and moving down.
Clean the corners and perimeter first, because grime collects where the glass meets the gasket. Use moderate pressure, enough to move fingerprints and soil, but not enough to flex a screen, disturb a seal, or drag visible grit across the surface. Rinse the applicator whenever it looks gray or sandy.
For interior glass, keep the bucket on a towel and use a smaller applicator to control drips. For exterior glass, rinse the scrubber in a second bucket if the first becomes visibly dirty.
You’ll know it worked when the pane has an even wet film with no dry islands, greasy patches, or loose particles remaining.
The common mistake is spraying a small amount of solution onto a large pane. It dries in patches before you can remove it. Wet one manageable window at a time.
Step 6: Remove the Liquid With a Squeegee
Squeegee the wet pane in overlapping straight passes, wiping the blade after every stroke.
Use a clean, sharp rubber blade between 25 and 35 cm wide. With a microfiber cloth, dry a 1-inch horizontal strip across the top edge of the glass. Place the squeegee in that strip, hold it at approximately 45 degrees, and pull straight down with steady pressure.
Wipe the rubber completely dry after the pass. Place the next stroke about 2 inches into the cleaned section, then pull downward again. Continue across the pane, keeping the blade edge in contact with the glass. If the bottom edge is difficult to reach, stop just above the sill and remove the remaining liquid with a clean cloth.
For a smaller pane, use one top-to-bottom pass. For a wide pane, use vertical passes rather than random zigzags. Keep the squeegee channel free of hair, dust, and soap film.
You’ll know it worked when the glass is almost dry, the remaining water forms no continuous vertical trails, and each pass leaves a uniform clean strip.
The common mistake is allowing the blade to bounce over a dry patch. Re-wet that area, clean the rubber, and repeat. Replace or reverse the rubber if it has a nick, warp, or hardened edge. A replacement blade commonly lasts about 4-6 hours of continuous professional-style use, although grit and storage can shorten that period.
Step 7: Detail the Edges, Inspect the Pane, and Replace Screens
Dry the perimeter, inspect the glass from two angles, and reinstall only fully dry screens.
Fold a dry, lint-free microfiber cloth into a small pad. Trace the top, side, and bottom edges without rubbing the whole pane again. Turn to a dry section of the cloth whenever it becomes damp. Wipe the sill and frame separately so dirty water does not return to the glass.
Inspect the window from inside and outside, or change your viewing angle by about 45 degrees. Look for vertical lines, corner drops, cloudy film, and remaining white spots. Correct a streak by lightly re-wetting that section with clean water, cleaning the squeegee blade, and making one fresh pass.
Allow the screen to dry fully before fitting it back. Confirm that it sits squarely in its track and does not rub against wet glass.
You’ll know it worked when the pane looks clear from several angles, the edges are dry, and no cloth fibers, drops, or screen marks remain.
The common mistake is using one cloth for the frame, glass, and final detailing. Reserve at least one completely dry microfiber cloth for the last inspection.
Step Summary
| Step | Action | Typical time | Most common mistake |
|---|---|---|---|
| 1 | Inspect glass and secure the area | 2-5 minutes | Ignoring coatings or unsafe access |
| 2 | Remove screens and dry-clean tracks | 3-8 minutes | Turning dust into mud |
| 3 | Prepare separate treatments | 2-3 minutes | Mixing vinegar and baking soda |
| 4 | Loosen spots and bonded debris | 5-10 minutes | Scraping dry or coated glass |
| 5 | Wash the wet pane | 2-5 minutes | Letting the solution dry |
| 6 | Squeegee in overlapping passes | 2-4 minutes | Using a dirty or damaged blade |
| 7 | Detail and inspect | 1-3 minutes | Reusing a damp, dirty cloth |
Common Mistakes and How to Fix Them
White vertical streaks remain
A nicked, warped, dirty, or dry squeegee blade usually causes repeated vertical lines. Wash the rubber with clean water, wipe it dry, and inspect the edge under bright light. Reverse the rubber if the opposite edge is unused, or install a new strip. Re-wet the streaked area before making another pass.
The window has a cloudy film
Old spray-cleaner residue, soap excess, or mineral deposits can all create haze. First rinse with distilled water and squeegee again. If the haze remains, apply 50:50 vinegar and distilled water to a cloth, keep it on the glass for 2-5 minutes, then rinse. If the haze appears between sealed panes, exterior cleaning will not remove it. The insulated glass unit may have a failed seal.
White spots do not disappear
Hard-water scale contains mineral deposits that ordinary soap may not dissolve. Repeat the damp vinegar treatment for up to three cycles, using 2-5 minutes of contact each time. Do not increase vinegar strength indiscriminately, especially near natural stone, metal coatings, wood, or rubber. Persistent etching may be permanent rather than removable residue.
The glass looks scratched after baking soda use
Dry powder can trap grit, and aggressive rubbing can mark delicate surfaces. Stop using the abrasive immediately. Clean the pane with plenty of clean water and a soft microfiber cloth. Do not polish coated glass without the manufacturer’s approval. If scratches remain under changing light, consult a glass-restoration technician rather than repeating the treatment.
Water drips onto a clean frame
The pane was probably over-wet, or the frame was not protected. Place a folded towel on the sill, squeeze the scrubber more thoroughly, and detail the bottom edge immediately after each squeegee pass. Keep vinegar away from unfinished wood and porous stone because repeated acid contact can discolor or dull them.
The surface becomes streaky in sunlight
Direct sun accelerates evaporation and leaves concentrated residue. Stop, allow the pane to cool, and clean it again in shade. Work on one window at a time, prepare smaller batches, and squeegee immediately after washing. The best working period is usually early morning, late afternoon, or an overcast day.
Variations for Different Windows
Interior windows with light fingerprints
Skip the baking soda unless the frame or track is dirty. Use a small bowl of 50:50 vinegar and distilled water, dampen a microfiber cloth, and clean one section at a time. Follow with a dry cloth or small squeegee. Keep liquid away from timber, painted trim, electrical outlets, and the lower edge of the frame.
Exterior windows with heavy grime
Start with a hose rinse or a thoroughly rinsed scrubber to remove loose grit. Then use the 4-liter warm-water solution with 1 teaspoon dish soap. Use a 25-35 cm squeegee and change the wash water when it becomes gray. Do not use a household ladder for upper exterior panes unless it is correctly positioned, secured, and suitable for the work.
High or multi-story windows
Avoid leaning through windows and avoid improvised poles. A water-fed pole with purified water can clean exterior glass from the ground, but it requires suitable filtration and operator control. Magnetic cleaners and robotic devices are options for some high-rise windows only when the product matches the glass thickness and includes a secured safety tether.
Secure the tether inside before placing a magnetic or robotic tool on the pane. Test its grip at low height if possible. Follow the equipment instructions exactly, because a dropped tool can injure people or damage property.
Tinted, coated, antique, or acrylic surfaces
Do not assume household glass-cleaning recipes are safe. Test a hidden area and check the manufacturer’s care instructions. Avoid baking soda, razor blades, rough scrubbers, ammonia, and strong acids on unknown films or acrylic. Use a clean microfiber cloth and a coating-approved neutral cleaner when vinegar has not been specifically approved.
Windows without a squeegee
Use two clean microfiber cloths, one damp and one dry. Wash a small section with diluted soap solution, wipe it with a clean damp cloth, and immediately dry it with the second cloth. This can work for small interior panes, but a squeegee gives better control on large glass because it removes the suspended dirt before evaporation.
How Long Does It Take and What Does It Cost?
A standard accessible window usually takes 5-10 minutes for a thorough inside-and-out clean. Screens, tracks, severe scale, and awkward opening mechanisms move the job toward the longer end.
| Option | Typical cost | Best use | Main limitation |
|---|---|---|---|
| Existing household supplies | Tk 200-Tk 1,000 | Occasional interior cleaning | Less efficient without a squeegee |
| Manual starter kit | Tk 2,500-Tk 6,000 | Regular accessible windows | Requires technique |
| Professional service | Tk 350-Tk 900 per pane | High, large, or risky windows | Recurring service cost |
| Water-fed pole setup | Higher equipment cost | Multi-story exteriors | Requires purified water |
| Magnetic or robotic tool | Product-dependent | Some high-rise windows | Must match glass and use a tether |
The figures above are typical planning ranges, not fixed prices. Local labor, pane size, access, contamination, and building height change the final amount. Replacing worn squeegee rubber is cheaper than repeatedly correcting streaks, and the rubber should be checked after every substantial cleaning session.
Frequently Asked Questions
Can you mix vinegar and baking soda to clean windows?
You can mix them, but you should not use that mixture as the main glass cleaner. Vinegar and baking soda react immediately, producing fizz and neutralizing much of their original cleaning action. Use diluted vinegar separately for mineral residue and a damp baking soda paste separately for frames and tracks.
Does baking soda remove hard-water stains from glass?
Baking soda may help loosen surface grime, but it is not the safest first choice for hard-water scale. Its particles can scratch when rubbed against trapped grit. Use a 50:50 mixture of white vinegar and distilled water on a cloth for 2-5 minutes, rinse, and repeat gently if the glass is uncoated.
Should vinegar be diluted for window cleaning?
Yes. Start with equal parts white vinegar and distilled water. A 250 ml vinegar and 250 ml water batch is enough for spot treatment on several panes. Stronger mixtures may increase odor and risk around wood, stone, metal finishes, rubber, or window film without guaranteeing better results.
Why do my windows streak even after using vinegar?
Streaks usually come from dirty glass, excess liquid, a contaminated cloth, direct sunlight, or a damaged squeegee edge. Re-wet the pane with clean water, wash the blade, and pull it at about 45 degrees with overlapping passes. Dry the rubber after every pass and finish the perimeter with a dry microfiber cloth.
Is newspaper better than microfiber for windows?
A lint-free microfiber cloth is the safer general choice. Newspaper can leave ink, fibers, or residue, especially when wet, and rough rubbing may damage delicate coatings. Use microfiber for the frame, wash stage, and final edge detailing, but keep separate cloths for dirty surfaces and final drying.
How often should household windows be cleaned?
Twice a year is a practical baseline for many homes. Clean more often when pollen, traffic film, construction dust, salt air, tree sap, or bird activity affects the glass. Clean immediately after major renovation work, but remove cement, paint, and plaster with the correct wet method rather than dry scraping.
Conclusion
The safest way to clean windows with vinegar and baking soda is to keep the ingredients separate: use a 50:50 vinegar and distilled-water solution for mineral residue, and a damp baking soda paste for dirty frames and tracks. Complete the seven steps in shade, remove loose grit first, use minimal dish soap when needed, and squeegee at 45 degrees with a clean blade.


