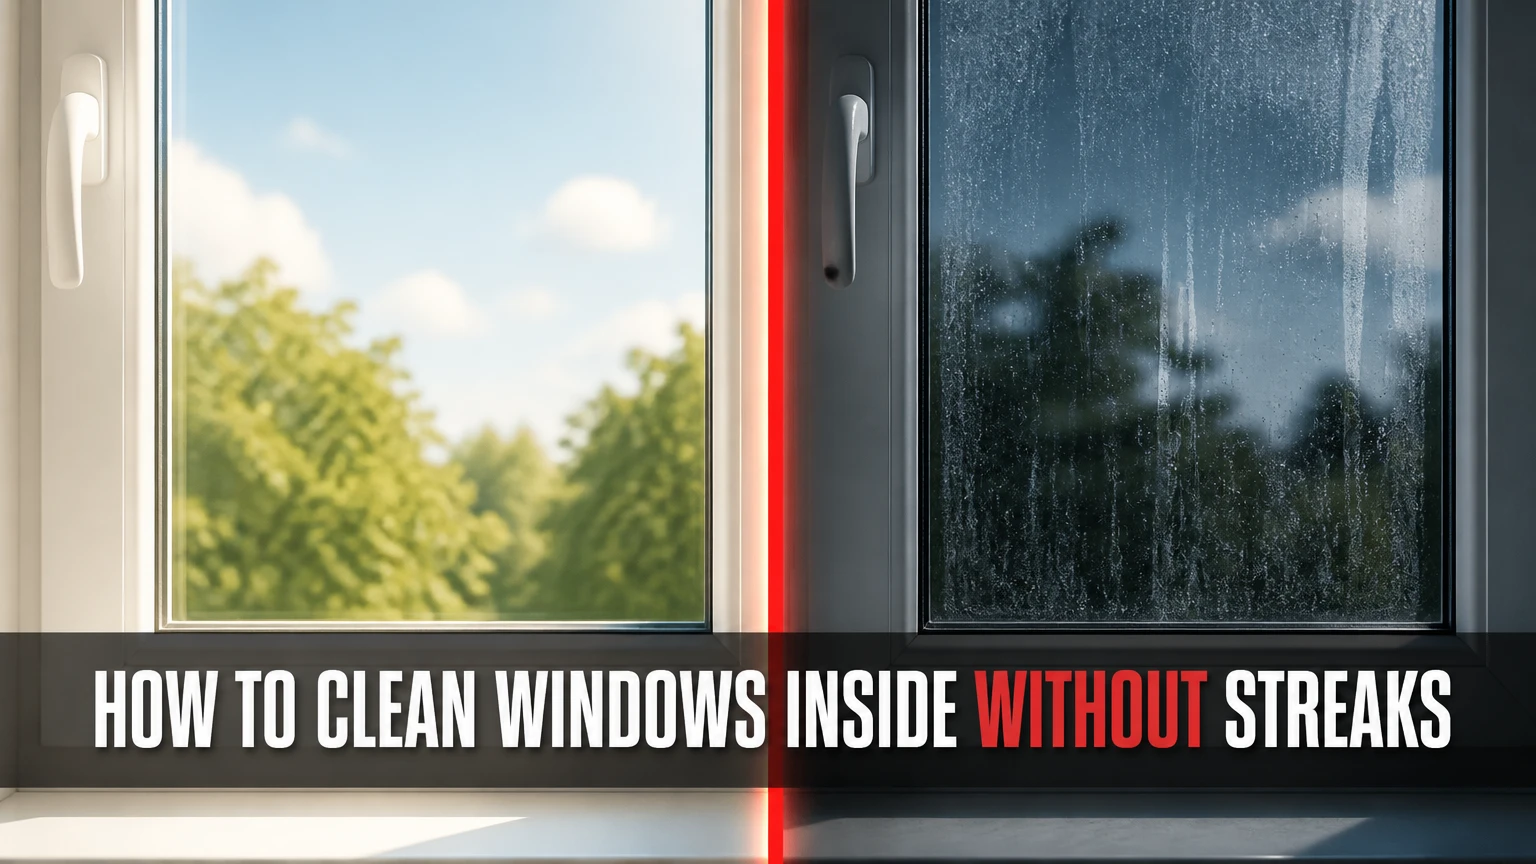
To clean windows inside without streaks, remove dry dust first, use a small amount of low-residue cleaner, loosen grime with microfiber, and remove the liquid before it evaporates. A clean squeegee or two dry glass cloths produces the clearest finish; the most important variables are low soap, clean tools, and working away from hot sunlight.
Key Facts at a Glance
- A typical interior window takes 2-5 minutes when the frame and glass are moderately dirty.
- Distilled water reduces mineral spotting, especially in homes with hard tap water.
- One drop of dish detergent in 500 milliliters of water is usually enough; excess soap creates its own film.
- A squeegee works fastest on broad panes, while folded microfiber cloths suit divided or small windows.
- Never use ammonia on glass with an aftermarket tint or film unless the film manufacturer approves it.
- A dry, clean finishing cloth removes edge lines that a squeegee can leave behind.
Why Do Interior Windows Become Streaky?
Interior window streaks form when cleaner, dissolved dirt, soap, or minerals remain on the glass after the liquid dries. Grease from cooking, fingerprints, cigarette smoke, candles, and household aerosols creates a binder that plain water cannot remove efficiently, while dust can be redistributed if the pane is sprayed before dry cleaning.
Glass itself is nonporous, but its surface can hold an invisible film. Surfactants in a tiny amount of detergent loosen oily material so water can suspend it. Microfiber then captures the suspended soil, and a squeegee physically removes the liquid instead of allowing evaporation to leave residue behind.
The sequence matters more than the brand of cleaner. If a cloth is already saturated, it deposits dirty water during the next pass. If a blade contains dried detergent, it draws parallel lines through the solution. Professional window cleaner SteveO once summarized the practical rule in the window-cleaning trade as, “The cleaner the tools, the cleaner the glass.” The principle is simple: glass cannot finish cleaner than the cloth or blade touching it.
What Supplies Do You Need?
You need a vacuum with a brush attachment, a bucket, two to four lint-free microfiber cloths, a small squeegee, distilled water, and a mild cleaning solution. Add a narrow detailing cloth or cotton swab for corners, plus an absorbent towel to protect the sill and floor.
Choose cloths by function rather than color. A waffle-weave or medium-pile microfiber cloth is useful for washing, while a smooth, tightly woven glass-polishing cloth is better for the final dry pass. Avoid fabric softener when laundering them because softener coats fibers and reduces absorbency.
Before You Start
| Requirement | Typical specification | Why it matters |
|---|---|---|
| Total time | 2-5 minutes per average pane | Allows for washing, drying, and edge detailing |
| Difficulty | Low for cloths, moderate for squeegee | Squeegee pressure and angle require practice |
| Cleaning liquid | 250-500 ml per room | Prevents repeated trips to the sink |
| Microfiber cloths | 2 washing cloths, 2 dry cloths | Separates dirty moisture from final polishing |
| Squeegee | 6-12 inch rubber blade | Matches small panes to broad picture windows |
| Protection | 1 absorbent towel per sill | Catches drips before they reach paint or flooring |
| Typical supply cost | $10-$35 initially | Covers reusable cloths, solution, and basic tools |
Inspect the glass before wet cleaning. A cracked pane, loose glazing bead, deteriorated seal, or flaking film needs attention before aggressive wiping. Do not scrape unknown residue with a razor until you know the glass is uncoated and the manufacturer permits it.
Which Cleaning Solution Prevents Streaks?
A diluted, low-soap solution is the safest general choice for ordinary interior glass, and distilled water is preferable when tap water leaves mineral spots. Use vinegar for light mineral residue, isopropyl alcohol for greasy fingerprints, and a compatible commercial cleaner when the window manufacturer specifies one.
Solution comparison
| Solution | Recipe for 500 ml | Best use | Main limitation |
|---|---|---|---|
| Mild detergent water | 500 ml distilled water plus 1 drop dish detergent | Dust, fingerprints, ordinary soil | Too much detergent leaves film |
| Vinegar solution | 250 ml distilled water plus 250 ml white vinegar | Light mineral film and odors | Vinegar does not dissolve heavy grease well |
| Alcohol blend | 250 ml distilled water plus 250 ml 70% isopropyl alcohol | Cooking grease and oily fingerprints | Requires ventilation and flammability precautions |
| Commercial cleaner | Label dilution, usually ready-to-use | Consistent routine cleaning | Some formulas contain ammonia or fragrance residue |
| Distilled water only | 500 ml distilled water | Final rinse and light dust | Does not cut an oily film |
A 50:50 vinegar and water mixture is adequate for many uncoated panes, but adding dish soap is usually unnecessary. If detergent is needed, add one drop per 500 milliliters rather than a spoonful. Soap creates foam and a surfactant film that attracts dust after the window dries.
Use 70% isopropyl alcohol only in a ventilated room, away from candles, gas flames, space heaters, and sparks. Never mix alcohol with bleach or other cleaners. The United States Environmental Protection Agency warns against combining cleaning chemicals because dangerous vapors can result, and the same safety rule applies to homemade glass solutions.
Which solution should you avoid?
Avoid ammonia-based cleaner on aftermarket window film, some tinted glass, acrylic glazing, and surfaces with a manufacturer warning against ammonia. Avoid abrasive powders, melamine sponges, rough paper, and undiluted vinegar on unfamiliar coatings. Test any solution on a corner first, then check the film for clouding, lifting, color change, or adhesive disturbance.
How to Clean Windows Inside Without Streaks
The reliable process has six steps and usually takes 10-20 minutes for several average panes. Clean frames and tracks before the glass, use less liquid than expected, wash with one cloth, and finish with a separate dry cloth or a clean squeegee blade.
Step 1: Choose the right time and protect the room
Clean when the glass is cool and shaded, ideally during the morning or late afternoon. Close blinds or curtains on the working side if direct sunlight heats the pane. Place a towel along the sill and move electronics, books, rugs, and upholstered furniture away from possible drips.
A typical 24-by-36-inch pane can dry in under two minutes in warm sunlight, which leaves little time to remove the solution mechanically. A shaded pane stays workable longer, so the cleaner can complete a full stroke before evaporation begins.
Success checkpoint: The pane feels cool, and the sill is protected.
Common mistake: Starting with a sunlit picture window and then blaming the solution for rapid drying.
Step 2: Dry-clean the frame, sill, tracks, blinds, and screen
Vacuum the frame, corners, tracks, and nearby blinds using a soft brush. Wipe loose dirt from the sill before wet work begins. If the screen is removable, take it outside or vacuum both sides with low suction; do not flood a screen inside the frame.
Use a dry detailing cloth in the track channel. Cotton swabs or a narrow brush can reach corners where a standard microfiber cloth bunches up. Wetting a dusty track first turns loose soil into paste, which later transfers back onto the glass edge.
Success checkpoint: No visible dust falls from the frame when you tap it gently.
Common mistake: Spraying the glass while the track still contains dry grit.
Step 3: Mix a low-residue solution
Fill a clean bucket or spray bottle with 500 milliliters of distilled water. Add either one drop of mild dish detergent, 250 milliliters of white vinegar, or 250 milliliters of 70% isopropyl alcohol, depending on the soil type. Do not combine all three formulas.
For ordinary maintenance, detergent water is usually the most versatile. Use vinegar when the glass has a faint mineral haze, and use the alcohol blend for kitchen grease or repeated fingerprints. A commercial cleaner can replace these mixtures, but follow its label rather than increasing the concentration.
Success checkpoint: The liquid looks mostly clear and produces minimal foam.
Common mistake: Adding extra soap because more bubbles appear to indicate more cleaning power.
Step 4: Apply the solution sparingly
Spray the solution onto the washing cloth or apply two to four light sprays to the glass, depending on pane size. Direct application is acceptable on broad, uncoated panes, but spraying the cloth gives better control near wood trim, electrical outlets, painted sills, and window locks.
Work one pane at a time. A wet surface should be uniformly damp, not covered in runs. Excess liquid increases drying time and sends dirty water into seals, tracks, and unfinished trim.
Success checkpoint: The glass is damp enough to suspend soil, with no puddles at the bottom edge.
Common mistake: Saturating the pane until the solution runs behind the frame.
Step 5: Agitate the glass and clean the edges
Fold a waffle-weave microfiber cloth into quarters and wipe the pane from top to bottom, including the four edges and corners. Turn to a clean face of the cloth when the current face becomes visibly dirty. For grease, allow the solution to sit for 20-30 seconds before wiping.
Edges need separate attention because dirt accumulates where the glass meets the gasket or frame. Use a lightly damp narrow cloth for the perimeter, then immediately follow with a dry edge cloth. Do not press grit across the surface if the pane contains sand, construction dust, or abrasive debris.
Success checkpoint: No fingerprints, dark edge bands, or oily patches remain before the drying pass.
Common mistake: Using one cloth for the whole house, which transfers soil from the first pane to every later pane.
Step 6: Remove the liquid mechanically
For a squeegee, place the rubber blade at the top corner, hold it at roughly 30-45 degrees, and pull downward in one controlled stroke. Wipe the blade after every pass, overlap the next stroke by 2-3 centimeters, and keep the blade edge in continuous contact with the glass.
For a cloth-only finish, use a clean, dry, smooth-weave microfiber cloth. Wipe in overlapping vertical passes or a broad S pattern, then inspect from two angles. The final cloth must be dry enough to absorb residue; a damp polishing cloth simply spreads it.
Success checkpoint: The pane looks clear when viewed from the side, with no parallel lines or wet crescent at the bottom.
Common mistake: Allowing the blade to become dirty or lifting it halfway through a stroke.
Step 7: Detail the perimeter and inspect the pane
Wrap a dry microfiber corner around one finger and trace the top, side, and bottom edges. Check the glass from the left and right rather than only facing it directly, because diagonal light reveals thin residue that straight-on viewing can miss.
If you find one small streak, spot-clean that area with a barely damp cloth and immediately buff it dry. Rewetting the entire window wastes solution and can recreate the original problem.
Success checkpoint: No streak changes position when you alter your viewing angle.
Common mistake: Continuing to polish a clean pane with a damp cloth, which adds a new film.
Which Method Is Best for Your Window?
The squeegee method is fastest for large, flat panes, while microfiber is more controllable for divided lights, narrow windows, and delicate trim. Magnetic cleaners are specialized tools for paired glass surfaces and should not replace safe access procedures for high or difficult windows.
| Method | Suitable pane size | Typical time | Tool cost | Main risk |
|---|---|---|---|---|
| 6-inch squeegee | Up to 18 inches wide | 2-3 minutes | $8-$20 | Edge lines from poor pressure |
| 10-12-inch squeegee | 24-60 inches wide | 1-2 minutes | $15-$45 | Drips on sill and floor |
| Microfiber cloths | Under 24 inches wide or divided lights | 3-5 minutes | $10-$25 | Streaks from saturation |
| Spray-and-polish cloth | Mirrors and small panes | 2-4 minutes | $8-$20 | Residue from over-spraying |
| Magnetic cleaner | Reach-limited paired glazing | 5-8 minutes | $25-$100 | Separation, scratching, or unsafe use |
A 12-inch squeegee is efficient on a broad picture window but awkward on a six-lite sash. A 6-inch blade reaches narrow sections with fewer missed edges. Professionals often carry both because tool width should follow pane geometry, not room size.
Magnetic cleaners can help with certain double-glazed or inaccessible units, but they are not universally compatible. Glass thickness, magnet strength, seals, screens, and exterior access determine whether the cleaner stays attached. Do not lean out of a window to retrieve a fallen magnetic unit, and do not use an interior tool as permission to perform unsafe exterior work.
What Causes Streaks After Cleaning?
Most post-cleaning streaks come from four sources: dirty liquid, excessive detergent, an oversaturated cloth, or a contaminated squeegee blade. Hard-water minerals, direct sunlight, and silicone or wax residues create additional problems that ordinary glass cleaner may not remove in one pass.
| Visible problem | Likely cause | Corrective action | Expected time |
|---|---|---|---|
| Parallel lines | Dirty or nicked squeegee rubber | Rinse, dry, or replace blade | 2-5 minutes |
| Cloudy white film | Soap residue or minerals | Reclean with distilled water and dry cloth | 5-10 minutes |
| Greasy rainbow haze | Cooking aerosol, smoke, or silicone | Use diluted 70% isopropyl alcohol | 3-6 minutes |
| Bottom-edge drips | Excess liquid or poor detailing | Dry sill, reduce spray, detail edge | 2-4 minutes |
| Circular smears | Damp polishing cloth | Change to a dry cloth face | 1-3 minutes |
| Fine scratches | Abrasive grit or unsuitable scraper | Stop rubbing and assess damage | Variable |
A white haze is not always a streak. Soap residue can usually be removed, but etched mineral deposits or damaged coatings may remain after cleaning. If a mark does not change after two careful cleaning attempts, inspect it under angled light before escalating to a glass-restoration product.
For light mineral deposits, apply a 50:50 vinegar and distilled-water solution to a cloth, not directly onto the frame. Let it work for one minute, wipe it away, and rinse with distilled water. Never use vinegar on stone sills such as marble or limestone because acid can etch those materials.
How Should You Clean Special Window Types?
Tinted, coated, leaded, frosted, and insulated windows require a gentler process than ordinary uncoated glass. Confirm the manufacturer’s instructions, use a soft microfiber cloth, avoid abrasive tools, and test the solution in a hidden corner before cleaning the full pane.
Tinted and filmed glass
Use distilled water with one drop of mild detergent or a film-approved cleaner. Do not use ammonia unless the film maker specifically permits it. Spray the cloth rather than flooding the edges, because liquid can work behind poorly bonded film.
Low-emissivity and energy-efficient glass
Modern insulated units may have a low-emissivity coating on an interior surface inside the sealed unit. The exposed room-side glass can generally be cleaned with a mild glass solution, but aggressive scraping or abrasive polishing can damage exposed coatings on specialty products.
Frosted, etched, and textured glass
Use a damp microfiber cloth followed by a dry cloth, working with the texture rather than against it. Avoid paper towels because fibers can lodge in the pattern. A squeegee may skip over deep texture and leave liquid in recesses.
Wood, painted, and vinyl frames
Keep the frame damp rather than wet. Vinegar and alcohol can affect some finishes, so use plain mild detergent water around painted or stained trim, then dry the frame immediately.
Common Mistakes and How to Fix Them
- Cleaning in direct sun: Move to shade or clean one small section at a time. Rapid evaporation leaves concentrated residue before the blade or cloth can remove it.
- Using too much soap: Rinse the pane with distilled water, then dry it with a clean polishing cloth. Reduce the formula to one drop per 500 milliliters.
- Using paper towels: Replace paper with a smooth glass cloth. If lint remains, use a dry microfiber face and make one final vertical pass.
- Ignoring the frame: Vacuum and wipe the frame before the glass. Otherwise, water reactivates grime and pulls it onto the cleaned perimeter.
- Using tap water on hard glass: Finish with distilled water when white mineral spots appear. The United States Geological Survey identifies calcium and magnesium as the primary minerals associated with water hardness.
- Reusing a saturated cloth: Fold the cloth into quarters and rotate faces, then switch to a fresh cloth once all faces feel wet or look gray.
- Scraping without checking the surface: Stop if the pane is tinted, coated, textured, or scratched. A razor can permanently mark specialty glass.
How Much Time and Money Does Interior Window Cleaning Take?
A typical homeowner spends $10-$35 on a reusable basic setup and 2-5 minutes per average pane after preparation. A large room with eight standard panes generally takes 25-40 minutes, while heavily soiled glass, divided lights, tracks, and blinds can extend the job to 60-90 minutes.
| Job size or condition | Typical panes | Typical time | Typical DIY supply use |
|---|---|---|---|
| Light maintenance | 4-6 panes | 15-25 minutes | 250 ml solution |
| Average room | 6-10 panes | 25-45 minutes | 500 ml solution |
| Multi-lite windows | 4 windows, 20-30 sections | 45-75 minutes | 750 ml solution |
| Greasy kitchen glass | 2-4 panes | 15-30 minutes | 250 ml alcohol blend |
| Full interior cleaning | 15-25 panes | 60-120 minutes | 1-2 liters solution |
These are typical household ranges, not fixed service prices. A professional service may charge by pane, window, room, or home size, and local labor rates, access, screens, and frame condition change the total. The reusable tools usually cost less than repeatedly buying disposable towels and heavily concentrated cleaners.
How Often Should You Clean Interior Windows?
Most homes need interior glass cleaning every three to six months, while kitchens, homes with smokers, and rooms near fireplaces may need monthly spot cleaning. Touch points such as patio-door glass and children’s handprints should be cleaned when visible rather than waiting for a fixed schedule.
Dust frames and tracks monthly if the home has pets, renovation dust, or open windows near traffic. Clean blinds and screens before the glass whenever possible. A clean screen can still release enough fine dust to create a haze on freshly washed glass.
The best maintenance method is short and targeted: vacuum the frame, damp-wipe fingerprints, and dry the affected area. Full wet cleaning remains necessary when a pane develops an overall film.
FAQ
Can I clean windows with vinegar and dish soap?
Yes, but use very little soap. Mix 250 milliliters of white vinegar with 250 milliliters of distilled water, and add no soap unless grease requires it. If detergent is necessary, use one drop. Excess soap leaves a surfactant film that can look like streaking and attract dust.
Why do my windows look worse after cleaning?
Windows often look worse because the cleaner dissolved dirt but did not remove the dirty liquid, or because a saturated cloth redistributed residue. Reclean one pane with distilled water, use a fresh cloth face for each pass, and dry the edges immediately.
Can I use newspaper to dry interior glass?
Newspaper is not the most reliable modern option because ink, paper fibers, and printing coatings vary. A clean, smooth-weave microfiber glass cloth absorbs more consistently and can be washed without leaving lint. Newspaper also provides poor control around painted trim and silicone seals.
How do I clean windows with hard-water spots?
First determine whether the marks are removable residue or etched glass. For light deposits, apply diluted white vinegar to a cloth for one minute, wipe, rinse with distilled water, and dry. If the marks remain unchanged, polishing or professional restoration may be required.
Should I clean the inside or outside of a window first?
Clean the inside first because interior work is easier to control and avoids bringing exterior dirt indoors. If you clean both sides, use different cloths and buckets so exterior grit does not scratch or contaminate the interior pane.
Is a squeegee better than microfiber for streak-free glass?
A squeegee is usually faster and cleaner on broad panes when the rubber is intact and wiped after every stroke. Microfiber is better for small panes, divided lights, textured glass, and frames that cannot tolerate drips. The best choice follows pane geometry and tool condition.
The Bottom Line
To clean windows inside without streaks, vacuum the frame first, use a low-soap solution, loosen the soil with a washing microfiber cloth, and remove the liquid immediately with a clean squeegee or dry polishing cloth. Work in shade, use distilled water when minerals are a problem, and never let a dirty blade or saturated cloth finish the pane.


