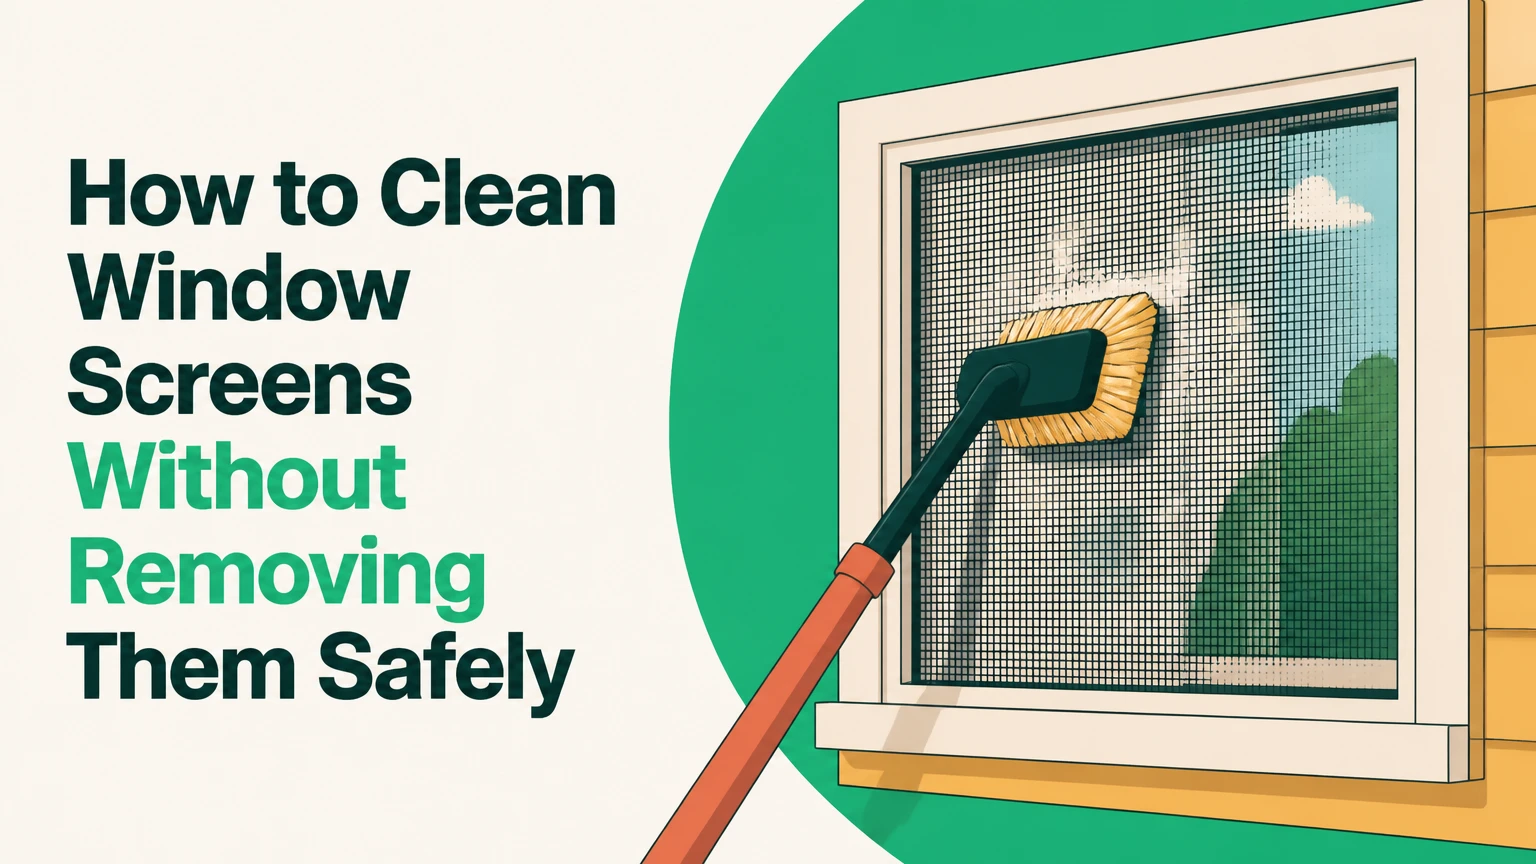
Clean an attached window screen in six steps: protect the area, inspect the mesh, vacuum dry dust, mist diluted soap, wipe, then rinse and dry. Allow about 15 minutes per window, plus 1 hour of air-drying. The key to a clean result is removing loose dust before adding water.
Before You Start
The method suits intact fiberglass and aluminum insect screens that remain securely fitted in the frame. It is easy for a beginner, but the mesh needs a light touch because it can stretch, tear, or pull free from its spline.
- Time: about 15 minutes per window, plus up to 1 hour to air-dry.
- Difficulty: easy.
- Typical cost: $0-$15 if you already own a vacuum and cloths; about $20-$45 for basic supplies purchased new.
- Prerequisites: a stable floor or safe access position, a screen that is not loose or badly corroded, and enough ventilation for drying.
- Safety: never lean out of an upper-floor window. Use an extension tool or hire a window professional when exterior access is unsafe.
| Item | Quantity or specification | Typical cost | Purpose |
|---|---|---|---|
| Vacuum cleaner | 1, low-to-medium suction, soft dusting brush | $0-$30 if owned | Removes dry dust, pollen, and loose debris |
| Plastic spray bottle | 1, 32 oz or 1 liter | $2-$8 | Applies a controlled fine mist |
| Warm water | 2 cups or 500 ml, plus clean rinse water | Usually already available | Dilutes and rinses the cleaner |
| Liquid dish soap | 1 teaspoon or 5 ml | $1-$4 | Loosens oily dirt and pollen |
| Microfiber cloths | 3 clean, lint-free cloths per window | $3-$12 | Wipes mesh, frame, and rinse water |
| Large bath towel | 1 per window | Usually already available | Catches drips and overspray |
| Optional crevice tool | 1 vacuum attachment | Usually included | Cleans dry debris from corners and tracks |
| Optional gloves | 1 pair | $2-$6 | Protects hands from dirty or corroded frames |
Check the screen before collecting water. A torn mesh panel, missing spline, detached corner, or visibly brittle frame should be repaired or replaced instead of washed in place. Manufacturer care instructions take priority, especially for solar screens, coated mesh, security screens, and specialty insect barriers.
Prepare and Inspect the Window
Step 1: Protect the Sill, Floor, and Surrounding Trim
Place a towel below the screen and position the glass for safe access.
Put one large bath towel across the interior sill and extend another section onto the floor beneath it if water could run down the wall. Remove nearby electronics, books, curtains, and anything that could be marked by soapy water. If cleaning the screen from outside, close the glass window completely. If cleaning from inside, open the glass window fully so the screen is accessible and air can circulate.
Inspect the frame corners, retaining spline, clips, tabs, and drain openings. Do not spray yet. Brush away a visible cobweb by hand or with a dry cloth, taking care not to drag it across the mesh.
You’ll know it worked when the towel covers the likely drip path and the screen is fully accessible without leaning or reaching dangerously.
The common mistake is leaving the window partly open. That creates a narrow working gap and increases the chance of spraying into the sash, wall, or hardware.
Step 2: Test the Screen and Vacuum Loose Debris
Test the mesh gently, then vacuum the entire screen with a soft brush on low-to-medium suction.
Press one fingertip very lightly near a frame edge. The mesh should flex slightly and return to position without remaining depressed. Check for holes, loose spline, rust, white oxidation on aluminum, or a frame that moves inside the opening. Clean the vacuum brush first so oily residue does not transfer to the screen.
Attach the soft dusting brush and select low-to-medium suction. Start at the top-left corner. Hold the brush parallel to the mesh, move horizontally across the screen, and overlap each pass slightly as you work downward. Keep the bristles in light contact, or just above fragile mesh. Vacuum the frame perimeter and corners afterward, using the crevice tool only around the frame rather than directly on the mesh.
Glass Doctor’s window-screen cleaning guidance also recommends removing loose debris before wet cleaning and using a soft brush attachment. That order matters because water turns fine dust into paste.
You’ll know it worked when loose gray dust, pollen, hair, and cobwebs are gone without the screen changing shape.
The common mistake is pressing the brush into the mesh. If the screen bows, reduce suction, lift the attachment slightly, and use shorter passes.
Mix and Apply the Cleaner
Step 3: Mix a Low-Sudsing Cleaning Solution
Mix 2 cups of warm water with 1 teaspoon of liquid dish soap in a clean spray bottle.
Measure 2 cups, or 500 ml, of warm water and pour it into a 32-ounce, or 1-liter, plastic spray bottle. Add 1 teaspoon, or 5 ml, of liquid dish soap. Dawn and Palmolive are suitable examples, but the brand matters less than using a small amount. Secure the nozzle and rotate or shake the bottle gently until the soap disperses.
Do not fill the bottle with hot water. Warm water loosens soil while reducing the risk of handling burns and unnecessary vapor. Do not add bleach, ammonia, powdered detergent, solvent, or abrasive cleaner. Those products can damage fiberglass, discolor finishes, or accelerate corrosion on aluminum.
Use a fresh bottle if the container previously held bleach, pesticide, glass cleaner, or another chemical. Residue from an earlier product can react with the soap or leave a film.
You’ll know it worked when the mixture looks nearly clear with a few small bubbles, rather than producing thick foam.
The common mistake is adding a tablespoon of soap because the screen looks dirty. More detergent leaves a film and makes rinsing harder. Measure the teaspoon.
Step 4: Mist the Mesh From Top to Bottom
Spray a light, even mist from the top of the screen downward while holding the bottle about 6 inches away.
Set the nozzle to fine mist, not stream. Hold the bottle approximately 6 inches from the mesh and make one controlled pass from top to bottom. Spray the screen lightly enough that the surface becomes damp, not saturated. Avoid repeatedly spraying one spot, the window tracks, sash joints, locks, and weep holes.
Work in sections if the window is large. Mist the upper third, then the middle and lower thirds, keeping the bottle upright. If cleaning from inside, direct the nozzle toward the screen rather than toward the room. If cleaning from outside, keep the glass closed as specified in Step 1.
Wait about 30-60 seconds for the diluted solution to loosen grime, but do not let it dry. For heavy pollen or greasy residue, use a second light mist instead of flooding the screen.
You’ll know it worked when dirt looks softened and the mesh remains visibly supported, with no running streams along the frame.
The common mistake is using a strong jet. A stream can push debris deeper into the spline channel and may dislodge weak mesh.
Wipe the Mesh and Frame
Step 5: Wipe the Screen and Frame With Separate Cloths
Wipe the damp mesh gently with one microfiber cloth, then clean the frame with a second cloth.
Dampen the first microfiber cloth with the same diluted solution and wring it until it is wet but not dripping. Starting at the top, wipe in small circular motions with only the pressure needed to keep contact. Move downward in overlapping sections. Support the frame with your free hand if it flexes, but do not press the cloth into the center of the mesh.
Rinse and wring the cloth when it becomes visibly dirty. Use a second microfiber cloth for the plastic or aluminum frame, spline channel, corners, handles, and retaining clips. For stubborn dry soil in a corner, hold the cloth against it for 10-15 seconds, then wipe. Do not scrape the mesh with a fingernail, brush, razor, or abrasive pad.
Most guides skip the frame channel, then loosened dirt runs back onto the screen during rinsing. Clean the upper channel first, followed by the side channels and sill.
You’ll know it worked when the mesh has an even damp appearance, visible soil is gone, and the frame no longer transfers dark residue to a clean section of cloth.
The common mistake is using one saturated cloth for everything. A dirty cloth redistributes soil, while excess water increases dripping and residue.
Rinse and Dry Completely
Step 6: Rinse Lightly, Absorb Water, and Air-Dry
Rinse the screen with clean warm water, absorb the remaining moisture, and leave the window open for 1 hour.
Empty the spray bottle, rinse it, and refill it with clean warm water only. Set the nozzle to fine mist. Starting at the top, apply a light rinse over the mesh, using enough water to remove soap but not enough to create runoff. If residue remains, repeat with a second light mist rather than switching to a stronger spray.
Use the third microfiber cloth dry. Press it gently against the screen to absorb excess water, lifting and repositioning it instead of dragging hard across the mesh. Blot the frame, sill, and visible track water with the second cloth. Leave the window open for about 1 hour so air can pass across both sides of the screen. Keep the screen protected from dust, rain, and direct high heat while it dries.
The American Cleaning Institute’s general cleaning guidance favors using the least product needed and removing cleaner residue with clean water. That principle is especially useful here because screen mesh traps detergent film.
You’ll know it worked when the screen is dry, free of cloudy residue, and stays flat when viewed from an angle.
The common mistake is closing the window immediately. Trapped moisture can leave spots on the frame and prolong drying, particularly in humid rooms.
Six-Step Summary
| Step | Action | Typical time | Most common mistake |
|---|---|---|---|
| 1 | Protect the sill and inspect access | 1 minute | Leaving the glass partly open |
| 2 | Vacuum dry debris | 3 minutes | Pressing too hard or using high suction |
| 3 | Mix diluted dish soap | 2 minutes | Adding too much detergent |
| 4 | Mist the screen lightly | 1-2 minutes | Using a stream or flooding the mesh |
| 5 | Wipe mesh and frame separately | 4 minutes | Reusing a dirty, saturated cloth |
| 6 | Rinse, blot, and air-dry | 5 minutes, plus 1 hour drying | Skipping the rinse or closing the window |
Common Mistakes and How to Fix Them
Streaks or White Soap Residue
Too much dish soap or an incomplete rinse usually causes cloudy lines, tackiness, or white spots. Refill the bottle with clean warm water and mist the affected area thoroughly enough to dissolve the film. Immediately blot with a clean, dry microfiber cloth. Repeat once if needed, then allow the screen to dry with the window open.
Avoid wiping a partly dry soap film with a dry cloth alone. That spreads the residue into larger streaks.
Mud in the Corners
Mud forms when dry dust is sprayed before vacuuming. Let the area dry completely, then use the vacuum’s crevice tool around the frame corner and spline channel. Keep the crevice nozzle off the mesh. Finish with a damp microfiber cloth, rinsing the cloth after each corner.
Do not add more water while the mud is wet. That pushes the paste farther into the channel.
A Sagging or Bowed Screen
A screen can bow when the vacuum or cloth presses too hard against its center. Stop cleaning and let the mesh dry fully. Fiberglass may recover some of its shape as it dries, but persistent sagging usually means the spline tension or frame has failed.
If the screen remains bowed after 24 hours, do not pull it flat by hand. A screen-repair shop can re-spline it, replace the mesh, or confirm that the frame needs replacement.
Torn Mesh or Detached Spline
Stop immediately if a tear expands or the spline lifts from its groove. Cover the opening temporarily with removable tape on the frame, not across a large area of mesh. Do not continue wet cleaning because water and wiping can enlarge the failure.
Small punctures can sometimes receive a compatible screen patch, while long tears, brittle fiberglass, and loose corners generally justify re-screening.
Water Enters the Window Track
Excessive spray or a blocked weep hole can leave water in the track. Stop spraying, blot the track with a microfiber cloth, and use the crevice tool after the area is dry. Never force a metal object into a drainage opening. If water repeatedly collects, inspect the track and exterior drainage path separately.
Paper Lint or Fibers Stick to the Mesh
Paper towels can catch on rough fiberglass or aluminum mesh and leave white fibers. Remove loose lint with a clean, dry soft brush or vacuum dusting attachment on low suction. Finish with a freshly laundered microfiber cloth.
Wash microfiber separately from cotton towels and skip fabric softener, which can leave a coating that attracts dust.
Variations for Different Screens and Situations
Fiberglass Insect Screens
Use the standard six-step method with especially light pressure. Fiberglass mesh is flexible and usually tolerates diluted dish soap, but it can stretch when wet or when pushed from the center. Keep the cloth damp rather than dripping and support the frame, not the mesh.
For ordinary dust and pollen, one misting and one rinse are enough. If the mesh remains loose after drying, inspect the spline before cleaning it again.
Aluminum Screens
Use the same dilution, but check for oxidation first. White powdery residue or dark corrosion can transfer to the cloth and may worsen with harsh chemicals. Work in small areas, rinse promptly, and dry the frame completely.
Do not use bleach, ammonia, steel wool, scouring powder, or an abrasive sponge. If the finish is already chalky or pitted, replacement or professional refinishing may produce a better result than repeated washing.
Pet-Resistant, Solar, or Coated Mesh
Read the product or window manufacturer’s care instructions before applying soap. Heavier pet-resistant mesh can tolerate less flex than ordinary fiberglass, while solar and coated screens may have a surface treatment that reacts poorly to household cleaners.
If the manufacturer permits water cleaning, test the diluted solution on a lower corner first. Wait until it dries, then check for discoloration, haze, or coating transfer before treating the full screen.
No Vacuum Available
Use a clean, dry microfiber cloth or a soft natural-fiber paintbrush to lift loose dust before spraying. Work from the top downward and shake the cloth outdoors between passes. Do not use a stiff scrub brush, because it can snag the mesh.
A vacuum remains preferable for pollen, pet hair, and corners, but the dry-cleaning principle matters more than the specific tool.
Heavy Pollen, Grease, or Bird Droppings
Remove bird droppings with a dampened corner of the microfiber cloth and allow the spot to soften for 30-60 seconds. Wear disposable gloves and wash your hands afterward. For greasy kitchen residue, use a second light application of the correctly diluted soap rather than increasing the concentration.
Do not dry-scrub hardened droppings across the mesh. The debris can contain abrasive grit and may damage the fibers.
Exterior-Only Access
Close the glass window, place a towel inside beneath the sill, and use a stable exterior position. A telescoping soft brush can replace the handheld vacuum or cloth if the manufacturer permits it. Never reach out from a ladder or upper-floor opening without proper fall protection.
If the screen is above a safe reach, hire a window-cleaning professional. Cleaning access is a safety constraint, not a technique challenge.
How Long Does It Take and What Does It Cost?
A lightly dusty screen usually takes 10-15 minutes of active work. Heavy pollen, pet hair, grease, or multiple frame channels can extend the active time to 20-25 minutes. Add about 1 hour for air-drying, although humidity, airflow, and screen size change the actual drying period.
| Situation | Active cleaning time | Typical supply cost |
|---|---|---|
| One lightly dusty screen with existing supplies | 10-15 minutes | $0-$5 |
| One dirty screen requiring new cloths and bottle | 15-25 minutes | $8-$20 |
| Several screens using the same solution | 10-15 minutes each | $5-$15 total if supplies are owned |
| Damaged or corroded screen needing repair | Cleaning time varies | About $15-$60 or more for repair or replacement |
These are typical household figures, not fixed service prices. Local labor, screen size, height, specialty mesh, and access determine professional cleaning or repair costs. Mix only enough solution for the planned work, and discard visibly dirty rinse water rather than returning it to the bottle.
Frequently Asked Questions
Can I use vinegar to clean an attached window screen?
Use vinegar only if the screen manufacturer permits it, and never mix it with bleach or other cleaners. Diluted dish soap is the safer default for standard fiberglass and aluminum insect screens because it loosens ordinary soil without introducing a strong acid. Test any alternative on a hidden corner, rinse thoroughly, and dry the frame.
How often should window screens be cleaned?
Clean screens about twice a year in an average home, typically during spring and fall. Clean more often when windows face a dusty road, flowering trees, construction, or heavy traffic, or when pets press against the mesh. Vacuuming lightly between wet cleanings reduces the need for repeated scrubbing.
Should I remove screens for a deeper clean?
Remove a screen when it is heavily soiled, greasy on both sides, contaminated with bird droppings, or inaccessible in its installed position. Place it flat on a clean towel, rinse gently with a hose, wash with diluted soap, rinse again, and dry completely before reinstalling. Removal is not necessary for routine dust and pollen.
Can I use a garden hose instead of a spray bottle?
A hose can work for a removed screen outdoors, but it is not a good substitute for an attached screen. Even moderate hose pressure can force water into the frame, wall, sill, or interior trim. If the screen stays installed, use a fine-mist spray bottle so you control both water volume and direction.
Why does my screen still look dirty after it dries?
The remaining appearance may be soap film, mineral spotting, embedded pollen, or dirt on the opposite side. Rinse with clean water and blot again. If spots remain after the second rinse, inspect the mesh closely. Staining, oxidation, degraded coating, and permanent discoloration may not respond to household cleaning.
Is a pressure washer safe for window screens?
No. Pressure-washer force can stretch fiberglass, bend aluminum, tear mesh, or push the spline out of its groove. Use a vacuum dusting brush for dry debris and a fine mist for wet cleaning. If a removed screen needs rinsing, use a gentle low-flow stream directed at an angle and keep the nozzle well away from the mesh.
Final Check
The finished screen should be clean, flat, dry, and free of soap film, while the frame and track should have no standing water. Use the dry-vacuuming step every time, measure the 1 teaspoon soap ratio, and apply moisture as a fine mist rather than a stream. That combination makes how to clean window screens without removing them a low-risk routine instead of a repair job.


