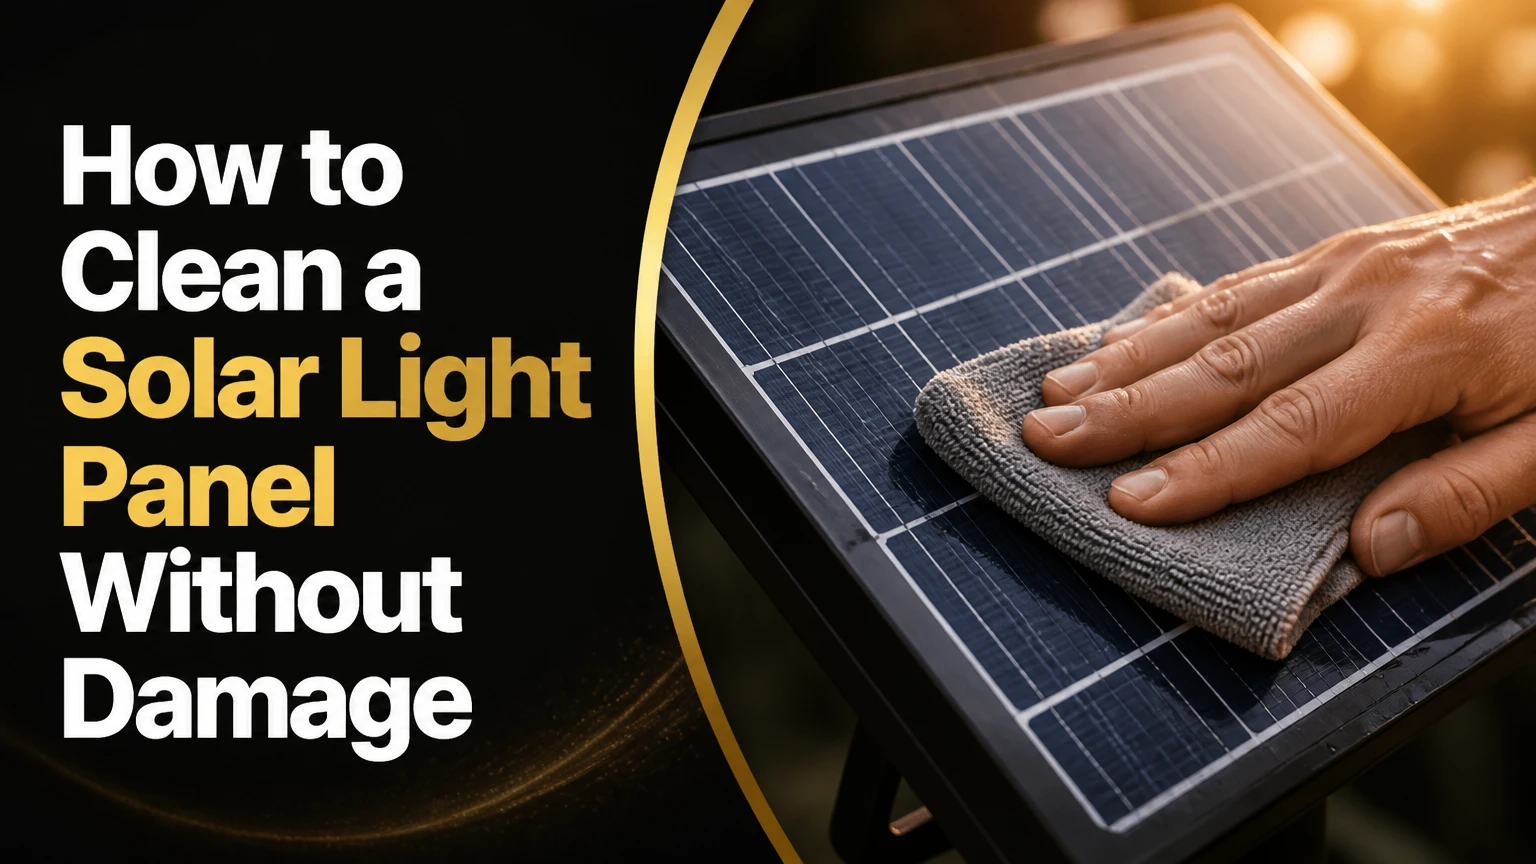
To clean a solar light panel, switch off the fixture, remove loose dust with a dry microfiber cloth, then wipe the cool panel with distilled water and a drop of mild dish soap. Rinse away all residue and dry with a lint-free cloth. The process usually takes 5-10 minutes per light.
Key Facts at a Glance
- A solar light panel converts daylight into electricity that charges the fixture’s rechargeable battery.
- Dry dust should be removed before wet wiping because sand and grit can scratch glass or clear plastic.
- Distilled water and a pH-neutral soap are safer for small solar lights than ammonia, bleach, abrasive pads, or solvent cleaners.
- Clean solar light panels every 3-6 months, or sooner when dust, salt, sap, or bird droppings visibly cover the surface.
- A clean panel cannot restore a battery that has lost its capacity or a plastic cover permanently damaged by ultraviolet exposure.
- High-pressure water can force moisture through seals, while a soft cloth and low-pressure spray provide adequate cleaning power.
What Does a Solar Light Panel Do?
A solar light panel is a small photovoltaic module that turns daylight into direct-current electricity for a rechargeable battery. At night, a light sensor activates the LED using the stored energy, so panel cleanliness affects charging time and battery runtime rather than the LED’s basic brightness.
Most outdoor solar lights contain silicon photovoltaic cells beneath glass, acrylic, polycarbonate, or a transparent resin cover. A charge-control circuit regulates the current, while a photoresistor or photodiode detects darkness. Dirt on the cover reduces the light reaching the cells, although a cloudy cover, failing battery, damaged wiring, or nearby artificial light can create the same symptom.
The U.S. Department of Energy explains the basic effect directly: “Dirt and dust on the surface of a solar panel can reduce its energy output.” Large rooftop photovoltaic systems and small garden lights are not identical, so published utility-scale soiling percentages should not be transferred mechanically to a low-cost pathway fixture.
Which Contaminants Need Cleaning?
Loose dust and pollen usually need only water and gentle wiping. Dried bird droppings, tree sap, greasy soot, salt spray, and hard-water scale need longer soaking or a compatible cleaner, while yellowing and internal haze may indicate permanent UV damage rather than surface dirt.
| Contaminant | Appearance | Safest first treatment | Typical effort |
|---|---|---|---|
| Dust or pollen | Gray, beige, or powdery film | Distilled water and microfiber cloth | 2-4 minutes |
| Bird droppings | White, gray, or brown hardened spots | Warm-water soak for 60-120 seconds | 5-8 minutes |
| Tree sap | Clear, amber, or sticky patches | Warm water, then diluted mild soap | 5-10 minutes |
| Salt or mineral scale | White crust around edges or face | Distilled water; plastic-safe cleaner if needed | 5-12 minutes |
| UV-degraded plastic | Yellow, milky, or permanently hazy cover | Plastic polish, replacement, or manufacturer service | 10-30 minutes |
Before You Start: Tools, Time, and Safety
Prepare one clean microfiber cloth, a soft detailing brush or cotton swab, a spray bottle, distilled or deionized water, and mild pH-neutral dish soap. Use approximately 250 milliliters of water with one or two drops of soap, not a concentrated detergent mixture.
Typical requirements:
| Item | Typical amount | Typical cost | Purpose |
|---|---|---|---|
| Microfiber cloths | 2 pieces | $2-$8 | Dry dusting and final drying |
| Distilled water | 250-500 mL | $1-$2 | Low-residue rinsing |
| Mild dish soap | 1-2 drops | Under $1 | Loosening grease and organic residue |
| Soft nylon brush | 1 small brush | $3-$8 | Grooves, frames, and textured covers |
| Painter’s tape | 0.5-1 meter | $2-$5 | Protecting edges during optional polishing |
Clean in the shade when the panel is cool. Switch the light off before handling it, and remove the top or battery assembly only when the manufacturer permits disassembly. Do not climb onto a roof or unstable ladder for a small fixture; a high-mounted security light may require a qualified person or a ground-operated cleaning tool.
What Should You Avoid?
Avoid pressure washers, razor blades, steel wool, scouring pads, bleach, ammonia-based glass cleaner, acetone, and undiluted alcohol. These materials can scratch a transparent cover, attack plastic, degrade printed markings, or push water through a gasket.
A warm panel is not automatically at risk of shattering when touched by cool water, particularly if it is plastic. The practical rule is simpler: clean a cool fixture because gradual temperature change, better visibility, and slower evaporation reduce stress and water spots.
How to Clean a Solar Light Panel
The safest solar light panel cleaning sequence has five stages: isolate the fixture, remove dry grit, soften residue, wash gently, and dry completely. A standard pathway light takes about 5-10 minutes, while a large wall-mounted panel may take 10-20 minutes depending on access and contamination.
Step 1: Switch Off and Isolate the Light
Turn the fixture’s switch to OFF and allow the panel to cool. If the solar top twists off or separates from the light body, place the removable component on a dry towel; do not force a sealed housing apart.
Keep the battery compartment, charging socket, seams, and exposed wiring away from standing water. For an integrated wall light, leave the unit mounted and control water with a damp cloth rather than spraying the fixture directly.
Success checkpoint: The light is off, cool, stable, and positioned so water cannot run into its electronics.
Common mistake: Submerging a supposedly weather-resistant fixture. Weather resistance limits rain exposure and does not make every housing waterproof during cleaning.
Step 2: Remove Loose Dust While Dry
Use a clean, dry microfiber cloth or soft brush to lift sand, leaves, spiderwebs, and loose grit. Brush outward from the panel instead of grinding debris across the surface.
This step matters most in sandy, gravel-covered gardens and coastal locations. A wet cloth can turn loose mineral particles into an abrasive paste, producing fine scratches that scatter light and make plastic look permanently dull.
Success checkpoint: No loose particles remain when you lightly tilt the panel under side lighting.
Common mistake: Using a paper towel, which can leave fibers and drag grit across acrylic or polycarbonate.
Step 3: Soften Stuck-On Debris
Fill a spray bottle with distilled water and mist the panel lightly, or press a damp microfiber cloth against the contaminated area. Leave bird droppings or sap covered for 60-120 seconds, then repeat if the residue remains hard.
Do not scrape dried material. Bird waste may contain grit, and sap can pull at a plastic surface when it is removed dry. Warm, not hot, water speeds softening without creating a large temperature change.
Success checkpoint: The residue wipes away with light pressure rather than scraping.
Common mistake: Applying vinegar, solvent, or concentrated cleaner before trying water. Chemical strength is rarely necessary for a small panel and can damage surrounding plastic.
Step 4: Wash With Diluted Mild Soap
Mix one or two drops of mild, non-abrasive dish soap into 250 milliliters of distilled water. Dip a microfiber cloth into the solution, wring it until damp, and wipe in straight overlapping strokes from the cleanest edge toward the dirtiest area.
A soft brush can clean textured plastic or a recessed frame, but never press hard enough to flex the panel cover. For greasy pollution, make a second pass with fresh solution rather than increasing soap concentration.
Success checkpoint: The surface has an even wet film with no visible grease, droppings, or dust islands.
Common mistake: Using a kitchen sponge with a green abrasive side. Only the soft microfiber or foam side is suitable.
Step 5: Rinse and Dry Without Residue
Rinse the cloth in clean distilled water and wipe the panel again until no slippery soap film remains. On a removable component, a low-pressure pour or gentle spray is acceptable, but never direct water at seams, vents, switches, or battery doors.
Dry the face with a second lint-free microfiber cloth. Inspect the panel from several angles before reinstalling the component or turning the light on.
Success checkpoint: The cover is clear, streak-free, and dry around the edges.
Common mistake: Letting tap water evaporate on the surface in a hard-water region, where calcium deposits can form new white spots.
Which Cleaner Should You Use?
Distilled water is the best routine cleaner, while diluted mild soap handles organic residue. A commercial solar-panel wash is useful for repeated maintenance on multiple fixtures only when its label specifies compatibility with glass, acrylic, polycarbonate, coatings, and rubber seals.
| Cleaning method | Best use | Main risk | Typical DIY cost |
|---|---|---|---|
| Distilled water | Dust, pollen, fresh rain marks | Limited grease removal | $1-$2 |
| Mild dish soap solution | Sap, soot, dried droppings | Soap film if poorly rinsed | Under $1 |
| pH-neutral solar cleaner | Multiple fixtures or recurring grime | Product incompatibility | $10-$30 |
| Plastic-safe polish | Superficial haze or fine scuffs | Removing too much cover material | $8-$20 |
| Isopropyl alcohol | Only label-approved spot cleaning | Cracking or clouding some plastics | $3-$6 |
Vinegar deserves special caution. A weak vinegar solution may remove mineral scale from an external metal frame, but it is not a universal panel cleaner and should not contact batteries, electrical terminals, rubber seals, or an unknown plastic cover.
What If the Panel Is Cloudy or Yellow?
A cloudy solar light panel needs diagnosis before polishing. If haze disappears when the surface is wet, residue or fine surface abrasion may be involved; if the panel remains milky or yellow when wet, UV-degraded plastic is more likely.
Try washing first and inspect the cover in daylight. For a removable acrylic or polycarbonate lens, apply a polish specifically labeled for that plastic, using a small test spot and light pressure. Follow the product instructions, because abrasive compounds remove a thin layer of material and can worsen a fragile cover.
Toothpaste is an inconsistent substitute. Some non-gel products contain polishing particles, but their grit, additives, and compatibility vary; toothpaste can leave residue and may create uneven optical patches. Clear spray coatings are also poor default repairs because overspray can enter seams, alter light transmission, or make future replacement difficult.
| Panel condition | Cleaning result | Recommended action | Replacement likelihood |
|---|---|---|---|
| Dusty but transparent | Fully clear after washing | Routine cleaning | Low |
| White mineral spots | Clear after soaking and rinsing | Distilled-water rinse or compatible scale treatment | Low |
| Fine surface haze | Improves with plastic polish | Test plastic-safe polish | Medium |
| Yellow, cracked, or milky | Little change when wet | Replace lens or fixture | High |
| Moisture inside cover | Fogging or droplets internally | Dry and inspect seal, then replace if needed | Medium-high |
A new fixture is often more sensible than aggressive restoration when the panel is permanently yellow, the cover is cracked, or the battery and LED are already several years old. Polishing cannot repair photovoltaic cells, wiring, a failed charge controller, or a battery with low capacity.
How Often Should You Clean It?
Clean a solar light panel every 3-6 months in a typical residential garden and inspect it monthly. Use a shorter 1-3-month interval for fixtures exposed to coastal salt, agricultural dust, industrial soot, pollen-heavy trees, or frequent bird activity.
Rain removes some loose dust but does not reliably remove oily deposits, salt film, bird waste, or sticky sap. A practical trigger is visible coverage: clean the panel when contamination obscures roughly one-quarter of its face or when the light’s overnight runtime falls despite adequate sunlight.
| Location or exposure | Inspection interval | Cleaning interval | Seasonal priority |
|---|---|---|---|
| Clean suburban garden | Monthly | Every 4-6 months | Spring and autumn |
| Dusty road or construction area | Every 2-4 weeks | Every 1-2 months | Dry season |
| Coastal property | Monthly | Every 2-3 months | After salt-heavy weather |
| Dense trees and bird activity | Monthly | Every 2-3 months | Spring and summer |
| Snow or winter storage | Before storage | Before storage and spring use | End of winter |
Why Is the Light Still Dim After Cleaning?
A clean solar light that runs for only one or two hours usually has a depleted rechargeable battery, insufficient daylight, shade, or water damage rather than a dirty panel. Cleaning improves light input, but it cannot restore battery chemistry or correct an electrical fault.
Check the fixture in daylight and confirm that the panel receives several hours of unobstructed sun. Move nearby branches, inspect the switch, and cover the panel briefly at night to see whether the light sensor activates. Keep porch lamps and streetlight glare away from the sensor because artificial light can make the controller interpret nighttime as daytime.
Check the Battery and Contacts
Replace the rechargeable battery with the same chemistry, voltage, physical size, and capacity specified by the manufacturer. Many small fixtures use one or more AA or AAA nickel-metal hydride batteries, but some use lithium-ion packs or proprietary modules that should not be substituted casually.
White or green corrosion on contacts indicates moisture or battery leakage. Remove the battery, wear eye protection, clean accessible metal contacts with an appropriate electronics contact cleaner or a barely damp cotton swab, and let everything dry completely. Do not apply vinegar inside a powered compartment or reinstall a battery until the contacts are dry.
| Symptom after cleaning | Likely cause | First check | Probable remedy |
|---|---|---|---|
| Runs 1-2 hours | Old battery or shade | Battery age and sunlight | Replace battery or relocate |
| Never turns on | Switch, sensor, or wiring | Switch position and sensor test | Repair or replace fixture |
| Flickers | Loose contact or moisture | Battery terminals and housing | Dry, clean, reseat battery |
| Panel remains dim-looking | Haze, crack, or internal moisture | Inspect while wet and dry | Plastic polish or replacement |
| Turns off near a porch lamp | Sensor sees artificial light | Cover sensor and remove glare | Relocate or shield light |
How Should You Clean Different Solar Light Types?
Pathway lights can usually be removed and cleaned on a towel, while wall-mounted security lights should be wiped with controlled moisture. String lights and decorative lanterns often have smaller panels, narrower seals, and less durable housings, so immersion is especially unsafe.
For a high-mounted panel, use a microfiber sleeve or soft water-fed brush from stable ground only when the fixture design permits it. Do not use a ladder in wet conditions, and do not aim a hose upward at the housing.
Pathway and Stake Lights
Switch off the light, lift the solar head from the stake if it separates, and keep the battery door facing upward. Clean the panel and frame, dry the underside, then check that the panel points toward the strongest available daylight when reinstalled.
Wall-Mounted Security Lights
Turn off the fixture at its switch or isolation control. Use a damp microfiber cloth rather than a spray bottle, especially around motion sensors, USB ports, vents, and adjustable joints. If the panel is above safe reach, arrange professional access instead of balancing on furniture or an unsecured ladder.
Solar String Lights
Wipe the panel with a nearly dry cloth and inspect the cable entry point. Do not soak the solar module or dunk the string, even if the product is rated for outdoor use, because water can remain in connectors and battery compartments.
How Much Time and Money Does Cleaning Take?
A simple pathway-light cleaning typically costs $1-$5 and takes 5-10 minutes per fixture. Cleaning a wall-mounted unit usually takes 10-20 minutes, while optional plastic polishing adds $8-$20 in materials and 10-30 minutes of work.
| Job | Typical time | Typical materials cost | Skill level |
|---|---|---|---|
| Dust and water wipe | 2-5 minutes | $0-$2 | Basic |
| Soap wash and rinse | 5-10 minutes | $1-$5 | Basic |
| Several fixtures | 30-60 minutes | $3-$12 | Basic |
| Plastic-lens polishing | 10-30 minutes | $8-$20 | Moderate |
| High or commercial access | 15-30 minutes | $0-$100+ if hired | Variable |
The cheapest effective method is usually distilled water, two microfiber cloths, and a tiny amount of mild soap. Buying specialized cleaner makes financial sense only when many lights need recurring maintenance or the manufacturer requires a specific product.
Common Mistakes and How to Fix Them
- Wiping dry grit across the panel: Stop and rinse the cloth. Re-clean with a fresh microfiber cloth after dry brushing.
- Leaving soap behind: Wipe repeatedly with clean distilled water until the surface no longer feels slippery.
- Spraying into the housing: Turn the unit off, remove the battery if safe, dry it for at least 24 hours, and inspect for corrosion before powering it.
- Polishing a cracked lens: Do not polish structural damage. Replace the cover or fixture because water can reach the cells and circuit board.
- Blaming dirt for short runtime: Test the battery and sunlight exposure before repeating the cleaning process.
- Using the wrong replacement battery: Match chemistry and voltage to the product instructions; never install a non-rechargeable alkaline cell where a rechargeable battery is required.
One practitioner rule is especially useful: clean the panel once, then diagnose the system. Repeated washing cannot solve a battery, sensor, shade, or seal problem.
Should You Repair or Replace the Solar Light?
Repair is worthwhile when the panel becomes clear after washing, the housing remains sealed, and the battery is the only failed component. Replacement is usually more economical when the cover is yellow and cracked, internal moisture persists, or a low-cost fixture has multiple faults.
Before buying a new light, compare the replacement battery price with the entire fixture price. A $4 battery can restore a sound light, but a $15 replacement fixture may be the better choice when the panel, lens, and contacts all show deterioration.
FAQ
Can I Use Tap Water to Clean a Solar Light Panel?
Yes, tap water is acceptable for the initial wash, but distilled water is better for the final rinse in hard-water areas. Minerals left by evaporating tap water can form white spots and attract more dust. Dry the panel immediately with a clean microfiber cloth instead of allowing droplets to air-dry.
Can I Use Glass Cleaner on a Solar Light?
Avoid ordinary glass cleaner unless the manufacturer specifically approves it for the panel’s material. Ammonia, alcohol, solvents, and surfactants can cloud acrylic or polycarbonate and may damage coatings or seals. Distilled water with one or two drops of mild soap is safer for unknown small solar-light covers.
Do Solar Lights Need Direct Sunlight?
Solar lights work best with direct, unobstructed daylight, although photovoltaic cells can charge under bright indirect light. Shade from trees, buildings, or seasonal foliage reduces the battery’s daily charge. Move the fixture or trim the obstruction before concluding that the panel needs more cleaning.
How Do I Clean a Solar Panel Without Removing It?
Switch the light off and wipe the panel with a dry microfiber cloth first. Follow with a damp cloth containing distilled water and one drop of mild soap, then use a second damp cloth to remove residue. Keep spray away from switches, seams, vents, sensors, and cable entries.
How Long Do Solar Light Batteries Usually Last?
Small rechargeable batteries commonly last about 1-3 years, depending on charge cycles, heat, cold, and battery quality. A light that becomes dim after a full sunny day, despite a clean panel, often needs a correctly matched replacement battery rather than another wash.
Does Cleaning Make Solar Lights Brighter?
Cleaning can increase the daylight reaching the photovoltaic cells, which may extend nighttime runtime and improve practical brightness when the battery was undercharged by dirt. Cleaning cannot increase the LED’s rated output or repair a weak battery, shaded location, damaged panel, faulty sensor, or corroded connection.
The Bottom Line
The safest answer to how to clean a solar light panel is simple: switch the light off, remove dry grit, soften stuck residue, wash with distilled water and a drop of mild soap, rinse thoroughly, and dry the surface. Clean every 3-6 months, shorten that interval in dusty or coastal conditions, and diagnose the battery or sensor when a clean panel still produces weak light.


