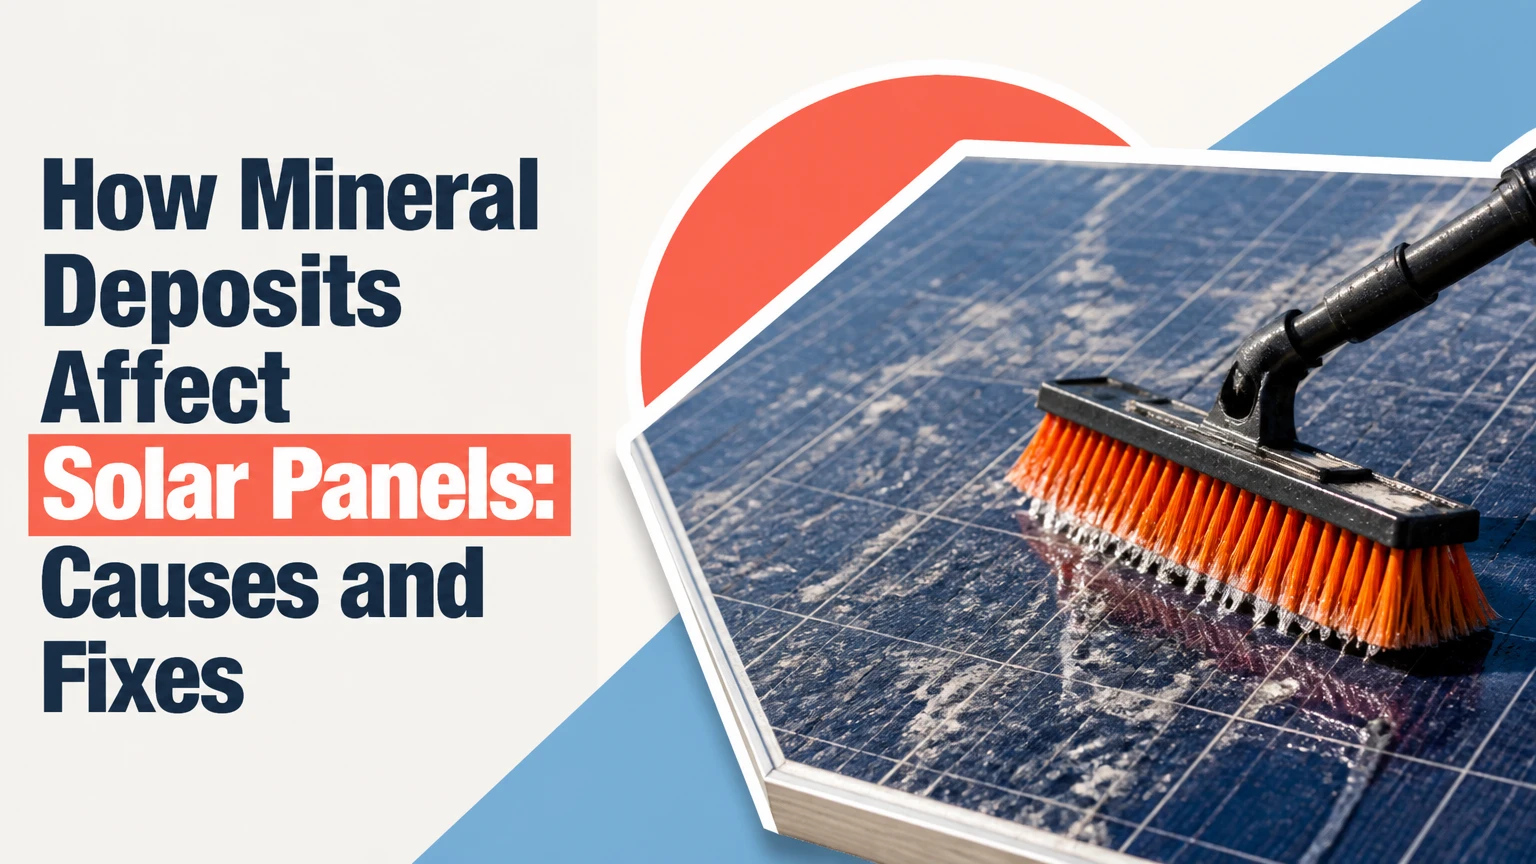
Mineral deposits affect solar panels by forming a light-blocking residue on the front glass, which reflects and scatters sunlight before it reaches the photovoltaic cells. The resulting energy loss depends on deposit coverage, thickness, chemistry, panel tilt, and whether the residue also stains or etches the anti-reflective surface.
Key Facts at a Glance
- Mineral deposits form when dissolved solids remain after hard or contaminated water evaporates on solar glass.
- Calcium carbonate, silica, iron oxides, and salt produce different appearances and require different removal methods.
- Deposits usually reduce current first because less light reaches the cells; the percentage loss varies with coverage.
- A white deposit is not automatically a dangerous hotspot, and scale does not normally trip a panel’s bypass diodes by itself.
- Deionized or reverse-osmosis water prevents new spotting, but purified water cannot repair chemically etched glass.
- Abrasive tools, strong acids, and cleaning hot glass can damage coatings, frames, seals, or the glass itself.
What Are Mineral Deposits on Solar Panels?
Mineral deposits are solid residues left when water containing dissolved calcium, magnesium, silica, iron, or salts dries on photovoltaic glass. Hard-water spotting is the most common residential form, while agricultural spray, well water, cooling-tower drift, coastal salt, and irrigation overspray create specialized deposits.
Mineral scale differs from ordinary dust because the residue crystallizes during evaporation and can adhere tightly to the glass. Dust generally remains a loose surface layer that rain or gentle washing may remove; scale often persists after several storms because its particles are cemented together.
The glass is primarily amorphous silicon dioxide, but mineral deposits do not automatically form permanent ionic bonds with the glass substrate. Calcium carbonate can adhere mechanically and chemically at microscopic surface sites, while silica-rich residues may become difficult to remove after repeated drying. Permanent damage usually results from abrasion or chemical etching, not from every deposit chemically fusing into the glass.
NREL’s PV Performance Modeling Collaborative defines soiling as “the accumulation of dust, dirt, pollen, bird droppings, and other substances on the surface of a PV module.” Mineral scale is one chemically persistent form of soiling, but it deserves separate treatment because ordinary dry brushing or rain may not remove it.
How Mineral Deposits Form
Mineral deposits form through six linked stages: contaminated water wets the module, sunlight accelerates evaporation, dissolved solids concentrate, the solution becomes supersaturated, crystals precipitate, and repeated cycles build a harder residue.
A sprinkler can create hundreds of small drying sites across a panel. Each site leaves behind calcium carbonate, silica, iron compounds, or other dissolved solids. A later spray partially dissolves the old spot, moves minerals to its edge, and produces a thicker ring. Panel edges and lower corners often accumulate the most residue because runoff slows there.
Water chemistry matters more than the label “hard water.” Total dissolved solids measure the total mass of dissolved material, while hardness mainly describes calcium and magnesium and silica may remain troublesome even when hardness is moderate. Conductivity meters also provide only an indirect estimate because different ions conduct electricity differently.
| Source of wetting | Common residue | Typical visual pattern | Primary risk |
|---|---|---|---|
| Well water | Calcium carbonate, magnesium compounds, iron oxide | White rings with orange streaks | Persistent scale and staining |
| Municipal tap water | Calcium carbonate, magnesium salts | Chalky spots and cloudy film | Reduced transmission |
| Agricultural sprinklers | Calcium, silica, fertilizer salts | Repeating arcs or bands | Fast, localized buildup |
| Coastal mist or spray | Sodium chloride, magnesium chloride | White crystalline haze | Corrosion and optical loss |
| HVAC or cooling-tower drift | Carbonates, silica, treatment chemicals | Fine white film | Hard-to-remove spotting |
How Mineral Deposits Affect Solar Panels
Mineral deposits affect photovoltaic modules through optical loss first, electrical mismatch second, and possible surface damage third. A translucent film can scatter incoming light, while opaque or colored residue reflects or absorbs part of the sunlight that would otherwise reach the cells.
The output reduction is not a fixed 15%-30%. A thin haze over the entire module may produce a modest loss, whereas thick residue concentrated over cell areas can create a larger reduction. A deposit along the aluminum frame may look severe but have little effect on generation because it covers no active cell area.
Solar modules are current-limited devices under normal operating conditions. When less irradiance reaches a cell, short-circuit current and operating current generally decline; voltage changes less dramatically. NREL’s 2017 PV Fleet Performance report identifies soiling as a measurable contributor to photovoltaic performance losses, but site-specific monitoring is required to isolate it from clouds, inverter clipping, shading, degradation, and temperature.
Scale can also produce nonuniform illumination. A dense patch over one part of a cell string may increase electrical mismatch, but ordinary surface deposits do not automatically create an 85°C hotspot. Hotspots depend on reverse-biased cells, current flow, shading geometry, module design, and fault conditions. Bypass diodes protect groups of cells when current mismatch becomes severe; mineral crust alone does not usually trigger them.
Which Mineral Deposits Cause the Most Trouble?
Silica-rich residue is often the hardest to remove, while calcium carbonate is the most common hard-water scale. Iron oxide is visually conspicuous and absorbs light, but its effect depends on thickness and coverage rather than color alone.
| Deposit type | Typical compounds | Appearance | Removal difficulty | Main concern |
|---|---|---|---|---|
| Calcium scale | Calcium carbonate, CaCO₃ | White, rough rings | Moderate to high | Optical loss and etching |
| Magnesium residue | Magnesium carbonate and salts | Dull white or gray film | Moderate | Reduced transmission |
| Silica scale | Silicon dioxide, SiO₂ | Clear, glassy haze | High | Persistent bonding and abrasion risk |
| Iron staining | Iron oxides, hydroxides | Orange, yellow, brown streaks | Moderate to high | Absorption and staining |
| Salt residue | Sodium chloride, magnesium salts | Fine white crystals | Low to moderate | Optical loss and metal corrosion |
Silica is not always transparent or permanently fused, and calcium carbonate does not inevitably etch the glass. The risk increases when deposits remain wet, dry repeatedly, or are scrubbed aggressively. A professional should test a small area before applying any descaler to the whole array.
How Much Production Can Mineral Scale Cost?
Typical output loss from mineral deposits ranges from less than 1% for sparse edge spots to more than 10% for dense coverage across active cell areas; losses above 20% are possible but require unusually severe coverage, shading, or combined soiling. A panel-level measurement is more reliable than visual judgment.
Use a controlled comparison rather than comparing this month’s bill with last year’s bill. Record plane-of-array irradiance, module temperature, inverter output, and time of day before cleaning, then repeat under similar conditions afterward. A reference clean module or a calibrated irradiance sensor improves the comparison.
| Deposit coverage and condition | Typical optical effect | Plausible production impact | Verification method |
|---|---|---|---|
| Sparse edge spots | Under 1% active area covered | Under 1%-2% | Visual inspection and output trend |
| Thin haze across glass | Broad scattering | 2%-6% | Before-and-after irradiance comparison |
| Repeated white rings over cells | Localized blockage | 5%-12% | String comparison and close inspection |
| Thick crust across most glass | Strong reflection and scattering | 10%-20% or more | Controlled test and I-V analysis |
| Etched or permanently hazy glass | Irrecoverable transmission loss | Site-dependent | Clean test area and optical inspection |
The PV system must also be checked for inverter clipping. Cleaning a module during a period when the inverter is already at its power limit will not produce a visible increase in AC output, even if the module is receiving more light.
Can Rain Clean Mineral Deposits?
Rain can remove loose dust and dilute some fresh salt residue, but rain rarely removes established calcium or silica deposits. The answer depends on rainfall chemistry, deposit solubility, droplet impact, panel tilt, and whether runoff reaches the entire glass surface.
A steeply tilted module receives more washing action than a shallow commercial rooftop array. Heavy rain may soften a recent deposit, but repeated irrigation overspray can leave new scale immediately after the storm. Rainwater also does not reverse etched glass or restore a damaged anti-reflective coating.
A practical test is simple: inspect the same spot after two substantial rains, then compare it with a small area cleaned using manufacturer-approved methods. If the mark remains sharply defined, treat it as adhered contamination or surface damage rather than ordinary dust.
How to Remove Mineral Deposits Safely
Safe mineral removal uses cool module surfaces, soft nonabrasive tools, purified rinse water, and a cleaning product compatible with the module manufacturer’s instructions. A small residential array usually takes 30-90 minutes for light deposits and 2-4 hours for thick scale, excluding roof-access setup.
Before Cleaning
- Check the module warranty and installation manual.
- Shut down the system according to the inverter manufacturer’s procedure.
- Work early or late, when glass temperatures are lower.
- Identify the water source and measure TDS or conductivity.
- Prepare a soft brush, microfiber applicator, squeegee, hose, and approved descaler.
- Keep runoff away from drinking-water drains, plants, and painted surfaces.
Step 1: Remove Loose Surface Soil
Rinse or gently brush away dust, sand, and pollen before treating scale. Dry scrubbing can drag quartz or abrasive soil across the glass and create fine scratches.
You will know this step worked when loose grit no longer remains under a wet microfiber cloth. The common mistake is applying acid or pressure while abrasive particles are still present.
Step 2: Test the Deposit
Apply the selected cleaner to a small corner or spare area and follow the stated dwell time, often 1-5 minutes. Do not allow the solution to dry.
A successful test softens the deposit without whitening the glass, discoloring the frame, or swelling sealant. Stop immediately if the test area changes color or develops a new haze.
Step 3: Loosen the Scale
Use a soft nylon brush or microfiber pad with a manufacturer-approved, mild descaler. Work in short sections and use light pressure rather than scraping.
The scale should release gradually into the solution. A common mistake is using a razor blade, pumice pad, melamine sponge, steel wool, or hard bristle brush, all of which can scratch glass or damage coatings.
Step 4: Rinse With Purified Water
Rinse completely with reverse-osmosis or deionized water, then use a clean rubber squeegee if the module manufacturer permits it. Purified rinse water prevents a second mineral film from drying on the glass.
The surface should dry without white rings. TDS below 10 ppm is a practical target for many water-fed cleaning systems; a lower reading provides more margin, but 0 ppm is not a universal requirement.
Step 5: Inspect and Document
Photograph the treated area, record the cleaning date, and compare system performance under similar irradiance. Thermal imaging can identify electrical hotspots, but it cannot prove that every warm patch was caused by mineral scale.
The job is complete when deposits are gone, no residue remains around frame seams, and output improves under comparable operating conditions. A common mistake is declaring success from a cleaner appearance without checking generation.
Which Cleaning Water Should You Use?
RO/DI water is the safest general-purpose rinse for solar modules because it contains fewer dissolved solids and dries with little spotting. RO removes much of the dissolved load but produces wastewater, while DI resin polishes the remaining ions and requires replacement when exhausted.
The AI Overview’s 0.5 ppm TDS limit is not a universal solar-panel standard. Cleaning contractors set different targets based on panel tilt, climate, drying time, resin quality, and customer expectations. The operational rule is to measure the rinse water and verify a spot-free dry-down.
| Water method | Typical dissolved-solids result | Spotting risk | Best use |
|---|---|---|---|
| Untreated hard tap water | 150-500+ ppm TDS | High | Avoid for final rinse |
| Water softener output | 100-400 ppm TDS | Medium to high | Temporary pre-rinse only |
| Reverse osmosis water | 5-50 ppm TDS | Low to medium | Residential cleaning |
| RO followed by DI | 0-10 ppm TDS | Very low | Spot-free final rinse |
| Rainwater, filtered | 5-30 ppm TDS | Low if clean | Limited, controlled use |
Softened water replaces calcium with sodium and does not necessarily prevent visible residue. A softener is therefore not equivalent to RO/DI purification.
Are Vinegar, CLR, and Coatings Safe?
Household vinegar may loosen light calcium carbonate, but concentrated acids, CLR, bathroom limescale products, and unapproved solvents can attack aluminum finishes, silicone seals, labels, and coatings. Product safety depends on concentration, contact time, temperature, and rinsing, not the label “biodegradable.”
Specialized solar descalers usually use weak organic acids or chelating agents, but “solar-safe” still requires verification against the module warranty. Never mix acids with bleach or other cleaners. Chemical runoff also requires control because dissolved metals and acidic solution can damage vegetation or enter storm drains.
Hydrophobic and anti-soiling coatings can reduce water retention and simplify future cleaning, but they cannot remove existing scale or repair etched glass. Coating performance varies with installation quality, ultraviolet exposure, abrasion, and the product’s compatibility with glass texture.
| Treatment | Typical purchase or service cost | Useful life | Main limitation |
|---|---|---|---|
| RO/DI water-fed cleaning | $5-$15 per panel professionally | One cleaning cycle | Equipment and resin cost |
| Solar-safe descaler | $15-$40 per bottle | One to several jobs | Incorrect chemistry can damage surfaces |
| Hydrophobic coating | $200-$800 residential application | 2-5 years typical | Does not repair etched glass |
| Professional restoration | $300-$1,500 residential job | Site-dependent | Severe deposits may remain |
| Panel replacement | $200-$500 panel plus labor, typical | 20-30-year module design life | Does not solve the water source |
What Are the Main Cleaning Risks?
The greatest cleaning risks are scratching the front glass, causing thermal shock, leaving chemical residue, and directing water into damaged connectors or frame openings. Solar glass is durable under weather exposure but is not immune to concentrated mechanical or chemical damage.
Never spray cold water on glass that is hot enough to cause rapid temperature change. Avoid walking on modules, pressure-washing the array, lifting frame edges, and forcing water toward junction boxes. Follow the system shutdown procedure because photovoltaic modules generate voltage whenever illuminated.
A further risk is misdiagnosis. A production decline may originate from shading, inverter faults, connector resistance, snow, bird droppings, cell degradation, or a failed optimizer. Cleaning cannot fix those conditions.
Prevention for Different Sites
Prevention begins by stopping contaminated water from reaching the array. Relocating sprinklers often costs less and works better than cleaning more frequently or applying a coating.
| Site condition | Recommended control | Typical inspection interval | Escalation point |
|---|---|---|---|
| City water, moderate rainfall | Avoid hose rinsing; inspect glass | Every 6-12 months | Clean visible persistent spots |
| Private well | Test hardness, iron, silica, and TDS | Every 3-6 months | Install overspray control |
| Agricultural property | Move sprinklers and shield array | Monthly during irrigation | Use professional RO/DI cleaning |
| Coastal property | Inspect salt and frame corrosion | Every 1-3 months | Rinse with purified water |
| Commercial rooftop | Track string-level performance | Monthly analytics review | Thermal and electrical testing |
Homeowners should inspect after roof work, gutter cleaning, irrigation changes, and nearby construction. Well-water users should test more than hardness because silica and iron can remain problematic after a basic softening treatment.
Commercial operators can calculate a cleaning threshold by comparing the cost of cleaning with recovered energy revenue. Drone thermal surveys are useful for finding electrical anomalies, but visual inspection and irradiance-normalized power data are better tools for confirming surface soiling.
When Is Replacement Better Than Cleaning?
Panel replacement becomes reasonable when cleaning leaves permanent haze, the glass has visible etching, the module has delamination, or measured power remains materially below comparable modules after the surface is clean. Cosmetic staining alone does not justify replacement.
A restoration attempt is worthwhile when the deposit is thick but still raised above the glass. Replacement is more defensible when the glass remains cloudy after an approved cleaning test and the lost production exceeds the panel’s remaining economic value.
Ask the installer or manufacturer whether the warranty covers coating failure, glass defects, delamination, or cleaning damage. Most warranties do not cover damage caused by abrasive tools or incompatible chemicals.
Expert Rules That Prevent Expensive Mistakes
- Treat the water source before treating the panel. A perfectly cleaned array will spot again if an irrigation head continues spraying it.
- Measure production under matching irradiance. A clean module can appear to produce no more power when the inverter is clipping.
- Do not equate visible severity with electrical severity. A dramatic frame stain may cover no active cell, while a thin film across the entire module can reduce light transmission everywhere.
- Use the least aggressive effective method. Mechanical force can turn removable scale into permanent optical damage.
- Separate surface loss from cell faults. A thermal camera identifies temperature differences, not their cause.
FAQ
Do mineral deposits void a solar-panel warranty?
Mineral deposits themselves usually do not void a warranty, but damage from abrasive pads, unauthorized coatings, strong acids, pressure washing, or improper access can. Read the module cleaning instructions and document the product used, water quality, and cleaning date before requesting warranty service.
Does panel angle change mineral buildup?
Panel angle changes both runoff and drying behavior. Modules below roughly 10-15 degrees often retain more water at their lower edges, while steeper modules shed rainfall more effectively. Angle does not prevent deposits when sprinklers or roof runoff repeatedly wet the glass.
Can a water softener prevent white spots?
A water softener reduces calcium and magnesium hardness but does not remove all dissolved solids. Sodium salts, silica, iron, and other ions can still dry into visible residue. Use softened water only as a pre-rinse unless testing confirms that the final dry-down is spot-free.
How often should solar panels be cleaned?
Cleaning frequency ranges from once every 1-2 years in rainy, low-dust locations to several times per year near farms, construction, deserts, or hard-water sprinklers. Use production data and visual inspection rather than a fixed calendar, because local soiling conditions determine the economic benefit.
Can mineral deposits damage photovoltaic cells?
Mineral deposits usually affect the glass surface rather than directly damaging silicon cells. Cell damage becomes possible when severe nonuniform shading creates sustained electrical stress, but ordinary scale is more likely to cause optical loss than cell burnout. Thermal and electrical testing is necessary before blaming deposits for a failed cell.
Should you clean solar panels yourself?
A ground-accessible residential array with light deposits can often be cleaned safely using manufacturer-approved tools and purified water. Roof-mounted, steep, heavily scaled, or electrically suspect systems warrant a trained professional because fall, shock, glass, and chemical risks exceed the likely savings.
The Bottom Line
Mineral deposits affect solar panels mainly by reducing light transmission through reflection, scattering, and absorption, with the largest losses occurring when scale covers active cell areas across the module. Calcium, silica, iron, and salt deposits differ in appearance and removability, so diagnosis should precede treatment.
Use purified rinse water, soft tools, approved chemistry, and cool glass. Prevent irrigation overspray, measure production under comparable conditions, and replace a module only when cleaning cannot restore the surface or testing confirms lasting electrical damage. Understanding how mineral deposits affect solar panels prevents both unnecessary replacement and careless cleaning.
Title tag: How Mineral Deposits Affect Solar Panels: Safe Fixes
Meta description: Compare calcium, silica, iron, and salt buildup, then choose safe RO/DI cleaning, testing, and prevention steps for your array.


