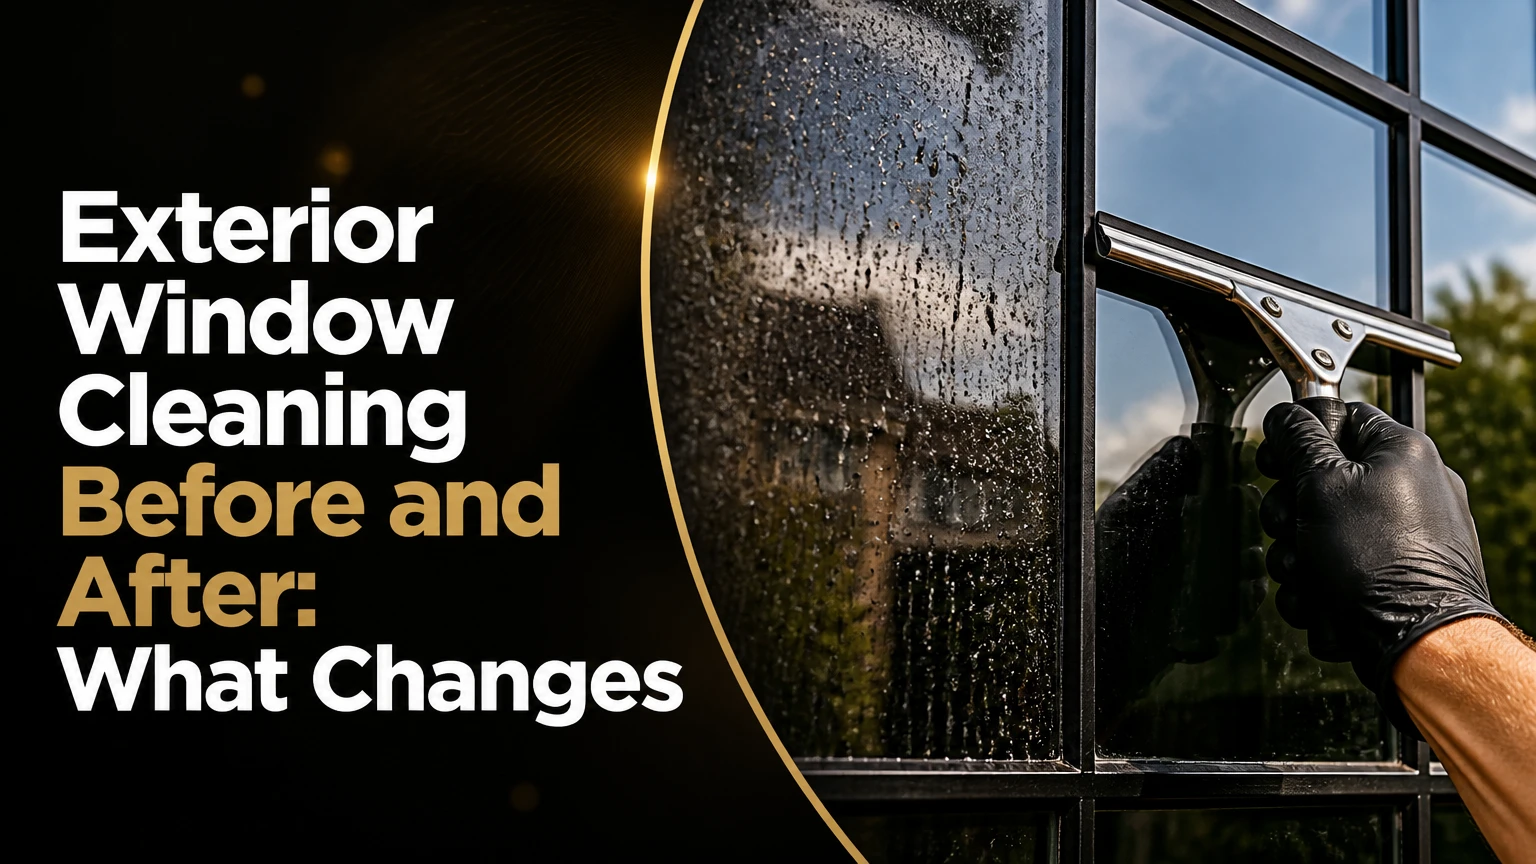
Exterior window cleaning before and after results usually show clearer glass, brighter views, cleaner frames, and improved curb appeal. A thorough job removes surface dust, pollen, salt, bird residue, and ordinary mineral film, but it cannot reverse glass etching, scratches, failed insulated-glass seals, or permanent coating damage without separate restoration.
Key Facts at a Glance
- Exterior window cleaning removes surface contamination; it does not automatically repair etched or scratched glass.
- Clean glass can make rooms appear brighter, but a universal 20% increase in natural light is not a reliable promise.
- Pure-water window cleaning uses filtered water with very low dissolved-mineral content and normally dries without spotting.
- A typical professional residential service costs about $150-$450 for a standard two-story home, depending on access and condition.
- A dry scraper can scratch glass; any blade work requires a wet, lubricated pane and a clean, suitable blade.
- Second-story exterior windows should be cleaned from the ground with a water-fed pole or by an insured professional whenever ladder positioning is unstable.
What Should Change After Exterior Window Cleaning?
A successful exterior window cleaning job changes four visible features: the glass becomes more transparent, the edges lose dark runoff lines, the frames and sills look cleaner, and exterior contamination no longer obstructs the view. The strongest before-and-after difference appears on windows exposed to road dust, irrigation spray, coastal salt, pollen, or construction residue.
The result is less dramatic when windows were cleaned recently, sit under a roof overhang, or have low contamination. Clean glass may improve perceived brightness because less dirt scatters incoming light, but the amount varies with the glass type, dirt thickness, room orientation, blinds, trees, and weather. No dependable general rule supports promising a 20% increase for every property.
A before-and-after photograph should use the same camera position, exposure, focus, and lighting. Automatic phone exposure can make the “after” image look brighter even when the cleaning difference is modest. For an honest comparison, photograph one cleaned pane beside an untouched pane under the same conditions.
What Exterior Window Cleaning Removes
Exterior cleaning removes loose and bonded surface contamination when the pane is washed, agitated, and dried correctly. Common removable material includes dust, pollen, cobwebs, bird droppings, insect residue, light grease, airborne soot, and fresh sprinkler spotting.
Some deposits require a different process. Cement, paint, silicone, adhesive, tree sap, and thick mineral scale may need controlled scraping or chemical restoration. The window cleaner must identify the substrate first because a blade, alkaline cleaner, or acidic product that works on ordinary glass may damage coated, tinted, laminated, or plastic surfaces.
| Contamination | Typical appearance before cleaning | Suitable first treatment | Likely after-result |
|---|---|---|---|
| Dust and pollen | Gray or yellow haze | Water rinse and mild surfactant | Clear glass |
| Bird droppings | White, brown, or green dried spots | Soak for 2-5 minutes, then soft agitation | Clean area if no etching |
| Irrigation minerals | White rings or crust | Mineral assessment and glass-safe restoration | Improved or restored clarity |
| Paint or stucco | Dots, smears, or hardened flecks | Lubricated professional scraper | Removal if glass is undamaged |
| Salt spray | Fine white film near coasts | Fresh-water rinse and detergent wash | Clearer glass and frames |
| Glass etching | Persistent pale marks after washing | Polishing or pane replacement assessment | Cleaning alone will not remove it |
How the Cleaning Process Works
Window cleaning combines water, surfactants, mechanical agitation, and controlled water removal. Glass is a hard, nonporous material at household scale, although microscopic surface damage and chemical deposits can make it appear rough or stained; describing ordinary glass as “porous” is misleading.
A surfactant lowers water’s surface tension and helps loosen oily or particulate contamination. The washer or brush then transfers the loosened material into the cleaning solution, while a squeegee or pure-water rinse removes the liquid and suspended debris. A clean rubber blade matters because worn edges redistribute contamination into lines.
Pure-water systems typically use reverse osmosis followed by deionization. The process reduces dissolved minerals, often measured as total dissolved solids, or TDS. When a brush agitates the pane and the low-mineral water is rinsed across it, the water can dry with fewer mineral spots than ordinary tap water. Pure water does not dissolve every adhesive, grease film, paint deposit, or etched mark.
Why Mineral Deposits Become Permanent
Hard-water deposits begin as removable mineral residue, but repeated drying can leave calcium carbonate, magnesium compounds, and silica-rich material on the surface. Acidic or abrasive restoration may be needed after ordinary washing fails, and poor technique can create additional scratches or coating damage.
The National Glass Association’s care guidance emphasizes using cleaning materials that will not scratch or chemically attack the glazing surface. That principle is more important than choosing a powerful product. Stronger chemicals do not compensate for incorrect identification of the glass.
Before You Start
Prepare the work area, inspect the glazing, and choose a safe access method before applying water. Exterior window cleaning is suitable for DIY work when the panes are reachable from the ground or from a stable, properly positioned access point; unstable ladders, steep roofs, and high elevations require professional equipment.
| Preparation item | Typical requirement | Why it matters |
|---|---|---|
| Project time | 2-4 hours for a small home | Allows screen, frame, glass, and inspection work |
| Cleaning solution | 4-5 gallons of cool water plus manufacturer-approved detergent | Prevents rapid drying and excess residue |
| Squeegee rubber | 1 fresh blade for the job, or a clean spare | Worn rubber leaves repeating lines |
| Microfiber or scrim towels | 6-12 lint-free towels | Keeps frame edges and tools clean |
| Extension reach | Ground-level pole sized for window height | Reduces ladder movement |
| Weather | 45-80°F, low wind, shaded glass | Slows drying and limits runoff |
Check for cracked panes, loose glazing, degraded sealant, rotten wood, exposed electrical equipment, and fogging between double-pane sheets. Fogging inside an insulated glass unit indicates seal failure, not dirty exterior glass. Cleaning may improve the outer surface but cannot clear moisture trapped between panes.
Do not pressure-wash the glass directly. High-pressure water can force moisture behind seals, damage screens, remove paint from frames, and drive water into wall assemblies. Use low-pressure rinsing around the frame and sill instead.
Step 1: Remove Screens and Protect the Area
Remove exterior screens when the design allows safe removal, label each screen, and place screens on a clean surface. Brush loose debris away before washing, then use mild detergent and a soft brush; allow screens to dry fully before reinstalling them.
Move planters, outdoor furniture, cushions, and decorations away from the work zone. Close windows before rinsing and cover delicate plants if runoff could carry detergent or loosened contaminants.
You will know this step worked when the screen mesh has no visible pollen clumps and the frame perimeter is accessible. A common mistake is washing screens while they remain installed, which pushes dirty water onto freshly cleaned glass and leaves the lower pane streaked.
Step 2: Rinse Frames, Sills, and Glass
Rinse the frames, tracks, sills, and surrounding trim with low-pressure water before applying soap to the glass. Start at the uppermost window and work downward so loosened dirt does not flow over finished areas.
Use a soft brush for corners, drainage channels, and insect residue. Vinyl and aluminum tolerate routine washing, but painted wood requires controlled moisture because standing water can enter joints or worsen failed paint.
The checkpoint is simple: loose cobwebs and grit should be gone before the washer touches the pane. If gritty material remains, more agitation is needed, not greater pressure. Abrasive grit trapped beneath a squeegee can produce scratches.
Step 3: Wash the Pane With Lubrication
Apply a cool, lightly soapy solution with a strip washer or soft brush. Work one pane at a time, keeping the surface uniformly wet while you agitate the top, corners, edges, and lower section where runoff accumulates.
Use enough solution to suspend dirt without creating excessive foam. Dish detergent can work for light residential soil, but too much leaves a surfactant film that causes hazy lines. Commercial cleaners should follow the product label, especially on low-emissivity coatings, tinted glass, and specialty films.
The pane is ready for extraction when no dry patch remains and the surface feels uniformly lubricated. A common mistake is scrubbing a dry pane, which increases friction and can drag grit across the glass.
Step 4: Scrape Only Suitable Deposits
Remove paint, tape, stucco, or sap with a glass-safe scraper only after confirming that the surface is genuine glass and fully lubricated. Hold the blade at a shallow angle, use short controlled passes, and replace a nicked blade immediately.
Never scrape dry glass. Do not scrape acrylic, polycarbonate, filmed glass, or surfaces with unknown coatings unless the manufacturer specifically permits it. Some modern windows have factory-applied surfaces that can be marked by otherwise ordinary tools.
The success checkpoint is removal of the deposit without a new line visible when the pane dries. If a mark remains after wet scraping, stop and identify it rather than applying more force. The mark may be etching, a scratch, or damage beneath the surface.
Step 5: Extract the Cleaning Solution
Use a clean squeegee and pull either straight vertical drops or a controlled overlapping pattern. Keep the blade in contact with the glass, overlap each pass slightly, and wipe the blade with a lint-free towel after every stroke when the solution is visibly dirty.
A continuous technique can be efficient on broad panes, while straight pulls provide better control on divided-light windows. Detail the top and side edges with a clean towel, then wipe the bottom seal and sill so trapped droplets do not dry into lines.
The glass should look clear from several viewing angles before the solution dries. Repeated horizontal streaks usually indicate a contaminated blade, insufficient overlap, excessive detergent, or glass that dried before extraction.
Step 6: Inspect the Finished Surface
Inspect each pane from inside and outside, changing position by roughly 45 degrees relative to the available light. Look for edge lines, isolated spots, drips beneath the frame, missed corners, and rainbow-like films.
A clean microfiber towel or scrim should remove a small wet edge mark. Persistent dry spots require diagnosis rather than repeated buffing. Record damaged areas with photographs so cleaning results are not confused with pre-existing defects.
Professional cleaners often separate cleaning from restoration on the work order. That distinction protects the customer from expecting a routine wash to repair permanent glass damage.
Which Cleaning Method Fits the Property?
Traditional squeegee cleaning is usually best for reachable residential panes and heavy localized debris, while a water-fed pole is safer and faster for many upper-story windows. Restoration is a separate service for mineral scale or surface damage, and rope access belongs to trained commercial technicians with documented anchor and rescue procedures.
| Method | Typical reach | Best debris or setting | Main limitation |
|---|---|---|---|
| Hand squeegee and washer | Ground level to about 1 story | Divided panes, grease, detailed edges | Ladder exposure above safe reach |
| Water-fed pole | About 30-60 feet, equipment dependent | Upper panes, broad glass, frames | Slow on adhesive and heavy grease |
| Glass restoration | Hand reach | Mineral scale and light etching | Chemical and polishing risk |
| Rope access | Commercial elevations above 60 feet | Curtain walls and high-rise façades | Requires trained, insured technicians |
| Telescoping rinse tool | About 15-25 feet | Light dust on accessible panes | Limited extraction and detailing |
Water-fed poles use a brush to agitate the frame and pane, followed by a rinse with purified water. The method can leave a spot-free finish when the water quality is adequate and the surface is free of heavy detergent residue. If local tap water has high TDS and the filtration system is undersized, spotting can remain.
Traditional tools provide superior control around paint flecks, silicone, narrow muntins, and oily deposits. The trade-off is access risk. A ladder should never be placed on unstable ground, leaned against fragile trim, or repositioned while occupied.
Typical Cost and Time
Typical professional exterior window cleaning costs about $150-$450 for a standard two-story home, while difficult access, restoration, screens, and post-construction debris can raise the project total. Prices vary by region, so pane count alone does not predict a reliable quote.
| Service condition | Typical price | Typical duration | Main price driver |
|---|---|---|---|
| Small one-story home | $100-$250 | 1-2 hours | 10-20 panes |
| Standard two-story home | $150-$450 | 1.5-3 hours | 20-30 panes and access |
| Large home with screens | $300-$700 | 3-5 hours | Screen removal and detailing |
| Post-construction glass | $20-$30 per pane | 3-8 hours | Paint, cement, tape, silicone |
| Hard-water restoration | $10-$30 per pane additional | 30-90 minutes per affected pane | Deposit severity and polishing |
| Commercial multi-story façade | Site quotation | 1 day or more | Access system, height, and glazing area |
Ask whether the quote counts panes, windows, openings, screens, or total labor hours. A double-hung unit may contain two movable panes, while a large fixed picture window may be priced by area or labor rather than by a simple pane count.
A typical DIY project takes 4-8 hours for a novice homeowner because setup, screen handling, ladder transitions, and rework take longer than the washing itself. Professional time is shorter when the crew has ground access and standardized equipment.
How Often Should Exterior Windows Be Cleaned?
Most homes benefit from exterior window cleaning once or twice per year, while coastal, industrial, agricultural, and high-pollen properties may need quarterly service. The right interval is reached when visible deposits return or when contamination begins affecting frames, seals, screens, and drainage paths.
Schedule cleaning after the main spring pollen period, after construction, or after a nearby façade wash that could leave alkaline runoff. Coastal properties need closer inspection because salt film attracts moisture and can accelerate corrosion on metal components.
Clean during cool, shaded conditions with low wind. Direct sun heats the glass and dries detergent before the squeegee can remove it, creating lines and mineral residue. Light cloud cover is useful, but rain during the final rinse can add fresh spotting or make quality inspection difficult.
When Cleaning Is Not Enough
Persistent haze, white marks, or fog between panes after cleaning usually indicates etching, scratches, coating damage, or an insulated-glass seal failure. A second wash is appropriate only when the residue is still on the surface and responds to gentle lubrication or approved glass-safe treatment.
Hard-water restoration may use a manufacturer-approved acidic product, polishing compound, or controlled abrasive process. These treatments require a test area because aggressive rubbing can create optical distortion, remove coatings, or leave a polished patch that looks different from surrounding glass.
| Post-clean condition | Probable cause | Correct response | Replacement likely? |
|---|---|---|---|
| Fine vertical lines | Dirty or worn squeegee rubber | Rewash with a clean blade | No |
| White crust that softens wet | Mineral deposit | Glass-safe restoration assessment | Usually no |
| Pale marks unchanged wet or dry | Etching or coating damage | Professional polishing or glazing review | Sometimes |
| Scratches visible in angled light | Abrasive contact or prior damage | Document and assess severity | Sometimes |
| Moisture between panes | Failed insulated-glass seal | Replace sealed unit | Often |
| Oily rainbow film | Excess detergent or coating residue | Rewash with correct dilution | No |
Cerium oxide polishing can reduce some fine surface defects, but it is not a universal scratch remover. Deep scratches, laminated-glass damage, and severe etching may require pane replacement because polishing can distort reflections over a larger area.
Common Mistakes and How to Fix Them
- Using a blade on dry glass: Rewet the pane and use a new, clean blade only on approved glass. Dry scraping can drag grit and create permanent scratches.
- Cleaning in direct afternoon sun: Move to the shaded side or work earlier. A wet edge must remain active until extraction is complete.
- Leaving frames dirty: Wash frames and sills before the pane. Rain will otherwise carry loosened dirt onto the finished glass.
- Applying too much detergent: Rewash with a correctly diluted solution and change the water. Soap film often resembles hard-water haze.
- Using household paper towels: Replace them with lint-free microfiber or scrim. Paper fibers and fabric lint can mimic streaking.
- Ignoring damaged seals: Photograph fogging and failed caulk before cleaning. Water should not be used to conceal a building-maintenance problem.
One practitioner rule is to change rinse water sooner than feels necessary on heavily soiled glass. Dirty water is a transport medium for grit, and reusing it can spread the same contamination across every pane.
Another rule is to clean the frames before the glass, but detail the lower sill again after extraction. The first wash removes bulk soil; the second pass catches runoff released during the pane wash.
DIY or Hire a Professional?
DIY cleaning is reasonable for ground-level windows, removable screens, and light contamination when the homeowner can keep both feet stable and maintain a clean wet edge. Hiring a professional is the safer choice for upper-story panes, roof access, fragile glazing, post-construction deposits, and work requiring chemical restoration.
Request proof of liability insurance, a written scope, and clarification about screens, frames, hard-water treatment, and interior cleaning. Ask what happens if a pane is already scratched or an insulated-glass seal is failed.
A professional should explain the method rather than promise a universal result. The strongest quote identifies access equipment, water-filtration details, restoration exclusions, and a procedure for documenting pre-existing damage.
FAQ
Can rain replace exterior window cleaning?
Rain can rinse loose dust, but it does not reliably remove oily film, bird residue, pollen, mineral deposits, or dried salt. Rainwater also picks up dirt from roofs, frames, and sills before reaching the glass. Scheduled washing remains necessary when deposits are visible or when the property sits near roads, coasts, farms, or construction.
Is cloudy weather better for cleaning outside windows?
Cloudy, cool weather is usually better because detergent evaporates more slowly and the cleaner can maintain a wet edge. Heavy wind, active rain, and temperatures near freezing create separate problems, including runoff, poor inspection, and frozen water. Shade is more important than cloud cover alone.
How do you clean second-story windows without a ladder?
Use a water-fed pole from stable ground when the pole can reach the entire pane and the purified-water system is properly maintained. Do not lean out of an upper window or use a ladder on a steep or unstable surface. Hire an insured cleaner when roof access, overhead obstacles, or unusual glazing prevents safe ground work.
Should exterior windows be cleaned before pressure washing?
Pressure wash siding, masonry, and hardscape before final window cleaning, because façade washing can leave detergent, grit, and dirty runoff on the glass. Keep the pressure washer away from seals and screens. A low-pressure final rinse around the frames is safer than directing a concentrated jet at the glazing.
Why do windows look streaky after professional cleaning?
Streaks usually come from contaminated or worn squeegee rubber, excess detergent, fast drying, dirty frame runoff, or residue on the glass. Persistent marks that remain after a careful rewash may be etching or coating damage. Compare the marks wet and dry before requesting restoration or replacement.
Does exterior window cleaning improve energy efficiency?
Clean glass can improve daylight quality and reduce the visual obstruction caused by dust, but routine washing should not be sold as a major energy retrofit. Insulation depends mainly on glazing type, low-emissivity coatings, air leakage, frames, and sealed-unit condition. Repairing failed seals generally matters more than removing ordinary surface dirt.
The Bottom Line
Exterior window cleaning before and after results are strongest when the job removes surface contamination without confusing permanent damage with dirt. Wash frames first, keep the pane lubricated, extract with clean tools, use pure water for suitable high-reach work, and stop before unsafe ladder access or aggressive restoration creates a larger problem.


