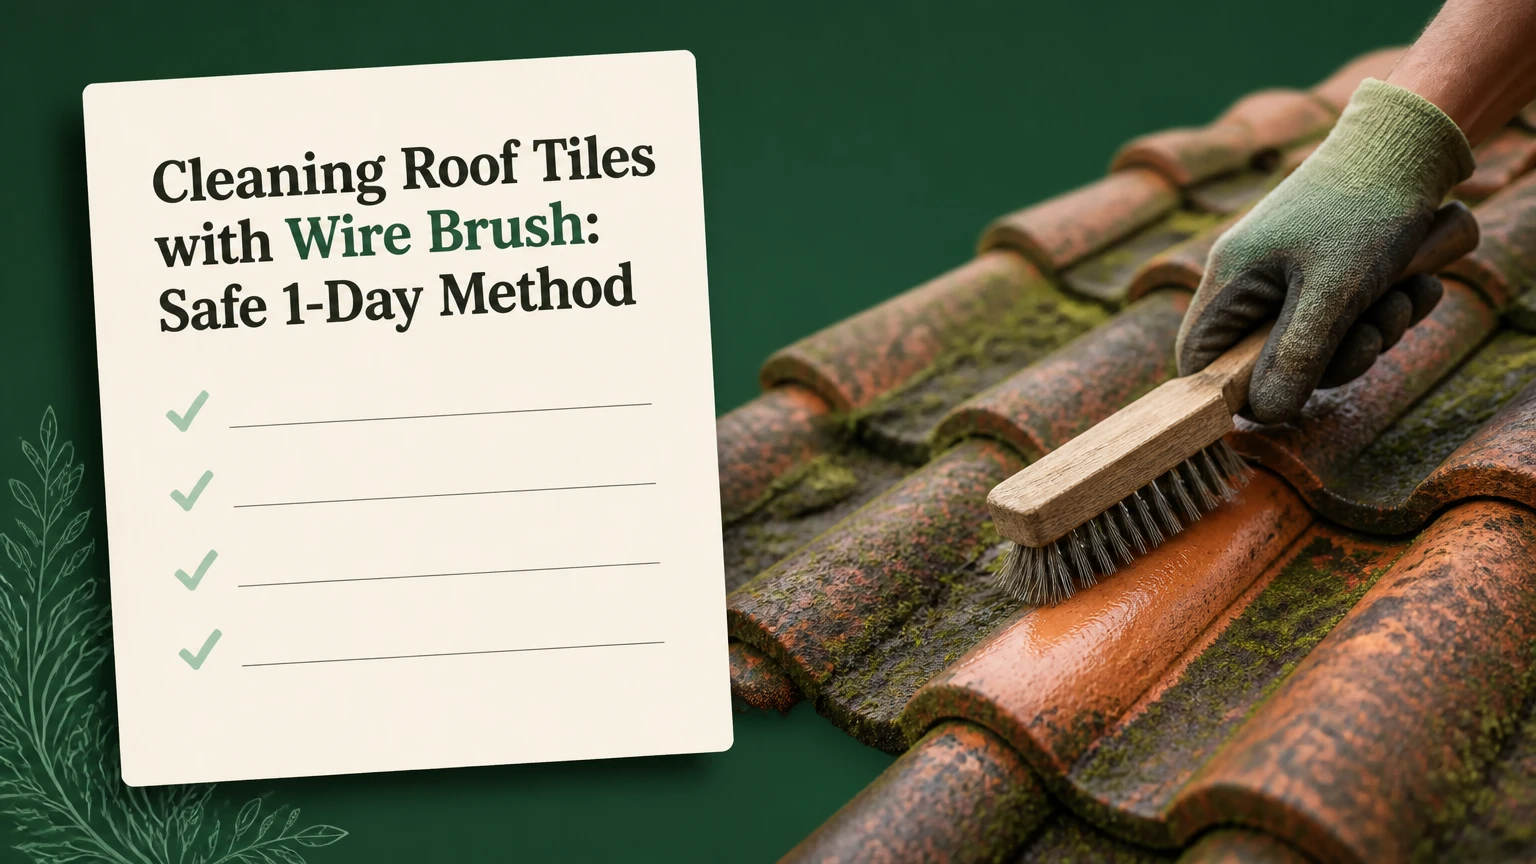
Cleaning roof tiles with wire brush can remove loose moss, algae, lichen, and surface dirt from sound concrete tiles without pressure-washing the roof. The safest method uses a compatible brush, works from the ridge toward the eaves in the direction of tile laps, protects gutters, and stops immediately if coating, glaze, or tile material begins to shed.
Key Facts at a Glance
- Wire brushing is most suitable for sound, uncoated concrete tiles with loose or moderate biological growth.
- Old clay tiles, glazed tiles, slate, brittle tiles, and damaged coatings usually need a soft nylon brush or a specialist assessment.
- Typical DIY cleaning takes 6-12 hours for a small accessible roof, excluding repairs and chemical dwell time.
- A 0.3-0.5 mm steel wire brush is aggressive enough for some concrete tiles, but bristle material matters more than gauge alone.
- Roof access is the main hazard; a ladder is an access tool, not a substitute for a protected work platform.
- Brushing removes visible growth but does not reliably kill remaining spores, so a label-approved biocidal treatment may be needed.
Is Cleaning Roof Tiles with Wire Brush Safe?
Cleaning roof tiles with wire brush is safe only when the tile material, coating, roof condition, and access method support light mechanical cleaning. Wire bristles can scratch glazed clay, remove colored surface coatings from concrete, catch under tile laps, and break already weakened tiles. A safe process begins with a ground-level inspection and a small test area.
Roof work also creates a fall risk that cleaning technique cannot solve. The UK Health and Safety Executive’s work-at-height guidance places emphasis on avoiding work at height where possible, then preventing falls with suitable equipment. A domestic extension ladder does not provide the same protection as properly erected scaffold, a tower scaffold, or a roof-access system.
Do not proceed without professional advice when the roof is steep, wet, moss-covered enough to become slippery, more than one storey high, visibly damaged, or made from fragile slate or old clay. Stop if you find movement, cracked tiles, deteriorated mortar, exposed underlay, water entry, or suspected asbestos-containing roofing products.
What should you inspect before brushing?
Inspect tiles, ridges, valleys, flashings, penetrations, gutters, and roof edges before applying any brush. Photograph defects from the ground, then compare the roof condition after cleaning so pre-existing damage is not mistaken for cleaning damage.
| Inspection point | Warning sign | Required response |
|---|---|---|
| Concrete tile surface | Bare aggregate or widespread flaking | Do not use steel bristles; obtain a roofer’s assessment |
| Clay tile surface | Glaze loss, hairline cracks, powdering | Use a soft nylon tool or stop work |
| Tile laps | Lifted, displaced, or broken overlaps | Repair before cleaning |
| Ridge and verge | Loose mortar or movement | Keep tools off the area; arrange repair |
| Valley and flashing | Corrosion, gaps, or sediment | Clean carefully and inspect for leaks |
| Gutter and downpipe | Sagging, heavy silt, or blocked outlet | Clean and secure drainage before roof work |
What Tools and Materials Do You Need?
A roof-tile cleaning setup needs a compatible brush, controlled access equipment, debris protection, personal protective equipment, and a treatment selected for the tile and local drainage rules. A brush alone is not a complete system because fallen moss can block outlets and contaminated runoff can harm plants or enter surface-water drains.
Use a stiff nylon brush for unknown or delicate tile finishes until a test confirms that metal bristles are safe. Choose a hand brush for edge detailing and a pole-mounted head for ground-based work, but do not assume a long pole eliminates fall hazards around a high or steep roof.
Which wire brush should you choose?
For sound, uncoated concrete tiles, select a medium-stiff carbon-steel or stainless-steel brush with a head wide enough to cover the tile profile without forcing bristles under overlaps. Brass is softer and reduces marking, while nylon is the conservative choice for clay, glazed surfaces, painted tiles, and uncertain finishes.
| Brush type | Typical specification | Suitable use | Main limitation |
|---|---|---|---|
| Handheld steel brush | 250-450 mm head, 0.3-0.5 mm bristles | Small concrete-tile areas and edges | Requires close access |
| Telescopic nylon brush | 1.5-6 m pole, 300-500 mm head | Ground or scaffold cleaning | Less effective on bonded lichen |
| Telescopic steel brush | 1.5-6 m pole, 0.3-0.5 mm bristles | Sound concrete tiles only | Can strip coatings and scratch |
| Brass brush | 200-400 mm head, 0.15-0.3 mm wire | Delicate spot cleaning after testing | Slow removal of heavy growth |
| Profile scraper | Tile-specific molded or shaped head | Repeated work on one concrete profile | Poor choice for mixed tile profiles |
| Stiff nylon brush | 300-500 mm head, 0.5-1 mm plastic bristles | Clay, glazed, coated, or uncertain tiles | Needs more passes and patience |
Prepare 2-3 heavy-duty debris sacks, a plastic scoop, a soft hand brush, absorbent cloths, a bucket, plant covers, gutter gloves, and a hose for ground-level rinsing. Use a fall-restraint or fall-arrest system only when it has been designed, anchored, and used by someone competent.
How Do You Clean Roof Tiles with a Wire Brush?
The practical method has six stages: inspect, establish safe access, protect the property, dry-brush in the tile-lap direction, clear drainage, and apply a compatible treatment if required. A small detached-house roof typically needs 6-12 labor hours for brushing and cleanup, while lichen treatment can add several days or weeks before final visual improvement.
Step 1: Check the weather and tile condition
Choose a dry, calm period with enough daylight for the entire work area. Dry moss breaks apart more readily, but a dry roof is not automatically safe if the tiles are steep, dusty, brittle, or contaminated with lichen.
Check the forecast for wind, rain, frost, and extreme heat. Do not brush when falling debris could be blown onto people, vehicles, neighboring property, or open windows. If a chemical treatment is planned, follow the product label’s temperature, rain-free period, dilution, and application restrictions.
You will know this step worked when: the roof is dry, the access system is stable, and the tile material has passed a small test.
Common mistake: treating “dry” as permission to walk anywhere on the roof.
Step 2: Establish protected access
Set up scaffold, a properly guarded tower, or another suitable work platform before placing weight near the roof edge. Secure ladders according to the manufacturer’s instructions, keep them on firm level ground, and never overreach sideways while brushing.
Avoid walking directly on tiles whenever possible. If roof access is unavoidable, a trained roofer should use the manufacturer’s permitted foothold or a suitable crawling board, because unsupported tile centers can crack under point loading.
The U.S. Occupational Safety and Health Administration identifies falls as a major construction hazard and requires fall protection in specified work situations. Domestic rules differ by location, but the practical conclusion is consistent: use collective protection first and do not improvise an anchor.
You will know this step worked when: every working position can be reached without stretching, stepping on unsupported tile, or moving an unsecured ladder.
Common mistake: relying on a harness attached to an unverified chimney, gutter, or roof fitting.
Step 3: Protect plants, walls, and drainage
Cover vulnerable flowerbeds, patios, windows, and parked vehicles with breathable sheets or tarps that cannot become a trip hazard. Place a debris catcher below the eaves where practical, and tell occupants to stay outside the drop zone.
Remove loose debris from gutters before cleaning if the gutters are already near capacity. If you temporarily restrict a downpipe, use a method that prevents large debris entering while still allowing rainwater to escape, and remove the restriction as soon as the work ends.
Do not flush moss into a combined or surface-water drain without checking local requirements. Collected growth belongs in sealed garden-waste or household-waste containers according to local rules.
You will know this step worked when: gutters, downpipes, plants, windows, and pedestrian areas have a defined protection and cleanup plan.
Common mistake: blocking every downpipe during unpredictable weather, creating overflow against fascias or walls.
Step 4: Test the brush on a small area
Select a low-visibility section of the same tile type and brush an area of roughly 300 by 300 mm using light pressure. Inspect the surface in direct light for scratches, color transfer, exposed aggregate, glaze loss, and loose granules.
Start with nylon, then progress to brass or steel only if the tile manufacturer or a competent roofer confirms compatibility. A wire diameter of 0.3-0.5 mm describes the bristle, not the safe force or correct tool for every roof.
You will know this step worked when: growth is removed while the tile retains its original color, texture, coating, and edge definition.
Common mistake: testing on one tile and assuming an older, more weathered section will respond identically.
Step 5: Brush from ridge toward eaves
Begin at the highest accessible working strip and brush downward, following the direction of the tile overlaps. Use short, controlled strokes rather than swinging the brush across several rows, and keep the head aligned with the tile profile.
Apply only enough pressure to detach the growth. Do not jam bristles beneath the upper tile edge, scrub across exposed flashing, or drag a metal head over ridge mortar. Work in sections about 0.5-1 m wide, collecting loose material regularly so it cannot slide into valleys or downpipes.
For interlocking concrete tiles, a profile-shaped scraper can remove thick mats faster than a flat wire brush, but it still needs light contact. The objective is removal, not polishing.
You will know this step worked when: the tile profile remains sharp, overlaps stay seated, and no coating or tile particles appear in the debris.
Common mistake: brushing upward against the lap, which can lift edges and push organic material beneath tiles.
Step 6: Remove debris and inspect the cleaned surface
Scoop moss from gutters before releasing any temporary debris control. Clear valleys by hand with a plastic tool, then inspect outlets and downpipes for compacted organic plugs.
Use a low-volume rinse from ground level only when the tile system and drainage arrangement allow it. Never direct a high-pressure jet under laps, flashings, ridge caps, or around roof penetrations. A controlled rinse is for loose residue, not a substitute for brushing.
Check for cracked tiles, displaced pieces, exposed underlay, damaged pointing, and leaks around skylights or chimneys. Cleaning often reveals defects that moss had concealed.
You will know this step worked when: gutters drain freely, downpipes are open, and every cleaned section has been inspected.
Common mistake: unblocking a downpipe from the top with a large mass of moss and forcing the obstruction farther down.
Step 7: Apply a compatible biocidal treatment
A biocide can kill residual moss, algae, and lichen that mechanical brushing leaves behind, but the product must be labeled for roof use and applied at its stated dilution. Confirm compatibility with concrete, clay, coatings, nearby plants, pets, rainwater harvesting systems, and local drainage rules.
Do not mix bleach, acids, detergents, quaternary ammonium products, or other chemicals. Apply only under the label’s weather conditions, control overspray, and keep people away for the stated re-entry period.
Some treatments work slowly. Dead lichen may fade over weeks or months rather than disappear on the same day. A product that promises instant visual stripping may rely on aggressive chemistry that creates more runoff and surface risk.
You will know this step worked when: the treatment has been applied evenly at the correct dilution and runoff has remained controlled.
Common mistake: increasing concentration because growth looks unchanged after 24 hours.
Which Roof Tiles Can You Brush?
Sound concrete roof tiles generally tolerate carefully tested mechanical brushing better than old clay, glazed clay, slate, or heavily coated products. Tile age, surface finish, previous painting, weathering, and manufacturer instructions matter as much as the material category.
| Tile material | Preferred first tool | Steel-wire position | Cleaning concern |
|---|---|---|---|
| Concrete, uncoated | Stiff nylon, then tested brass or steel | Sometimes acceptable | Surface coating or aggregate loss |
| Concrete, colored or painted | Stiff nylon or soft brass | Usually avoid without approval | Color stripping and patchiness |
| New or glazed clay | Stiff nylon and plastic scraper | Avoid | Glaze scratching and water absorption |
| Old clay | Soft nylon, hand removal | Avoid | Fracture from point pressure |
| Natural slate | Specialist slate method | Avoid | Delamination and broken corners |
| Fiber-cement sheet | Manufacturer-approved soft method | Avoid | Brittle edges and hazardous dust risk |
| Interlocking profile tile | Profile scraper plus soft brush | Test carefully | Bristles catching the profile |
Clay and slate deserve particular caution because a clean appearance can conceal irreversible surface damage. If the roof’s age, composition, or finish is unknown, use a non-metallic tool and obtain a sample tile or manufacturer guidance before escalating abrasion.
Wire Brushing Versus Other Roof-Cleaning Methods
Wire brushing is the best fit for targeted removal on sound concrete tiles when water use must be limited and the operator can control pressure. Pressure washing is faster but can drive water into vulnerable details and remove coatings; chemical treatment is gentler mechanically but slower and less effective against thick mats without prior removal.
| Method | Typical labor for small roof | Water or chemical demand | Main risk | Best application |
|---|---|---|---|---|
| Wire brushing | 6-12 hours | Low water, optional biocide | Scratches and coating loss | Sound concrete tiles |
| Stiff nylon brushing | 8-16 hours | Low water, optional biocide | Slow removal | Clay, coated, or uncertain tiles |
| Low-pressure rinse | 3-8 hours | Moderate water | Runoff and concealed leaks | Residue after manual removal |
| Pressure washing | 2-6 hours | High water | Lap intrusion and surface stripping | Only where manufacturer permits |
| Chemical treatment alone | 1-3 hours application | Product-specific | Plant and drainage damage | Light growth and long dwell time |
| Professional steam or specialist system | 1-2 days including setup | System-specific | Equipment or heat incompatibility | Sensitive or high-value roofs |
Pressure washing is not automatically unsafe on every roof, and wire brushing is not automatically gentle. The correct choice depends on tile condition, water-entry details, manufacturer instructions, access, and operator control.
How Much Does Roof Tile Brushing Cost?
Typical DIY costs range from $100-$350 for brushes, protective materials, basic PPE, and gutter-cleaning equipment, excluding scaffold or specialist fall-protection equipment. Professional cleaning commonly costs $500-$1,500 for an average detached home, but roof size, pitch, height, tile condition, treatment, access, and repairs can change the price substantially.
| Project condition | Typical duration | Typical DIY materials | Typical professional range |
|---|---|---|---|
| Small, low roof with light moss | 4-8 hours | $75-$200 | $400-$800 |
| Average detached roof | 6-12 labor hours | $100-$350 | $500-$1,500 |
| Heavy lichen with treatment | 1 day plus 1-8 weeks dwell | $150-$400 | $800-$2,000 |
| Steep or three-storey roof | 1-3 days including access | $300-$1,000 | $1,200-$3,000+ |
| Damaged roof needing repairs | Cleaning plus repair time | Inspection-dependent | Cleaning plus roofing repair |
These figures are typical planning ranges, not quotations. Scaffold, tower hire, roof repairs, waste disposal, biocide, travel, and tax may be separate line items. A low cleaning price is not economical if it excludes fall protection or leaves blocked gutters.
What Are the Most Common Wire-Brushing Mistakes?
The most damaging errors are excessive pressure, brushing against tile laps, using steel on a delicate finish, working on wet growth, and ignoring defects exposed during cleaning. Each mistake has a predictable recovery response, but coating loss and cracked tiles may require replacement rather than cosmetic correction.
| Failure mode | Visible symptom | Immediate correction |
|---|---|---|
| Excessive pressure | Bare aggregate or bright scratches | Stop, switch to nylon, photograph damage |
| Upward brushing | Lifted edges or debris under laps | Stop and have displaced tiles checked |
| Wet moss removal | Slippery paste and clogged brush | Wait for safer conditions and collect smaller sections |
| Wrong brush material | Glaze loss or color streaks | Stop testing; use a softer tool |
| Gutter overload | Overflow or slow drainage | Remove debris by hand before rinsing |
| Hidden roof defect | Cracks, leaks, loose ridge | Suspend cleaning and arrange repair |
| Chemical overspray | Plant scorch or runoff | Rinse affected plants if label permits and follow product safety directions |
How do you remove stubborn lichen?
Treat stubborn lichen before applying more force, because lichen attaches tightly through root-like structures and harder scraping can remove the tile surface with the growth. Apply a compatible labeled treatment, allow the specified dwell time, then use a soft brush to remove loosened material.
White or black patches that remain after brushing may be staining, lichen residue, or coating variation rather than living growth. Do not repeatedly abrade the area to achieve uniform color. A roof that is structurally sound but visually mottled may be safer than one stripped to a bright, damaged finish.
What should you do if a tile scratches?
Stop immediately when a dark line, bright abrasion, exposed aggregate, glaze loss, or colored dust appears. Photograph the area, mark the brush and tile type, then test a softer nylon tool in a separate location; do not attempt to polish the mark away.
Replace cracked or displaced tiles through a roofer when necessary. Paint or sealers can hide a problem temporarily but may affect future repairs, moisture behavior, or manufacturer warranties.
How Can You Prevent Moss From Returning?
Moss returns fastest where roof surfaces remain shaded and damp, especially beneath overhanging trees and on north-facing slopes in wet climates. Prevention combines clear gutters, trimmed vegetation, adequate roof drainage, compatible treatment, and periodic visual inspections rather than repeated aggressive brushing.
Inspect the roof and gutters twice yearly, ideally in spring and autumn, and after severe storms. Trim branches that keep tiles wet, but avoid dragging tools across the roof. Keep gutters and downpipes clear so water does not remain against eaves or splash onto tile surfaces.
A biocide may extend the clean appearance for roughly 1-5 years under typical conditions, but no universal lifespan applies. Shade, rainfall, tile porosity, nearby vegetation, and product formulation determine regrowth more strongly than the initial brushing method.
When Should You Hire a Professional?
Hire a roofing or access professional for steep roofs, high elevations, fragile materials, extensive lichen, suspected asbestos, roof repairs, rainwater harvesting systems, or any job requiring a fall-arrest anchor. Professional cleaning is also appropriate when scaffold or a guarded platform costs more than the cleaning itself.
Ask for a written scope that identifies the tile material, brush or wash method, chemical product, dilution, runoff controls, access equipment, waste handling, repair exclusions, and warranty position. Confirm that the contractor will not pressure-wash automatically or walk across unsupported tile centers.
A competent contractor should explain what the proposed method cannot remove. That limitation is useful: deep staining, failed coatings, cracked tiles, and structural defects are separate roofing problems, not cleaning targets.
FAQ
Can I clean roof tiles without climbing onto the roof?
Yes, some low and moderately accessible roofs can be cleaned with a telescopic brush from a suitable platform or from ground level. A pole does not remove fall hazards, overhead risks, or the chance of dislodging tiles, so high, steep, or obstructed roofs still need professional access equipment.
Should I use a wire brush on concrete roof tiles?
Use a wire brush on concrete tiles only after testing an inconspicuous area and confirming that the surface is sound and uncoated or compatible with light abrasion. Colored, painted, powdering, or heavily weathered concrete tiles are safer with stiff nylon or professional assessment.
Can I use a wire brush on terracotta roof tiles?
Avoid steel wire on terracotta or glazed clay tiles because metal bristles can scratch the glaze, enlarge surface defects, and accelerate water absorption. A stiff nylon brush and plastic scraper are safer starting tools, followed by a tile-compatible treatment when the label permits.
Does wire brushing remove algae permanently?
No. Wire brushing removes visible algae and organic residue but does not guarantee that microscopic growth or spores are gone. A compatible biocide, improved drainage, reduced shade, and regular gutter maintenance provide better long-term control than abrasion alone.
Is roof moss safe to put in garden compost?
Roof moss can contain dirt, tile fragments, chemical residues, and weed seeds, so ordinary garden compost is not always appropriate. Collect the debris separately, follow the treatment product’s disposal instructions, and use local garden-waste guidance before adding it to compost.
How soon can rain fall after applying roof treatment?
The permitted rain-free period depends on the product label and may range from several hours to a full day or longer. Do not estimate from appearance. Check the active product instructions for application temperature, drying time, runoff controls, and reapplication requirements.
The Bottom Line
Cleaning roof tiles with wire brush works best as controlled, light abrasion on sound concrete tiles, followed by careful debris removal and a compatible treatment where necessary. It is not a universal solution: old clay, glazed tiles, slate, damaged coatings, steep roofs, and unsafe access require softer tools or professional handling. Start with inspection, protect the drainage system, brush toward the eaves, and stop before clean-looking tiles become damaged tiles.


