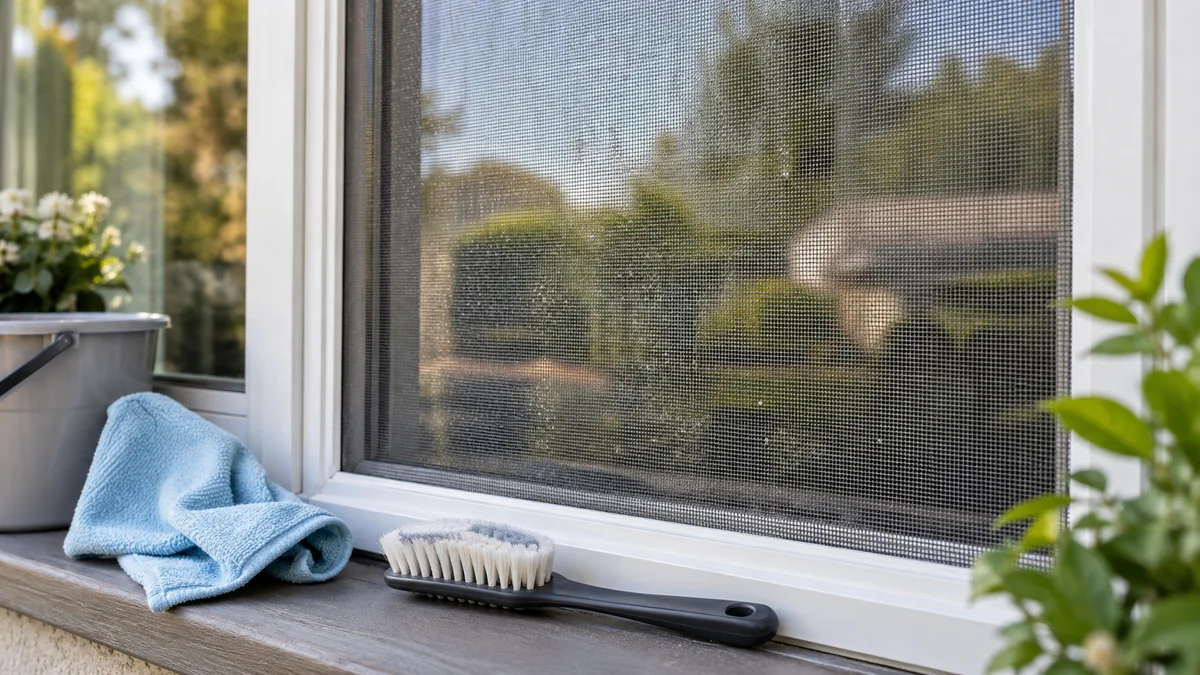
To clean delicate window screens without tearing them, remove loose dust with a soft vacuum brush, wash with diluted mild soap, and rinse using only a gentle mist. Keep the mesh supported, avoid scrubbing or pulling, and let each screen dry fully before reinstalling it. The safest process takes about 15-30 minutes per screen.
Key Facts at a Glance
- Fiberglass window screens tolerate gentle washing but can stretch when pressed or vacuumed with excessive suction.
- Fine aluminum and micro-mesh screens need especially light contact because sharp edges, coatings, and narrow openings can catch tools.
- A practical cleaning solution is 1 teaspoon of mild dish soap per 1 gallon of lukewarm water.
- Screen cleaning usually costs $0-$15 with household supplies and takes 15-30 minutes per removable screen.
- Use a soft brush attachment, microfiber cloth, or soft sponge, never a wire brush or abrasive pad.
- A screen should be completely dry, correctly oriented, and free of loose spline before reinstallation.
Why Delicate Screens Tear During Cleaning
Delicate window screens tear when a tool catches the mesh, concentrated pressure pushes against one small area, or dirt is rubbed into the weave. Screen fabric is held under moderate tension by a rubber spline, so a small cut can spread when the material is flexed during washing or installation.
Fiberglass mesh is flexible and common in residential windows. Aluminum mesh is stiffer but can crease, kink, or develop sharp damaged edges. Micro-mesh products may have a fine woven structure or a coated surface that requires the manufacturer’s care instructions.
The main cleaning principle is remove loose particles before adding water. Dry pollen and grit are abrasive. When mixed with water, they can form a paste that drags across the strands and increases friction.
A practitioner rule of thumb is simple: if the mesh visibly bows under your tool, the pressure is too high. Window screens need contact, not force.
What You Need Before Starting
Gather the supplies before removing a screen. Preparation prevents the common mistake of leaving a fragile frame leaning against a wall where it can fall or twist.
| Item | Typical quantity | Suitable specification |
|---|---|---|
| Vacuum cleaner | 1 | Low-suction setting with clean, soft brush attachment |
| Mild dish soap | 1 teaspoon | Dye-free or low-fragrance soap without bleach or solvent |
| Lukewarm water | 1 gallon | Approximately 20-35°C, never hot |
| Microfiber cloths | 2-4 | Clean, lint-free, with no hard tags or seams |
| Soft sponge or brush | 1 | Nonabrasive foam or very soft nylon |
| Painter’s tape and marker | 1 roll and 1 marker | For screen position and orientation |
| Clean towel or tarp | 1 | Larger than the screen and free of grit |
Typical DIY cost is $0-$15 if a vacuum, bucket, and towels are already available. A washable silicone lint roller may add $8-$20, while professional rescreening commonly costs more than cleaning and depends on frame size, mesh type, and local labor.
Identify the Screen Material
Pressing lightly near a frame corner can reveal whether the screen is flexible fiberglass or stiffer metal, but do not press the middle of the mesh. A magnet may attract steel mesh, but it will not identify aluminum or fiberglass.
Check the frame, spline, and manufacturer label if present. If the mesh is coated, unusually fine, pleated, solar-control, or part of a specialized filtration system, follow the product instructions before applying vinegar or detergent.
Step 1: Decide Whether Removal Is Safe
Remove a screen only when you can keep both feet on a stable surface and handle the frame without leaning outside the window. Exterior screens above ground level should remain in place unless the window design allows safe indoor removal.
Open the window fully. Find lift tabs, spring pins, plungers, or friction clips. Compress the spring mechanism gently, then move the opposite edge inward or upward according to the frame design. Never pry against the mesh or force a stuck corner.
Label the screen with painter’s tape before placing it down. Write the room, window position, top edge, and inside face. Screens can develop a slight fit pattern, and reversing one may make reinstallation difficult.
You will know removal worked when the screen clears the track without a bent corner, displaced spline, or visible change in mesh tension.
Common mistake: pulling one corner while the opposite corner remains locked. Stop and inspect the retaining clips instead.
Step 2: Remove Dry Dust and Pollen
Lay the screen flat on a clean towel, tarp, or smooth lawn. Do not place the mesh directly on gravel, concrete grit, or a dirty deck. Wear a mask if the screen contains visible pollen, dust, or mold particles.
Set the vacuum to its lowest effective suction. Use a clean, soft brush attachment and move in one direction, preferably from the top edge toward the bottom edge. Keep the brush moving rather than holding it in one spot.
Do not push down with your palm behind the mesh unless the screen is exceptionally fragile and the supporting surface is completely smooth. For most screens, flat support underneath is safer than pressing from above and below.
A washable silicone lint roller can lift pet hair from dry fiberglass mesh, but use low-tack pressure and make one test pass near a corner first. High-tack adhesive rollers can pull loose fibers or disturb a weak spline.
You will know dry extraction worked when loose gray dust and hair are gone without visible bowing, snagging, or fiber fuzz.
Common mistake: starting with water. Wet dirt is harder to remove and increases rubbing.
Step 3: Prepare a Mild Cleaning Solution
Mix approximately 1 teaspoon of mild dish soap with 1 gallon of lukewarm water. This low concentration is normally sufficient for dust, pollen, and ordinary outdoor film.
Use less soap for lightly soiled screens. Excess detergent creates residue and requires more rinsing, which increases handling. Do not use boiling water, bleach, ammonia, abrasive powder, acetone, petroleum solvent, or concentrated degreaser.
White vinegar is not required for routine screen cleaning. A dilute vinegar solution may help with mineral residue on some uncoated surfaces, but acid can be unsuitable for certain finishes, frames, and nearby stone. Test any vinegar mixture on a hidden corner and rinse it away.
You will know the solution is appropriate when it feels lightly soapy rather than slippery or thick, and it produces no strong solvent odor.
Common mistake: using 1/4 cup of dish soap in a small bucket. That concentration is unnecessarily strong and makes residue more likely.
Step 4: Wash the Mesh With Minimal Pressure
Dip a microfiber cloth or soft sponge into the solution, then wring it until damp rather than dripping. Starting at one frame edge, wipe in straight, overlapping passes. Support the frame, not the center of the mesh, and allow the damp material to lift grime.
For a heavily soiled screen, make a first pass, rinse the cloth, and make a second pass. Do not scrub in tight circles because circular pressure can twist the weave and concentrate force at crossing points.
Clean the frame separately. Dirt in the frame channel can fall back onto the mesh, while grime near the spline can conceal a loose section. Keep the cloth from catching exposed spline ends or damaged corners.
For grease near a kitchen window, repeat the mild-soap pass rather than increasing detergent strength. For salt spray, use additional clean-water rinsing instead of aggressive wiping.
You will know washing worked when the mesh looks uniformly wet, surface film is reduced, and no strand moves independently of the surrounding weave.
Common mistake: pressing a sponge into the middle until the screen bows. Replace pressure with a second light pass.
Step 5: Rinse Without a Concentrated Stream
Rinse outdoors with a hose set to mist or shower, holding the nozzle at least 30 centimeters from the mesh. A handheld showerhead on a gentle setting works indoors when the screen fits securely in a clean bathtub.
There is no universal safe pressure rating for every screen. Hose pressure varies, nozzle patterns concentrate force differently, and fragile mesh may already have weakened strands. A low-velocity, dispersed spray is safer than relying on a numerical PSI threshold.
Spray from the clean side toward the dirty side when possible. Keep the screen supported and avoid directing water into loose spline, corner joints, or damaged areas. Never use a pressure washer.
You will know rinsing worked when water runs clear, no foam remains, and the mesh does not flutter sharply under the spray.
Common mistake: holding a narrow jet close to the screen. A concentrated stream can stretch fiberglass, dent aluminum, or push mesh out of the spline.
Step 6: Dry and Reinstall Correctly
Shake excess water from the frame without snapping or flexing it. Blot the frame channels with a dry microfiber cloth, then stand the screen upright in shade with air circulation on both sides.
Avoid direct intense sunlight while the screen is saturated, especially with dark vinyl frames or coated mesh. Do not use a heat gun. A hair dryer can distort vinyl, loosen adhesive components, or create uneven tension.
Allow at least 30-60 minutes for a lightly washed screen to dry. Dense frames, cool weather, and heavy rinsing may require several hours. Reinstall only when the mesh and spline channel are dry.
Match the label and top edge made during removal. Engage the spring side first if that matches the frame design, then seat the opposite edge without bending the frame.
You will know reinstallation worked when the frame sits evenly, the spring pins engage, the mesh remains flat, and the window opens without rubbing.
Which Cleaning Method Fits Your Situation?
The safest method depends mainly on access, soil level, mesh condition, and whether the screen can be removed without risk.
| Method | Best situation | Typical time | Main risk |
|---|---|---|---|
| In-place vacuum and damp cloth | High-rise or fixed exterior screen | 5-15 minutes | Limited removal of embedded grime |
| Outdoor wash on towel | Removable screen with yard access | 15-30 minutes | Frame bending during handling |
| Bathtub wash | Apartment with removable small screen | 20-35 minutes | Slipping or scratching the frame |
| Dry lint roller | Pet hair and light dander | 3-8 minutes | Pulling weak fibers with high tack |
| Professional service | Oversized, high, damaged, or specialty screen | 1-3 days typical scheduling | Higher cost than DIY cleaning |
How Do You Clean a Screen Without Removing It?
Vacuum the accessible interior face with a soft brush at low suction, then wipe with a barely damp microfiber cloth. Do not try to support the outside face by leaning through a window, and do not spray water onto an exterior screen that could drip onto siding, electrical equipment, or a lower-level window.
Work in small sections from the frame toward the center. For a fixed screen, cleaning both sides may be impossible, so accept a maintenance clean rather than forcing a deep clean. In high-rise buildings, safety outranks cosmetic results.
Material-Specific Guidance
| Screen material | Recommended contact | Avoid | Typical limitation |
|---|---|---|---|
| Fiberglass | Soft brush, damp microfiber, low-pressure rinse | Hard scrubbing and heat | Can stretch or split after aging |
| Aluminum | Damp cloth, soft sponge, gentle rinse | Folding, sharp tools, acidic cleaners | Creases may remain permanent |
| Stainless steel | Mild soap, microfiber, thorough rinse | Chloride bleach and abrasive pads | Surface can stain or scratch |
| Micro-mesh | Manufacturer-approved cloth or brush | Unapproved solvent, strong vacuum | Fine openings trap residue |
| Solar or coated mesh | Product-specific method | Vinegar, bleach, hot water | Coating may discolor or degrade |
Common Mistakes and How to Fix Them
The Mesh Looks Loose or Sagging
Stop cleaning and let the screen dry flat. Fiberglass can appear temporarily relaxed when wet, but persistent sagging indicates stretched mesh, a displaced spline, or a warped frame.
Do not use a hair dryer as a routine tightening method. Heat can damage vinyl and coatings, and it cannot reliably restore a torn or overstretched screen. A rescreening service should replace badly loose mesh.
White Residue Remains After Drying
White streaks usually indicate detergent minerals or hard-water deposits. Rinse the screen with clean, low-pressure water and dry it with a soft cloth around the frame.
If mineral film persists, check the manufacturer’s instructions before using diluted vinegar. Avoid acid on unknown coatings, powder-coated aluminum, or adjacent natural stone.
The Frame Will Not Fit Back
Confirm the label, top edge, and inside face. Inspect spring pins, corner tabs, and the window track for dirt. Never force a frame that needs significant bending because the frame can crack or permanently deform.
The Spline Has Lifted
Stop pulling the mesh. Pressing the spline back without correcting tension can create wrinkles or a weak edge. Small repairs may be possible with a spline roller, but a loose or brittle spline usually warrants rescreening.
A Small Hole Appears
Do not wash the screen again before repairing the hole. A small fiberglass patch can temporarily cover a minor puncture, but a tear near a corner or spline can enlarge during installation and should be professionally rescreened.
When Should You Clean, Repair, or Replace a Screen?
Clean an intact screen when the mesh is flat, the spline is seated, and contamination is mainly dust, pollen, hair, or light grime. Repair a small isolated puncture when the surrounding weave remains tight and the screen still fits correctly.
Replace or rescreen the unit when it has multiple tears, widespread brittleness, severe sagging, corrosion, a detached spline, or a warped frame. Cleaning cannot restore lost tension or reverse ultraviolet degradation.
A typical homeowner can clean several screens in one batch, but batch handling increases mix-ups. Label every screen before removal, keep frames separated, and never stack wet screens face-to-face.
How Often Should Delicate Screens Be Cleaned?
Most residential window screens need cleaning two to four times per year, commonly in spring and autumn. Monthly dry dust removal is reasonable during heavy pollen periods, construction, wildfire smoke, or high pet-hair exposure.
Use a lighter maintenance method between deep washes. Vacuuming or a low-tack lint roller removes particles without the handling and drying time associated with wet cleaning. More frequent wet washing is not automatically better because repeated contact can wear weak mesh.
Coastal homes may need additional rinsing to remove salt. Homes near roads may need more frequent cleaning for oily particulate film, but a second mild-soap pass is safer than stronger chemicals.
Tool Comparison for Fragile Mesh
| Tool | Typical price | Best use | Damage control |
|---|---|---|---|
| Soft vacuum brush | $0-$25 | Dry dust and pollen | Use lowest effective suction |
| Microfiber cloth | $2-$8 each | Damp wiping and frame cleaning | Remove tags and grit |
| Soft sponge | $2-$6 | Even wet cleaning | Wring until damp |
| Silicone lint roller | $8-$20 | Pet hair and dander | Choose washable, low-tack type |
| Soft nylon brush | $5-$12 | Grooves and stubborn film | Use only with light strokes |
| Pressure washer | $80-$300 | Not suitable for screens | Do not use |
FAQ
Can I Use Dish Soap on Fiberglass Window Screens?
Yes, mild dish soap is suitable when diluted to approximately 1 teaspoon per gallon of lukewarm water. Apply the solution with a damp, wrung-out microfiber cloth or soft sponge, then rinse gently. Strong detergent, concentrated degreaser, and abrasive additives increase residue and surface friction.
Is Vinegar Safe for Aluminum Window Screens?
Diluted vinegar may remove some mineral residue, but it is not necessary for ordinary dirt and should not be assumed safe for every aluminum finish. Test an inconspicuous area, keep vinegar away from natural stone, and rinse thoroughly. Manufacturer instructions take priority over general cleaning advice.
Can I Vacuum a Window Screen?
You can vacuum a window screen with a clean, soft brush attachment at low suction. Move in one direction and avoid pressing the attachment into the mesh. Vacuuming is safest before wet cleaning because it removes abrasive grit before water turns it into a paste.
How Do I Clean Window Screens With Mold?
Remove loose mold particles outdoors with low-suction vacuuming while wearing respiratory protection. Wash with mild soap and water, rinse thoroughly, and dry completely in shade. Do not mix bleach with vinegar or other cleaners. Extensive mold, persistent odor, or deteriorated mesh may require replacement.
Should I Clean the Glass Before Reinstalling the Screen?
Yes. Clean the window glass, sill, and track before reinstalling a dry screen. Otherwise, dirt from the track can transfer back to the frame and mesh. Remove standing water from the track because trapped moisture encourages residue, corrosion, and repeated dust adhesion.
How Much Does Professional Screen Cleaning Cost?
DIY cleaning typically costs $0-$15 when household supplies are available. A specialty tool can add roughly $8-$20. Professional pricing varies by region, access, screen size, and whether repair is included, so request a local quote when screens are oversized, high, damaged, or difficult to remove safely.
The Bottom Line
The safest way to clean delicate window screens without tearing them is to remove dry dust first, use approximately 1 teaspoon of mild soap per gallon of lukewarm water, apply almost no pressure, rinse with a dispersed mist, and dry fully in shade. Inspect the mesh and spline before reinstalling. If the screen bows, snags, sags, or requires force, stop cleaning and repair or replace it instead.