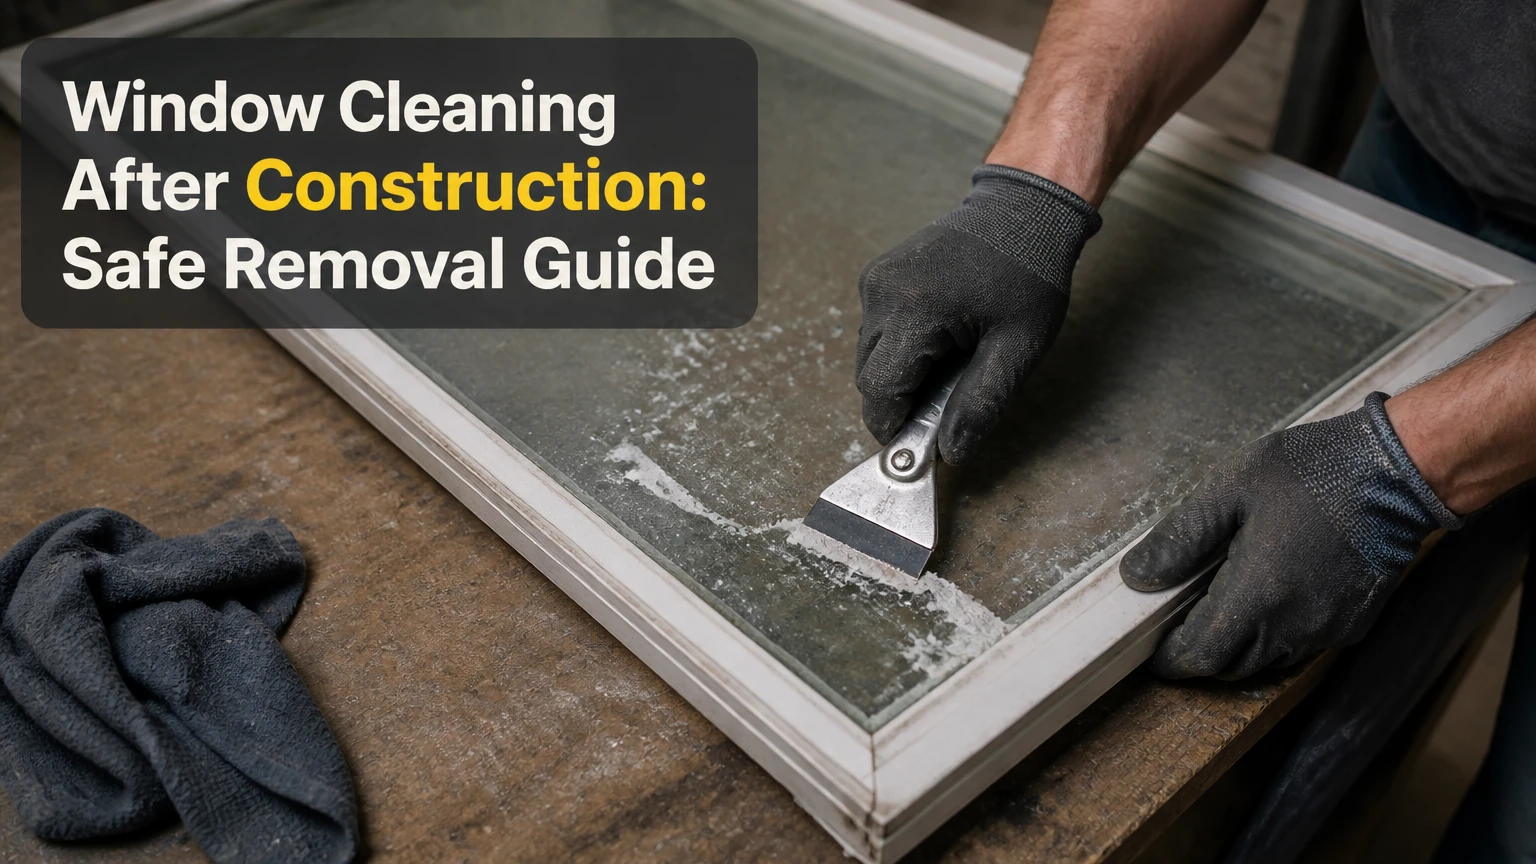
Window cleaning after construction is the specialized removal of drywall dust, paint, silicone, grout, mortar, stucco, adhesive, and manufacturing residue from glass, frames, tracks, and sills after building or renovation work. The safest method is to remove loose grit first, soften bonded debris, keep glass lubricated, and use tested tools without grinding abrasive particles across the pane.
Key Facts / At a Glance
Post-construction glass cleaning usually takes 2-3 times longer than routine window washing because bonded debris requires chemical and mechanical removal.
Dry scraping or wiping construction dust across glass can create permanent scratches, especially on coated, tinted, or contaminated panes.
A typical three-bedroom home takes 6-12 labor hours, depending on pane count, access, and debris severity.
Window tracks and weep holes must be vacuumed and flushed because trapped slurry can obstruct drainage and contribute to leaks.
New razor blades, wet lubrication, surface testing, and compatible chemicals reduce damage risk, but they do not make every glass surface safe to scrape.
Final cleaning should occur after painting, texturing, flooring installation, landscaping, and other dusty work are complete.
What Does Window Cleaning After Construction Include?
Post-construction window cleaning includes the glass face, glazing edges, frames, tracks, sills, hardware, drainage openings, and nearby finished surfaces. Routine cleaning removes water spots and ordinary soil; construction cleaning removes chemically bonded or hardened materials that standard glass cleaner cannot dissolve.
Construction residue has different removal requirements. Fine gypsum dust needs controlled vacuuming, silicone needs a solvent and careful lifting, and cured mortar may need a compatible acidic or chelating product. A single aggressive chemical or abrasive pad is unsuitable for every window component.
Which surfaces need attention?
| Window area | Typical residue | Main risk if neglected |
|---|---|---|
| Glass face | Paint, cement, silicone, drywall dust | Scratches, haze, permanent etching |
| Vinyl or aluminum frame | Tape adhesive, stucco, paint | Staining, finish damage, blocked drainage |
| Tracks and rollers | Gypsum dust, sand, mortar slurry | Stiff operation, roller wear, water retention |
| Sills and weep holes | Mud, concrete, caulk, dust | Overflow, leakage, freeze damage |
Cleaning should protect floors, cabinetry, painted walls, stone countertops, and landscaping. Solvent runoff can stain porous surfaces even when the glass itself remains undamaged.
How Does the Process Remove Construction Debris?
Post-construction window cleaning uses three linked mechanisms: chemical softening, particle suspension, and controlled lifting. A detergent or compatible solvent loosens the bond, lubricated water separates abrasive particles from the surface, and a tested scraper or non-abrasive tool removes the softened residue.
The sequence matters more than force. A technician who wipes dusty glass before vacuuming can drag quartz, sand, or masonry particles across the pane. A technician who scrapes dry mortar can press hard enough to score glass or damage a low-emissivity coating.
Glass is harder than many common materials, but hardness alone does not guarantee safety. A trapped particle, damaged blade edge, factory defect, or coating can create a scratch under modest pressure.
What Should You Check Before Cleaning?
Identify the glass, document existing damage, and test every chemical and mechanical method in an inconspicuous area before full production. Tempered, laminated, tinted, reflective, low-emissivity, self-cleaning, and privacy glass can have different tolerances and cleaning instructions.
Before-you-start checklist
| Requirement | Typical specification | Why it matters |
|---|---|---|
| Time | 6-12 labor hours for a three-bedroom home | Construction residue needs repeated passes |
| Labor | 1-2 trained technicians | Two people improve protection and access control |
| Vacuum | HEPA-filtered shop vacuum with soft brush | Removes dry abrasive dust before wetting |
| Lubricant | 1-2 ounces of neutral detergent per gallon of water | Keeps particles suspended during detailing |
| Blades | New stainless-steel blades, several per job | Nicks and rust can score glass |
| Protection | Drop cloths, plastic sheeting, painter’s tape | Prevents runoff and solvent damage |
| Testing | One small area per glass and frame finish | Confirms chemical and tool compatibility |
Look for manufacturer labels, window schedules, construction specifications, or glazing stamps. If the glass has a coating, film, printed pattern, or warranty restriction, follow the manufacturer’s care instructions before using a blade or solvent.
Why is a test patch necessary?
A test patch reveals whether residue, coating, or the tool is causing the damage. Use a small corner or edge area, keep the surface wet, apply minimal pressure, and inspect under angled light after drying.
Stop immediately if the blade catches, produces a gritty sound, leaves a cloudy track, or exposes a coating. A rough sound can indicate fabrication debris or particles trapped between the blade and glass. Do not continue across the entire pane to confirm the problem.
How Do You Clean Windows After Construction?
Use the following eight-step sequence: assess the surfaces, vacuum loose dust, pre-soak residue, apply targeted chemicals, remove softened debris, detail the surrounding components, squeegee the glass, and inspect under multiple lighting angles. A typical residential project takes 6-12 labor hours, although large panes, scaffolding, and hardened mortar can extend the schedule.
Step 1: Assess the glass and debris
Photograph each elevation and mark scratches, chips, cracked seals, paint spots, silicone smears, and damaged screens before work begins. Separate the job into interior glass, exterior glass, frames, tracks, and sills because each zone needs different controls.
Classify residue as loose, water-soluble, solvent-soluble, alkaline mineral, silicone-based, or unknown. Never assume a white deposit is harmless drywall dust; it may be cement, grout, or abrasive masonry powder.
Success checkpoint: Every pane has a documented condition and a debris category.
Common mistake: Starting on the most visible window before testing the cleaning method.
Step 2: Vacuum dry abrasive dust
Use a HEPA-filtered vacuum with a soft brush to remove drywall dust, sawdust, sand, and loose chips from tracks, sills, frames, and glass edges. Keep the vacuum nozzle close without dragging it across the pane, and empty the collection system when suction declines.
Dry removal must come before wet cleaning. Water turns gypsum, cement dust, and fine soil into a paste that can lodge in corners and increase scratching during later agitation.
Success checkpoint: No loose powder remains in tracks, corners, or weep-hole channels.
Common mistake: Blowing dust with compressed air, which spreads particles onto finished surfaces and into building cavities.
Step 3: Pre-soak the surface
Apply clean water with a neutral, low-residue surfactant and allow ordinary construction soil to soften for 5-10 minutes. Keep the glass visibly wet while working, but prevent standing water from reaching unprotected wood, drywall, flooring, electrical components, or porous stone.
Cement and mortar deposits may need a longer dwell time, often 10-20 minutes with a product specifically labeled for glass and the surrounding frame material. Do not let a chemical solution dry on the surface because concentrated residue can stain frames or leave mineral deposits.
Success checkpoint: Softened paint, mud, and dust move under light pressure rather than requiring force.
Common mistake: Increasing pressure instead of increasing dwell time.
Step 4: Apply a targeted chemical
Choose the least aggressive product that matches the residue. Use a silicone remover for cured silicone, an adhesive remover for tape residue, a paint-safe solvent for compatible paint deposits, and a manufacturer-approved mortar remover for cementitious splatter.
Protect anodized aluminum, powder-coated metal, painted wood, vinyl, rubber gaskets, and stone. Many solvents that loosen adhesive can discolor frame finishes or soften sealants. Apply chemicals to a cloth or small controlled area when possible, and rinse according to the product label.
Never mix acids, solvents, bleach, or alkaline cleaners. Strong muriatic acid can etch glass, corrode metal, damage masonry joints, and create hazardous vapors.
Success checkpoint: The residue softens without discoloring the frame or leaving a spreading halo.
Common mistake: Using one powerful cleaner on every material.
Step 5: Lift softened residue
Use a new, clean scraper only when the glass type and test patch permit it. Keep the glass heavily lubricated, hold the blade at a shallow angle of roughly 15-30 degrees, and push in one controlled direction rather than dragging the blade backward.
The angle is a practical starting range, not a guarantee of safety. Replace a blade at the first nick, rust spot, or loss of smoothness. Use plastic blades or specialized non-metal tools on surfaces where metal scraping is prohibited.
Paint can often be lifted after softening. Hardened concrete should not be chipped aggressively because impact can fracture glass, damage seals, or create an edge chip that spreads.
Success checkpoint: Residue lifts in thin pieces without chatter, gritty sound, or visible scoring.
Common mistake: Scraping dry glass or reversing the blade across loosened grit.
Step 6: Detail frames, tracks, and sills
Agitate vinyl and compatible metal frames with a clean white nylon pad or soft detailing brush. Use microfiber cloths for corners and bronze wool only when the frame manufacturer permits it; bronze wool is not a universal substitute for a non-abrasive pad.
Extract debris from roller channels and drainage paths with a narrow vacuum attachment, plastic pick, or soft brush. Avoid enlarging weep holes or forcing tools into seals. Flush drainage channels with a small amount of clean water after vacuuming.
Success checkpoint: Tracks are free of paste, rollers move smoothly, and water exits through the intended drainage openings.
Common mistake: Pushing concrete deeper into a weep hole instead of removing it from the opening outward.
Step 7: Squeegee and dry
Flood the glass with clean lubricated water, pull the solution with a professional squeegee, and wipe edges with a fresh, lint-free microfiber cloth. Use separate cloths for solvent residue, frames, and final glass detailing to avoid transferring grit.
Change solution when it becomes visibly dirty. A contaminated bucket can redeposit cement fines onto panes that were already cleaned.
Success checkpoint: The dry pane has no edge lines, oily film, detergent residue, or loose particles.
Common mistake: Reusing a cloth from tracks on finished glass.
Step 8: Inspect under angled light
Inspect each pane from inside and outside, changing viewing angle and using bright oblique light. Look for silicone haze, paint flecks, cement shadows, water spots, scratches, coating damage, and residue along the perimeter.
Operate every sash, slider, hinge, lock, and screen. Confirm that weep holes drain by applying a small controlled amount of clean water to the sill channel, where the window design permits testing.
Success checkpoint: The glass remains clear from multiple angles and the window operates and drains normally.
Common mistake: Inspecting only from straight on, where thin residue and scratches can disappear.
Which Debris Requires a Different Treatment?
Paint, silicone, mortar, adhesive, and drywall dust need different chemistry and mechanical handling. The safest treatment depends on the residue’s composition, cure state, glass coating, frame finish, and the manufacturer’s instructions.
| Debris | Typical treatment | Avoid | Typical dwell or work time |
|---|---|---|---|
| Drywall dust | HEPA vacuum, neutral detergent | Dry wiping, compressed air | Vacuum first, 5-10 minutes wet dwell |
| Latex paint | Water or compatible paint remover, wet lift | Solvent on untested frames | 5-15 minutes |
| Silicone | Cure fully, silicone remover, plastic or tested blade | Smearing wet silicone across glass | 10-30 minutes |
| Hardened mortar | Approved mortar remover, repeated rinse | Chipping, muriatic acid | 10-20 minutes per application |
| Tape adhesive | Adhesive remover and microfiber | Scrubbing with abrasive pad | 5-15 minutes |
| Stucco splatter | Pre-wet, compatible mineral remover | Dry scraping and pressure impact | 10-20 minutes |
How do you remove silicone smears?
Allow silicone smears to cure enough to form a removable skin, then lift the thick material mechanically and treat the remaining film with a silicone-specific remover. Keep the product away from gaskets and frame finishes, and rinse the glass after the residue releases.
Wet silicone usually spreads when wiped, increasing the affected area. A plastic scraper is the safer first tool, while a metal blade requires a successful test patch, continuous lubrication, and a glass surface that the manufacturer allows technicians to scrape.
How do you remove hardened concrete splatter?
Soften hardened concrete with a product labeled for mineral or mortar residue and approved for the specific glass and frame materials. Apply for the label’s dwell time, remove the softened deposit without impact, and rinse thoroughly so dissolved salts do not dry into new spots.
Acid strength does not equal cleaning quality. A concentrated acid can etch glass, attack anodized aluminum, discolor stone, and damage joints before the concrete has fully released.
Can a Razor Blade Scratch Construction Glass?
A razor blade can scratch construction glass when the pane is dry, contaminated with grit, coated, defective, or cleaned with a nicked blade. On approved uncoated glass, a new sharp blade held at approximately 15-30 degrees in lubricated solution can remove some paint and residue, but trained testing must come first.
Tempered glass is not automatically safe for scraping. Tempering changes the glass’s stress pattern, while coatings and surface contaminants determine how a blade behaves. Low-emissivity coatings may be on a protected surface or may require special handling, and aftermarket films can be cut or lifted by a blade.
Fabrication debris is an important edge case. Microscopic glass fines or surface defects can produce a gritty feel and cause widespread scoring. If the test area feels rough or sounds gritty, stop scraping and contact the glazier or manufacturer.
What Does Post-Construction Window Cleaning Cost?
Typical United States residential post-construction window cleaning costs about $10-$30 per pane for accessible, moderately soiled windows, or approximately $35-$85 per labor hour for standard specialist work. Large commercial projects may use $0.50-$2.00 per square foot of glass, while difficult access and severe residue increase the quote.
These are planning ranges, not universal rates. Local wages, insurance, travel, lift rental, pane size, water access, coating restrictions, and the number of return visits can change the final price substantially.
| Pricing method | Typical range | Best fit | Main price driver |
|---|---|---|---|
| Per pane | $10-$30 | Residential projects | Pane size and residue severity |
| Hourly labor | $35-$85 per hour | Unknown or complex scope | Technician time and access |
| Glass area | $0.50-$2.00 per sq. ft. | Commercial facades | Total area and elevation |
| Access equipment | $150-$800 per day | Lifts or scaffolding | Height and site logistics |
A three-bedroom home commonly requires 6-12 labor hours, or 3-6 clock hours with two technicians. Construction cleaning takes longer than maintenance washing because each pane may need vacuuming, chemical dwell, residue lifting, rinsing, and inspection.
Ask for separate prices for glass, frames, tracks, screens, hard-water restoration, scratch assessment, lift rental, and repeat visits. A low per-pane price may exclude paint removal, interior protection, or high-access work.
Should You Clean the Windows Yourself or Hire a Professional?
DIY cleaning is reasonable for a small, ground-level renovation with ordinary drywall dust and a few water-based paint spots. Professional post-construction cleaning is the safer choice when windows have hardened mortar, extensive silicone, coatings, high access, expensive finishes, or a disputed pre-existing condition.
| Decision factor | DIY homeowner | Professional technician |
|---|---|---|
| Project size | 1-10 accessible panes | 10 or more panes or full building |
| Debris | Dust and minor latex paint | Mortar, silicone, epoxy, heavy overspray |
| Access | Ground level, stable footing | Ladders, lifts, scaffolding, roof edges |
| Equipment | HEPA vacuum, detergent, microfiber | Specialty solvents, water-fed systems, inspection tools |
| Damage exposure | Owner assumes risk | Verify insurance and glass-damage terms |
| Typical duration | 1-2 days for a small project | 3-6 clock hours for a typical home |
Homeowners should not attempt high-access exterior work from unstable ladders or use aggressive acids without chemical training. A professional quote should state who accepts responsibility for scratches, etching, broken seals, damaged coatings, and pre-existing defects.
The cheapest option is not always the least expensive outcome. Replacing one large insulated or coated pane can cost hundreds or thousands of dollars, depending on size and availability.
When Should Construction Windows Be Cleaned?
Schedule final window cleaning after sanding, painting, drywall finishing, texturing, flooring installation, cabinetry work, exterior stucco, and landscaping are complete. Cleaning too early forces a second visit because later dust and overspray settle on the finished glass.
General contractors should photograph window conditions before cleaners arrive, confirm that protective films are ready for removal, and identify glass warranties or special coatings. Window cleaning belongs near the end of the handover sequence, but it should occur before the final client inspection so defects can be distinguished from cleaning residue.
Project handover checklist
- Confirm all wet paint, sealants, and mortar have cured according to their product instructions.
- Record existing scratches, chips, failed seals, cracked screens, and frame damage.
- Identify tempered, laminated, tinted, low-emissivity, self-cleaning, and filmed glass.
- Specify interior, exterior, frames, tracks, sills, screens, and weep holes.
- State approved and prohibited chemicals and tools.
- Require protection for flooring, stone, cabinetry, and painted surfaces.
- Define inspection lighting, acceptance criteria, and responsibility for damage.
- Test window operation and drainage before sign-off.
What Are the Most Common Cleaning Failures?
The most common failures are dry scraping, contaminated water, incompatible chemicals, excessive pressure, and incomplete drainage cleaning. Each failure either creates visible damage immediately or leaves residue that causes later staining, leaks, corrosion, or operating problems.
Dry scraping construction dust
Dry scraping traps sand, quartz, and masonry particles under the blade. Wet the surface only after loose dust has been vacuumed, then maintain lubrication throughout scraping.
Reusing dull or damaged blades
A nicked blade concentrates pressure at one point and can create a linear scratch. Use a fresh blade for each high-risk area and discard it after contact with concrete, metal, or a dirty sill.
Using steel wool on coated glass
Steel wool can scratch tinted, reflective, low-emissivity, and filmed surfaces. Use the manufacturer’s specified pad or a soft microfiber method instead.
Overusing acid
Strong acid can etch glass and damage anodized aluminum, powder coating, sealants, masonry, and skin. Use a labeled mortar remover, test it, control dwell time, and rinse completely.
Ignoring weep holes
A clean glass face does not prove a clean window system. Blocked weep holes retain water inside the frame, so extract debris and perform a controlled drainage check.
Removing protective film too late
Sun-baked film adhesive becomes harder to remove and may leave a brittle residue. Remove film within the window and manufacturer’s recommended period, then test a steamer or adhesive remover on the frame before broad use.
How Can You Fix Haze, Scratches, or Etching?
Residue haze may be removable with repeated compatible cleaning, but scratches and chemical etching usually require glass restoration or pane replacement. Do not polish aggressively before identifying whether the defect is on the surface, inside an insulated unit, in a coating, or caused by residue.
A professional glass-restoration technician can assess shallow surface scratches with angled lighting and magnification. Deep scratches, coating loss, edge damage, seal failure, and widespread fabrication debris often exceed practical polishing limits.
Document the defect with photographs before attempting correction. A contractor, glazing company, cleaner, and manufacturer may otherwise disagree about when the damage occurred.
What Changes for Interior, Exterior, and Commercial Windows?
Interior post-construction cleaning requires strict containment because solvents, dirty water, and dust can damage finished floors and walls. Exterior work adds weather, height, wind, runoff, ladder, lift, and facade-access controls.
| Situation | Primary concern | Suitable approach | Typical duration |
|---|---|---|---|
| Interior renovation | Protect finished rooms | HEPA vacuum, drop cloths, controlled spray | 2-6 labor hours |
| Ground-level exterior | Masonry splatter and runoff | Pre-soak, compatible remover, squeegee | 3-8 labor hours |
| Multi-story facade | Fall and access safety | Water-fed pole, lift, or scaffold plan | 1-5 days |
| Commercial handover | Repeatability and documentation | Written scope, zone testing, inspection log | 1-4 weeks |
Water-fed poles using purified water can reduce spotting on suitable exterior glass and limit ladder use on low-rise buildings. They do not remove every cured material, and they cannot replace specialty residue treatment or safe high-access planning.
Do not clean during freezing conditions, strong wind, direct heat that rapidly dries chemicals, or rain that contaminates a final rinse. Follow product temperature limits and protect occupied areas below exterior work.
FAQ
Can regular glass cleaner remove construction dust?
Regular glass cleaner can remove light fingerprints and final detergent residue, but it does not dissolve cured silicone, mortar, paint, or tape adhesive. Vacuum loose dust first, use lubricated water for suspension, and select a residue-specific product only after testing the glass and frame.
How long after painting should windows be cleaned?
Clean windows after paint overspray has dried enough for controlled removal and after all sanding and finishing work is complete. Follow the paint and sealant manufacturer’s cure instructions, because cleaning too soon can smear soft coatings or disturb fresh caulk.
Is vinegar safe for post-construction window cleaning?
Diluted vinegar may help with some mineral deposits on compatible uncoated glass, but it is not a complete construction-residue remover. Test it away from aluminum, stone, grout, sealants, and coatings, and never use it as a substitute for a labeled mortar or adhesive treatment.
Can construction dust permanently damage glass?
Construction dust can permanently scratch glass when abrasive particles are dragged across the pane during dry wiping or scraping. Loose dust itself is usually removable, but scratches, coating loss, and acid etching may require restoration or replacement rather than another cleaning pass.
Should protective film be removed before window cleaning?
Remove protective film according to the window and film manufacturer’s timing, then remove adhesive residue with a tested compatible product. Film exposed to prolonged sunlight can become brittle and leave more adhesive, so delaying removal can increase labor and frame-finish risk.
What should a window-cleaning quote include?
A complete quote should identify pane count or glass area, interior and exterior scope, frames, tracks, sills, screens, weep holes, access equipment, chemical restrictions, protection, inspection standards, and damage responsibility. It should also state whether hard-water restoration, scratch repair, and return visits cost extra.
The Bottom Line
Window cleaning after construction requires controlled debris removal, not ordinary glass washing. Vacuum abrasive dust, soften residue, keep approved glass wet, test every chemical and tool, protect frame finishes, clear drainage paths, and inspect under angled light before handover. Hire a qualified professional when access, coatings, hardened mortar, or damage liability exceeds a homeowner’s equipment and experience.


