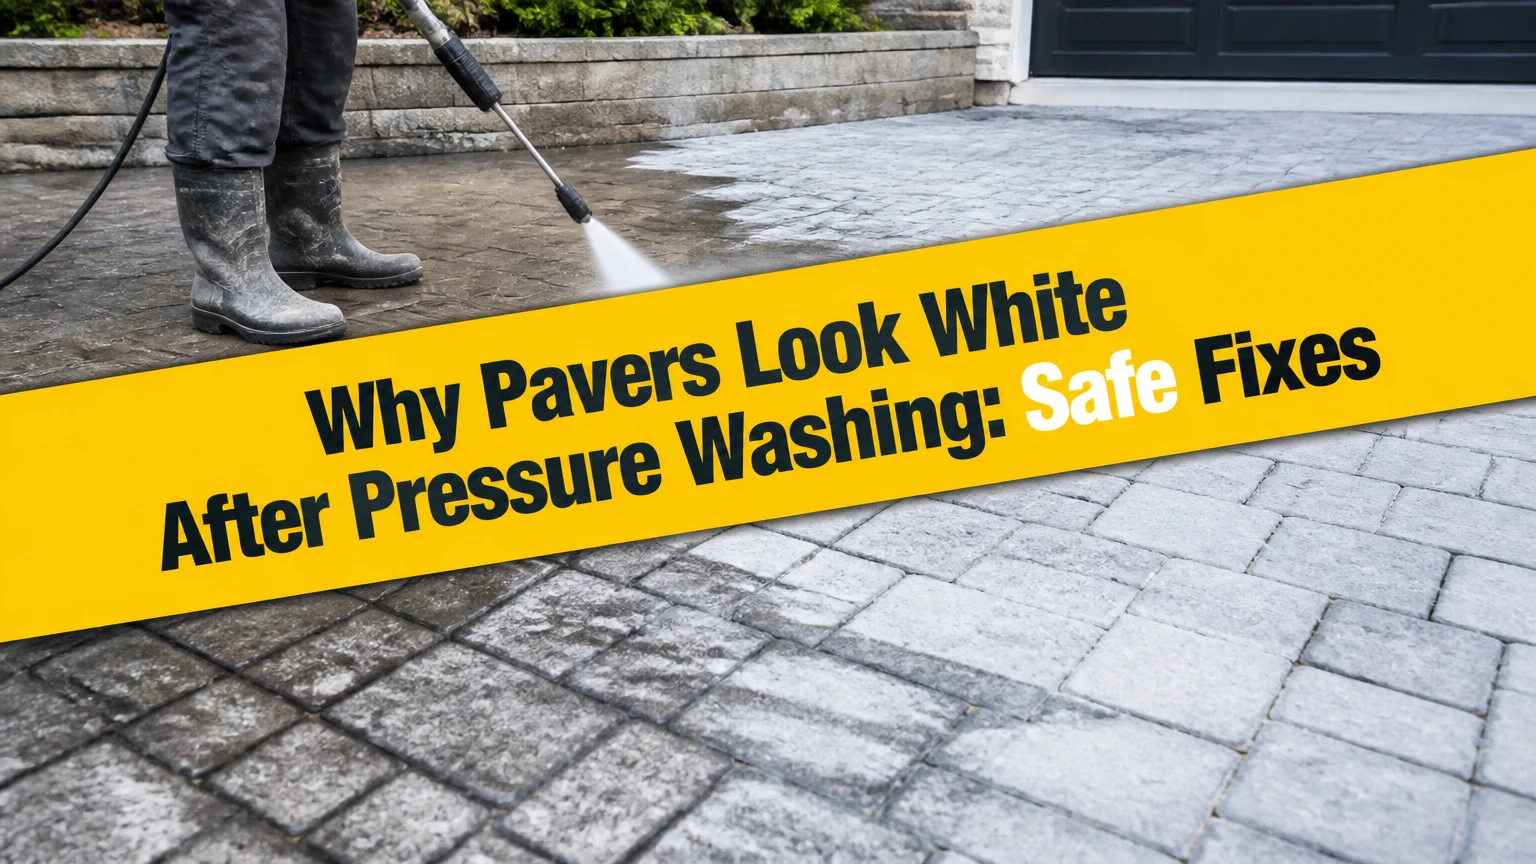
Pavers look white after pressure washing because water mobilizes mineral salts, activates polymeric-sand residue, clouds a damaged sealer, or erodes the colored cement surface. Efflorescence is usually removable or weatherable, while sealer failure and pressure-induced etching can require stripping or resurfacing. The residue’s texture, wet behavior, location, and timing identify the cause.
Key Facts at a Glance
- Efflorescence is a chalky mineral deposit that often disappears when wet and returns as the paver dries.
- Polymeric-sand haze usually forms a thin film on paver faces after installation, joint repair, or aggressive washing.
- Sealer blushing appears milky or cloudy and remains visible when the coated paver is wet.
- Surface etching is permanent physical damage that exposes pale aggregate beneath the pigmented cement paste.
- Do not seal over white residue, because a new coating can trap contamination and make removal substantially harder.
- A 500-1,500 PSI range, wide fan nozzle, and 12-inch working distance are typical conservative settings for sound concrete pavers, but manufacturer instructions take priority.
Why Do Pavers Turn White After Washing?
Pressure washing can make pavers appear white because it adds water to porous materials while changing the surface mechanically. As moisture moves through concrete pavers, dissolved salts can reach the face; separately, the water stream can spread polymer dust, lift an old coating, or remove pigmented surface paste. The same visual symptom therefore has several causes.
Concrete pavers contain cementitious binders, aggregate, pigment, pores, and joint material. Water does not remain only on the face. Some enters the paver and joint system, then evaporates through exposed surfaces. A shaded patio, compacted base, clogged edge drain, or low slope can extend that drying cycle.
The commonest explanation is efflorescence, especially on newer concrete pavers or surfaces washed after prolonged wet weather. Efflorescence is an appearance problem rather than evidence that the pavers are structurally failing. However, persistent white deposits can indicate that the installation remains repeatedly wet.
How does efflorescence form?
Efflorescence forms when water dissolves mobile mineral compounds inside cement-based products and carries them toward an evaporation surface. Carbon dioxide can convert calcium hydroxide near the surface into calcium carbonate, a pale, poorly soluble deposit commonly seen as powder or crust.
The pressure washer does not necessarily force “hundreds of gallons” into every patio, as some summaries claim. The relevant factors are water volume, paver porosity, saturation time, drainage, temperature, and drying rate. A short wash can reveal salts already present, while repeated washing can prolong the moisture cycle.
Efflorescence can appear days after cleaning rather than immediately. New pavers may show it during early curing and weathering, but the exact duration depends on manufacture, climate, installation drainage, and exposure. Waiting is reasonable for a light deposit that is fading; recurring heavy deposits deserve a drainage inspection.
What is polymeric-sand haze?
Polymeric-sand haze is a surface film created when polymeric sand dust or binder remains on paver faces and later cures after wetting. It commonly follows a recent joint installation, joint refilling, incomplete sweeping, insufficient pre-wetting, or pressure washing that moves sand and binder across the surface.
The residue may feel smooth, tacky, rubbery, or hard rather than dusty. Haze often follows joint lines, wand passes, or broad areas adjacent to recently repaired joints. Unlike loose efflorescence, polymer residue may stay visible during the wet test and can become glossy under water.
Polymeric sand is not interchangeable with efflorescence. An efflorescence cleaner may help with mineral deposits but may not dissolve a cured polymer film safely. Follow the sand manufacturer’s cleaner guidance and test a hidden area before treating the entire installation.
Why does an old sealer turn white?
An acrylic or other topical sealer can turn white when moisture becomes trapped beneath the film, when the coating is applied over damp pavers, or when pressure washing creates weak spots and microfractures. Light scattering through the disrupted coating produces a milky, cloudy, or opaque appearance.
Sealer blushing is more likely when white areas have a plastic sheen, peeling edges, blisters, or a defined coating boundary. It can cover the entire paver face rather than concentrating only in joints. Water may darken the surrounding uncoated material while the failed film remains pale.
A penetrating sealer behaves differently because it does not normally create a thick plastic layer on top. Even so, product chemistry, application rate, substrate moisture, and compatibility matter. A penetrating product cannot restore pigment already removed by pressure washing.
Can pressure washing permanently fade pavers?
Yes. Excessive pressure, a narrow nozzle, insufficient distance, or repeated passes can erode the fine cement paste that holds pigment at the surface. The resulting paver may expose lighter aggregate, develop a rough texture, and remain pale when wet. Cleaning chemicals cannot replace material that the water stream removed.
A pressure washer does not automatically damage pavers. The risk increases with concentrated spray, close working distance, soft or aged concrete, damaged surfaces, and long dwell time in one spot. A rotary surface cleaner can also leave circular or zebra-like patterns if the operator moves it unevenly or keeps it stationary.
How can you distinguish the four causes?
Use a clean wet test, a dry texture check, and a location check together. No single test is conclusive: a sealer can temporarily darken when wet, and some mineral deposits adhere strongly enough to resist a light scratch.
| Observation | Efflorescence | Polymeric haze | Sealer failure | Surface etching |
|---|---|---|---|---|
| Appearance | Chalky white powder or crust | Translucent, white, or glossy film | Milky, opaque, plastic-like coating | Pale, rough, exposed aggregate |
| Wet test | Often fades or disappears | Remains visible or turns shiny | Remains cloudy or bright | Remains pale and rough |
| Scratch result | Fine powder on nylon brush | Film rolls, flakes, or smears | Coating lifts at an edge | No removable film appears |
| Location | Broad faces, edges, shaded zones | Along joints and wash paths | Coated zones and puddle areas | Wand lines, circles, concentrated passes |
| Timing | Days to weeks after wetting | Hours to days after sanding or washing | Soon after sealing or rewetting | Immediately after aggressive cleaning |
| Likely outcome | Weathering or mineral cleaning | Targeted polymer remover | Strip and recoat if salvageable | Permanent color or texture loss |
Test with a nylon brush, not a key or metal scraper. Metal can scratch pigment and create a false diagnosis. Photograph the surface dry and wet, because the contrast often helps a contractor identify the failure later.
What Should You Do First?
Stop pressure washing and postpone sealing until the pavers are clean, dry, and diagnostically understood. Dry brushing is the lowest-risk first response for loose efflorescence, while a small test patch is necessary before any acidic cleaner, polymer remover, or sealer stripper.
Remove furniture and sweep loose dirt away. Protect nearby plants with clean water and temporary sheeting, control runoff, and check whether water drains away from the installation. Never mix acidic cleaners with bleach, ammonia, or other household chemicals.
Step 1: Let the pavers dry completely
Allow at least 24-72 hours of dry weather before judging the final appearance; shaded, cool, poorly drained, or recently saturated installations may need longer. A surface that looks white while wet can change substantially as moisture leaves the pores.
You will know the surface is ready for diagnosis when its color stops changing between morning and afternoon. The common mistake is treating a still-saturated patio and interpreting temporary cloudiness as permanent damage.
Step 2: Remove loose residue mechanically
Sweep dry pavers with a stiff nylon deck broom, then use a leaf blower to remove loosened powder. Work from the cleanest area toward the dirtiest area so mineral dust does not settle back onto previously cleared sections.
You will know this step helped when the white material collects as dry powder and the paver face becomes clearer without chemical treatment. Do not immediately rinse the dust back into the joints, because added water can restart salt migration.
Step 3: Test a hidden area
Select approximately 1-2 square feet containing the same paver, joint sand, coating, and white residue as the visible problem. Apply the proposed cleaner at the label dilution, observe the specified dwell time, scrub with nylon, and rinse thoroughly.
The test is successful when the residue is reduced without pigment loss, gloss change, joint erosion, or a lighter halo around the patch. A cleaner that works quickly on one paver can still damage another because concrete mixes, pigments, sealers, and aggregate vary.
Step 4: Use a paver-safe mineral or polymer cleaner
For confirmed efflorescence or compatible polymer haze, use a manufacturer-labeled buffered cleaner rather than undiluted muriatic acid. Pre-wet the pavers according to the product directions, apply in manageable sections, keep the surface wet during dwell, agitate with nylon, and flush completely.
Cleaner dilution is product-specific, so a universal “4:1” ratio is unsafe advice. Some products are ready to use, while others require measured dilution. Follow the label, wear chemical-resistant gloves and eye protection, and prevent runoff from reaching metal, masonry, lawns, ponds, or storm drains.
You will know the wash worked when the treated section matches the dry color of an adjacent untreated section after complete drying. Do not let an acidic product dry on the surface. Dried cleaner can create its own residue and uneven color.
Step 5: Strip a failed topical sealer only when confirmed
A failed sealer usually requires a product-compatible acrylic or coating stripper, mechanical agitation, and complete residue removal. Solvent strippers can release strong vapors and damage adjacent finishes, plastics, plants, painted surfaces, or certain joint materials.
Do not begin with xylene simply because the surface looks cloudy. Xylene may soften some acrylic coatings, but it is not a universal solution for polyurethane, epoxy, unknown sealers, or mineral deposits. Confirm the sealer chemistry from installation records or obtain professional testing.
Step 6: Re-sand and reseal only after drying
Replace eroded joint sand if necessary, compact or stabilize it according to the sand manufacturer’s directions, and wait until the entire system is dry. Typical professional practice allows 48-72 hours of dry weather after cleaning, but cool or shaded sites require a longer interval.
A sealer should be applied only when the product label’s substrate moisture, air temperature, and rain-free requirements are satisfied. Applying sealer over efflorescence, haze, or damp pores can lock the defect beneath a new film.
Which Restoration Method Fits the White Appearance?
The correct method depends on whether the residue is loose, chemically removable, coating-related, or physically missing surface material. Mechanical brushing is safest, buffered chemistry is more targeted, and stripping is more disruptive. Etched pavers cannot be returned to their original factory face with cleaning.
| Diagnosis | First treatment | Typical labor time for 500 sq. ft. | Typical material cost |
|---|---|---|---|
| Loose efflorescence | Dry nylon brushing and blowing | 1-3 hours | $0-$35 |
| Hardened efflorescence | Buffered mineral cleaner and rinse | 3-6 hours | $40-$120 |
| Polymeric-sand haze | Label-approved haze remover and agitation | 4-8 hours | $50-$180 |
| Failed acrylic sealer | Compatible stripper and residue recovery | 1-2 days | $60-$250 |
| Surface etching | Color restoration or paver replacement | 1-3 days | $2-$8 per sq. ft. |
| Recurring moisture problem | Drainage correction plus cleaning | 1-3 days | $300-$3,000 typical project |
These are typical planning ranges, not fixed quotes. Regional labor, access, patio size, chemical containment, joint repairs, and sealer type can change the final price substantially.
| Cleaning condition | Practical equipment setting | Working distance | Risk profile |
|---|---|---|---|
| Painted or delicate pavers | 500-800 PSI | 12-18 inches | Lowest practical pressure |
| Sound concrete pavers | 800-1,500 PSI | 12 inches or more | Moderate operator risk |
| Heavy soil on durable concrete | 1,500-2,000 PSI | 12-18 inches | Test first, avoid dwell |
| Narrow 0-degree nozzle | Avoid | Any distance | High etching risk |
| Wide 25-40-degree fan nozzle | Preferred | 12-18 inches | More even cleaning |
| Rotary surface cleaner | 800-1,500 PSI | Manufacturer setting | Stripe risk if held still |
PSI alone does not describe cleaning force. Flow rate, nozzle orifice, distance, angle, temperature, and dwell time all affect the surface. A lower-pressure stream held close can damage pavers more than a higher-pressure fan spray used at a controlled distance.
What Materials Respond Differently?
Concrete pavers are most associated with efflorescence because cement chemistry supplies soluble compounds that can migrate. Clay brick can develop salt deposits as well, but its color body and fired surface respond differently to acids. Natural stone may contain minerals that react with acids or become etched, while porcelain pavers generally have low absorption and different joint-cleaning risks.
| Paver material | White appearance commonly indicates | Acid-cleaning concern | Safer first approach |
|---|---|---|---|
| Concrete | Efflorescence, haze, exposed aggregate | Pigment and cement erosion | Dry brush and test patch |
| Clay brick | Salt deposits, mortar residue | Face color and mortar damage | Manufacturer-approved masonry cleaner |
| Limestone or marble | Mineral deposit, etching, grout residue | Acid can permanently etch stone | pH-neutral stone cleaner |
| Granite | Residue, sealer haze, construction dust | Less acid-sensitive than limestone, still test | Neutral cleaner and soft brush |
| Porcelain | Joint residue or surface film | Joint products may discolor | Nonabrasive cleaner and rinse |
| Cast stone | Efflorescence or coating failure | Binder and pigment sensitivity | Product-specific cleaner |
A chemical suitable for concrete pavers is not automatically suitable for limestone, marble, clay, or porcelain. Identify the material before choosing an acid, solvent, pressure setting, or abrasive tool.
Why Does White Residue Return After Cleaning?
White residue returns when water continues moving through the paver and base system or when the original film was only partly removed. Low slope, compacted soil, blocked edge restraints, leaking irrigation, downspouts, and shaded moisture can all keep the installation wet enough to repeat efflorescence.
A return within several days does not prove that the cleaner failed. It may have removed the surface deposit while another moisture cycle brought additional salts forward. Inspect the patio after rainfall and look for ponding, dark joints, damp edges, and water flowing toward rather than away from the pavers.
New pavers can also show early efflorescence during their first weeks or months. The exact curing period is product- and climate-dependent, so the safer rule is to follow the paver manufacturer’s maintenance instructions rather than applying an arbitrary 60- or 90-day chemical ban.
What Causes White Pressure-Washing Lines?
White stripes, arcs, and zebra patterns usually indicate uneven cleaning force, not ordinary uniform efflorescence. A wand held too close, overlapping passes, a clogged surface-cleaner nozzle, or stopping over one area can remove soil and surface paste at different rates.
Organic staining can create uneven dark areas that make cleaned strips appear white by contrast. Bleach may remove algae or mildew, but it will not rebuild etched cement paste and should never be used as a default treatment for suspected surface damage.
If the pattern remains rough and pale when wet, stop chemical experimentation. A professional can determine whether controlled recoloring, replacement of individual pavers, or full-surface blending offers the least visible repair.
What Mistakes Make White Pavers Worse?
Several common responses increase damage because they treat every white appearance as stubborn dirt.
- Repeating the wash at higher pressure: More water can extend efflorescence, while concentrated force removes additional surface paste.
- Sealing before diagnosis: A topical coating can trap salts, polymer residue, or moisture beneath a cloudy film.
- Using raw muriatic acid: Strong hydrochloric acid can attack cement paste, alter pigment, corrode metal, and create uneven light spots.
- Letting cleaner dry: Dried chemical residue can leave secondary haze and patchy etching.
- Scrubbing with wire: Steel bristles can scratch pigment, remove joint material, and create marks mistaken for chemical damage.
- Ignoring runoff: Acidic or solvent-bearing runoff can injure plants, stain metal, and enter drainage systems.
A practitioner rule of thumb is to change only one variable at a time: pressure, cleaner, dwell, or agitation. Changing all four prevents reliable diagnosis and makes a small repair patch harder to reproduce.
When Should You Stop and Hire a Professional?
Hire a paver or hardscape restoration professional when the white appearance remains rough after drying, a topical coating is peeling across a large area, drainage is causing repeated saturation, or chemical treatment could affect natural stone. Professional help is also sensible when the pavers cover a large driveway or border a pond, pool, lawn, or storm drain.
Ask for a small test patch, the proposed pressure and nozzle settings, chemical product name, runoff plan, drying requirements, and sealer type. A credible contractor should explain what cannot be restored. No cleaner can replace concrete paste removed by etching, and no penetrating sealer can recreate a lost factory color layer.
How Can You Prevent White Pavers After Pressure Washing?
Prevent recurrence by cleaning gently, removing all polymeric-sand dust before wetting, correcting drainage, and delaying sealing until moisture has left the paver and base. Use the paver manufacturer’s pressure limit and cleaner instructions because pigment, porosity, aggregate, and coating chemistry differ among products.
Use these prevention controls:
- Sweep polymeric sand completely off paver faces before activating the joints.
- Test the pressure washer on an inconspicuous paver before broad cleaning.
- Choose a wide fan nozzle and keep the spray moving.
- Avoid washing during cool, wet, windy, or freezing conditions.
- Keep downspouts and irrigation from discharging onto the installation.
- Let cleaned pavers dry for at least 48-72 hours when the sealer label requires it.
- Select a breathable penetrating sealer when a topical film is unnecessary.
- Record the product, dilution, weather, pressure, and drying time for future maintenance.
A penetrating sealer is not automatically better. It generally reduces film-related blushing risk, but it may provide less color enhancement, gloss, or stain resistance than a topical acrylic. The best choice depends on appearance goals, moisture conditions, maintenance tolerance, and manufacturer compatibility.
FAQ
Will white efflorescence disappear on its own?
Light efflorescence often fades through weathering, repeated drying, and gentle removal, but the timeframe is variable. A mild deposit may improve over weeks or months, while recurring moisture can keep producing new salts. Waiting is reasonable when the pavers are new, structurally sound, and the residue is dry, powdery, and gradually diminishing.
Can vinegar remove white stains from pavers?
Vinegar can dissolve some mineral deposits, but household vinegar is inconsistent for hardened efflorescence and may affect cement-based surfaces, nearby plants, or sensitive stone. A labeled, buffered paver cleaner is more predictable. Always test a small hidden patch and rinse thoroughly instead of applying vinegar across an entire patio.
Should I pressure wash pavers again after they turn white?
Do not immediately pressure wash again at higher pressure. First let the pavers dry, identify whether the residue is mineral, polymer, sealer, or surface damage, and brush loose material away. A second wash may add moisture, spread polymer haze, erode joints, or enlarge etched areas.
How long should pavers dry before sealing?
Most restoration projects allow at least 48-72 hours of dry weather after washing, but the label controls and shaded or poorly drained pavers may need longer. The surface should show stable color, dry joints, and no dark moisture patches. Sealing damp pavers is a common cause of cloudy or milky coatings.
Are white pavers after pressure washing permanently damaged?
White pavers are not necessarily permanently damaged. Efflorescence and some polymer haze can be removed, while a failed topical sealer may be stripped and replaced. If pressure washing exposed pale aggregate or created a rough texture that remains white when wet, the surface layer is likely damaged and cleaning will not restore it.
Why did only some pavers turn white?
Different pavers can absorb water, contain pigment, or have coating coverage at different rates. Shaded zones, low points, repaired joints, older replacement pavers, and areas beneath downspouts also dry differently. A localized pattern often points to drainage, polymeric sand, coating variation, or uneven spray rather than a uniform manufacturing problem.
The Bottom Line
The answer to why pavers look white after pressure washing is usually efflorescence, polymeric-sand haze, sealer blushing, or surface etching. Let the surface dry, use texture and wet behavior to identify the cause, and begin with dry brushing and a controlled test patch. Cleaners can remove deposits, but they cannot reverse aggregate exposure caused by excessive pressure.


