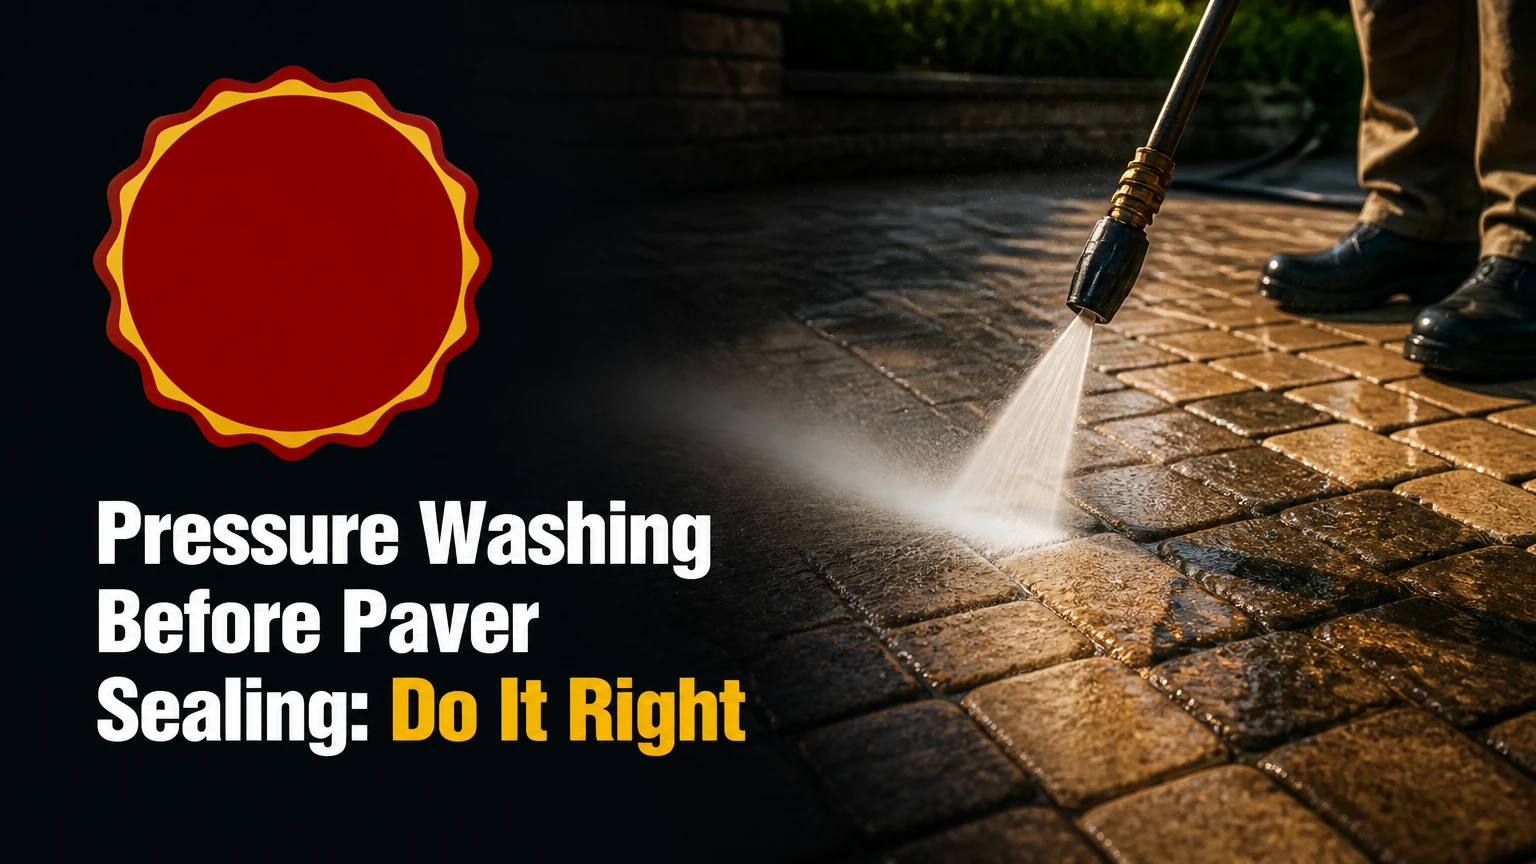
Pressure washing before paver sealing removes loose dirt, organic growth, contaminated joint sand, efflorescence, and compatible remnants of old sealer. Clean pavers provide a better bonding surface, but pressure alone cannot repair unstable joints, remove every oil stain, or make damp masonry ready for sealing. The correct sequence is clean, treat, rinse, dry, resand, and seal.
Key Facts at a Glance
- Clean pavers must dry completely before sealing, and many products require 24-48 hours after washing.
- Concrete pavers commonly tolerate a controlled cleaning range of about 1,500-2,500 PSI, while softer natural stone often needs less pressure.
- A surface cleaner produces more uniform results than a wand across broad, flat patios and driveways.
- Pressure washing can remove joint sand, so unstable or deeply eroded joints need inspection before washing.
- Polymeric sand normally goes into clean, dry joints before sealing, unless the sealer manufacturer specifies a different system.
- Sealing over oil, efflorescence, organic residue, or moisture can cause stains, haze, peeling, or premature wear.
Why Pressure Wash Pavers Before Sealing?
Pressure washing pavers before sealing removes contaminants that interfere with sealer penetration and adhesion. Dust occupies surface pores, oil repels water-based products, organic residue can remain beneath the film, and efflorescence may continue to migrate after the sealer is applied.
A sealer does not clean a paving surface. It encapsulates or coats the surface that receives it. Light dirt can become a permanent shadow, while trapped moisture can create a white or cloudy appearance as vapor moves through the coating. Cleaning also exposes damaged joints, chipped edges, loose pavers, and old coating that may need attention first.
The process is not automatically beneficial when performed aggressively. Excessive pressure can remove the face of a concrete paver, etch limestone, displace bedding sand, or widen joints. The objective is controlled contaminant removal, not maximum impact.
Can You Seal Pavers Without Pressure Washing?
You can seal lightly soiled pavers without pressure washing only when the sealer label permits cleaning by lower-pressure rinsing and the surface is visibly clean, stain-free, stable, and dry. Most previously sealed outdoor pavers need more than a quick hose rinse because film residue and embedded soil reduce uniformity.
A garden hose, pump sprayer, detergent, and stiff nylon brush may be sufficient for a small, lightly dirty walkway. Pressure washing becomes more appropriate when joints contain moss, the surface has traffic grime, or old sand must be removed before refilling. Test the least visible area first.
What Should You Check Before Washing?
Inspect the paver material, joint condition, drainage, stains, old coating, and nearby construction before connecting the machine. The inspection determines whether pressure washing is suitable and prevents a cleaning job from becoming a resetting or landscaping repair.
Concrete and clay pavers generally withstand more cleaning force than sandstone, limestone, weathered slate, or some travertine. Manufacturer instructions remain more reliable than a generic PSI number because aggregate, age, finish, and installation quality vary.
Check whether joint sand is merely dirty or already missing. If the joints are hollow, weeds have lifted pavers, or water exposes bedding sand during a test rinse, plan repairs before cleaning the whole area. Photograph existing cracks and color variation so cleaning damage is not confused with pre-existing wear.
Protect outlets, low-voltage lighting, pool equipment, doors, painted walls, vehicles, and plants. Never direct runoff containing degreaser, chlorine, or efflorescence remover toward a storm drain without following local rules.
Which Pressure Washer Settings Are Safe?
Safe pressure depends on the paver material, nozzle, water volume, operator distance, and surface condition. Start at the lowest effective setting, use a broad spray pattern, and increase force only after a test patch shows no aggregate loss, etching, or joint erosion.
| Surface or task | Starting pressure | Nozzle or attachment | Operating guidance |
|---|---|---|---|
| Sound concrete pavers | 1,500-2,000 PSI | 25-degree tip or surface cleaner | Keep moving; inspect after one pass |
| Heavily soiled concrete pavers | 2,000-2,500 PSI | Surface cleaner, then 25-degree tip | Avoid exceeding 3,000 PSI on decorative faces |
| Travertine or limestone | 800-1,500 PSI | 40-degree tip | Test for etching and keep the wand farther away |
| Joint-edge rinsing | 1,000-1,800 PSI | 25- or 40-degree tip | Aim diagonally across joints, not straight down |
| Tight corners and steps | 1,000-1,800 PSI | 40-degree tip | Use short passes and avoid concentrated impact |
| Oil spot treatment | 1,500-2,500 PSI after cleaner | 25-degree tip | Let detergent emulsify oil before rinsing |
Gallons per minute affects cleaning speed because higher flow carries loosened soil away. A typical residential machine produces 2.0-4.0 GPM, while professional equipment may provide 4.0-8.0 GPM. Pressure and flow must work together; a high-PSI machine with poor water delivery may clean less effectively than a moderate-pressure machine with strong flow.
Which Attachments Work Best?
A 12- to 16-inch surface cleaner is usually the best attachment for a flat area under approximately 1,000 square feet. Rotary nozzles clean quickly but concentrate force and can leave circular marks if held too close or used too slowly. A standard wand remains useful for edges, steps, corners, and spot rinsing.
| Attachment | Typical coverage | Best use | Main risk |
|---|---|---|---|
| 14-inch surface cleaner | 300-700 square feet per hour | Flat concrete patio | Streaks if machine pressure is uneven |
| 16-20-inch professional surface cleaner | 600-1,500 square feet per hour | Large driveway | Requires adequate GPM |
| 25-degree wand tip | 50-150 square feet per hour | Edges and general rinsing | Striping from uneven passes |
| 40-degree wand tip | 50-120 square feet per hour | Natural stone and final rinse | Slower soil removal |
| Rotary turbo nozzle | 100-300 square feet per hour | Isolated heavy deposits | Etching and aggregate damage |
How Do You Pressure Wash Pavers Before Sealing?
Pressure washing pavers before sealing takes one to two days for a small area and two to four days for a larger driveway when drying, joint sanding, and weather buffers are included. The most important success factor is a clean, stable, completely dry surface that matches the sealer manufacturer’s requirements.
Step 1: Prepare the Area and Protect Surroundings
Remove furniture, vehicles, planters, toys, loose decorations, and removable lighting. Sweep leaves and loose grit before introducing water, then cover sensitive electrical components and move delicate plants outside the spray zone.
Wear eye protection, waterproof gloves, long trousers, and slip-resistant footwear. Pressure-washer injuries can involve injection wounds, flying grit, and chemical exposure, so never test a nozzle against skin or footwear.
You will know preparation worked when: the work area is empty, drains are protected where appropriate, and runoff has a controlled path.
Common mistake: covering plants with plastic in direct sun for hours. Use breathable protection or wet and rinse foliage as the cleaning product label directs.
Step 2: Treat Oil, Rust, Algae, and Efflorescence
Apply the correct cleaner to the contaminant rather than using one chemical for every stain. Degreasers target oil, oxygen-based cleaners address many organic deposits, and acidic efflorescence removers dissolve mineral salts, but acid can damage certain stone and metal surfaces.
| Contaminant | Suitable first treatment | Dwell time | Rinse requirement |
|---|---|---|---|
| Fresh oil | Absorbent granules, then alkaline degreaser | 10-20 minutes | Hot or high-volume rinse |
| Old oil | Paver-safe degreaser and nylon scrubbing | 15-30 minutes | Repeat may be necessary |
| Algae or mildew | Labeled oxygen cleaner or diluted sodium hypochlorite | 5-10 minutes | Thorough freshwater rinse |
| Rust | Manufacturer-approved rust remover | 2-10 minutes | Immediate neutralizing rinse |
| Efflorescence | Paver-compatible acidic cleaner | 2-5 minutes | Extensive freshwater rinse |
| Old acrylic sealer | Approved stripper, often solvent-based | Label-specific | Remove softened residue completely |
Never mix bleach with acids, ammonia, or other cleaners. Pool chlorine can discolor fabrics, harm plants, corrode metal, and damage some coatings. Keep the surface wet during chemical dwell time, and do not allow cleaner to dry into a concentrated residue.
You will know treatment worked when: the stain lightens during agitation and no oily film remains after a small test rinse.
Common mistake: using muriatic acid as a general cleaner. It can etch concrete, alter color, corrode adjacent metal, and leave a surface that does not accept sealer uniformly.
Step 3: Wash the Paver Surface
Begin with a test patch of approximately 2-4 square feet in an inconspicuous location. Use a 25-degree tip or surface cleaner, maintain a steady walking speed, and overlap adjacent passes by roughly 1-2 inches.
Keep a wand approximately 12-18 inches from concrete during the initial pass, increasing distance for delicate stone. Do not stop the spray over one paver. Work from the highest point toward the drainage outlet, but avoid forcing dirty water across areas already cleaned.
A surface cleaner should remain level and moving. If it leaves stripes, slow down slightly, check nozzle wear, confirm adequate water supply, and make a perpendicular finishing pass. Wand cleaning requires an even arm speed and consistent distance.
You will know washing worked when: the paver color is consistent, soil is gone from the texture, and the rinse water runs clear rather than gray or foamy.
Common mistake: choosing a 0-degree tip to remove a stubborn mark. A pinpoint jet can gouge concrete and permanently etch natural stone.
Step 4: Clean and Evaluate the Joints
Remove weeds by hand or with a narrow tool before rinsing joint channels. Direct the spray diagonally across the joint instead of straight down, because vertical force can remove bedding sand and destabilize pavers.
Old polymeric sand may need deeper removal when it has failed, hardened unevenly, or contains organic growth. A typical target is approximately 1 inch of clean joint depth, but do not excavate blindly if the joint is narrow or the installation has shallow bedding.
Distinguish joint sand from bedding sand. Joint sand locks pavers laterally; bedding sand supports the paver from below. Once water begins exposing bedding material or creating voids beneath edges, stop and reassess.
You will know joint cleaning worked when: joints contain no loose weeds, sludge, or failed polymer residue, and pavers remain level without rocking.
Common mistake: washing every joint to maximum depth. Deep excavation can remove support and create settlement, especially around edges and repaired sections.
Step 5: Rinse, Neutralize, and Inspect
Rinse chemical residues from the paver face, joints, walls, plants, and equipment. Efflorescence remover requires particular attention because residual acid can affect sealer performance and nearby metals.
After rinsing, allow the area to settle and inspect it in daylight. Look for exposed aggregate, etched stone, color differences, open joints, oil shadows, paver movement, and remaining old sealer. Cleaning often reveals defects that dirt previously concealed.
Do not seal immediately after a chlorine or acidic treatment. A clean rinse and adequate drying period are necessary, and some products require neutralization. Follow the cleaner’s label rather than assuming extra chemical will improve results.
You will know post-treatment worked when: the pH is within the cleaner or sealer instructions, runoff is clear, and no slippery or powdery residue remains.
Common mistake: judging cleanliness while the pavers are wet. Wet masonry can hide haze, streaks, and uneven color.
Step 6: Dry the Pavers Completely
Allow at least 24-48 hours of dry weather after washing as a typical starting window. Extend that period after rain, overnight dew, shade, high humidity, dense joints, or deep-cleaning chemicals.
Sealer labels may specify a moisture threshold or a longer interval. A plastic-sheet test can provide a practical warning: tape clear plastic tightly to a clean paver for several hours; condensation or darkening underneath indicates moisture movement. A masonry moisture meter can add useful evidence, but its reading is meaningful only when interpreted for that material and instrument.
Do not rely on surface appearance alone. Paver joints and bedding layers can retain water after the tops look dry.
You will know drying worked when: the surface remains unchanged under plastic, joints feel dry, and the sealer label’s weather and moisture requirements are satisfied.
Common mistake: sealing on the first sunny afternoon after washing. Surface heat can dry the top while water remains below.
Step 7: Refill Joints With Compatible Sand
Sweep dry polymeric sand into clean, dry joints until the material sits slightly below the paver surface, commonly around 1/8 inch. Compacting may be appropriate for some installations, but the sand and sealer instructions must agree because vibration can damage fragile edges or move unstable pavers.
Remove every grain of loose sand from the paver face. Residual polymeric sand dust can bond to sealer and create a pale film. Activate the sand with controlled misting, not a forceful stream, then allow the joints to cure for the period stated on the bag.
Some sealers are designed for regular joint sand, while others are compatible with polymeric sand. Confirm compatibility before purchase.
You will know sanding worked when: joints are uniformly filled, pavers do not rock, and no dry sand remains on the surface.
Common mistake: topping off failed joint sand with a thin layer. New material bonds poorly to contaminated old sand and often washes out during the next storm.
Step 8: Apply Sealer Under Suitable Conditions
Apply sealer only after cleaning, drying, repairs, and joint curing are complete. Use the manufacturer’s spread rate, application tool, temperature range, and recoat interval; a typical residential acrylic sealer may cover approximately 100-250 square feet per gallon depending on porosity and coats.
Work in manageable sections with a wet edge. Apply thin, even coats and back-roll or redistribute puddles in low areas. Pooling sealer can remain soft, turn cloudy, or peel, especially in recessed joints.
Avoid sealing when rain is forecast during the product’s cure window, when the surface is hot enough to flash-dry the coating, or when overnight temperatures will fall below the label minimum. Solvent-based products also require strong ventilation and ignition control.
You will know application worked when: the film is uniform, joints are not flooded, and the finish cures without tackiness, whitening, or lap marks.
Common mistake: applying more product to create a darker wet look. Excess film often causes longer cure time and more visible failure.
Pressure Washing Versus Other Cleaning Methods
Pressure washing is efficient for embedded dirt and joint debris, but soft washing, scrubbing, steam, and chemical stripping can be safer or more effective for specific contaminants. The correct method is determined by material hardness, stain type, coating condition, and joint stability.
| Cleaning method | Typical pressure or temperature | Best target | Limitation |
|---|---|---|---|
| Pressure washing | 1,000-2,500 PSI | Dirt, sand, algae, loose residue | Can erode joints and soft stone |
| Soft washing | 50-300 PSI | Organic growth and delicate surfaces | Does not remove hardened sand or scale |
| Hot-water washing | 60-93°C water | Grease, gum, oily traffic film | Higher equipment and runoff concerns |
| Hand scrubbing | Manual force | Small stains and edges | Labor-intensive beyond 300 square feet |
| Chemical stripping | Product-specific | Old acrylic or urethane film | Requires compatibility and residue control |
Hot water helps lower oil viscosity and improve rinsing, but it does not guarantee removal of an old sealer. A failed coating may require a labeled stripper, mechanical abrasion, or professional testing.
What Equipment Should You Rent or Buy?
A homeowner cleaning a small concrete patio usually needs a 2,000-2,500 PSI machine, adequate water flow, a surface cleaner, a 25-degree tip, a 40-degree tip, a stiff nylon brush, and paver-safe chemicals. Equipment capability should match the area rather than the largest number printed on the machine.
| Project condition | Recommended machine | Attachment | Typical rental or service cost |
|---|---|---|---|
| Patio under 300 square feet | Electric, 1,500-2,000 PSI | 12-inch cleaner | $40-$90 per day |
| Patio or walkway, 300-800 square feet | Gas, 2,000-2,500 PSI, 2.5-3.5 GPM | 14-16-inch cleaner | $75-$150 per day |
| Driveway, 800-2,000 square feet | Gas, 2,500-3,000 PSI, 3.5-5.0 GPM | 16-20-inch cleaner | $100-$225 per day |
| Oily commercial surface | Hot-water, 3,000-4,000 PSI, 4.0-8.0 GPM | Professional cleaner | $250-$600 per day |
| Wash, sand, and seal package | Contractor equipment | Surface cleaner and sprayer | $1.50-$3.50 per square foot |
These are typical United States ranges, not fixed market prices. Access, region, paver condition, stain treatment, joint repair, sealer type, and minimum service charges can change the final quote substantially.
What Problems Can Happen During or After Washing?
The most expensive pressure-washing mistakes involve substrate damage, not missed dirt. Stop when the surface changes unexpectedly, because additional passes rarely repair a gouge, exposed bedding sand, or chemical burn.
White Haze After Sealing
Cloudy or milky sealer usually indicates trapped moisture, over-application, incompatible products, or solvent entrapment. Review the product technical data sheet and identify the sealer chemistry before attempting a repair.
Some acrylic systems can be softened with a manufacturer-approved solvent such as xylene, but solvent treatment is hazardous and can worsen the finish when used at the wrong rate. Do not apply solvent to an unknown coating.
Striping or Swirl Marks
Striping results from uneven wand distance, inconsistent speed, worn surface-cleaner nozzles, or overlapping passes that dry at different rates. A uniform light cleaning pass may blend the appearance, but deep etching cannot be reversed by another wash.
Loose or Sinking Pavers
Water directed into joints can remove bedding material and expose voids. Stop washing, mark the affected area, allow it to drain, then lift and reset the pavers with the correct base and bedding materials.
Persistent Oil Shadows
Old oil can penetrate porous concrete beyond the visible surface. Multiple degreasing cycles may reduce the mark without removing it entirely. A penetrating stain is a restoration problem, not a reason to apply extra sealer.
Flaking or Peeling Sealer
Peeling usually indicates contamination, incompatible layers, excessive film thickness, insufficient cure, or moisture vapor pressure. Washing alone cannot prepare a surface if the old coating remains unstable; stripping and adhesion testing may be required.
When Should You Hire a Professional?
Hire a professional when the area exceeds roughly 1,000 square feet, natural stone is expensive, old sealer must be stripped, oil contamination is extensive, pavers are settling, or runoff management is difficult. Professional equipment improves productivity, but operator technique and chemical judgment matter more than PSI alone.
A contractor should identify the paver material, show a test patch, explain the cleaning chemistry, state the drying requirement, and specify the sealer’s coverage rate. Ask whether joint sand, efflorescence treatment, paver resetting, and stain treatment are included in the quote.
DIY cleaning is reasonable for a stable, small concrete patio with ordinary dirt. DIY sealing becomes riskier when the finish is solvent-based, the surface has multiple old coatings, or the pavers remain damp in shade.
How Much Time and Money Does the Process Need?
A small patio commonly requires two full workdays, while a large driveway may require three to four days because drying and joint curing cannot be rushed. The cleaning itself may take only several hours, but sealer preparation determines the schedule.
| Area size | Washing time | Drying and sanding | Total typical duration |
|---|---|---|---|
| 200-500 square feet | 2-5 hours | 24-48 hours | 2 days |
| 500-1,000 square feet | 4-8 hours | 24-72 hours | 2-3 days |
| 1,000-2,000 square feet | 1 workday | 48-72 hours | 3-4 days |
| 2,000+ square feet | 1-2 workdays | 48-96 hours | 4-6 days |
A wash-only DIY project may cost $50-$200 for rental and cleaners. Adding polymeric sand and sealer commonly raises materials to $200-$600 for a modest patio, depending on product coverage and quality. Professional wash-and-seal pricing often falls between $1.50 and $3.50 per square foot before substantial repairs.
FAQ
How long after rain should pavers dry before sealing?
Wait until the pavers, joints, and bedding area are dry, usually at least 24-48 hours after light rain and longer after heavy rain or shaded weather. Confirm the sealer label’s moisture requirement and use a plastic-sheet test when the surface looks dry but joints may retain water.
Can pressure washing remove old paver sealer?
Pressure washing can remove loose, degraded acrylic residue, but it rarely removes a sound coating uniformly. A compatible chemical stripper may be necessary, followed by agitation, controlled rinsing, and complete residue removal before recoating.
Should pavers be sealed before or after polymeric sand?
Polymeric sand is generally installed before sealing because clean, stable joints support the pavers and reduce washout. Some manufacturers sell systems with different sequencing, so the sealer and sand technical data sheets should be treated as the controlling instructions.
Can you use bleach on concrete pavers?
A properly diluted, labeled sodium hypochlorite cleaner can remove algae and mildew from some concrete pavers, but bleach can harm plants, corrode metals, discolor fabrics, and damage certain sealers or natural stone. Never mix bleach with acids or ammonia, and rinse thoroughly.
What weather is best for sealing pavers?
Choose a dry period with stable temperatures inside the product label’s range, commonly around 60-85°F for many residential sealers. Avoid rain, heavy dew, extreme midday heat, freezing temperatures, and strong wind that can accelerate drying or carry spray onto adjacent surfaces.
How often should sealed pavers be pressure washed?
Use low-pressure rinsing and spot cleaning as needed, while reserving full pressure washing for visible soil, organic growth, or preparation for recoating. Frequent aggressive washing can erode joint sand and shorten the life of the sealer, especially on older installations.
The Bottom Line
Pressure washing before paver sealing is the correct preparation for most dirty, stained, or organically contaminated paving, provided the operator protects the pavers and joints. Use the lowest effective pressure, treat stains with compatible chemicals, rinse thoroughly, allow complete drying, refill stable joints with compatible sand, and apply sealer within the manufacturer’s conditions. Clean and dry preparation determines whether the finished coating bonds evenly or fails early.


