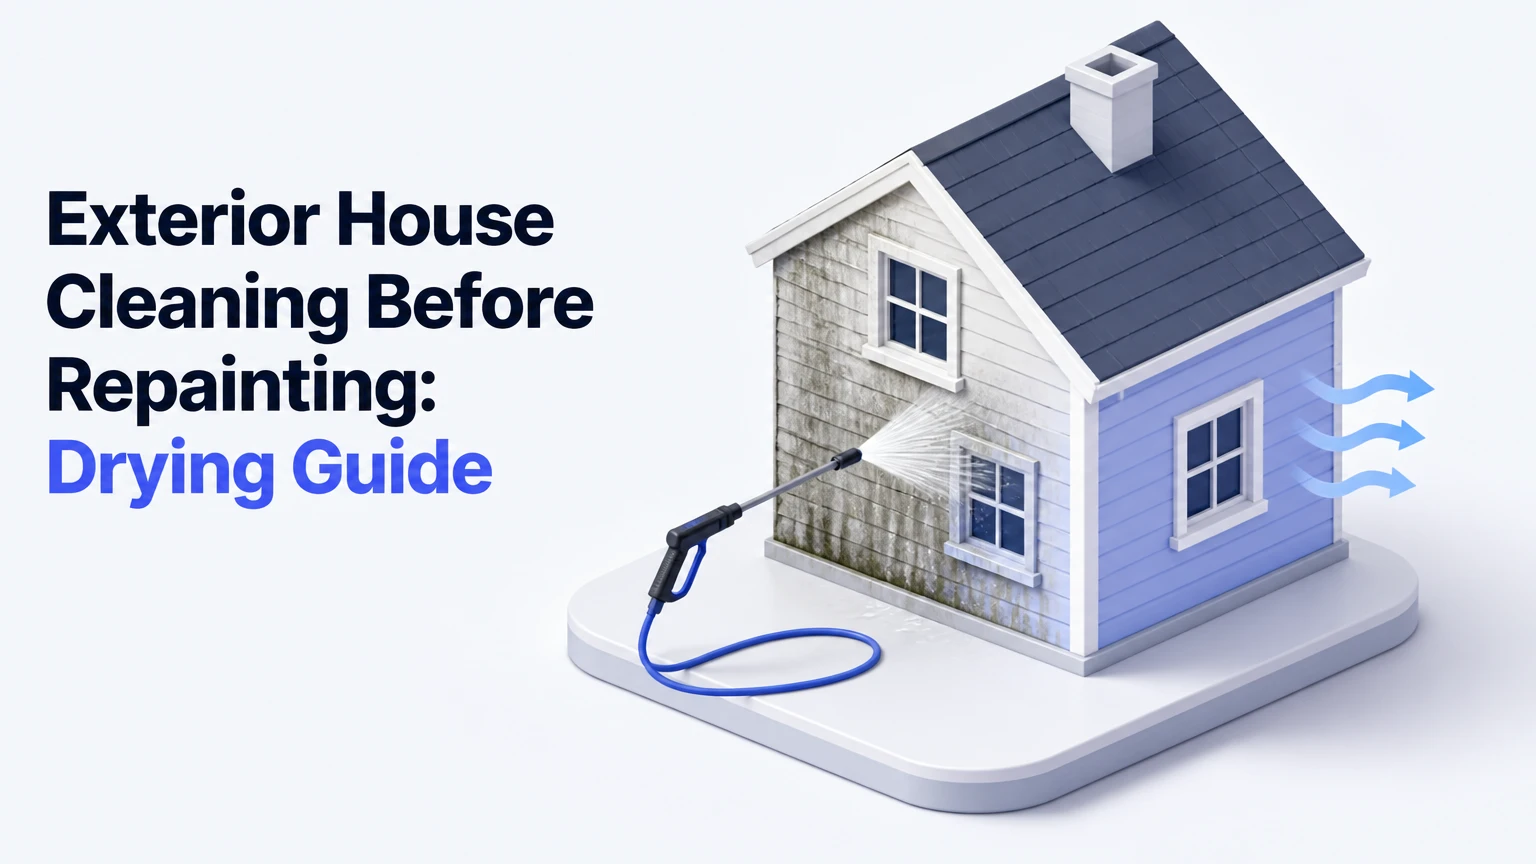
Exterior house cleaning before repainting removes dirt, chalk, mildew, algae, loose coating, and other contaminants so primer and paint can bond to a sound substrate. Clean the surface, repair defects, rinse completely, and allow the siding or masonry to reach the coating manufacturer’s moisture and weather requirements before painting.
Key Facts at a Glance
Exterior house cleaning before repainting is preparation for adhesion and defect detection, not only cosmetic house washing.
Chemical action should remove biological growth, while controlled pressure or brushing removes residue and loose material.
A pressure washer can damage wood, siding laps, window seals, stucco, and paint when the nozzle is too close.
Wood commonly needs 48-72 hours of suitable drying weather, but a coating label and moisture measurement take priority.
Paint should not cover chalk, active peeling, rotten wood, failed caulk, or damp masonry.
Typical professional washing costs range from $350-$800 for an average two-story home, excluding major repairs.
What Does Exterior House Cleaning Before Repainting Accomplish?
Exterior house cleaning before repainting removes substances that interrupt the bond between the existing substrate, primer, and finish coat. The process also exposes defects that grime can hide, including soft wood, open joints, cracked stucco, rusting fasteners, and deteriorated sealant.
Paint bonds through adhesion at the surface. A clean, stable surface gives primer direct contact with wood, fiber cement, masonry, metal, or an existing sound coating. Dust, oily residue, chalk, and organic films create weak boundary layers, so the new coating can release even when the paint itself is high quality.
Cleaning does not repair a failed substrate. Washing cannot restore rotten siding, stabilize peeling paint, close a leaking joint, or remove every tannin stain from cedar. Those conditions require scraping, replacement, sanding, priming, or caulking after the surface dries.
What Must Be Removed Before Painting?
| Contaminant | Visual or field clue | Required response | Painting consequence |
|---|---|---|---|
| Chalk | White powder transfers to a dry hand | Wash, rinse, dry, then test again | New paint bonds to loose powder |
| Mildew | Black, gray, or green organic spotting | Labeled biocidal cleaner and controlled rinse | Growth can return beneath the film |
| Oxidation | White residue on aluminum or vinyl | Mild detergent cleaning and gentle agitation | Residue can stain or reduce adhesion |
| Grease or soot | Dark, slick, concentrated deposits | Degreaser, agitation, repeated rinsing | Primer may fisheye or separate |
| Loose paint | Curling edges, chips, exposed substrate | Scrape, feather-sand, and spot-prime | New coating follows the old failure |
| Efflorescence | White crystalline deposits on masonry | Correct moisture source and dry-brush or wash | Moisture pressure can lift coatings |
A dry chalk test is useful, but it is not the only acceptance test. Run a clean hand across several elevations, inspect shaded sides for biological growth, and check joints, trim, and lower siding courses where splashback accumulates.
Why Does Cleaning Affect Paint Adhesion?
Cleaning affects paint adhesion because contaminants occupy the microscopic contact points that let primer grip the substrate. Chalking is especially deceptive: wet primer can appear to adhere while actually bonding to a weak layer of degraded, powdery paint.
Four forces can participate in cleaning:
- Chemical action breaks down organic films, grease, and some oxidation.
- Mechanical action from brushing or water impact dislodges softened residue.
- Temperature can improve detergent performance, although hot water can damage some materials.
- Dwell time lets a labeled cleaner work before it dries or gets rinsed away.
The correct balance depends on the siding. Increasing pressure is not a substitute for adequate dwell time, and stronger chemicals are not automatically better. The safest approach uses the least aggressive combination that removes the contaminant completely.
The U.S. Environmental Protection Agency’s pesticide-safety guidance summarizes a key rule as, “The label is the law.” That principle applies to registered mildew-control products, including concentration, contact time, required protective equipment, runoff restrictions, and prohibited uses.
Which Cleaning Method Fits Each Exterior Surface?
Soft washing is usually the lowest-impact choice for intact vinyl, sound fiber cement, and many stucco surfaces because detergent or biocidal chemistry performs most of the cleaning. Pressure washing is useful on durable masonry and selected sound surfaces, while hand cleaning gives the most control around fragile trim, historic details, and sensitive landscaping.
The phrase “soft wash” does not guarantee safety. A low-pressure stream can still damage caulk, drive water into openings, or harm plants when the chemical is wrong or the rinse is poorly controlled.
| Method | Typical operating approach | Suitable applications | Main limitation |
|---|---|---|---|
| Pressure washing | 1,000-3,000 PSI, wide fan, controlled distance | Concrete, brick, durable non-porous masonry | Can gouge wood and force water behind siding |
| Soft washing | Low-pressure application with labeled cleaner | Vinyl, sound fiber cement, many stucco surfaces | Chemical runoff and incomplete loose-paint removal |
| Hand scrubbing | Nylon brush, detergent, controlled rinse | Historic trim, small areas, fragile surfaces | Slow and difficult above ground level |
| Detergent rinse | Mild cleaner, brush or low-pressure rinse | Light soil, routine repaint preparation | Often insufficient for established mildew |
The pressure values above are typical working ranges, not universal safety limits. No pressure is safe when the nozzle is too close, the fan is too narrow, the substrate is deteriorated, or water is aimed behind a lap or joint.
Surface-Specific Method Selection
| Exterior material | Preferred starting method | Typical pressure guidance | Paint-preparation warning |
|---|---|---|---|
| Vinyl siding | Detergent or soft wash | 500-1,200 PSI at the surface | Keep spray downward and away from laps |
| Wood siding | Hand clean or low-pressure rinse | 500-1,200 PSI after testing | Fuzzy fibers indicate excessive impact |
| Fiber cement | Detergent and low-pressure rinse | 500-1,500 PSI after testing | Protect cut edges and avoid water intrusion |
| Stucco or EIFS | Low-pressure cleaner and gentle rinse | Often below 1,000 PSI | Cracks and damaged finish need repair first |
| Brick and concrete | Detergent or pressure wash | 1,500-3,000 PSI after testing | Mortar joints may erode under concentrated spray |
| Aluminum siding | Mild detergent and low pressure | 500-1,200 PSI | Oxidation can become streaky or powdery |
EIFS requires particular caution because water can enter through damaged sealant or cracks and remain concealed behind the finish. Historic wood, soft cedar, lead-painted surfaces, and friable masonry deserve professional assessment before mechanical washing.
How Do You Clean the Exterior Before Repainting?
The complete process commonly takes one washing day plus 24-72 hours of drying, although shade, humidity, substrate porosity, and weather can extend the interval. The factor that most determines success is not maximum pressure; it is a clean, dry, stable surface after repairs and loose-coating removal.
Before You Start
| Requirement | Typical amount or range | Practical note |
|---|---|---|
| Active washing time | 3-6 hours | Average 2,000-square-foot home |
| Drying interval | 24-72 hours | Porous materials and shade take longer |
| Professional washing | $350-$800 | Typical, before repairs |
| DIY rental and supplies | $100-$180 per day | Varies by equipment and chemicals |
| Moisture meter | $30-$100 | Readings require correct material setting |
| Safety equipment | $25-$100 | Eye protection, gloves, boots, hearing protection |
Use a ladder only when necessary, keep both feet stable, and do not use a pressure washer from an unstable ladder. A telescoping wand can reduce climbing, but it does not eliminate electrical, chemical, or falling-object hazards.
Step 1: Inspect and Test the Surface
Walk every elevation before wetting the house. Probe questionable wood with an awl, identify peeling zones, test a small hidden area with the proposed cleaner and rinse pressure, and determine whether old coatings may contain lead.
Homes built before 1978 may contain lead-based paint. The U.S. Environmental Protection Agency’s Renovation, Repair and Painting requirements can apply when paid contractors disturb lead paint in pre-1978 housing or child-occupied facilities. Washing, scraping, and sanding can spread contaminated chips or dust, so testing and compliant containment may be necessary.
Success checkpoint: The test area shows no fuzzed wood, loosened mortar, color loss, swollen trim, or water entry.
Common mistake: Starting at the highest visible dirt without first locating rotten boards and open joints.
Step 2: Remove or Protect Hazards
Close windows and doors, protect exterior outlets and light fixtures with suitable covers, and keep electrical connections dry. Move furniture, grills, toys, and decorations away from the work area.
Pre-wet nearby vegetation with clean water, protect delicate plants with breathable coverings, and plan where wash water will go. Do not allow concentrated cleaner to enter storm drains, ponds, wells, or neighboring property. Rinse foliage again after the work if the product label permits and requires it.
Success checkpoint: Water and runoff have a planned path, and every opening or electrical fixture is protected without trapping water against the wall.
Common mistake: Covering plants with an impermeable tarp in direct sun, which can create heat damage before washing begins.
Step 3: Apply Cleaner in Manageable Sections
Follow the product label for dilution, protective equipment, dwell time, and compatible surfaces. Work in sections small enough to keep the solution wet, and test bleach-free or detergent-based alternatives when mildew is light or metal fixtures and landscaping are unusually sensitive.
There is no universal safe bleach recipe for every exterior. Never mix sodium hypochlorite with acids, ammonia, toilet-bowl cleaner, or other unknown products. Household dish detergents can also create excess foam or contain ingredients unsuitable for a particular surface, so a labeled exterior cleaner is easier to control.
Apply according to the product directions. Many operators keep lower sections wet while applying cleaner to reduce streaking, but the label and the cleaner’s technical data sheet control the correct sequence.
Success checkpoint: Soil softens, organic staining changes appearance, and the cleaner remains wet for the stated contact period.
Common mistake: Allowing cleaner to dry in direct sunlight, which can leave streaks, discoloration, or concentrated residue.
Step 4: Agitate, Rinse, and Remove Loose Coating
Use a medium-soft nylon brush on stubborn mildew, chalk, and textured trim. Rinse from the cleanest upper area downward with a wide 25-degree or 40-degree fan, keeping the nozzle moving and beginning at a conservative distance.
Never use a 0-degree nozzle on painted siding, wood, stucco, or window trim. Do not aim upward beneath vinyl or wood laps, into weep holes, behind flashing, or directly at window seals. A pressure washer should remove residue and loose debris, not carve the substrate or strip sound paint across the entire wall.
Pressure washing is not a substitute for scraping. After the wall dries, remove remaining loose edges with a scraper, feather the boundary with appropriate sanding, and collect chips rather than washing them into soil.
Success checkpoint: Rinse water runs clear, no cleaner film remains, and the dry surface shows no loose edges or powder transfer.
Common mistake: Holding the wand close to the wall because a narrow jet appears to clean faster.
Step 5: Let the Structure Dry Completely
Drying time depends on material, weather, wall orientation, and water penetration. Typical minimum intervals are 24-48 hours for non-porous siding in dry weather, 48-72 hours for wood, and at least 72 hours for porous stucco or masonry, but the coating manufacturer’s data sheet takes priority.
A moisture meter can support the decision, but readings are not interchangeable between wood, masonry, and fiber cement. For wood, many coating systems specify a maximum near 15% moisture content, while some products require a lower value. Use the primer and paint specifications rather than applying a universal 12% or 15% rule.
Success checkpoint: The substrate is visibly dry, no cool damp zones remain, joints are dry, and the measured moisture level meets the selected coating’s requirement.
Common mistake: Treating one sunny afternoon as proof that porous trim and shaded wall cavities are dry.
Step 6: Complete Final Preparation
After drying, repeat the chalk test, inspect for raised fibers, sand glossy areas where the coating system requires a dull profile, and remove dust. Replace rotten boards, reset loose siding, repair masonry cracks, and recaulk compatible joints before priming.
Masking and spot priming should follow the paint system. Bare wood, stained cedar, rusted metal, repaired masonry, and glossy existing coatings may need different primers. A single universal primer can create failures when tannins, alkaline masonry, rust, or residual chalk requires specialized treatment.
Success checkpoint: The surface is clean, dry, sound, dull where required, and free from unresolved defects.
Common mistake: Priming immediately after scraping, before sanding dust and hidden moisture have been removed.
Pressure Washing, Soft Washing, or Hand Scrubbing: Which Is Best?
For most repainting projects, the best method is the least aggressive process that removes the actual contaminant without damaging the substrate. Soft washing or detergent cleaning generally suits intact siding with mildew, pressure washing suits durable masonry, and hand scrubbing suits fragile details or small controlled areas.
| Decision factor | Pressure washing | Soft washing | Hand scrubbing |
|---|---|---|---|
| Typical 2,000-square-foot labor time | 3-5 hours | 3-6 hours | 1-2 days |
| Loose-paint removal | High on accessible areas | Low to moderate | Moderate with scraping |
| Biological growth control | Moderate unless paired with cleaner | High when label-directed | Moderate, depending on cleaner |
| Wood-damage risk | High if misused | Lower, but not zero | Lowest mechanical risk |
| Runoff concern | Soil and paint chips | Chemical and biological runoff | Concentrated bucket waste |
| Best operator position | Ground or stable platform | Ground with low-pressure system | Ground or hand-accessible areas |
The table’s time ranges are typical field estimates, not guarantees. Two-story architecture, heavy peeling, intricate trim, water access, and containment requirements can change labor substantially.
What Cleaning Cannot Fix
Cleaning cannot cure active leaks, rotten wood, delaminated fiber cement, loose stucco, failed flashing, or structural movement. It also cannot guarantee removal of tannin bleed, rust staining, or efflorescence when the underlying moisture source remains active.
A counterintuitive field rule is that cleaner walls can reveal more repairs than dirty walls appear to need. Budget for replacement boards, caulk, primer, and disposal after washing, rather than treating the wash quote as the full repainting-preparation cost.
How Much Does Pre-Paint Exterior Cleaning Cost?
Typical professional exterior cleaning costs $350-$800 for a 2,000-square-foot, two-story home, while DIY equipment rental and chemical supplies commonly total $100-$180 per day. Repair labor, lead-safe containment, difficult access, heavy paint removal, and landscaping protection can exceed the washing charge.
| Project condition | Typical active time | Typical professional range | Cost driver |
|---|---|---|---|
| Light dirt on vinyl | 3-4 hours | $300-$550 | Access and local labor |
| Mildew on siding | 4-6 hours | $400-$800 | Chemical control and rinsing |
| Peeling wood exterior | 1-3 days | $800-$2,000+ | Scraping, sanding, and repairs |
| Brick or concrete cleaning | 3-6 hours | $400-$900 | Mortar condition and staining |
| Lead-paint preparation | Project-specific | $1,000+ possible | Testing and compliant containment |
Get separate line items for washing, paint removal, repairs, caulking, priming, and disposal. A contractor who combines every task into “prep” makes it harder to compare bids or identify why a coating later fails.
When Should You Avoid Washing or Hire a Professional?
Avoid DIY washing when the substrate is fragile, the home may contain lead paint, water enters the building, electrical equipment cannot be protected, or safe access requires working from a roof or unstable ladder. Professional help is also sensible when EIFS, historic wood, high masonry, or extensive rot is involved.
Stop the work if interior moisture appears, siding moves, mortar erodes, wood fibers lift, or paint chips spread beyond the containment area. A pressure washer can turn a localized repair into concealed wall damage within minutes.
Climate changes the schedule. In humid regions, shaded north-facing walls may need more than 72 hours; in cold climates, cleaning water can freeze in porous masonry; in hot, dry climates, smaller work sections prevent cleaner from drying. Coastal homes may need extra rinsing to remove salt deposits before priming.
What Problems Appear After Cleaning?
Most post-cleaning paint failures trace to moisture, unstable old paint, chemical residue, or an unresolved substrate defect. The visible symptom usually identifies which preparation stage needs correction.
| Symptom after cleaning | Likely cause | Corrective action | Do not do |
|---|---|---|---|
| Wood looks fuzzy | Excessive pressure or close nozzle distance | Let dry, sand fibers, reduce impact | Paint over raised fibers |
| White powder remains | Chalking or oxidation | Rewash, rinse, dry, retest | Assume primer will bind it |
| Mildew turns pale but remains attached | Dead growth still needs agitation | Brush gently and rinse | Increase chemical concentration blindly |
| Paint blisters later | Damp substrate or trapped vapor | Remove failed coating and correct moisture | Seal the blistered area |
| Dark streaks remain | Cleaner dried or runoff was uneven | Rewash a small section evenly | Spot-paint over stains |
| Mortar becomes sandy | Pressure or chemistry is too aggressive | Stop, assess joint condition | Continue with a narrower nozzle |
Expert rule of thumb: if a cleaned wall looks perfect while wet but shows powder, streaks, or stains after drying, judge the dry surface, not the wet appearance. Water temporarily hides chalk and changes color contrast.
How Do You Know the Exterior Is Ready for Paint?
An exterior is ready for paint when the substrate is clean, dry, sound, stable, and compatible with the selected primer and coating. The final inspection should pass the chalk, adhesion, moisture, defect, and weather checks rather than relying only on elapsed time.
Use this readiness checklist:
- No active mildew, algae, grease, detergent film, or loose debris remains.
- A dry white cloth or hand shows little to no chalk transfer.
- Peeling edges have been scraped and feather-sanded.
- Wood is firm, with no soft spots or exposed rot.
- Stucco, masonry, and fiber cement are dry and repaired.
- Caulk and patching materials have cured according to their labels.
- Moisture readings meet the primer or paint manufacturer’s limit.
- Forecast conditions meet the product’s temperature, humidity, rain, and dew requirements.
- Bare areas have the correct primer.
- Plants, windows, fixtures, and ground surfaces are free of concentrated residue.
Paint manufacturers often specify minimum and maximum application temperatures, relative-humidity limits, and a rain-free period. Those values differ by product, so the technical data sheet is more reliable than a generic “paint tomorrow” schedule.
FAQ
Can You Paint the Same Day You Wash the House?
Usually, no. Same-day painting is reasonable only when the selected coating permits it, the substrate is demonstrably dry, the weather remains suitable, and the surface is non-porous and lightly washed. Wood, stucco, masonry, shaded walls, joints, and trim commonly retain moisture after the visible surface appears dry.
Is Bleach Necessary for Exterior Repainting Preparation?
Bleach is not necessary for every exterior. Mild dirt may respond to detergent and brushing, while established mildew often needs a labeled biocidal cleaner. Product compatibility, runoff control, dwell time, and rinsing matter more than using the strongest available solution.
Should You Scrape or Pressure Wash Peeling Paint?
Scrape peeling paint after cleaning and drying, then feather-sand the remaining edge. Pressure washing may remove loose flakes, but it cannot reliably distinguish failing paint from sound paint and can damage wood, siding, trim, and window seals.
How Long After Rain Can You Wash Before Painting?
Wait until the surface and hidden joints are dry, not merely until rain stops. A light rain may require 24 hours in warm, sunny conditions, while porous siding, shaded elevations, or repeated storms can require 48-72 hours or longer. Moisture readings and the coating label determine readiness.
Does Exterior Cleaning Remove Tannin Bleed?
Exterior cleaning may remove surface dirt but does not solve tannin bleed from cedar, redwood, or water-damaged wood. Dry the substrate, correct water entry, and use a stain-blocking primer designed for extractive bleed before applying the finish coat.
Should a Professional Use a Pressure Washer Before Painting?
A professional may use pressure washing when the surface and technique justify it, but a soft wash, brush cleaning, or controlled low-pressure rinse can be safer for many homes. Ask about test patches, chemical labels, runoff protection, drying verification, lead-paint procedures, and repair scope before hiring.
Conclusion
Exterior house cleaning before repainting succeeds when cleaning is treated as a surface-readiness process rather than a fast cosmetic wash. Match the method to the material, remove loose coating, repair defects, rinse away residue, verify dryness, and follow the selected primer and paint data sheets before applying the first coat.


