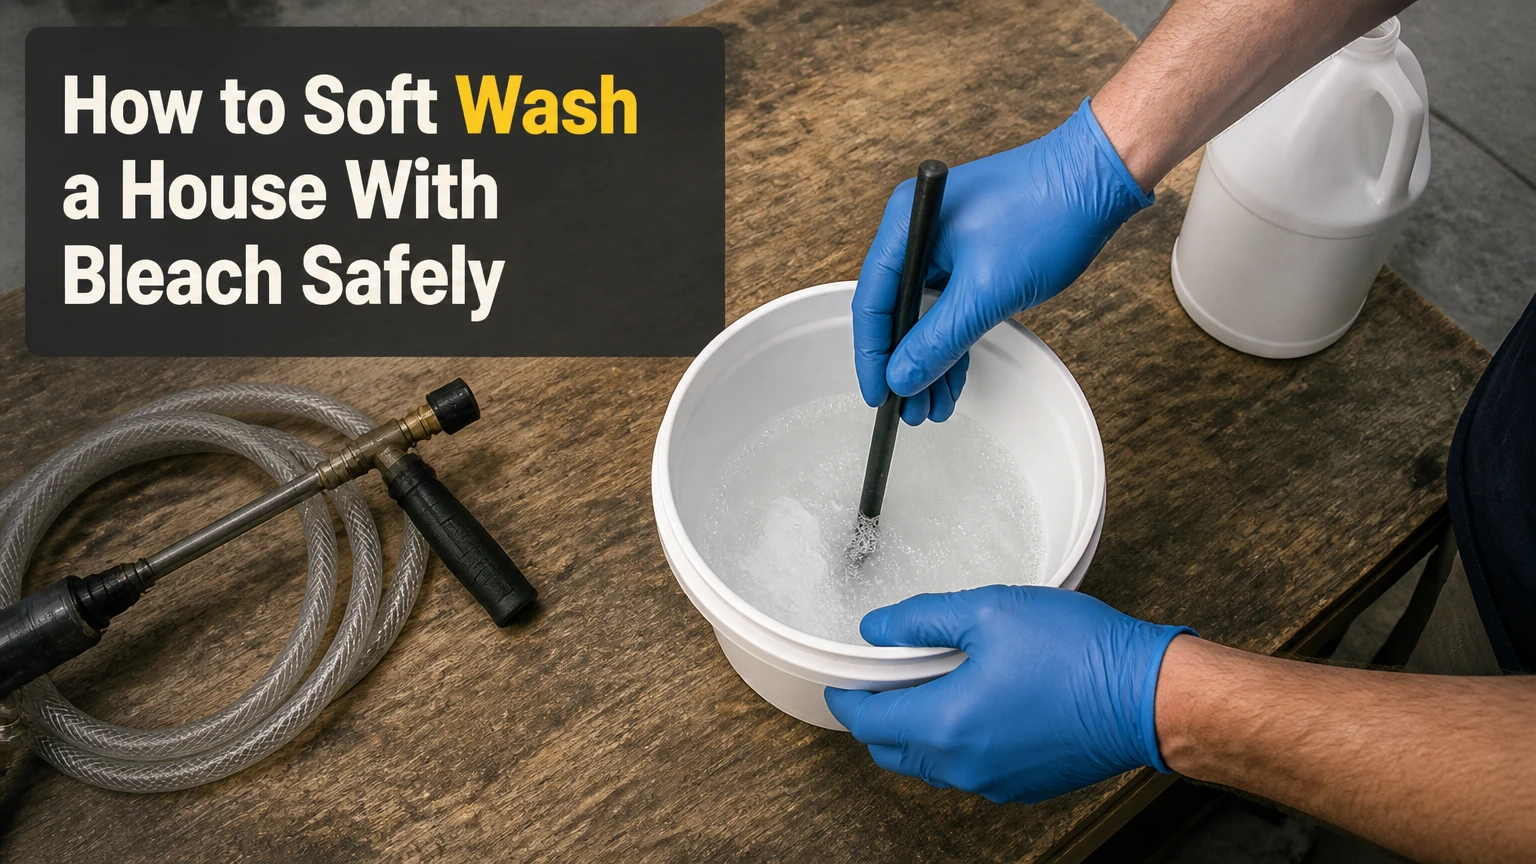
How to soft wash a house with bleach: apply a diluted sodium hypochlorite solution at low pressure, allow controlled dwell time, and rinse thoroughly without letting the surface dry. The safest results depend on the final bleach strength, siding material, plant protection, weather, and chemical handling, not on maximum spraying pressure.
Key Facts at a Glance
- Soft washing uses sodium hypochlorite and low-pressure rinsing to remove algae, mildew, mold, and other organic growth.
- A typical final concentration for moderately dirty siding is 0.5%-1% available sodium hypochlorite at the surface.
- Never mix bleach with ammonia, acids, vinegar, toilet cleaner, or other cleaning chemicals because toxic gases can form.
- Pre-wet plants before application and rinse them with clean water during and after the wash.
- Apply from the bottom upward, keep the surface wet during dwell, and rinse from the top downward.
- A typical DIY house wash takes 2-4 hours and costs about $50-$150 before equipment purchases.
What Does Soft Washing With Bleach Do?
Soft washing uses chemistry to kill and loosen biological contamination, while low-pressure water removes the residue. Sodium hypochlorite oxidizes organic pigments and damages the cellular structure of algae, mildew, mold, and some lichen; surfactant helps the solution remain on vertical siding long enough to work.
Pressure is still useful, but mainly for delivery and rinsing. A garden-hose-like stream or dedicated soft-wash pump is usually safer than a concentrated pressure-washer jet, particularly around window seals, painted surfaces, vinyl laps, soffits, and exterior electrical fixtures.
Why choose low pressure over pressure washing?
Low pressure reduces the risk of forcing water behind siding, removing paint, cutting soft wood, or damaging mortar. Pressure-washing machines can produce 1,500-4,000 PSI, whereas soft-wash application and rinsing commonly use substantially less pressure, often near garden-hose levels.
The correct pressure depends on the nozzle, distance, flow rate, and surface. A machine rated at 2,000 PSI does not automatically apply 2,000 PSI at the wall, but a narrow nozzle held close can still cause damage.
| Cleaning method | Typical pressure range | Primary cleaning action | Main risk |
|---|---|---|---|
| Garden hose rinse | 40-80 PSI | Water flow | Limited reach and rinsing power |
| Soft-wash pump | 60-150 PSI | Chemical action and flow | Chemical overspray |
| Low-pressure washer rinse | 100-300 PSI | Flow plus loosened soil removal | Water intrusion |
| Residential pressure washing | 1,500-2,500 PSI | Mechanical impact | Paint, siding, and seal damage |
| Commercial pressure washing | 2,500-4,000 PSI | High mechanical impact | Surface gouging and forced moisture |
Before You Start: What Do You Need?
A basic house wash requires a chemical-resistant sprayer, sodium hypochlorite, clean water, compatible surfactant, protective equipment, a garden hose, and a way to control overspray. A pressure washer is optional for the chemical application, although it can make final rinsing faster when used with a wide fan nozzle from a safe distance.
Before-you-start checklist
| Item | Typical quantity or specification | Purpose |
|---|---|---|
| Sodium hypochlorite | 0.5-2 gallons of 10%-12.5% stock | Active cleaning agent |
| Clean water | 3-10 gallons per batch | Dilution and rinsing |
| Bleach-stable surfactant | 1-4 fluid ounces per 5 gallons | Surface cling |
| Chemical sprayer | 1-5 GPM, chemical-rated | Controlled application |
| Nitrile or neoprene gloves | Chemical-resistant pair | Hand protection |
| Splash goggles | ANSI-rated eye protection | Eye protection |
| Hose and wide-fan nozzle | 25-50 feet typical | Final rinse |
| Plastic sheeting and tape | As needed | Protect outlets and delicate items |
Wear splash goggles, chemical-resistant gloves, long sleeves, long pants, and waterproof footwear. A respirator is not a substitute for ventilation or correct chemical handling; use only respiratory protection selected under an appropriate workplace program, and avoid creating airborne mist.
Do not work from an unsecured ladder while holding a chemical sprayer. Use an extension wand from the ground, postpone the job in high wind, and stop if chemical odor becomes strong or breathing feels irritated.
How Strong Should the Solution Be?
A typical final concentration for ordinary vinyl, painted fiber-cement, and many masonry house-washing jobs is 0.5%-1% available sodium hypochlorite on the surface. Heavier biological staining may require a stronger professional application, but increasing concentration also increases plant, finish, corrosion, and runoff risk.
The concentration printed on a bleach container is the stock strength, not the strength reaching the wall. A 10% sodium hypochlorite product diluted with equal parts water produces approximately 5% before accounting for equipment draw, and a downstream injector can dilute it much further.
Use this calculation:
Final strength = stock strength × stock volume ÷ total solution volume
| Desired final strength | Stock product | Stock amount | Water amount | Total batch |
|---|---|---|---|---|
| 0.5% | 10% sodium hypochlorite | 0.25 gallon | 4.75 gallons | 5 gallons |
| 1.0% | 10% sodium hypochlorite | 0.50 gallon | 4.50 gallons | 5 gallons |
| 1.5% | 10% sodium hypochlorite | 0.75 gallon | 4.25 gallons | 5 gallons |
| 1.0% | 12.5% sodium hypochlorite | 0.40 gallon | 4.60 gallons | 5 gallons |
These are batch-mixing examples, not universal prescriptions. Pump draw ratios, product age, temperature, surface type, and organic load change the effective result. Start with the weakest practical mix, test a hidden area, and allow the surface to show a result before increasing strength.
Which bleach product should you use?
Use an unscented, non-thickened sodium hypochlorite product intended for cleaning, pool treatment, or commercial sanitation. Read the label and safety data sheet because available chlorine declines during storage, especially in heat and sunlight.
Household laundry bleach is not automatically unusable, but many products contain fragrances, thickeners, detergents, or lower available-chlorine levels. A 5%-9% product can work with correct dilution, while a 3% product may require more volume and can produce less predictable results.
Never combine sodium hypochlorite with acids, vinegar, ammonia, toilet-bowl cleaner, rust remover, hydrogen peroxide, or other chemicals. The Centers for Disease Control and Prevention specifically warns against mixing bleach with other cleaners because dangerous vapors can result.
How Do You Mix Sodium Hypochlorite Safely?
Mix the batch outdoors in a labeled chemical-resistant container, adding sodium hypochlorite to water slowly rather than pouring water into concentrated chemical. Measure with dedicated equipment, keep children and pets away, and use the solution promptly instead of storing a diluted batch.
- Place the container on stable ground away from drains and plants.
- Add the measured clean water.
- Add the measured sodium hypochlorite slowly.
- Add a bleach-compatible surfactant last.
- Stir gently with a chemical-resistant tool, or roll the container carefully.
- Label the container with contents and date.
- Keep the lid loose during initial handling if the product label requires it, and never seal a container that could build pressure.
Use only a small amount of surfactant. Excess foam does not equal better cleaning and can increase runoff, obscure the surface, or complicate rinsing. A bleach-stable exterior-cleaning surfactant is preferable to improvised laundry detergent because compatibility and fragrance additives vary.
Step 1: Prepare the House and Work Area
Remove vehicles, toys, cushions, patio furniture, flags, decorations, and portable electronics from the splash zone. Close windows and doors, turn off outdoor fans, protect exterior outlets with suitable covers, and disconnect equipment that cannot tolerate water or chemical contact.
Inspect the wall before spraying. Note cracked caulk, loose siding, open soffits, damaged paint, exposed wood, corroded fixtures, failing window seals, and plants touching the wall. Chemical washing cannot repair those defects, and spraying over them can move water into the structure.
How do you protect landscaping?
Pre-wet every plant, shrub, lawn area, and flower bed near the work zone with clean water. Move pots when possible, tie back branches, and cover delicate plants temporarily with breathable material rather than trapping heat beneath plastic for extended periods.
Plant protection is a process, not a single spray. Keep the nozzle aimed at the wall, use the lowest effective concentration, rinse leaves whenever overspray occurs, and irrigate the ground after the wash. Do not allow concentrated solution to pool in beds or flow toward storm drains.
You will know the area is ready when windows are closed, fixtures are protected, plants are saturated, and no movable item remains in the runoff path. The common mistake is beginning chemical application before identifying where runoff will travel.
Step 2: Test the Surface and Set the Spray
Apply the weakest practical solution to an inconspicuous section, such as a low corner behind a shrub. Wait through the intended dwell period, rinse completely, and inspect for color change, streaking, chalking, softened paint, metal discoloration, or damage to caulk.
Use a wide fan pattern and keep the nozzle moving. Start several feet from the wall, then adjust distance only as needed to obtain coverage. Avoid zero-degree tips, turbo nozzles, concentrated jets, and direct spraying into siding seams, vents, window seals, soffit openings, and door hardware.
Which surfaces can receive a bleach solution?
Vinyl siding and sound painted fiber-cement generally tolerate a properly diluted soft-wash solution, while aged wood, oxidized paint, natural stone, copper, aluminum, and historic masonry require more caution. The manufacturer’s care instructions take priority over a generic house-washing ratio.
| Surface | Starting approach | Main concern | Recommended decision |
|---|---|---|---|
| Vinyl siding | 0.5%-1% final SH, low-pressure rinse | Water behind laps, oxidation streaks | DIY only after test patch |
| Fiber cement | 0.5%-1% final SH, gentle rinse | Paint loss at damaged areas | Inspect coating first |
| Painted wood | 0.3%-0.5% test mix | Grain raising and paint failure | Professional preferred if aged |
| Stucco | 0.5%-1% test mix, broad spray | Cracks and water absorption | Repair defects first |
| Brick and mortar | 0.5%-1% test mix | Weak mortar and efflorescence | Avoid aggressive rinsing |
| Aluminum siding | Weak test mix, short dwell | Oxidation and chalking | Stop if white residue appears |
| Copper or bronze | Prevent contact | Darkening and corrosion | Shield completely |
| Natural stone | Manufacturer-approved cleaner | Etching and color change | Test and verify first |
Bleach is poor at removing rust, hard-water scale, efflorescence, and many oil-based stains. Sodium hypochlorite can oxidize iron staining and make orange or brown marks more noticeable, so use a compatible specialty cleaner only after the bleach has been fully rinsed and never combine the products.
Step 3: Apply the Soft-Wash Solution
Apply the solution from the bottom of the wall upward in controlled sections. Bottom-up application reduces uneven drying and visible drip lines because lower areas receive solution before contaminated runoff reaches them.
Work in shaded sections of roughly 100-300 square feet. Keep the surface visibly wet for approximately 5-10 minutes, watching continuously for drying; hot sun, wind, porous masonry, and dark finishes shorten the safe dwell period.
Do not treat dwell time as a fixed timer. The solution should loosen or fade organic growth without drying, whitening the finish, or running heavily into landscaping. Apply a light second coat if necessary rather than jumping immediately to a much stronger batch.
You will know the chemistry is working when green or gray biological staining lightens, surface growth releases, and only a gentle rinse is needed. The common mistake is spraying a large sunny wall at once and allowing the first section to dry while the operator continues.
Step 4: Rinse the House and Landscape
Rinse from the top of the house downward with clean water, using a wide fan and moderate flow rather than a concentrated pressure jet. Flush windows, frames, siding laps, gutters, downspouts, trim, plants, walkways, and any surface that received overspray.
Rinse until there is no slippery residue, foam, odor, or visible chemical runoff. Open and inspect outdoor outlets only after the area is fully rinsed and dry, and keep water away from attic vents and openings throughout the process.
Follow with a second clean-water rinse of nearby vegetation and soil. The United States Environmental Protection Agency’s guidance for pesticide and chemical handling emphasizes following the product label, preventing runoff, and protecting people, pets, and the environment; sodium hypochlorite products may also carry local disposal restrictions.
You will know the rinse is complete when water runs clear, the siding feels clean rather than slick, and plants show no chemical residue. The common mistake is rinsing only the visible front wall while leaving concentrated solution on gutters, window ledges, or landscaping.
Which Application System Should You Use?
A garden sprayer can handle small test areas, while a downstream injector, X-Jet, or dedicated 12-volt diaphragm pump suits larger homes. The best choice depends on required reach, chemical strength, hose length, budget, and whether the equipment will be exposed to sodium hypochlorite repeatedly.
| System | Typical chemical delivery | Typical cost | Best fit | Limitation |
|---|---|---|---|---|
| Pump-up garden sprayer | Near-batch strength | $20-$60 | Small test areas | Short reach and manual pumping |
| Downstream injector | Often 1:4-1:10 draw | $40-$150 | Existing pressure washer | Lower wall concentration |
| X-Jet-style nozzle | Often 1:3-1:6 draw | $100-$250 | Ground-level reach | Carrying a chemical bucket |
| 12-volt diaphragm pump | Batch strength through hose | $400-$1,500 | Frequent large-house work | Chemical-resistant maintenance |
| Professional soft-wash skid | Metered, high-volume delivery | $2,000-$8,000+ | Commercial operators | Cost, training, and liability |
A downstream injector is convenient but may not deliver enough active chemical through a long hose or restrictive nozzle. A dedicated diaphragm pump provides better control, yet it also increases the consequences of an incorrect mix, overspray, or hose failure.
What Is the Difference Between Soft Washing and Pressure Washing?
Soft washing is the better method for organic staining on vulnerable exterior surfaces because chemistry performs most of the cleaning. Pressure washing is better for certain hard, non-painted surfaces where mechanical removal is appropriate, such as heavily soiled concrete, but high pressure is a poor substitute for biological treatment on siding.
| Decision factor | Soft washing | Pressure washing |
|---|---|---|
| Primary action | Sodium hypochlorite and surfactant | Water impact |
| Typical siding pressure | 60-300 PSI | 1,500-2,500 PSI |
| Organic growth | Kills and removes growth | Often removes surface only |
| Painted wood | Lower mechanical risk | High stripping risk |
| Concrete cleaning | Usually slower alone | Efficient with surface cleaner |
| Water intrusion risk | Lower when controlled | Higher at seams and openings |
| Equipment cost | $20-$1,500 typical | $150-$3,000 typical |
Soft washing is not a universal disinfecting or remediation method. Extensive indoor mold, contaminated insulation, structural moisture, lead paint, asbestos-containing materials, and roof damage require specialist assessment rather than exterior spraying.
How Long Does House Washing Take and Cost?
A typical DIY wash of a 1,500-2,500-square-foot single-story or modest two-story home takes 2-4 hours, including preparation and rinsing. Typical chemical, PPE, and small-supply costs total $50-$150, while a professional service commonly costs $300-$800, depending on access, region, surface area, and landscaping.
| Job variable | Typical range | Effect on project |
|---|---|---|
| Small single-story home | 1.5-3 hours | Fewer setup and ladder concerns |
| Two-story home | 3-6 hours | More hose reach and access planning |
| DIY consumables | $50-$150 | Excludes pump or washer |
| Dedicated pump setup | $400-$1,500 | Better reach and consistency |
| Professional house wash | $300-$800 | Includes labor and liability |
| Difficult access or heavy growth | Add 25%-75% | More dwell, rinsing, and protection |
A professional quote should identify the siding type, chemical process, plant-protection method, runoff controls, insurance coverage, and whether windows, gutters, decks, or concrete are included. The lowest price can conceal inadequate rinsing or excessive chemical strength.
Common Mistakes and How Do You Fix Them?
Most failed bleach house washes result from incorrect concentration, drying, poor rinsing, or uncontrolled overspray rather than insufficient pressure. Fixing the process requires identifying the visible symptom before applying more chemical.
- Green staining remains: The mix may be too weak, the dwell time too short, or the growth may be embedded in porous masonry. Re-rinse, inspect the test area, and repeat with a modestly stronger approved mix rather than doubling the concentration.
- Bleach runs off immediately: The wall may be too wet, the surfactant may be incompatible, or the application volume may be excessive. Use a small amount of bleach-stable surfactant and spray a lighter coat.
- White or chalky streaks appear: Oxidized paint or aluminum siding may be releasing residue. Stop chemical application, rinse thoroughly, and do not escalate strength.
- Brown or orange stains darken: The mark is probably rust or iron, which sodium hypochlorite does not remove reliably. Use a separately rinsed, surface-compatible rust treatment.
- Plants wilt or yellow: Flush leaves and soil with abundant clean water immediately. Severe injury may occur when concentrated solution contacts foliage or remains in the root zone.
- Water appears behind siding: Stop spraying seams and openings, allow the wall to dry, and inspect the interior for moisture. Never use a narrow high-pressure nozzle to compensate.
An important practitioner rule is to fix coverage and dwell before increasing chemical strength. More bleach cannot correct a dry surface, blocked nozzle, poor spray pattern, or stain that is not biological.
When Should You Hire a Professional?
Hire a professional when the house has fragile or historic finishes, extensive landscaping, high elevations, unknown coatings, visible water damage, or staining that may involve rust, efflorescence, or lead paint. Professional work is also preferable when the operator lacks chemical-resistant equipment, safe ground-level reach, or a reliable way to control runoff.
A qualified contractor should explain the final concentration range, test procedure, plant protection, rinse plan, chemical storage, and insurance. Ask whether the company uses sodium hypochlorite on your specific siding and how it protects copper, aluminum, windows, and delicate vegetation.
DIY soft washing is reasonable for a sound, accessible vinyl-sided home when weather is calm and the operator can keep people, pets, plants, and incompatible chemicals away. It is not a good first project on a steep two-story façade with failing paint and shrubs touching every wall.
FAQ
Will bleach damage vinyl siding?
Properly diluted sodium hypochlorite usually cleans sound vinyl siding without damage when applied at low pressure, kept wet, and rinsed completely. Strong solutions, hot surfaces, prolonged dwell, repeated treatment, and aggressive spraying can worsen oxidation, discoloration, or water intrusion behind siding laps.
Can I use a pressure washer to apply bleach?
A pressure washer can apply or rinse a soft-wash solution when fitted with chemical-compatible equipment and a suitable low-pressure nozzle. Do not send concentrated bleach through components that the manufacturer does not approve, and never use high pressure against siding, windows, soffits, or painted trim.
How much bleach do I need for one house?
A typical 1,500-2,500-square-foot home may use 3-10 gallons of mixed solution, depending on siding profile, height, porosity, and application efficiency. Measure the final batch instead of estimating by house size alone, and mix only what can be used during the current job.
Does soft washing remove black mold?
Soft washing can remove many exterior organic stains, including mildew, algae, and some mold growth on siding and masonry. It does not correct the moisture source, remove concealed indoor mold, or guarantee permanent prevention; shade, humidity, leaking gutters, and poor drainage can cause regrowth.
Can I soft wash in direct sunlight?
Direct sunlight increases evaporation and drying risk, especially on dark siding, south-facing walls, hot stucco, and windy corners. Work in shaded sections, reduce the dwell area, keep the surface wet, and postpone the job when weather prevents controlled application and rinsing.
What can I use instead of chlorine bleach?
Oxygen-based cleaners, alkaline detergents, manufacturer-approved siding cleaners, and specialty masonry products can suit selected surfaces, but they do not always kill or remove algae as quickly as sodium hypochlorite. Choose an alternative when the surface manufacturer prohibits chlorine or when metal, plants, or historic finishes create excessive risk.
The Bottom Line
How to soft wash a house with bleach safely comes down to controlled chemistry and controlled water: identify the surface, begin with a 0.5%-1% final sodium hypochlorite mix for typical siding, protect and rinse landscaping, apply from bottom to top, prevent drying, and rinse from top to bottom. Stop when the surface or surrounding property shows risk, and hire a professional for fragile finishes, difficult access, or unknown contamination.


