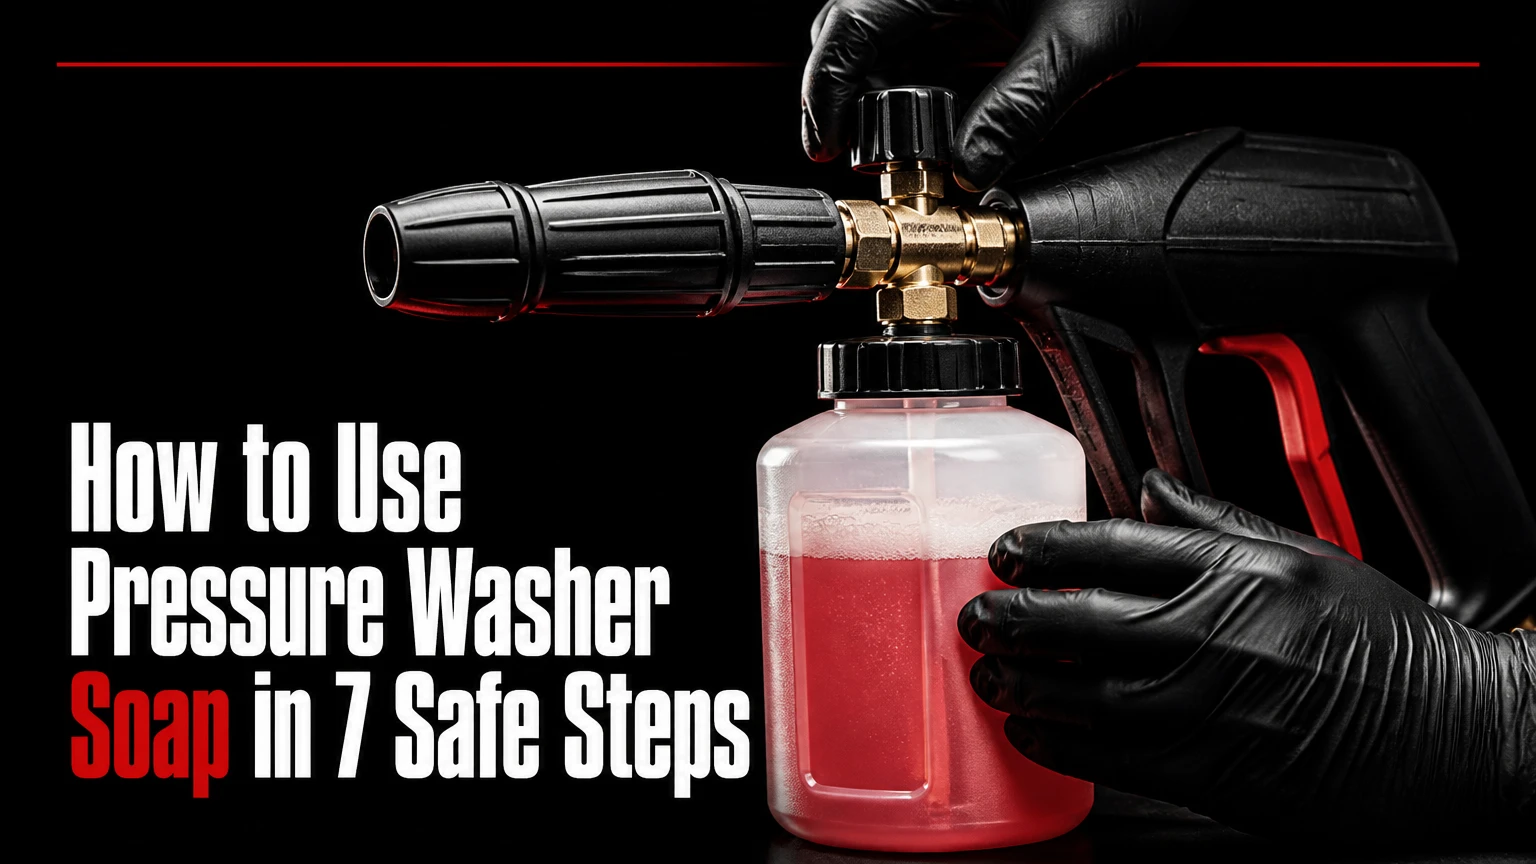
Pressure washer soap is applied by diluting a compatible detergent, feeding it through a low-pressure injector or foam cannon, allowing it to dwell without drying, and rinsing with clean water. The complete process usually takes 15-45 minutes, and the most important success factor is matching the chemical and application method to the surface.
Key Facts at a Glance
- Pressure washer detergent loosens soil so mechanical pressure does not do all the cleaning.
- Most onboard injectors draw detergent only in low-pressure mode, but nozzle color is not universal across brands.
- Follow the product label first; a typical concentrate range is 1:10 to 1:20 before application.
- Keep detergent wet for about 3-5 minutes and never allow it to dry on glass, paint, siding, concrete, or wood.
- Apply detergent from the bottom upward, then rinse from the top downward.
- Use pH-neutral vehicle shampoo for automotive paint and a surface-rated alkaline cleaner for many concrete jobs.
Before You Start
A typical homeowner needs 15-30 minutes for a vehicle, 30-60 minutes for a driveway, and 1-2 hours for a small house exterior. Difficulty is low, but chemical selection and runoff control matter more than maximum PSI.
Prepare the pressure washer, garden hose, spray gun, low-pressure detergent nozzle or foam cannon, compatible detergent, measuring container, eye protection, gloves, and clean water. A five-gallon bucket is useful for mixing, but never use a sealed container or an unmarked bottle for chemical storage.
Safety and surface checks
Remove furniture, toys, vehicles, loose gravel, and decorative objects from the work area. Close windows and doors, protect exterior outlets with weather-resistant covers, and keep the spray away from light fixtures, door seals, vents, and damaged caulk.
Pre-wet plants, grass, and adjacent masonry with clean water. The water dilutes incidental overspray before detergent reaches leaf surfaces. Collect or redirect concentrated runoff where local stormwater rules require it, especially when removing oil, paint, algae, or strong alkaline chemicals.
Test the detergent and pressure on an inconspicuous area. Painted wood, old vinyl, soft stone, aluminum, and weathered concrete can discolor or become etched even when the detergent is labeled for outdoor use.
What Does Pressure Washer Soap Do?
Pressure washer soap contains surfactants that reduce water surface tension, allowing water and detergent to spread across soil. Detergent molecules surround oily particles and suspend loosened contamination so rinsing water can carry it away.
Pressure does the final removal, not the entire cleaning job. A suitable chemical can reduce the pressure, spray time, and number of passes required, which lowers the risk of forcing water behind siding or damaging a vehicle’s clear coat.
“Soap” and “detergent” are often used interchangeably on retail labels. Traditional soap is made from fats or oils and can form insoluble scum in hard water, while synthetic detergent generally performs more consistently in mineral-rich water.
Why dwell time matters
Dwell time gives surfactants and builders time to penetrate and loosen contamination. The correct interval is usually 3-5 minutes, although shade, temperature, soil type, and the manufacturer’s label can shorten or lengthen that range.
Detergent should remain visibly wet. If a section begins drying, apply a light second coat or rinse immediately. Reapplying soap is safer than increasing pressure against a partially dried chemical film.
How to Use Pressure Washer Soap
Use pressure washer soap in seven stages: prepare the area, select and dilute the detergent, connect the detergent system, apply a controlled coat, allow safe dwell time, rinse thoroughly, and flush the equipment. Work in small sections so no area dries before rinsing.
Step 1: Choose and dilute the detergent
Select a product labeled for the surface and for pressure-washer use. Use pH-neutral vehicle shampoo on automotive paint, an exterior detergent for siding, a wood-safe cleaner for decks, and a masonry or concrete detergent for mineral and traffic soil.
Read the product label before adding water. A typical starting dilution for a concentrate is 1 part product to 10-20 parts water, but some downstream products require different ratios because the injector adds additional water before the solution reaches the surface.
For example, 100 milliliters of concentrate plus 1 liter of water creates approximately a 1:10 pre-dilution. Do not assume that a thicker mixture cleans better; excessive concentration can leave residue, damage finishes, and increase runoff treatment requirements.
Success checkpoint: The container identifies the surface, dilution, protective equipment, and application method.
Common mistake: Pouring undiluted concentrate into an onboard tank without checking whether the manufacturer specifies a premix.
Step 2: Connect the detergent system
Turn off the pressure washer before connecting accessories. Insert the siphon tube into the detergent tank or premixed solution, and make sure the tube’s filter remains submerged and free of dried chemical.
For an onboard injector, install the machine’s low-pressure detergent nozzle or select the detergent setting specified in the manual. For a foam cannon, connect the cannon to the spray gun, fill its bottle with the labeled mixture, and adjust the metering knob only after water begins flowing.
Nozzle colors are common conventions, not a universal standard. Many consumer machines use a black, wide-angle tip for detergent, while some models use a proprietary attachment or a separate low-pressure valve.
Success checkpoint: Water flows freely, the tube has no air leak, and the detergent begins moving through the clear siphon line.
Common mistake: Using a narrow high-pressure tip with an onboard injector. High back pressure commonly prevents siphoning.
Step 3: Rinse loose soil and cool the surface
Use clean water to remove loose grit and cool the work area before applying chemical. Hold the wand 12-24 inches from most exterior surfaces, then adjust distance after a test pass.
A pre-rinse is especially important on vehicles because loose sand and road grit can become abrasive during hand contact. On concrete, remove leaves and stones that could interfere with surface-cleaner passes.
Work in shade whenever possible. Direct sun, hot siding, and warm vehicle panels can reduce dwell time below one minute, causing detergent to dry before it performs its intended cleaning action.
Success checkpoint: Loose debris is gone, and the surface feels cool or remains wet between passes.
Common mistake: Beginning with detergent on a hot, dusty panel and then trying to rescue dried streaks with higher pressure.
Step 4: Apply detergent from the bottom upward
Start at the lowest practical section and spray upward in overlapping horizontal or sweeping passes. The low-pressure stream should coat the surface evenly rather than blast one narrow point.
Bottom-up application prevents dirty detergent from running across untouched dry areas and creating visible tracks. Divide a wall, vehicle side, or driveway into sections small enough to rinse within the product’s dwell window.
Keep the wand moving. A 25-40 degree spray pattern and a distance of roughly 12-24 inches are common starting points, but the detergent nozzle or foam cannon determines the actual pattern and pressure.
Success checkpoint: The section has a continuous wet film with no dry stripes or heavy puddles.
Common mistake: Applying from the top downward on a dusty surface, which creates clean vertical channels through otherwise dirty runoff.
Step 5: Let the detergent dwell without drying
Allow the detergent to remain wet for approximately 3-5 minutes, or follow the product label when it specifies another interval. Agitation with a soft brush may improve results on stubborn soil, but the brush must be clean and surface-appropriate.
Monitor the section continuously in warm, windy, or sunny conditions. The correct response to drying is more water or an immediate rinse, not stronger concentration or closer spray distance.
Avoid exceeding the labeled dwell time. Acidic brighteners, alkaline degreasers, and oxidizing cleaners can etch, discolor, or dull surfaces when left in place too long.
Success checkpoint: Soil looks softened or begins to run, while the detergent film remains wet.
Common mistake: Soaping the entire house before rinsing the first wall. The first section may dry while the operator is still applying the last one.
Step 6: Rinse from the top downward
Switch to the manufacturer-recommended rinse nozzle and rinse from the highest cleanable point downward. A 25-degree tip is a common general-purpose choice, while a 40-degree tip provides a wider, gentler pattern for vehicles, painted surfaces, and delicate siding.
Keep the wand moving and overlap each rinse pass. Maintain enough distance to avoid forcing water beneath siding laps, window seals, trim joints, and door hardware.
Rinse until no foam, slippery film, or dirty runoff remains. Windows and trim often need a final low-pressure rinse because detergent can collect beneath edges and dry as a white residue.
Success checkpoint: Water sheets or runs clear, and no slippery film remains when the surface is lightly touched with a gloved hand.
Common mistake: Rinsing too close to paint, mortar, wood grain, or vinyl seams because the first pass appears ineffective.
Step 7: Flush the detergent system
Remove the siphon tube from the chemical container and place it in clean water. Run the pressure washer on the detergent setting for 1-2 minutes, then follow the machine manual for shutdown and pressure release.
Rinse the foam cannon bottle, pickup tube, filter, nozzle, and fittings. Dried detergent can block a small injector filter, restrict flow, and create apparent pump or hose problems during the next use.
Store concentrates upright in their original labeled containers, away from heat, children, pets, and incompatible chemicals. Never combine cleaners unless the label expressly permits the combination.
Success checkpoint: Clear water exits the detergent path, and the pickup filter is visibly clean.
Common mistake: Leaving alkaline or oxidizing detergent in the tube overnight.
Which Application Method Is Better?
A foam cannon is usually better for controlled vehicle washing and chemical isolation, while an onboard tank is faster and cheaper for routine siding or driveway work. Neither method guarantees thick foam, because water flow, injector design, dilution, and detergent formulation determine the result.
| Feature | Onboard tank | Downstream siphon tube | Foam cannon |
|---|---|---|---|
| Typical purchase cost | Included with many machines | $15-$60 | $20-$100+ |
| Chemical entry point | Before or near pump, model-dependent | After pump | After pump |
| Foam texture | Light to watery | Light to medium | Medium to thick |
| Typical detergent control | Low to medium | Low to medium | Medium to high |
| Best use | Siding, patios, general cleaning | Contractors and retrofit machines | Cars, boats, spot cleaning |
| Main limitation | Chemical compatibility and weak foam | Injector needs correct flow | Uses more solution |
Upstream versus downstream injection
Upstream injection introduces chemical before the pump or within the machine’s internal water path. Use only chemicals explicitly approved by the equipment manufacturer, because harsh solvents, acids, oxidizers, and concentrated alkalis can attack seals, valves, brass, and coatings.
Downstream injection introduces chemical after the pump through a siphon injector. This usually reduces chemical contact with pump components, but the injector still requires the correct water flow and low-pressure condition.
A foam cannon is also a downstream applicator, although its bottle and metering valve mix detergent with pressurized water and air at the wand. It does not make unsuitable chemicals safe for paint, skin, plants, or drains.
Which Detergent Should You Use?
The correct detergent depends on the contaminant and the surface, not on the machine’s maximum PSI. Neutral vehicle shampoo preserves wax and clear-coat compatibility, while alkaline cleaners generally remove greasy organic soil more effectively from durable masonry.
| Surface or soil | Suitable chemistry | Typical pH range | Starting method | Avoid |
|---|---|---|---|---|
| Vehicle paint | pH-neutral car shampoo | 6-8 | Foam cannon, then hand wash | Strong degreaser, stiff brush |
| Vinyl siding | Exterior multi-surface detergent | 7-11 | Low-pressure siphon | High pressure at seams |
| Concrete oil film | Alkaline degreaser | 9-12 | Pre-treat, dwell, rinse | Acid on unknown sealers |
| Rust or mineral scale | Labeled acidic cleaner | 1-6 | Small test patch | Mixing with bleach |
| Wood deck | Wood-safe oxygenated cleaner | Label-specific | Low pressure, soft brush | Concentrated chlorine, close spray |
| Aluminum | Aluminum-rated cleaner | Product-specific | Short dwell, immediate rinse | Unapproved strong alkali |
Can You Use Dish Soap or Household Cleaner?
Dish soap can create excessive suds and may leave residue, but the more serious issue is compatibility: pressure-washer injectors, seals, vehicle coatings, and outdoor surfaces are designed around different formulations. Use a pressure-washer or surface-labeled detergent instead.
Household cleaners may contain solvents, fragrances, ammonia, bleach, or ingredients that damage rubber, painted finishes, aluminum, or vegetation. Never mix bleach with acids, ammonia, or unknown products because toxic gases or hazardous reactions can result.
A mild dish soap solution may be acceptable for a separate bucket wash on a surface whose manufacturer permits it, but it is not a universal substitute for pressure washer detergent. Do not place it in an onboard tank without equipment and product approval.
How Do Surface, Pressure, and Distance Change the Result?
Cleaning performance is the combined effect of chemistry, water flow, spray angle, distance, temperature, and dwell time. Increasing PSI alone can remove soil faster while also increasing the chance of paint loss, wood furrowing, mortar damage, and water intrusion.
Start with the widest suitable pattern and the greatest practical distance. Move closer only when a test patch shows that the surface tolerates the added impact. A pressure washer rated at 2,000 PSI does not deliver identical impact at every nozzle, distance, or flow rate.
| Task | Typical nozzle pattern | Starting distance | Water approach | Practical warning |
|---|---|---|---|---|
| Vehicle rinse | 40 degrees | 18-24 inches | Low to moderate pressure | Avoid badges and seals |
| Vinyl siding | 25-40 degrees | 18-30 inches | Moderate, downward angle | Do not spray behind laps |
| Concrete rinse | 15-25 degrees | 8-18 inches | Higher flow if surface permits | Protect joints and edges |
| Painted wood | 40 degrees | 24-36 inches | Low pressure | Test for paint failure |
| Deck boards | 25-40 degrees | 18-30 inches | Follow grain | Avoid gouging softwood |
A surface cleaner attachment can improve uniformity on large flat concrete because its rotating jets reduce striping. It does not replace detergent, pre-treatment, or correct rinse technique.
What Changes for Cars, Siding, Concrete, and Wood?
Surface-specific detergent selection prevents most avoidable damage. The same alkaline degreaser that works on an oil-stained driveway can dull aluminum, strip vehicle protection, or discolor painted wood.
Vehicle variation
Use a pH-neutral automotive shampoo, pre-rinse thoroughly, apply foam from the bottom upward, and rinse from the top down. Pressure washing removes loose contamination, but a clean microfiber mitt and separate rinse bucket are still needed for bonded road film.
Keep the nozzle at least 12-18 inches away during initial testing. Do not aim directly at convertible fabric, window seals, emblems, paint chips, or damaged clear coat. Dry with a clean towel or filtered air rather than allowing mineral-rich water to evaporate in sun.
Siding variation
Use a siding-rated detergent and low pressure. Spray at a downward angle, keep the nozzle away from soffit vents, and rinse each wall section before the detergent dries.
Vinyl can tolerate more water than painted wood, but water can still enter behind laps and around windows. Mildew staining may require an oxidizing or specialty treatment rather than repeated high-pressure passes.
Concrete variation
Sweep first, pre-treat oil, allow the labeled dwell time, and use a surface cleaner when available. Concrete’s pores can retain detergent and suspended oil, so a final rinse should extend beyond the visible stain.
Sealed or decorative concrete requires a test patch. Strong alkaline products can dull some coatings, while aggressive tips can expose aggregate or create visible cleaning halos.
Wood variation
Use the lowest pressure that removes loosened soil and follow the grain. Wood fibers can become fuzzy or permanently grooved when a narrow tip is held too close.
A wood-safe oxygenated cleaner is often a safer starting point than a strong chlorine product. Rinse thoroughly and allow the boards to dry before judging color, because wet wood temporarily hides uneven cleaning.
Common Mistakes and How to Fix Them
The machine is not pulling soap
The most common causes are a high-pressure nozzle, a closed detergent valve, insufficient water flow, a blocked filter, or an air leak at the tube. Install the approved low-pressure setting, confirm the filter is submerged, clean it with warm water, and inspect the tube for cracks.
Some electric pressure washers cannot generate enough flow to operate a particular downstream injector. If the injector never siphons with clean water, compare its required gallons per minute with the machine’s rated output.
The foam is watery
Watery foam usually results from excessive dilution, insufficient flow, a clogged cannon filter, or an incorrectly adjusted metering knob. Clean the cannon, verify the product ratio, and adjust concentration gradually rather than immediately using undiluted detergent.
Thick foam is not the same as stronger cleaning. A low-foaming detergent can clean effectively when its surfactant system is suited to the soil and receives adequate dwell time.
The surface has streaks
Streaking comes from drying detergent, uneven overlap, hard-water minerals, or rinsing in an inconsistent direction. Re-wet the affected area, apply a weaker compatible solution if needed, and rinse from top to bottom with overlapping passes.
Do not allow the cleaner to dry and then attack the marks with a narrow nozzle. That approach can create permanent etching or a visibly cleaner stripe.
Plants look stressed
Immediately rinse foliage, soil, pots, and nearby hardscape with large amounts of clean water. Stop using the product until its label and safety data confirm outdoor compatibility.
“Biodegradable” does not mean harmless at concentrate strength. Surfactants, salts, solvents, high pH, and oxidizers can still injure plants or aquatic life.
Paint, aluminum, or wood looks dull
Stop spraying and rinse with clean water. Do not apply another chemical to neutralize the first one unless the product label provides that procedure.
Record the product, dilution, surface temperature, dwell time, and nozzle distance. A dull appearance may indicate chemical damage, oxidation removal, mineral residue, or pressure texture, and each requires a different remedy.
Time, Quantity, and Cost
Typical detergent use ranges from 0.25-1 gallon of ready-to-use solution for a vehicle and 1-5 gallons for a driveway or small siding project. Actual consumption depends on injector draw rate, foam-cannon adjustment, surface size, and the number of applications.
| Project | Typical duration | Ready-to-use solution | Typical detergent cost |
|---|---|---|---|
| Sedan or small SUV | 15-30 minutes | 0.25-1 gallon | $1-$5 |
| Two-car driveway | 30-60 minutes | 1-3 gallons | $3-$15 |
| Small deck | 45-90 minutes | 1-3 gallons | $3-$15 |
| Single-story siding | 1-2 hours | 2-5 gallons | $6-$25 |
| Foam cannon accessory | Setup addition | 1 bottle per session | $20-$100 purchase |
These are typical homeowner ranges, not manufacturer guarantees. Concentrate commonly costs about $15-$40 per gallon, while a pressure-washer-safe specialty chemical may cost more because of its surface-specific formulation.
How Should You Compare Pressure Washer Soap With Plain Water?
Plain water is adequate for loose dust, fresh mud, and light pollen, but detergent is more efficient against grease, oily road film, mildew residue, and bonded organic soil. Detergent cannot repair a damaged surface, remove every rust stain, or replace mechanical agitation where contamination is strongly bonded.
| Cleaning approach | Best soil | Typical dwell | Surface risk | Best setting |
|---|---|---|---|---|
| Plain water | Dust, loose mud | 0 minutes | Lowest chemical risk | Vehicles, light rinse |
| Neutral detergent | Road film, fingerprints | 3-5 minutes | Low when labeled | Cars, boats, painted surfaces |
| Alkaline detergent | Grease, oil, organic soil | 3-10 minutes | Medium to high | Concrete, equipment |
| Acidic cleaner | Rust, scale, mineral deposits | Label-specific | High | Compatible masonry or metal |
| Manual brush wash | Bonded film, delicate areas | 1-5 minutes | Contact-scratch risk | Small sections after pre-rinse |
A strong chemical at low pressure is often safer than plain water at extreme pressure. The reverse is also true when the product is incompatible, overconcentrated, or left to dry.
FAQ
How often should I use detergent with a pressure washer?
Use detergent when soil is oily, bonded, organic, or difficult to remove with a water rinse. Plain water is usually sufficient for light dust and loose mud. Frequent vehicle washing should use a pH-neutral automotive shampoo, while seasonal siding or driveway cleaning may require a surface-specific exterior detergent.
Can pressure washer soap remove mold and mildew?
Pressure washer detergent can loosen mildew residue, but visible biological growth may require an EPA-registered or label-approved treatment with a specified dwell time. Do not assume that high pressure removes the root of growth. Use a product approved for the surface, protect plants, and follow runoff instructions.
Do I need a foam cannon to use detergent?
No. An onboard detergent tank or downstream siphon can apply pressure washer soap effectively. A foam cannon provides better visual coverage and adjustable metering, especially on vehicles, but thick foam is not required for cleaning and may use more solution than a low-pressure injector.
Is hot water better than cold water for pressure washer soap?
Hot water improves removal of many grease and oil soils because heat lowers viscosity and speeds soil release. Use only a detergent and pressure washer rated for hot-water operation. Heat can damage some vehicle finishes, plastics, coatings, and wood, so cold water remains the safer default for delicate surfaces.
Why does pressure washer soap leave a white film?
White film usually comes from dried detergent, hard-water minerals, excessive concentration, or incomplete rinsing. Re-wet the surface and rinse thoroughly before trying another chemical. On glass, aluminum, and dark vehicles, work in smaller shaded sections and avoid allowing any product to evaporate.
The Bottom Line
To use pressure washer soap correctly, choose a surface-compatible detergent, dilute it according to the label, apply it through the approved low-pressure system, keep each section wet for about 3-5 minutes, and rinse from top to bottom. The safest results come from proper chemistry and controlled distance, not maximum PSI. For most jobs, begin with a test patch, protect nearby plants and drains, and flush the equipment with clean water when finished.


