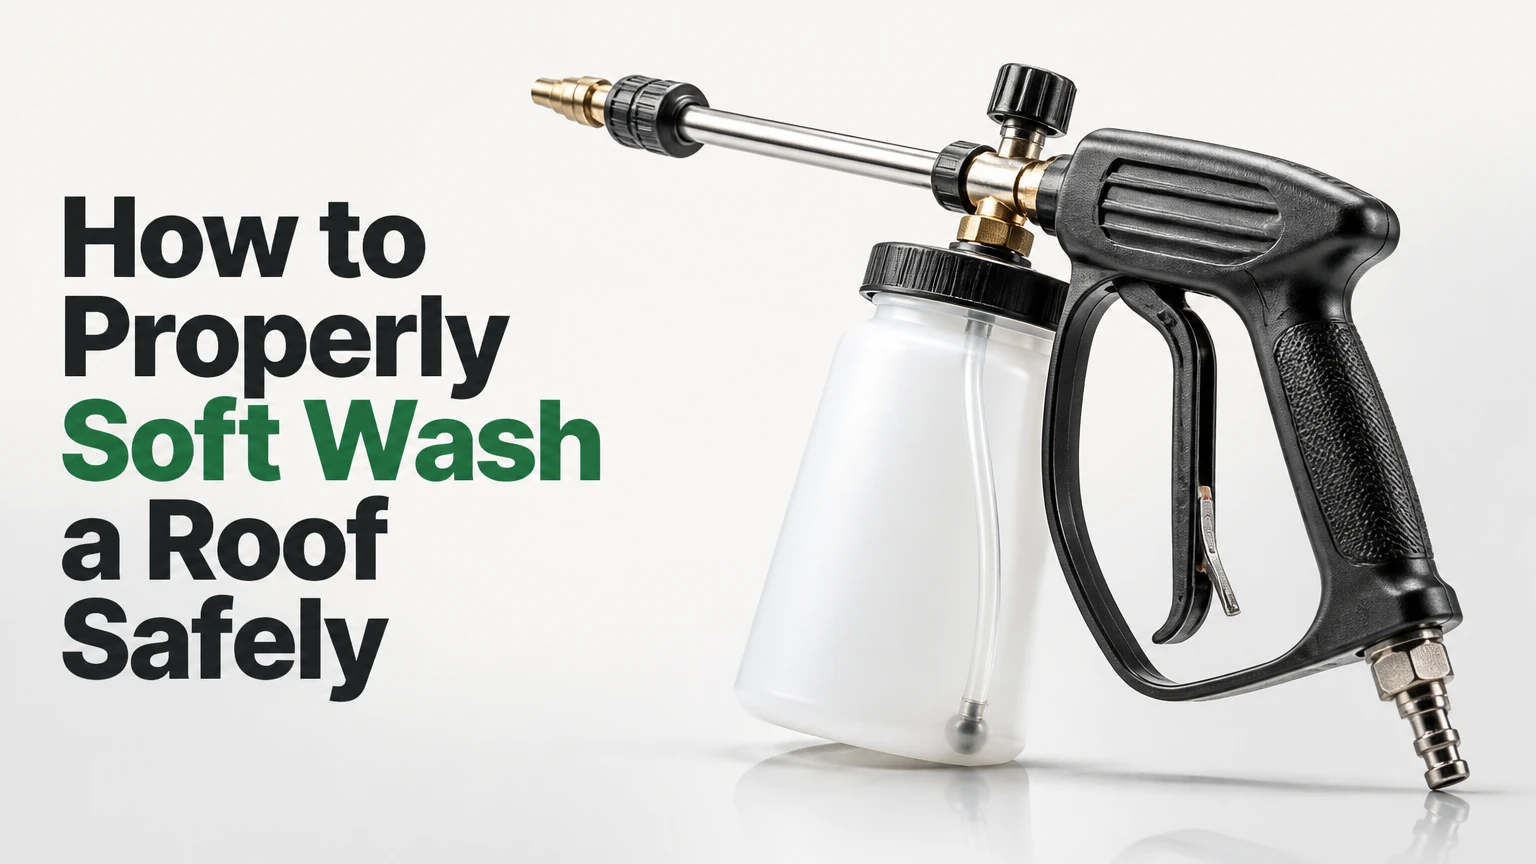
To properly soft wash a roof, inspect the roofing first, protect plants and property, apply a manufacturer-approved low-pressure biocidal solution, control its dwell time, rinse when appropriate, and neutralize runoff. The safest method depends on roof material, surface temperature, wind, roof condition, and whether the operator can work without walking on a wet slope.
Key Facts at a Glance
- Roof soft washing removes biological growth with chemistry rather than high mechanical pressure.
- Asphalt-shingle cleaning commonly uses a diluted sodium hypochlorite solution and a roof-safe surfactant, but the product label and shingle manufacturer take priority over generic ratios.
- A soft-wash pump should deliver a broad spray at low pressure, not a concentrated jet that can dislodge granules or drive water beneath shingles.
- Plant protection requires thorough pre-wetting, runoff control, post-rinsing, and immediate treatment of any exposed foliage.
- Do not climb a wet, chemically treated roof unless you have professional fall-protection equipment and training.
- Typical professional roof cleaning costs range from $0.30-$0.80 per square foot, with many residential projects taking 2-4 hours.
What Does Soft Washing a Roof Mean?
Soft washing a roof is a low-pressure cleaning process that uses a chemical treatment to kill algae, moss, lichen, mold, and mildew before limited rinsing removes residue. Unlike pressure washing, the method does not depend on force to scour the roof surface, so it reduces the risk of shingle-granule loss and water intrusion.
Black streaks on asphalt shingles commonly contain cyanobacteria, often identified as Gloeocapsa magma. Green patches may contain moss or algae, while pale crusty growth often indicates lichen. These organisms hold moisture against roofing materials and can spread when the roof remains shaded and damp.
Soft washing is a treatment process, not a cosmetic blast-cleaning process. A roof can look lighter before every dead root or lichen attachment has detached, so the visual result immediately after application does not always equal the biological result.
How Does the Treatment Work?
Sodium hypochlorite oxidizes organic pigments and damages living biological cells. Water controls concentration, while a compatible surfactant lowers surface tension and helps the solution remain on sloped shingles long enough to work.
The chemistry needs contact time. Increasing pressure cannot compensate for poor coverage, insufficient dwell time, heavy runoff, or a solution that dried on a hot roof. Those failures create a misleadingly fast result while increasing the chance of surface damage.
Before You Start: Safety, Tools, and Conditions
Roof cleaning is a fall hazard and a chemical-exposure task. A homeowner should normally apply product from the ground or a properly secured ladder system, while a trained contractor should use compliant fall protection when roof access is unavoidable.
| Requirement | Typical specification | Why it matters |
|---|---|---|
| Total project time | 2-4 hours | Includes setup, application, dwell, rinsing, and cleanup |
| Weather window | 50-85°F, low wind | Reduces rapid drying and overspray |
| Wind limit | Preferably below 5-10 mph | Limits drift onto siding, vehicles, and plants |
| Spray pressure | Low pressure, often garden-hose range | Protects granules and flashing |
| Dwell time | 10-20 minutes while wet | Allows biocide contact with growth |
| Minimum crew | 2 people for professional work | One applies while one monitors runoff and plants |
Prepare chemical-resistant gloves, eye protection, long sleeves, non-slip footwear, a low-pressure chemical pump, wide-fan nozzle, garden hose, tarps, plant-wetting equipment, gutter screens or collection controls, and a labeled neutralizing product. Use only equipment compatible with the selected chemical. Sodium hypochlorite can damage ordinary metals, seals, fabrics, and nearby finishes.
Read the Safety Data Sheet and product label before mixing. The Centers for Disease Control and Prevention states, “Never mix household bleach or any products containing bleach with other cleaning products or disinfectants.” Never combine sodium hypochlorite with acids, ammonia, vinegar, toilet cleaners, or unknown detergents.
Which Roof Wash Chemical Is Appropriate?
For many asphalt-shingle roofs, diluted sodium hypochlorite is the established biological treatment, but no universal mix ratio is safe for every roof. The correct concentration comes from the product label, roof manufacturer guidance, surface test results, and the severity of the growth.
| Chemical approach | Suitable use | Main limitation | Equipment or handling |
|---|---|---|---|
| Sodium hypochlorite | Algae, moss, mold, and mildew on compatible roofing | Can harm plants, metals, finishes, and skin | Chemical-resistant pump and full PPE |
| Quaternary ammonium product | Slower biological treatment and maintenance | Often produces a slower cosmetic change | Follow the premixed label dilution |
| Manual brushing or scraping | Thick moss removal after treatment | Can gouge shingles or remove granules | Use only when the manufacturer permits it |
| Sodium hydroxide | Selected industrial degreasing tasks | Generally unsuitable for asphalt shingles | Avoid on petroleum-based shingle binders |
Generic online recipes create avoidable risk. A 12.5% sodium hypochlorite concentrate mixed at a nominal 1:2 ratio with water produces approximately 4.2% solution before accounting for surfactant and degradation, but the actual surface strength changes with temperature, storage age, pump loss, and runoff. Treat that calculation as chemistry context, not a universal prescription.
Do not use sodium hydroxide on asphalt shingles unless the shingle manufacturer specifically approves the formulation. Strong alkali can attack petroleum-based components and increase granule loss. Quaternary ammonium compounds may be gentler to some surroundings, but they usually take longer to show visible results and still require label-compliant runoff controls.
How to Properly Soft Wash a Roof
The following six-step sequence applies to a compatible, serviceable roof. The procedure changes for cedar, slate, clay tile, metal coatings, and roofs with structural defects, so material identification must happen before chemical preparation.
Step 1: Inspect and Document the Roof
Inspect the roof from the ground and accessible edges before applying water or chemicals. Record the roof material, approximate age, pitch, growth type, missing shingles, cracked tiles, exposed underlayment, open seams, damaged flashing, skylights, gutters, solar panels, and vulnerable exterior finishes.
Photograph existing defects. A chemical wash cannot repair lifted shingles, failed sealant, rotten decking, or leaking penetrations. If the roof leaks, sheds granules heavily, contains brittle shingles, or has extensive moss lifting the courses, stop and obtain a roofing assessment.
Check the manufacturer’s maintenance instructions and warranty terms. Some roofing warranties restrict cleaning methods, solvents, or physical brushing, and a contractor should provide written chemical disclosure before work begins.
Success checkpoint: You can identify the substrate, the drainage route, every fragile feature, and each pre-existing defect.
Common mistake: Treating black streaks as a roof leak or treating a structural defect as a cleaning problem.
Step 2: Protect Plants, Drainage, and Property
Close windows and doors, move outdoor furniture, cover delicate painted surfaces, and protect vehicles from spray. Disconnect or shield rain barrels, irrigation intakes, ponds, and sensitive metal fixtures before chemical application.
Drench grass, shrubs, trees, and garden beds with clean water immediately before work. Wet foliage absorbs less concentrated solution, but pre-wetting does not make chemical runoff harmless. Keep plants wet during the application and rinse them again afterward.
Control roof drainage at downspouts where local rules and site conditions require it. Use temporary collection or diversion methods that cannot back up water beneath the shingles. Never block a gutter so completely that roof runoff ponds against the fascia or enters the building.
Success checkpoint: A ground worker can identify where every runoff stream goes, and no uncovered plant bed sits below the spray zone.
Common mistake: Wetting plants once, then allowing contaminated runoff to remain on leaves for the entire dwell period.
Step 3: Mix the Solution According to the Label
Calculate the total batch volume and follow the roof-wash product label rather than copying a fixed internet recipe. Use fresh water, account for the concentration printed on the sodium hypochlorite container, and add only a surfactant specifically labeled as compatible with that chemistry.
Mix outdoors in a ventilated area. Add chemicals in the order required by the product label, avoid splashing, and label the tank with the active ingredients and concentration. Never mix bleach with dish soap, laundry detergent, acids, ammonia, or a product whose compatibility is unknown.
A small test area is safer than treating the entire roof immediately. Apply the proposed solution to an inconspicuous section, observe the surface, nearby finishes, runoff, and dwell behavior, then adjust only within the manufacturer’s instructions.
Success checkpoint: The test area remains intact, the solution clings without immediate flooding, and no nearby plant or finish shows chemical stress.
Common mistake: Strengthening a weak batch repeatedly instead of diagnosing old chemical, hot shingles, poor coverage, or excessive runoff.
Step 4: Apply From the Eave Toward the Ridge
Apply the solution in manageable sections, working from the lower roof edge toward the ridge. The lower-to-upper sequence reduces dirty chemical runoff flowing over untreated areas and gives the operator better control of each wet section.
Use a wide-fan nozzle and keep the wand close enough to control drift, but never use a narrow pressure-washing jet. Avoid forcing liquid beneath shingle tabs, into ridge vents, behind flashing, or through damaged seals. Do not spray solar panels, unprotected metal, painted siding, or delicate landscaping.
A professional operator generally works from a ladder, lift, or secured roof position suited to the slope. A homeowner should not improvise roof access with a wet extension ladder or walk on treated shingles.
Success checkpoint: The surface is evenly wet, growth receives complete coverage, and runoff remains controlled rather than streaming unpredictably.
Common mistake: Spraying from the ridge downward and allowing the first chemical pass to dilute across untreated roof sections.
Step 5: Maintain Wet Dwell Time
Keep the treated section wet for approximately 10-20 minutes, adjusting for shade, air temperature, roof temperature, wind, and the product label. Work in smaller sections when direct sun or wind causes rapid drying.
Black algae may fade or break apart, while thick moss and lichen may turn pale, gray, or white. Color change indicates oxidation or biological stress, but it does not prove that every attachment has detached. Thick moss often needs a second treatment or a carefully controlled follow-up after the growth dies.
Do not let concentrated sodium hypochlorite dry into crystals on the roof. If drying begins, apply a light compatible mist or rinse according to the product instructions rather than increasing pressure.
Success checkpoint: The solution stays wet for the planned dwell period, and growth changes without granules, coatings, or tiles showing damage.
Common mistake: Extending dwell time indefinitely because a heavy lichen patch has not visibly detached.
Step 6: Rinse, Neutralize, and Inspect
Rinse from the ridge toward the eave using low pressure and clean water when the roof material and product label require rinsing. The downward direction follows normal drainage and reduces the chance of driving water under overlapping materials.
Some labeled biological treatments are designed to remain on the surface and weather away gradually. A no-rinse approach is appropriate only when the product label, roof material, weather, and local discharge requirements allow it. Never assume rainfall automatically makes contaminated runoff compliant.
Flush gutters and downspouts with clean water, rinse plants and adjacent surfaces, and inspect siding, windows, vehicles, and metal fixtures for overspray. Flush the pump, hose, and nozzle with fresh water according to the equipment manufacturer’s procedure.
Success checkpoint: The roof has no concentrated residue, runoff is clear enough for the site’s requirements, plants are rinsed, and the equipment is decontaminated.
Common mistake: Finishing the roof but failing to rinse gutters, lower walls, or hidden corners where chemical residue remains concentrated.
What Pressure Is Safe for Roof Cleaning?
Safe roof cleaning uses the lowest pressure that delivers even chemical coverage and rinsing, commonly comparable to a garden hose rather than a pressure-washer blast. Published soft-washing descriptions often cite ranges below 100-300 PSI, but nozzle design, flow rate, distance, substrate, and roof condition matter more than a headline pressure number.
A pressure gauge at the pump does not necessarily equal pressure at the nozzle. A narrow tip, close distance, or damaged roof can create destructive impact even when the pump setting appears moderate. Asphalt shingles, aged coatings, cedar, and fragile tile all require conservative treatment.
The Asphalt Roofing Manufacturers Association recommends avoiding pressure washing on asphalt shingles because force can remove granules and damage the roof surface. Follow the roofing manufacturer’s maintenance document when its instructions are more restrictive than general cleaning practice.
How Should Different Roof Materials Be Treated?
Roof material determines the chemical, pressure, agitation, and rinse method. Asphalt shingles tolerate neither aggressive pressure nor careless scraping, while coated metal can lose finish when exposed to incompatible oxidizers or abrasive tools.
| Roof material | Typical cleaning concern | Preferred approach | Stop condition |
|---|---|---|---|
| Asphalt shingle | Granule loss and lifted tabs | Label-approved biocide, low pressure | Excessive granules or brittle tabs |
| Clay or concrete tile | Cracking and porous staining | Manufacturer-approved treatment, gentle rinse | Cracked or loose tiles |
| Coated metal | Finish oxidation and corrosion | Neutral cleaner or approved biocide | Coating discoloration or exposed metal |
| Cedar shake | Moisture penetration and fiber damage | Wood-safe treatment, minimal agitation | Splitting, rot, or softened wood |
| Slate | Breakage from foot traffic | Specialist inspection and low-impact treatment | Any loose or fractured slate |
Moss that has grown beneath shingle edges is a roofing issue, not merely a stain. Chemical treatment can kill it, but pulling living mats away can detach shingles. A roofer should handle growth that has lifted courses or blocked drainage.
Is Soft Washing Better Than Pressure Washing?
Soft washing is usually safer for asphalt shingles because it reduces mechanical impact, while pressure washing may provide a faster visual change at the cost of granule loss, leaks, or damaged flashing. Manual removal can help with thick growth, but it carries a separate risk of gouging or lifting roofing materials.
| Method | Typical pressure or action | Biological result | Main roof risk |
|---|---|---|---|
| Soft washing | Low-pressure spray, often under 100-300 PSI | Chemical treatment kills growth | Chemical overspray and runoff |
| Pressure washing | Commonly 1,500-3,000 PSI equipment | Removes surface material quickly | Granule loss and water intrusion |
| Manual scraping | Hand tools and brushes | Removes visible mass | Gouged or lifted shingles |
| Quaternary treatment | Low-pressure application | Slower biological decline | Delayed cosmetic improvement |
Pressure washing can be appropriate for some non-roof surfaces, such as certain concrete areas, when the surface and equipment settings permit it. That does not make the same method suitable for asphalt shingles, cedar shakes, or fragile tile.
When Should You Avoid Soft Washing?
Avoid roof soft washing when the substrate is unidentified, the roof has active leaks, the slope cannot be accessed safely, wind carries spray toward people or property, or the chemical label does not approve the material. Cleaning should wait during freezing conditions, severe heat, strong wind, or rain that prevents controlled dwell and runoff.
A contractor should postpone work when drought restrictions prohibit outdoor water use or local regulations restrict chemical discharge into storm drains. Pools, koi ponds, edible gardens, and sensitive native plantings require a documented containment plan, not informal rinsing.
Do not treat solar panels as ordinary roof sections. Panel manufacturers may specify separate cleaning procedures, and chemical overspray can affect frames, seals, wiring, or warranties. Protect or arrange separate panel service.
Common Mistakes and How to Fix Them
| Failure mode | Likely cause | Correct response |
|---|---|---|
| Streaks remain dark after treatment | Weak coverage, old solution, or thick growth | Reinspect, retest a small area, and reapply only within label limits |
| Foam runs off immediately | Hot roof, excess water, or incompatible surfactant | Work in shade, reduce section size, and use approved surfactant |
| Plants wilt afterward | Concentrated runoff or inadequate rinsing | Flush foliage and soil promptly; seek horticultural advice if symptoms persist |
| Granules appear in gutters | Aging shingles, pressure, or abrasion | Stop mechanical cleaning and obtain a roofing assessment |
| White residue remains | Dried chemical salts or incomplete rinsing | Rinse with clean water and inspect adjacent finishes |
| Roof looks clean but moss returns | Persistent shade and moisture | Improve drainage, trim vegetation, and schedule maintenance |
A second chemical coat is not automatically the answer to dark staining. First check whether the roof was actually wet, whether the active ingredient had degraded, whether runoff removed it, and whether the stain is nonbiological material such as soot, rust, or asphalt bleed.
How Much Does Roof Soft Washing Cost?
Typical professional roof soft washing costs $0.30-$0.80 per square foot, with many standard single-family roofs totaling approximately $560-$900. A project commonly takes 2-4 hours, but steep access, multiple roof levels, heavy moss, plant protection, and wastewater controls can raise both price and duration.
| Project factor | Typical range | Cost effect |
|---|---|---|
| Small single-level roof | $350-$600 | Lower setup and access time |
| Standard residential roof | $560-$900 | Common baseline for professional service |
| Large or complex roof | $900-$1,800+ | More labor, hose distance, and protection |
| Per-square-foot pricing | $0.30-$0.80 | Varies by region and roof condition |
| Follow-up treatment | 6-24 months | May be priced separately |
Ask whether the estimate includes plant protection, gutter flushing, neutralization, travel, roof inspection, and a written damage record. A low bid that excludes runoff management may transfer the risk to the homeowner.
How Long Does a Soft-Washed Roof Stay Clean?
A professionally treated roof may remain visibly cleaner for roughly 3-6 years, but shade, humidity, tree cover, roof orientation, rainfall, and recurring organic contamination determine the actual interval. North-facing slopes and roofs beneath dense trees often need attention sooner than sunny, well-ventilated slopes.
Post-treatment prevention can extend the result. Keep gutters clear, improve drainage, trim branches that shade the roof, and remove leaf accumulation from valleys without scraping shingles. Zinc or copper strips may reduce new algae growth when installed according to roofing guidance, but they do not repair existing moss or replace cleaning.
Schedule a visual inspection annually. Inspect after major storms and after long wet seasons, especially when the roof has a history of moss or lichen.
DIY or Professional Roof Washing?
DIY cleaning is reasonable only when the homeowner can keep both feet on safe ground or a properly secured ladder system, identify the roof material, protect surrounding property, and follow the product label without improvising chemical ratios. Hiring a professional is the safer choice for steep, tall, brittle, damaged, multi-level, or heavily overgrown roofs.
Choose a contractor who provides proof of liability insurance, a chemical and runoff plan, roof-condition photographs, material-specific methods, and references for similar roofs. Ask what pressure is used, where downspout discharge goes, how plants are protected, and whether the contractor will stop when hidden damage appears.
A professional should not promise that every stain disappears instantly. Lichen and moss can remain attached after they are dead, and aggressive removal may damage the roof more than the original growth.
FAQ
Can I Soft Wash a Roof With Household Bleach?
Household bleach can damage plants, metals, coatings, and roofing when misapplied, and its concentration varies by product and age. Use only a label-approved roof treatment, never mix bleach with another cleaner, and do not rely on a household recipe for an unidentified roof or uncontrolled runoff situation.
Should Roof Moss Be Scraped Before Soft Washing?
Roof moss should generally be treated before any physical removal because living mats can be attached beneath shingle edges. Scraping first may lift shingles and remove granules. A roofing professional should handle moss that has displaced courses, blocked valleys, or entered flashing details.
Can Soft Washing Damage Asphalt Shingles?
Soft washing can damage asphalt shingles when the chemical is too concentrated, allowed to dry, applied in heat, or combined with pressure and abrasion. Correctly diluted, label-approved treatment with low-pressure coverage is less mechanically damaging than pressure washing, but it cannot make brittle or defective shingles safe.
Will Rain Remove Dead Algae After Treatment?
Rain may gradually remove dead algae and loosened residue when the product is labeled for no-rinse application. Rain does not guarantee safe dilution, complete removal, or regulatory compliance for chemical runoff. Follow the product instructions and rinse surrounding surfaces when the treatment requires it.
Can Soft Washing Stop Algae Permanently?
Soft washing does not permanently stop algae because spores, shade, moisture, and airborne debris can recolonize the roof. Clear gutters, trim overhanging branches, improve ventilation, and consider an approved zinc or copper strip to reduce recurrence between professional cleanings.
The Bottom Line
To properly soft wash a roof, identify the material, document defects, protect every drainage path and plant, use a compatible labeled solution, apply it at low pressure from eave to ridge, maintain controlled dwell time, and rinse or weather the treatment only as directed. The method is safer than pressure washing for many asphalt-shingle roofs, but it is not a substitute for fall protection, chemical training, or roof repair.


