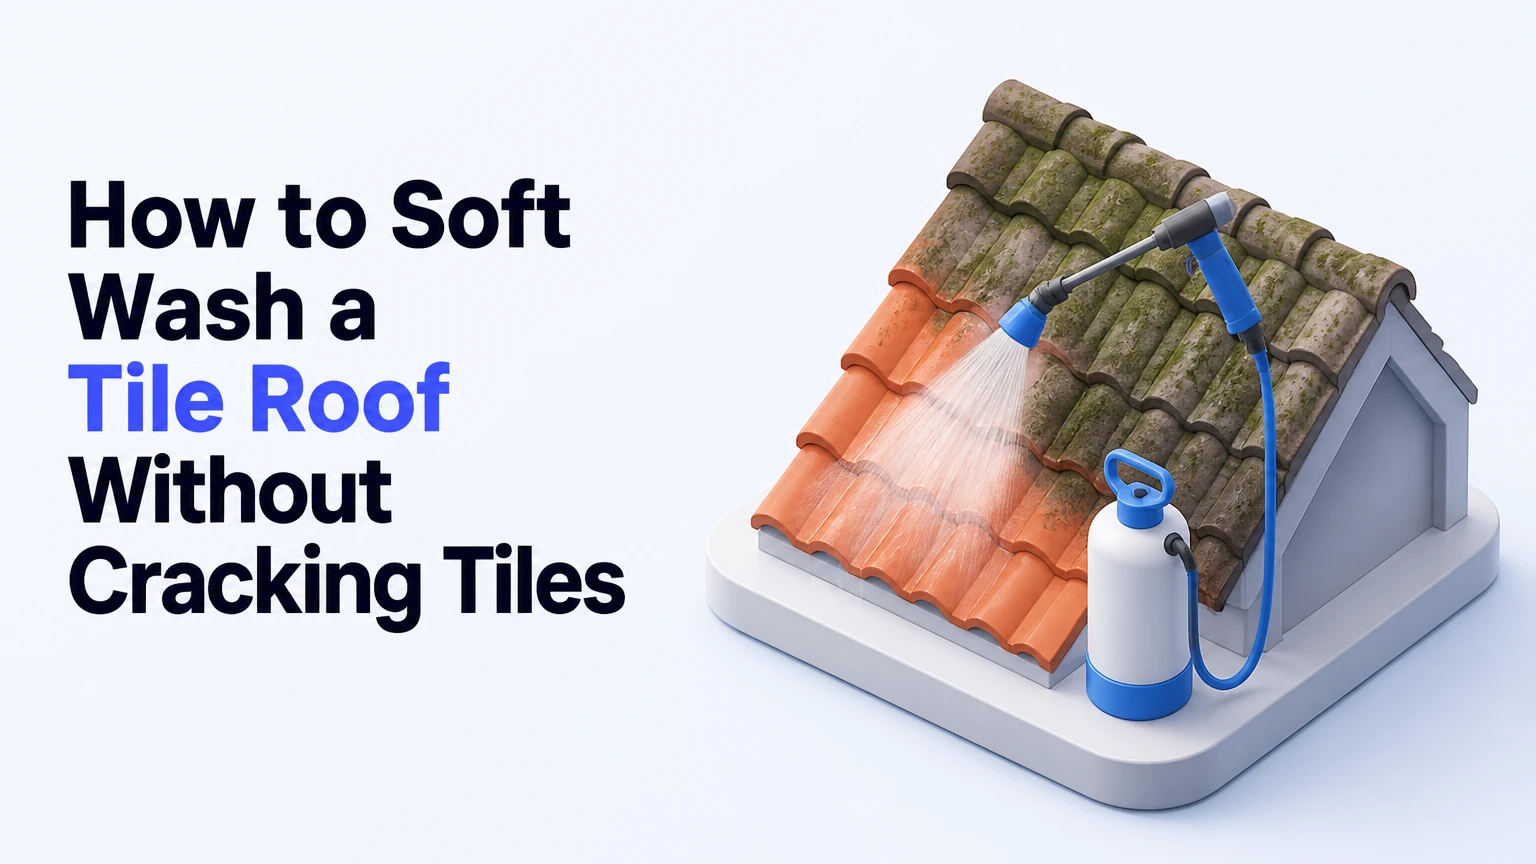
Soft washing a tile roof requires inspection, site protection, chemical mixing, low-pressure application, monitored dwell time, controlled rinsing, and a final inspection. Plan on 3-5 hours for a typical 2,000-square-foot roof, with moderate difficulty. The result depends most on matching the cleaner to the tile and preventing chemical contact with plants and metal.
Before You Start
Time required: 3-5 hours for a 2,000-square-foot roof, including setup, application, rinsing, and cleanup. Dense growth, complex roof geometry, long hose runs, and extensive landscaping increase the time.
Difficulty: Moderate to high. Do not climb a wet tile roof without fall-protection training, a properly rated anchor, and a safe access plan. A steep, brittle, high, or difficult-to-access roof belongs to a qualified roof-cleaning contractor.
Typical cost: DIY consumables and equipment rental usually total $150-$500. Professional tile-roof cleaning commonly costs about $500-$1,500 for a typical home, but roof height, pitch, access, tile condition, growth, and local labor rates can move the price substantially. These are typical planning ranges, not fixed market prices.
Tools and Materials Checklist
| Item | Quantity or specification | Typical cost | Purpose |
|---|---|---|---|
| Soft-wash pump | 12-volt or 24-volt diaphragm pump; gas pump for larger work | $100-$800 rental or purchase | Applies solution without pressure-washer force |
| Chemical-resistant hose | 150-200 feet, sized for the pump | $60-$200 | Reaches roof sections from the ground |
| Spray wand and tip | PVC or stainless wand; 40-degree fan or soap nozzle | $30-$150 | Controls coverage and spray drift |
| Sodium hypochlorite | Fresh 12.5% commercial solution | Variable | Kills algae, moss, and lichen |
| Fresh water | Enough for mixing and repeated rinsing | Variable | Dilutes cleaner and protects vegetation |
| Roof surfactant | About 1 gallon per 40-gallon batch | $20-$60 | Helps solution cling to sloped tile |
| Garden hose | One or more hoses with adjustable nozzle | $30-$100 | Pre-wets and flushes plants and fixtures |
| Gutter plugs or collection bags | One for each downspout | $10-$50 | Controls and collects runoff where permitted |
| PPE | Chemical-resistant gloves, non-slip boots, goggles or face shield, label-required respirator | $50-$250 | Limits chemical and slip exposure |
| Fall protection | Rated harness, lifeline, and anchor installed for the structure | $150-$600 | Prevents a roof fall when roof access is unavoidable |
| Test containers and measuring tools | Chemical-compatible bucket and marked measuring container | $15-$40 | Produces a repeatable dilution |
| Neutralizer | Product labeled for hypochlorite exposure and plant use | $20-$60 | Helps respond to accidental vegetation contact |
Use the chemical manufacturer’s label as the controlling instruction. Tile manufacturers may also specify prohibited chemicals, application methods, or pressure limits. Never mix sodium hypochlorite with acids, ammonia, toilet cleaner, rust remover, or any other unapproved product. Toxic gases can form.
Step Summary
| Step | Action | Typical time | Most common mistake |
|---|---|---|---|
| 1 | Assess the roof and work area | 20-30 minutes | Starting without finding broken or loose tiles |
| 2 | Gather and test equipment | 15-30 minutes | Using a pressure washer or incompatible hose |
| 3 | Protect plants, property, and runoff | 20-40 minutes | Wetting plants once, then letting them dry |
| 4 | Mix and verify the cleaning solution | 15-20 minutes | Assuming old bleach still has full strength |
| 5 | Apply solution from the ground | 45-60 minutes | Spraying above 100 PSI or working into the wind |
| 6 | Monitor dwell time and retreat spots | 15-30 minutes | Letting cleaner dry on tile or metal |
| 7 | Rinse and neutralize the site | 30-60 minutes | Removing runoff controls before flushing gutters |
| 8 | Inspect, document, and prevent regrowth | 20-30 minutes | Expecting every dead stain to disappear immediately |
Inspect and Set Up the Job
Step 1: Assess the Roof and Work Area
Inspect the tile, access route, weather, utilities, and drainage before applying any chemical.
Walk the perimeter first. Look for cracked, slipped, hollow-sounding, broken, or visibly loose tiles; exposed underlayment; damaged flashing; brittle ridge caps; leaking gutters; skylights; solar panels; satellite equipment; and nearby painted surfaces. Photograph existing damage. Do not clean a roof with exposed underlayment or widespread tile failure until a roofer evaluates it.
Check the roof pitch and height from the ground. If you cannot safely reach the surface from a secured ladder or ground-based hose, do not improvise by walking on the tiles. Clay and aged concrete tiles can break under concentrated foot pressure. OSHA fall-protection requirements and local rules may apply to elevated work.
Choose a cool, dry period with low wind and no rain forecast during the dwell and rinse period. Avoid direct midday heat because the solution can dry before it works.
You’ll know it worked when you have identified fragile areas, isolated equipment, confirmed a safe spray position, and created a plan for every downspout.
Common mistake: Treating a roof inspection as a quick glance. A chemical wash cannot repair broken tiles, and wet surfaces hide hazards.
Step 2: Gather and Test the Pump, Hose, and Nozzle
Test the soft-wash system on the ground before connecting it to the roof.
Attach the 150-200-foot chemical-resistant hose, wand, and 40-degree fan tip or long-range soap nozzle. Confirm that seals, fittings, the intake strainer, and hose connections are tight. Run fresh water through the system first, then check the spray pattern from a safe distance. The stream should be broad and controlled, not a concentrated cutting jet.
Use a diaphragm pump designed for chemical solutions. Keep operating pressure below 100 PSI for tile, and use the lowest pressure that reaches the required area. A soft wash is defined by chemical action and low mechanical force, not by a specific pump brand.
Keep the pump on stable ground away from children, ignition sources, and chemical containers. Place the hose so it will not drag across sharp tile edges or become a trip hazard.
You’ll know it worked when the pump primes without sputtering, the wand produces an even fan, and you can reach the intended roof section without standing on the tile.
Common mistake: Testing only with water after installing a worn chemical hose. Sodium hypochlorite can expose weak tubing, seals, and fittings quickly.
Protect the Property and Mix the Cleaner
Step 3: Protect Plants, Fixtures, and Runoff Paths
Protect vegetation and vulnerable property before opening the chemical container.
Close windows and doors. Cover or move outdoor furniture, toys, vehicles, decorations, and porous items. Disconnect or protect rain barrels. Shield sensitive painted surfaces when practical, but do not create a cover that traps chemical runoff against siding.
Plug or bag downspouts only when local rules and the collection method allow it. Route collected water into suitable containers or an approved disposal pathway. Do not discharge concentrated cleaner into a storm drain, pond, stream, or neighboring property.
Thoroughly soak grass, shrubs, trees, flower beds, and soil with fresh water. Keep a ground person watering landscaping during chemical application, especially beneath roof edges and downspout outlets. Saturated foliage absorbs less solution, but pre-wetting does not make plants chemical-proof.
Rinse windows, metal fixtures, solar-panel frames, and painted walls before application. Keep a second hose ready for immediate emergency flushing.
You’ll know it worked when foliage is visibly wet, windows and metal are protected, all runoff routes are identified, and a ground person can watch overspray continuously.
Common mistake: Pre-wetting plants and then pausing setup for 30 minutes. Re-wet them immediately before spraying.
Step 4: Mix and Verify the Sodium Hypochlorite Solution
Mix a label-approved roof-cleaning solution in a compatible container, starting with water and adding chemicals carefully.
A commonly used practitioner mix for concrete or compatible clay tile is approximately 4-5% sodium hypochlorite. For a 40-gallon batch using fresh 12.5% sodium hypochlorite, use 16 gallons of bleach, 23 gallons of water, and 1 gallon of roof surfactant. The calculation is approximately 16 × 12.5% ÷ 40 = 5%.
| Target batch | 12.5% sodium hypochlorite | Fresh water | Surfactant | Approximate final strength |
|---|---|---|---|---|
| 10 gallons | 4 gallons | 5.75 gallons | 0.25 gallon | 5% |
| 20 gallons | 8 gallons | 11.5 gallons | 0.5 gallon | 5% |
| 40 gallons | 16 gallons | 23 gallons | 1 gallon | 5% |
These are typical field ratios, not universal instructions. Confirm the tile manufacturer’s requirements and the chemical label first. Old or heat-damaged bleach may be weaker than its printed concentration, so do not compensate by guessing. Use a test patch instead.
Add surfactant according to its label. If the product runs immediately from the tile, an additional 16-32 fluid ounces may help, but excessive surfactant can increase runoff and complicate rinsing. Never use dish soap unless the roof-wash product specifically permits it.
You’ll know it worked when the mixture is uniform, the pump materials are compatible, the test patch reacts without immediate discoloration, and the solution remains wet during the planned dwell.
Common mistake: Pouring chemicals into a sealed or unventilated container. Mix outdoors, avoid splashing, and follow the product safety data sheet.
Apply and Monitor the Treatment
Step 5: Apply the Cleaner in Small Roof Sections
Apply the solution from the ground in manageable sections, moving from the lower edge upward while keeping the spray pressure below 100 PSI.
Start with a test patch in an inconspicuous area. Apply enough solution to wet the tile and reach overlapping channels, but stop before uncontrolled runoff forms. Work from the bottom of each section upward to reduce streaking and keep untreated runoff from passing over already-treated areas.
Hold the wand away from the surface and use the broad fan pattern. Do not use a turbo nozzle, zero-degree tip, surface cleaner, or high-pressure blast. Direct spray away from windows, vents, solar equipment, neighboring property, and exposed metal. A second person should watch drift, gutters, and plants rather than focusing only on the roof.
Treat one section at a time so you can monitor wetness and dwell time. Do not spray in strong wind, and stop if wind carries mist beyond the work area.
You’ll know it worked when the tile faces and overlaps are evenly wet, biological growth has received solution, runoff is controlled, and no visible mist reaches unprotected property.
Common mistake: Spraying from the top down because it feels faster. That increases streaking and sends contaminated runoff over untreated surfaces.
Step 6: Monitor Dwell Time and Retreat Dense Growth
Allow the solution to remain wet for about 15-20 minutes, then retreat only areas that still show active growth.
Watch the test patch and the treated section continuously. Black algae and green growth may turn white, gray, or translucent as the organisms die, but color change is not a universal chemical test. Thick moss and lichen can remain attached after they are dead. Never scrape or pressure-wash aggressively to force an instant cosmetic result.
If a dense patch remains green or unchanged after the first dwell period, apply a light second coat while the surface is still suitable for treatment. Do not keep adding chemical indefinitely. Stop if the solution begins drying, if runoff increases, or if plants, metal, or painted surfaces are at risk.
A roof-cleaning treatment may improve immediately while residual staining fades through weathering. Arrange a later inspection rather than increasing concentration without a label-based reason.
You’ll know it worked when active growth has changed appearance or loosened, the tile has stayed wet through the dwell period, and no treated solution has dried on metal.
Common mistake: Allowing the chemical to dry because the roof looks cleaner. Dry residue can damage fixtures and make rinsing harder.
Rinse, Inspect, and Finish
Step 7: Rinse the Roof, Fixtures, Gutters, and Landscaping
Rinse exposed fixtures and the surrounding property with abundant fresh water, using low force and controlled runoff.
Flush solar panels, aluminum gutters, valleys, flashing, vents, fasteners, painted walls, windows, and other metal or coated surfaces first. Sodium hypochlorite should not dry on these materials because it can corrode or discolor them. Rinse tile faces and channels with a garden hose or low-pressure system. Do not substitute a high-pressure rinse.
Continue watering plants, grass, and soil during rinsing, then perform a final heavy freshwater rinse after the roof is clear. Flush gutters and downspouts before removing plugs or collection bags. Release collected runoff only as local regulations and the chemical label permit.
If foliage receives overspray, flood it immediately with fresh water. Use a plant neutralizer only if its label identifies the relevant chemical and application method.
You’ll know it worked when no visible chemical residue remains on metal, glass, walls, gutters, or vegetation, and runoff leaves the site through a controlled route.
Common mistake: Removing gutter plugs before the roof and gutters are fully flushed. That sends concentrated runoff onto plants and hardscape.
Step 8: Inspect the Finished Roof and Plan Maintenance
Inspect the roof from the ground and accessible edges after rinsing, then record remaining stains and any newly visible damage.
Check ridges, valleys, tile overlaps, gutters, downspout outlets, flashing, skylights, and solar equipment. Compare the result with your before photographs. Confirm that tiles have not shifted and that gutters drain freely. Do not seal, paint, or replace tiles until the roof is dry and a roofer confirms the substrate is sound.
Residual black staining does not always mean living algae remains. Moss and lichen may need time to release their hold after treatment. If growth remains active after the roof dries, consult the product label or a professional rather than automatically increasing concentration.
Trim branches that shade the roof, clear leaves from valleys, and correct persistent moisture sources. Schedule a visual inspection at least annually, or sooner under heavy shade and humid conditions.
You’ll know it worked when the roof is clean without cracked tiles, fixtures are undamaged, gutters flow, and you have a maintenance record for future comparison.
Common mistake: Treating the cleaning as a repair. Cleaning cannot correct leaks, failed flashing, broken tiles, or inadequate drainage.
Common Mistakes and How to Fix Them
| Problem | Likely cause | Immediate fix |
|---|---|---|
| Algae turns brown or remains green | Weak or degraded sodium hypochlorite, inadequate coverage, or insufficient dwell | Keep the surface wet, verify the product strength and label, then test a small area before retreating |
| Solution runs straight off | Too much application volume, insufficient surfactant, or steep pitch | Reduce flow, use a controlled fan, and add only the label-approved surfactant amount; do not chase runoff with stronger chemical |
| Pump sputters or loses pressure | Air leak, clogged intake strainer, empty tank, or incompatible chemical damage | Stop spraying, inspect the suction line and fittings, clean the strainer, and flush the pump with fresh water |
| Plant leaves turn white or spotted | Overspray, runoff, or inadequate pre-wetting | Flood the foliage immediately with fresh water, continue rinsing, and use a labeled neutralizer if appropriate |
| Metal gutters discolor or corrode | Cleaner dried on the metal or was not rinsed promptly | Rinse repeatedly with fresh water; photograph damage and consult the manufacturer if discoloration remains |
| Tiles crack or shift | Walking on brittle tiles, high-pressure spray, or pre-existing damage | Stop work, keep off the roof, document the area, and have a roofer inspect it |
Do not “fix” a weak result by immediately increasing to a 6% solution. The AI Overview suggests that adjustment for stubborn growth, but concentration must follow the product label and tile manufacturer. Higher strength increases risk to plants, metal, coatings, and people.
Variations for Tile Type, Roof Size, and Equipment
Concrete Tile
Concrete tile generally tolerates the typical 4-5% practitioner solution when the manufacturer permits sodium hypochlorite. Its porous surface can hold organic growth, so complete visual improvement may take longer. Use low pressure and inspect for surface erosion or exposed aggregate before starting.
Clay, Glazed, and Painted Tile
Clay, glazed, painted, and factory-coated tiles vary substantially. Glazing and coatings can react differently to chemicals, while aged clay may be brittle. Obtain the tile manufacturer’s cleaning instructions and test an inconspicuous section. If documentation is unavailable, use a qualified contractor rather than assuming concrete-tile practice applies.
Composite or Synthetic Tile
Composite tile may tolerate different cleaners, but its warranty can prohibit chlorine, solvents, abrasive tools, or pressure. Follow the warranty and product data sheet. A neutral cleaner, oxygen-based product, or manufacturer-approved treatment may be preferable.
Small Roof or Homeowner Equipment
For a small, low, safely accessible roof, a hand-pump or battery sprayer can apply a mild, label-approved cleaner. It will take longer and may produce less uniform coverage than a diaphragm pump. Keep the same rules: pre-wet plants, avoid walking on tile, control runoff, and do not use a pressure-washer nozzle.
Steep or High Roof
Do not compensate for poor reach by increasing pump pressure or climbing unsecured tiles. Use a contractor with fall protection, ground-based reach equipment, chemical handling procedures, and liability insurance. This is the safest variation for a first-time cleaner.
Alternatives to Sodium Hypochlorite
Manufacturer-approved oxygen-based cleaners, quaternary ammonium products, and proprietary roof detergents may reduce corrosion or vegetation risk, but they often work more slowly and may not remove established lichen quickly. Never combine alternatives with bleach. Follow the selected product’s dilution, dwell, PPE, and runoff directions.
How Long Does It Take and What Does It Cost?
A 2,000-square-foot roof typically takes 3-5 hours from inspection through final rinsing. The chemical application itself may take 45-60 minutes, while dwell monitoring takes 15-30 minutes and rinsing takes 30-60 minutes. Add time for dense moss, many roof planes, solar panels, difficult hose access, or extensive plant protection.
| Project condition | Typical DIY time | Typical professional price |
|---|---|---|
| Small, low roof with light algae | 2-3 hours | $400-$800 |
| 2,000-square-foot roof with moderate growth | 3-5 hours | $500-$1,500 |
| Steep or high roof with dense moss | Not recommended for beginners | $1,000-$2,500 or more |
Equipment rental, chemical strength, travel, roof height, access, local wages, and runoff requirements drive the final price. Obtain a written quote that states whether tile repairs, gutter flushing, plant protection, and follow-up treatment are included.
Frequently Asked Questions
Can I soft wash tile without climbing onto the roof?
Often, yes. A long chemical hose and suitable spray wand can reach many roof sections from the ground. Ground application reduces tile breakage and fall exposure, but it does not eliminate chemical drift or ladder hazards. If the wand cannot provide even coverage, hire a contractor rather than climbing unsecured, wet tiles.
Should I pressure wash a tile roof after applying cleaner?
No. Pressure washing can crack tiles, dislodge ridge caps, drive water beneath overlaps, and remove protective coatings. Use chemical action and a low-force rinse instead. If dead moss remains attached, allow weathering to release it or use only a manufacturer-approved manual method from a safe position.
How often should a tile roof be cleaned?
Many roofs need inspection annually and cleaning approximately every 2-5 years, but shade, humidity, tree cover, orientation, and drainage determine the interval. Remove leaves from valleys, trim overhanging branches, and correct moisture sources. Reclean when active growth returns, not simply when residual staining remains.
Is rain enough to rinse the cleaning solution?
Rain may remove some residue from tile faces, but it is not a reliable substitute for controlled rinsing. Metal, solar equipment, gutters, windows, walls, and landscaping require deliberate freshwater flushing. Plan the work so you can rinse immediately and remove runoff controls safely.
What should I do if the roof still looks stained after treatment?
Wait until the roof dries and compare it with before photographs. Dead lichen and embedded discoloration can remain after the organism is inactive. Do not increase chemical strength blindly. If green growth is still active, conduct a label-approved test retreatment or ask a roof-cleaning professional to assess the tile and staining.
When should I hire a professional?
Hire a qualified contractor when the roof is steep, high, brittle, damaged, difficult to access, near energized equipment, or surrounded by sensitive landscaping. Professional work is also appropriate when you lack fall-protection training, chemical-handling knowledge, a safe runoff plan, or equipment that can apply solution from the ground.
Conclusion
To How to soft wash a tile roof safely, inspect the tile first, use a manufacturer-approved low-pressure chemical treatment, protect vegetation and metal, monitor dwell time, rinse thoroughly, and document the result. The safest successful job is controlled from the ground whenever possible, with no high-pressure blasting, unsecured roof walking, or unapproved chemical mixing.


