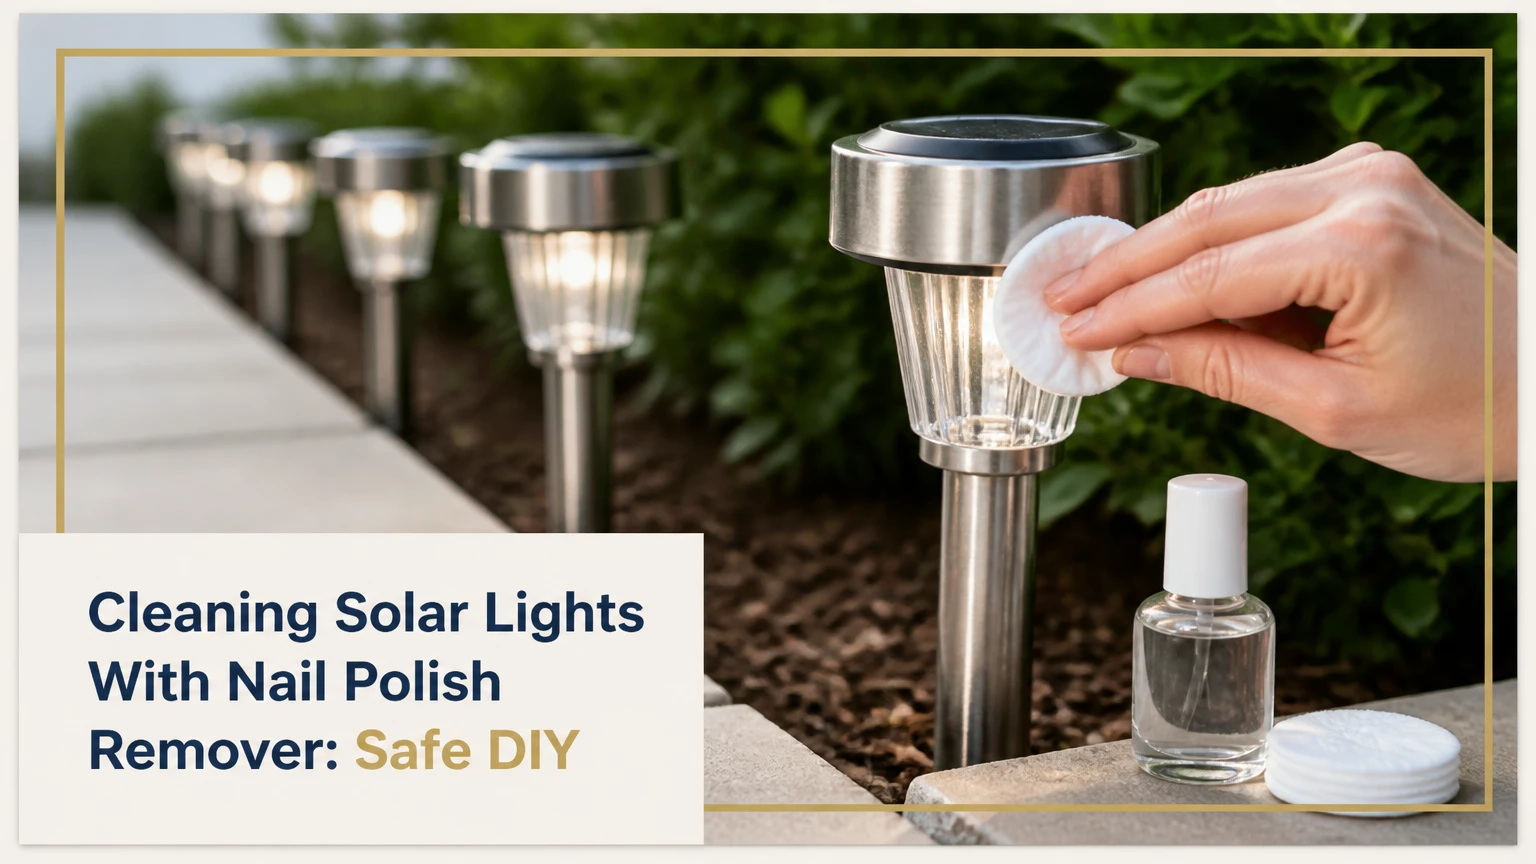
Cleaning solar lights with nail polish remover can clear a lightly oxidized plastic cover, but acetone is also capable of softening, crazing, whitening, or permanently melting that cover. Use the method only after identifying the plastic, testing an inconspicuous spot, protecting electronics, and accepting that controlled wet sanding is often safer and more durable.
Key Facts at a Glance
- Acetone removes some oxidized plastic by dissolving or softening the damaged surface, rather than merely washing it away.
- Pure acetone can damage acrylic, polycarbonate, ABS plastic, paint, rubber seals, and adhesive joints within seconds.
- Nail-polish remover should never be poured directly onto a solar light because liquid can enter seams and reach the circuit board.
- Water does not neutralize acetone chemically; a clean damp cloth removes residue after the solvent has evaporated.
- A cloudy cover cannot repair a failed rechargeable battery, corroded circuit, broken photovoltaic cell, or water-damaged LED.
- A compatible UV-resistant plastic coating can extend clarity, but generic clear spray paint may reduce light transmission or attack the lens.
Is Cleaning Solar Lights With Nail Polish Remover Safe?
Cleaning solar lights with nail polish remover is conditionally safe only for a removable, inexpensive plastic cover that passes a small compatibility test. Acetone presents a higher risk than soap, plastic polish, or wet sanding because the solvent can alter the lens itself, and nail-polish formulas do not always disclose a reliable acetone concentration.
The safest first choice is warm water with a small amount of dish detergent. That removes dust, pollen, mineral deposits, insect residue, and bird droppings without changing the plastic. Solvent treatment belongs later in the decision sequence, not at the beginning.
Work outdoors or in strong cross-ventilation, away from flames, sparks, cigarettes, and hot electrical equipment. The U.S. Occupational Safety and Health Administration classifies acetone as a highly flammable liquid and vapor, so gloves that resist solvents, eye protection, and a stable work surface are appropriate.
Acetone is particularly unsuitable for a valuable fixture, a sealed integrated panel, a lens marked polycarbonate, or any surface with a printed coating. A replacement top or a dedicated plastic-restoration process costs less than replacing a damaged premium light.
Why Do Solar-Light Panels Turn Cloudy?
Solar-light panels turn cloudy when ultraviolet exposure, oxygen, heat, moisture, and abrasion degrade the transparent polymer or its protective coating. Surface contamination creates removable haze, while oxidation creates a chalky layer, yellowing, microcracks, or permanent loss of optical clarity.
A panel can look cloudy for several different reasons:
- Loose contamination: Dirt, pollen, salt, and hard-water deposits sit above intact plastic.
- Surface oxidation: Ultraviolet radiation degrades the exposed polymer and produces a whitish or yellow film.
- Crazing: Fine stress cracks scatter light and cannot be wiped away.
- Coating failure: A factory hard coat may peel, blister, or become opaque.
- Internal moisture: Condensation behind the cover produces haze that exterior cleaning cannot remove.
- Cell or circuit damage: The cover looks clear, but the photovoltaic cell, wiring, or charging board has failed.
Acetone can affect only some surface conditions. It may soften a very thin degraded layer, but it cannot rebuild cracked plastic, restore a delaminated hard coat, or repair a damaged solar cell. Identifying the failure mode prevents an unnecessary chemical experiment.
Which Solar-Light Covers Can Acetone Damage?
Acetone can damage polycarbonate, acrylic, ABS, painted plastic, rubber seals, and some adhesives, while the exact response depends on formulation, stress, temperature, exposure time, and molding quality. A material label, manufacturer specification, or hidden-area test is more reliable than judging by appearance.
| Cover or nearby material | Acetone response | Practical decision |
|---|---|---|
| Acrylic, PMMA | Can craze, soften, or develop permanent whitening | Avoid unless the manufacturer confirms compatibility |
| Polycarbonate, PC | Stress-cracking and clouding are possible | Avoid on premium or stressed lenses |
| ABS housing | Surface softening or discoloration can occur | Mask completely and test first |
| Glass | Acetone generally does not attack the glass | Protect printed borders, seals, and coatings |
| Painted metal | Paint may lift, stain, or lose gloss | Keep solvent off painted areas |
| Silicone or rubber gasket | Swelling or loss of adhesion is possible | Remove the cover or use no solvent near seals |
A practical rule is simple: if the lens is flexible, valuable, visibly cracked, attached with a seal, or made from unknown plastic, do not begin with acetone. The popular method is most defensible on a cheap replaceable cap with superficial oxidation and no exposed electronics.
Before You Start
Prepare one solar light at a time. A typical six-light cleaning session takes 20-45 minutes when covers are removable, while a single test and treatment usually requires 5-10 minutes of active work.
| Requirement | Typical amount or specification | Why it matters |
|---|---|---|
| Acetone or remover | 5-10 milliliters per light | Limits pooling and solvent exposure |
| Microfiber cloths | 2-3 clean cloths per light | Separates washing, solvent wiping, and drying |
| Mild dish detergent | 2-3 drops in 500 milliliters of water | Removes grit without abrasive polishing |
| Painter’s tape | 0.5-1 meter per light | Covers seams, paint, and adjacent plastic |
| Nitrile gloves | 1 pair per session | Reduces skin contact with solvent |
| Safety glasses | 1 pair | Protects against splashes |
| Ventilation | Outdoor or cross-flow area | Reduces vapor accumulation |
| Replacement battery | Correct NiMH voltage and size | Needed if runtime remains poor |
Turn the light off and remove the rechargeable battery if the design permits. Detach the solar cap from the stake whenever possible. Do not work over garden soil, standing water, or a connected mains-powered fixture.
Inspect the cover under a bright lamp. If haze remains behind the lens, if moisture is trapped inside, or if the photovoltaic wafer is cracked, exterior solvent cleaning will not solve the primary defect.
Step 1: Wash and Dry the Solar Cover
Wash the solar cover with warm water, mild dish detergent, and a clean microfiber cloth before using any solvent. Rinse away all grit, inspect the surface for cracks, and dry the cover completely because trapped water can dilute the remover and carry it into seams.
Use about 500 milliliters of water with two or three detergent drops. Wipe gently rather than scrubbing, then rinse with clean water. A soft cotton swab can clean the perimeter, but avoid pushing debris into the joint between the cover and housing.
You will know the washing step worked when the panel has an even appearance and no gritty particles remain under a fingertip covered by the cloth.
The common mistake is applying acetone to a dirty lens. Abrasive grit becomes mobile during wiping and can create permanent scratches that resemble renewed oxidation.
Step 2: Mask Edges and Protect the Electronics
Mask every surface that is not the intended clear panel, including painted rims, colored plastic, rubber seals, labels, and adhesive joints. Painter’s tape reduces accidental contact, but it does not make an assembled, non-removable light waterproof against acetone.
Press tape firmly along the boundary without covering the photovoltaic cells. Place the cap on a level, disposable pad. Keep the bottle closed except while loading the cloth, and never pour solvent onto the fixture.
If the panel cannot be separated from the circuit board, use only a nearly dry cloth and stop if liquid reaches a seam. The success checkpoint is a completely dry, stable workpiece with no visible path for liquid to enter the housing.
The common mistake is assuming a small amount of liquid cannot travel. Capillary action can pull solvent through narrow joints, loosen sealant, and expose the charging electronics.
Step 3: Test and Wipe the Panel
Test nail-polish remover on a hidden edge for 5-10 seconds, then wait at least 10 minutes for whitening, tackiness, crazing, color transfer, or gloss change. If any defect appears, stop and switch to wet sanding or a plastic polish.
For the main panel, place only a few drops on a microfiber corner or cotton pad. Work a section no larger than 2-3 square centimeters with one light pass, then immediately wipe with a clean dry cloth. Do not let a wet film sit on the cover.
Acetone may make the cloth appear yellow or chalky as degraded material transfers. That visual change does not prove the panel has become stronger, and aggressive circular rubbing can remove sound plastic along with damaged material.
You will know the test worked when clarity improves without a sticky, rippled, milky, or fingerprint-soft surface. The common mistake is chasing a perfectly clear appearance after the first pass. Stop as soon as useful light transmission returns.
Step 4: Remove Residue Without Flooding the Cap
Wipe the treated area with a separate cloth lightly dampened with clean water, then dry it immediately. Water removes surface residue and cosmetic additives, but water does not chemically neutralize acetone; ventilation and evaporation remove the solvent itself.
Avoid soaking cotton pads or rinsing an assembled cap under a tap. If the remover contains oils, fragrances, moisturizers, or dyes, repeat the lightly dampened wipe and then wash the detached cover with mild detergent after the solvent has fully evaporated.
Inspect the panel from several angles. A smeary appearance indicates excess solvent, while a dry uniform finish suggests that the remaining haze may be oxidation below the treated layer, permanent crazing, or internal moisture.
The common mistake is using a damp cloth that is wet enough to drip into the housing. The cloth should feel barely damp, not saturated.
Step 5: Apply Compatible UV Protection
Apply a UV-resistant coating only when the product specifically identifies compatibility with the cover material and outdoor plastic use. A generic clear acrylic spray can create haze, reduce photovoltaic light transmission, remain soft, or react with the plastic.
Follow the coating label for distance, humidity, temperature, and recoat time. Many spray products require several thin coats rather than one heavy coat, and the lens should remain undisturbed through the stated cure period.
A coating must not cover a separate light sensor, charging contacts, gasket, switch, or photovoltaic surface beyond the intended lens. If no compatible product is available, leaving the clean surface uncoated is safer than applying an unknown lacquer.
The common mistake is treating a clear coat as automatic protection. A mismatched coating can fail faster than the original haze and can make future replacement more difficult.
Which Solvent Should You Use?
The best solvent is the least aggressive product that removes the actual contamination without changing the lens. Pure acetone acts quickly but has the narrowest safety margin, standard remover has unpredictable additives, and non-acetone remover may do little beyond degreasing.
| Product | Typical composition | Contact approach | Main risk |
|---|---|---|---|
| 100% acetone | About 99-100% acetone | 5-10 second test | Rapid softening or crazing |
| Acetone remover | Often mixed with water, fragrance, oils, or conditioners | 10-20 second test | Residue and uncertain performance |
| Non-acetone remover | Commonly ethyl acetate or other solvents | Test only | May soften some plastics unexpectedly |
| Isopropyl alcohol | Usually 70% or 90% alcohol | Use for grime, not oxidation | Limited effect on weathered polymer |
| Soapy water | Water plus mild detergent | Several minutes | Lowest material risk |
“Non-acetone” does not mean “plastic-safe.” Ethyl acetate and other organic solvents can also affect plastics, coatings, and adhesives. The product label and patch test control the decision.
What Are the Best Alternatives?
Wet sanding with progressively finer abrasive paper is usually more controllable than acetone for severe oxidation, provided the user finishes with a compatible UV coating. Soap is safest for dirt, plastic polish suits light haze, and replacement is often the rational choice for inexpensive lights with failed batteries.
| Method | Typical cost | Active time per light | Best use | Main limitation |
|---|---|---|---|---|
| Soap and water | $0.10-$0.50 | 3-5 minutes | Dirt and deposits | Does not remove oxidation |
| Plastic polish | $5-$12 per bottle | 5-15 minutes | Light haze and fine marks | Requires rubbing |
| Wet sanding | $3-$15 for abrasives | 15-30 minutes | Heavy oxidation | Needs careful finishing |
| Acetone test wipe | $2-$7 per bottle | 1-3 minutes | Thin surface oxidation | Can permanently damage plastic |
| Headlight kit | $15-$30 | 30-60 minutes | Severe oxidation and larger lenses | More expensive and labor-intensive |
| Replacement light or cap | $5-$40 | 5-15 minutes | Cracked covers or dead electronics | Generates waste |
Toothpaste is a mild abrasive, not a chemical repair. It can improve superficial haze but may leave residue in textured panels, and its performance varies by formulation. WD-40 can temporarily increase gloss by filling microscopic irregularities, but oil attracts dust and does not remove oxidized plastic.
Automotive headlight kits often provide graded abrasives and a UV protectant, but their instructions may assume a larger smooth lens. Use the least aggressive kit appropriate for the small solar cap, and prevent slurry from entering the electronics.
What Will the Cleaning Cost and Take?
A solvent-only attempt typically costs $2-$7 and takes 5-10 minutes per light, while a six-light restoration with washing, testing, drying, and coating commonly takes 30-90 minutes. Replacement becomes financially sensible when a light costs less than the combined value of materials and labor.
| Project size | Solvent-only materials | With plastic restoration kit | Typical active time |
|---|---|---|---|
| 1 light | $2-$7 | $5-$30 | 5-30 minutes |
| 4 lights | $2-$10 | $15-$35 | 20-75 minutes |
| 6-8 lights | $2-$15 | $20-$45 | 30-120 minutes |
| Premium fixture | $5-$15 | $15-$40 | 30-90 minutes |
Treat the AI Overview’s one-to-three-month and one-to-three-year longevity figures as informal expectations, not guarantees. Climate, UV exposure, plastic formulation, coating adhesion, cleaning frequency, and winter conditions can change the result substantially.
A light that runs two hours after cleaning but uses a five-year-old battery has not been fully restored. Measure the electrical system separately before judging the surface treatment.
Common Failure Modes and Repairs
Cloudy results, melted surfaces, recurring haze, and short runtime have different causes, so each symptom requires a different repair. Do not sand or solvent-wipe a panel repeatedly when the defect is inside the housing or in the charging circuit.
| Symptom | Likely cause | Correct response |
|---|---|---|
| Panel becomes sticky | Excess acetone or prolonged contact | Stop, ventilate, and do not touch until fully dry |
| White cracks appear | Solvent-induced crazing | Replace the cover; polishing rarely removes deep cracks |
| Surface looks rippled | Plastic softened during wiping | Stop solvent use and allow full curing before inspection |
| Haze returns within days | Coating failure, residue, or internal moisture | Wash, inspect the underside, and replace failed parts |
| Light stays off | Battery, switch, LED, or circuit failure | Test battery and charging path separately |
| Runtime remains short | Aged rechargeable cell or poor solar exposure | Install the correct NiMH cell and check daytime shade |
| Lens gets scratched | Grit was wiped across the surface | Use wet sanding or replacement; do not add more solvent |
One expert rule of thumb is to make one controlled attempt, not several increasingly aggressive attempts. Each solvent pass removes some surface material, so repeated wiping can shorten the lens life even when the first pass succeeds.
Another practical rule is to test charging before restoration. Cover the solar cell to confirm the light sensor turns the lamp on, then expose the cell to direct daylight for a full day. Replace the rechargeable battery if voltage, capacity, or runtime remains abnormal.
When Cleaning Will Not Restore Runtime
Cleaning cannot restore runtime when the rechargeable battery has lost capacity, the solar cell is cracked, the charging diode has failed, the switch is defective, or water has corroded the circuit board. Solar-light performance depends on optical transmission and electrical health, so both systems require separate checks.
Use this sequence:
- Confirm the switch is in the ON position.
- Cover the photovoltaic panel in daylight and check whether the LED activates.
- Install a fresh rechargeable NiMH battery with the correct voltage and physical size.
- Place the light where the panel receives several hours of unobstructed daylight.
- Inspect wiring, contacts, and the battery compartment for corrosion.
- Replace the unit if the panel, board, or LED remains defective.
Do not substitute a disposable alkaline battery for a rechargeable NiMH cell unless the manufacturer explicitly permits it. Charging an incompatible battery can cause leakage, overheating, or equipment damage.
Shade, seasonal sun angle, dirt, and cold temperatures also reduce output. A cleaned panel may improve charging while still producing less energy than the light consumed overnight.
Which Method Fits Your Light?
Use soap or plastic polish for ordinary garden lights, wet sanding or a headlight kit for thick removable lenses, and replacement for cracked, sealed, or electrically defective units. Acetone is a calculated shortcut for low-cost plastic caps, not a universal restoration method.
Budget DIY user
Choose acetone only if the cover is inexpensive, removable, visibly oxidized rather than cracked, and compatible after testing. Spend about $2-$7 on remover, use a few drops at a time, and accept that a failed test means replacement or sanding.
Risk-averse homeowner
Choose detergent followed by plastic polish. The process takes longer, but it avoids the rapid solvent attack that makes acetone difficult to control on unknown plastics.
Premium fixture owner
Choose a manufacturer-approved cleaner or an automotive headlight restoration system. Glass, polycarbonate, coated optics, decorative metal, and sealed electronics justify a slower method with documented material compatibility.
Time-limited user
Replace a $5-$10 disposable light if cleaning, drying, battery testing, and coating would take longer than the light’s value. Restoration is most worthwhile when several matching fixtures share the same surface problem.
FAQ
Can I use acetone on a solar panel?
Acetone is generally unsuitable for full-size photovoltaic modules because module surfaces may include polymer backsheets, plastic components, sealants, and anti-reflective coatings. Use the manufacturer’s cleaning instructions, deionized water, and a soft nonabrasive tool instead. Small garden-light covers require the same caution because their material is often undocumented.
Will nail-polish remover remove yellowing permanently?
Nail-polish remover may remove a thin oxidized layer, but it does not permanently prevent new UV degradation. Yellowing can return if the underlying polymer remains weathered or if a compatible UV coating is absent. Deep yellowing, crazing, and coating delamination usually require sanding, a replacement cover, or a new light.
Can I use cotton balls with acetone?
Cotton balls can work for a tiny controlled test, but they may shed fibers and hold more liquid than needed. A tightly woven microfiber corner gives better control. Keep the applicator damp rather than wet, use a fresh section for each pass, and dispose of solvent-contaminated materials according to local fire-safety rules.
Should I sand a solar-light panel after acetone?
Do not sand a panel automatically after acetone. Sanding can reduce optical clarity and remove too much material if the surface is already softened. If the panel has fully dried and still contains stable oxidation, wet sanding with fine grades can be considered, but a smeary or cracked panel usually needs replacement.
Why is my solar light cloudy inside?
Internal cloudiness usually comes from condensation, a failed seal, adhesive breakdown, or moisture trapped behind the lens. Exterior acetone cannot remove that haze and may worsen the seal failure. Open only a serviceable design, dry the components safely, inspect corrosion, and replace the gasket or fixture when the housing no longer seals.
How often should I clean outdoor solar lights?
Clean the cover when dirt, pollen, salt, or bird residue visibly blocks the photovoltaic surface, commonly every few months in dusty or coastal locations. Avoid routine acetone use. Frequent solvent treatment removes material and increases the chance of cracking, while ordinary washing is suitable for regular maintenance.
The Bottom Line
Cleaning solar lights with nail polish remover can produce a fast improvement on a cheap, removable plastic cap with superficial oxidation, but acetone is a solvent treatment with a real failure risk. Wash first, identify the material, patch-test for seconds, apply only a few drops, protect the housing, and stop at the first sign of softening or crazing.
For unknown plastic, premium fixtures, cracked lenses, and sealed electronics, plastic polish, controlled wet sanding, a compatible UV coating, or replacement is the better decision. A clear panel alone does not prove a healthy solar light, so verify the battery, charging circuit, LED, switch, and daylight exposure before declaring the repair complete.


