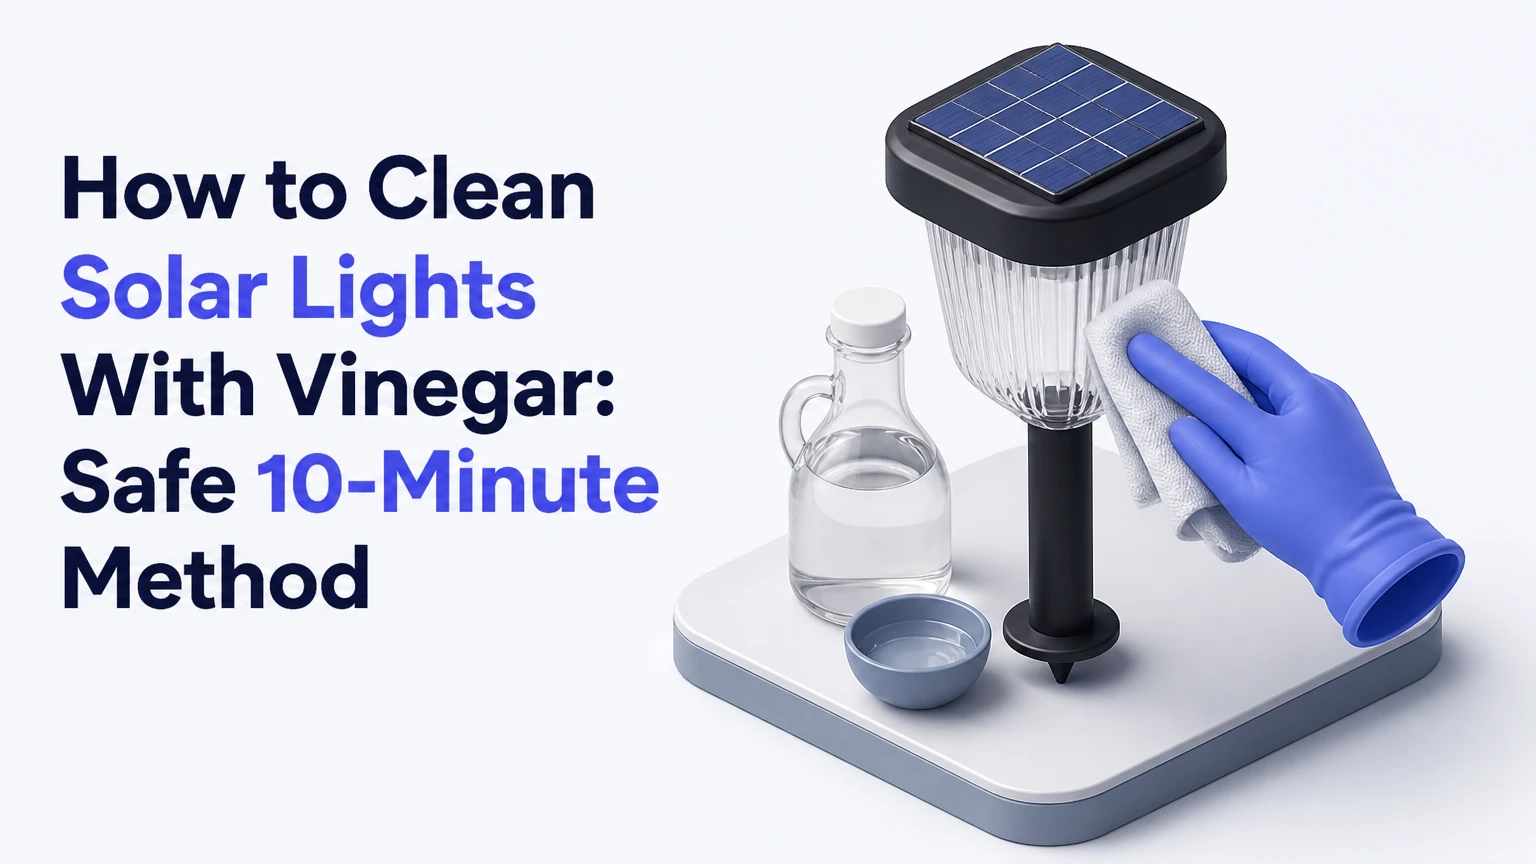
To clean solar lights with vinegar, switch off the fixture, remove loose dust, and wipe the solar panel with a microfiber cloth dampened with a 1:1 solution of 5% white distilled vinegar and distilled water. Rinse with distilled water, dry the panel and housing completely, then test the light after charging. The process usually takes 5-10 minutes per fixture.
Key Facts
- A 1:1 mixture of 5% white vinegar and distilled water contains approximately 2.5% acetic acid and is suitable for routine panel cleaning.
- Vinegar dissolves hard-water scale and bird-dropping residue, but it cannot reverse deep scratches or UV-damaged plastic.
- Spray vinegar onto the cloth, not directly onto the solar light, because liquid can enter switches, seams, and battery compartments.
- Clean in shade when the panel is cool, and allow at least 30 minutes of complete drying before switching the fixture on.
- A clean panel cannot compensate for a dead rechargeable battery, blocked charging switch, corroded contacts, or several hours of deep shade.
- Distilled-water rinsing prevents the mineral spots that tap water can leave behind.
Why Vinegar Works on Solar Lights
White vinegar cleans solar lights because acetic acid dissolves alkaline mineral deposits, especially calcium carbonate left by hard water, sprinklers, and evaporated rain. Vinegar also softens dried bird droppings and loosens some organic residue, while the microfiber cloth removes the softened film without scratching the panel.
The chemistry has a clear limit. Vinegar removes material sitting on the surface, but it does not restore plastic that has chemically degraded from ultraviolet exposure. A panel that remains uniformly milky after cleaning has probably oxidized rather than accumulated dirt.
Household white vinegar normally contains 5% acetic acid. Strong horticultural vinegar, which may contain 10-30% acetic acid, is unnecessarily aggressive around plastic, rubber seals, painted housings, and skin. The U.S. Environmental Protection Agency treats cleaning products according to their formulation and intended use, so “natural” does not mean every vinegar concentration is safe for every component.
What Vinegar Can and Cannot Remove
| Surface problem | Vinegar result | Best treatment | Typical time |
|---|---|---|---|
| Dust and pollen film | Removes after wiping | Dry microfiber cloth, then diluted vinegar | 2-4 minutes |
| Calcium hard-water spots | Usually dissolves | 1:1 vinegar and distilled water | 5-10 minutes |
| Fresh bird droppings | Softens and removes | Dampen, wait 2-5 minutes, wipe | 5 minutes |
| Tree sap | May soften residue | Test diluted vinegar, then mild soap | 5-15 minutes |
| UV-oxidized plastic | Does not restore clarity | Plastic polish or panel replacement | 15-60 minutes |
| Deep scratches | Does not remove damage | Replace lens or use compatible polish | Variable |
| Rust on contacts | Does not repair corrosion | Dry cleaning, contact inspection, replacement | 10-30 minutes |
Vinegar is therefore a surface cleaner, not a complete solar-light restoration chemical. That distinction prevents the common mistake of scrubbing harder when the panel itself has deteriorated.
Before You Start
Prepare one microfiber cloth for dry dust, one for the vinegar solution, and one for the final rinse. Use approximately 120 milliliters, or 4 fluid ounces, of solution for every 4-6 small path lights, adjusting the amount when panels are larger or heavily soiled.
| Requirement | Recommended specification | Typical quantity or value |
|---|---|---|
| White distilled vinegar | Household strength, 5% acidity | 60-120 mL |
| Distilled water | Low-mineral rinse water | 60-240 mL |
| Microfiber cloths | Clean, lint-free, non-abrasive | 3 per 4-6 lights |
| Soft brush | Nylon toothbrush or detailing brush | 1 |
| Mild dish soap | Fragrance-free, optional | 1-2 drops |
| Drying time | Shade or ventilated indoor area | 30 minutes minimum |
| Total cleaning time | Small fixture, including inspection | 5-10 minutes each |
Turn off the light before cleaning. If the fixture has a removable top, separate it from the stake only when the design permits removal without pulling wires or stressing the housing.
Do not clean a cracked housing while it is connected to outdoor wiring or a rechargeable battery. Water entering through a crack can cause intermittent operation, corrosion, or a short circuit.
How to Clean Solar Lights With Vinegar
The safest routine uses six actions: isolate the fixture, remove dry debris, apply diluted vinegar, detail the edges, rinse, and dry. Cleaning in cool shade is the factor that most affects the finish because a hot panel dries solution before dissolved minerals can be wiped away.
Step 1: Switch Off and Inspect the Fixture
Switch off the solar light and inspect the housing, panel edge, battery cover, gasket, and charging switch before applying liquid. Remove the fixture from its stake if the manufacturer’s design allows it, but keep the battery compartment closed during surface cleaning.
Look for cracked plastic, loose seals, exposed wiring, green corrosion, white battery leakage, and standing water. A damaged seal changes the task from cleaning to electrical inspection.
You will know this step worked when: the light cannot activate during handling, and the battery compartment shows no loose liquid or active corrosion.
Common mistake: cleaning over a light that remains switched on, which can make liquid entry harder to detect and may allow a damp circuit to energize.
Step 2: Remove Dry Dust and Debris
Use a dry microfiber cloth to remove dust, cobwebs, leaves, and loose grit from the solar panel and lower lens. Brush debris away from seams instead of dragging sand across the transparent surface.
Dry removal matters because quartz-like grit and windblown sand can scratch plastic when rubbed with a wet cloth. Desert dust, road dust, and dried soil deserve this separate pass.
You will know this step worked when: the panel has no loose particles that move under a fingertip or remain in the cloth’s fibers.
Common mistake: starting with a wet wipe, which turns loose dust into a gritty slurry.
Step 3: Mix the Vinegar Cleaning Solution
Mix equal parts 5% white vinegar and distilled water for routine cleaning. For a thick, localized mineral crust, apply 5% vinegar to the cloth without diluting it, but keep the contact time short and rinse afterward.
A 1:1 mixture is a conservative default for unknown plastic formulations. Stronger is not automatically better, because acid concentration and longer dwell time increase the chance of affecting printed markings, soft seals, or decorative coatings.
| Soil level | Vinegar strength | Contact time | Recommended use |
|---|---|---|---|
| Light dust film | 0-2.5% acetic acid | Immediate wipe | Monthly or routine maintenance |
| Mineral spots | 2.5% acetic acid | 1-3 minutes | Most outdoor fixtures |
| Thick scale | 5% acetic acid | 2-5 minutes | Spot treatment only |
| Unknown coating | 2.5% after patch test | Immediate wipe | Older or decorative lights |
You will know this step worked when: the cloth becomes damp but does not drip when squeezed.
Common mistake: using 20% horticultural vinegar because the label says “strong,” creating unnecessary risk to seals and skin.
Step 4: Wipe the Panel and Lens
Dampen the microfiber cloth with the vinegar solution and wipe the panel in straight, overlapping passes. Reposition the cloth as it collects dirt, then use a second section of the cloth for the light lens and housing.
For a mineral deposit, hold the damp cloth against the spot for 1-3 minutes instead of applying more pressure. Use a soft nylon toothbrush around ridges, screw heads, and seams, but do not force liquid into the seam.
Clean the lower diffuser or lens as well as the top panel. A transparent panel affects charging, while a dirty diffuser reduces the amount of LED light visible at night.
You will know this step worked when: mineral rings soften, the transparent surface feels smooth, and no cloudy streak remains after a second pass.
Common mistake: spraying the fixture directly. Direct spray can travel through the switch opening or gasket and reach the circuit board.
Step 5: Rinse Away Vinegar Residue
Wipe the panel and lens with a fresh microfiber cloth dampened with distilled water. Do not flood the fixture or place a removable light under a running tap unless the manufacturer specifically rates that method for the entire assembly.
Distilled water is preferable because tap water may contain calcium and magnesium that dry as new white spots. One light rinse is usually sufficient after diluted vinegar; thick deposits may require two passes.
You will know this step worked when: the surface has no acidic smell, visible streaks, or tacky residue under angled light.
Common mistake: skipping the rinse because vinegar appears to evaporate cleanly. Evaporation does not remove dissolved soil or guarantee a spot-free finish.
Step 6: Dry Completely and Test at Night
Dry the panel, lens, housing, switch area, and battery-cover exterior with a clean towel. Leave the fixture in shade or a ventilated room for at least 30 minutes, then return it to a location that receives direct sunlight.
Solar lights often need 6-8 hours of unobstructed sunlight for a meaningful overnight test, although charging time varies by panel size, battery condition, season, and cloud cover. To test the light during daytime, cover the panel completely with opaque material after the fixture is dry.
You will know this step worked when: the panel is streak-free, the housing feels dry around every seam, and the light runs normally after an adequate charge.
Common mistake: placing a damp fixture back in wet grass or turning it on immediately after wiping.
Which Vinegar Solution Is Best?
A diluted 1:1 solution is the best starting point for most solar lights because it balances mineral removal with material safety. Full-strength 5% vinegar is reserved for localized scale, while soap is better for ordinary mud and oily grime.
| Cleaner | Active cleaning action | Best surface or soil | Main limitation |
|---|---|---|---|
| 1:1 vinegar and distilled water | Approximately 2.5% acetic acid | Mineral film and routine buildup | Slow on thick crust |
| Full-strength 5% vinegar | Approximately 5% acetic acid | Localized calcium deposits | More contact risk |
| Mild dish soap and distilled water | Surfactant action | Mud, pollen, oily film | Weak against scale |
| Isopropyl alcohol, 70% | Solvent action | Small sap or adhesive spots | May stress some plastics |
| Plastic polish | Fine abrasive or chemical polish | Oxidized plastic haze | Can remove coating or alter texture |
| Baking soda paste | Alkaline abrasive action | Limited spot polishing | Scratches transparent plastic easily |
Never combine vinegar and chlorine bleach. The combination can release irritating chlorine gas. Vinegar and baking soda also neutralize each other, so spraying vinegar onto a baking-soda paste does not create a stronger cleaner; it mainly produces carbon dioxide, water, and a salt while the powder adds mechanical abrasion.
Melamine foam has abrasive properties. It may dull a glossy plastic panel, so microfiber is the safer default.
Does Vinegar Clean Plastic and Glass Solar Panels?
Vinegar is generally suitable for intact glass and many hard plastics when used briefly, diluted, and rinsed. Glass tolerates mineral cleaning well, while plastic needs a patch test because acrylic, polycarbonate, polycarbonate blends, printed coatings, and low-cost transparent covers respond differently to solvents and abrasion.
Apply one drop of diluted solution to an inconspicuous edge and wait 5 minutes. Stop if the area becomes tacky, hazy, discolored, or visibly different from the surrounding panel.
| Panel material | Vinegar compatibility | Main risk | Practical method |
|---|---|---|---|
| Tempered glass | Usually high | Coating damage from abrasives | Diluted wipe and distilled rinse |
| Acrylic plastic | Usually moderate | Crazing and scratches | Patch test, no scrubbing |
| Polycarbonate | Moderate | Chemical stress and haze | Short contact, immediate rinse |
| Coated plastic | Unknown until tested | Coating removal | Use water first, then patch test |
| Solar cell laminate | Depends on seal | Moisture entering edges | Cloth application only |
A transparent panel that is clear in one area and cloudy in another may have coating damage rather than dirt. Do not polish such a panel until you know whether the haze is on the exterior or inside the sealed laminate.
What If the Panel Is Still Cloudy?
Persistent cloudiness after two gentle cleaning passes usually indicates UV oxidation, fine scratching, internal condensation, or a degraded transparent cover. Vinegar cannot reverse those conditions because the defect is within the material or beneath the surface.
Use a flashlight at a low angle to inspect the panel. Surface scale appears as irregular white spots or rings; UV oxidation appears as broad, uniform haze; scratches appear as lines; internal moisture appears as fogging behind the outer surface.
A plastic polishing compound can improve some exterior oxidation, but it removes a microscopic layer and may reduce the cover’s remaining thickness. Clear acrylic spray is not a universal repair: overspray can cloud the solar cell, trap moisture, alter light transmission, or make later replacement difficult. Follow the coating manufacturer’s compatibility instructions and mask the cell completely if a coating is genuinely appropriate.
Replacement is often more rational when the panel costs less than a polishing kit, the cover is cracked, or the battery compartment is corroded. A clean but permanently hazed panel may still charge poorly because less light reaches the photovoltaic cell.
Common Mistakes and How to Fix Them
| Failure mode | Likely cause | Recovery action | Prevention |
|---|---|---|---|
| White streaks remain | Tap-water rinse or dried solution | Repeat with distilled water | Wipe before drying |
| Panel looks scratched | Grit, steel wool, or abrasive pad | Stop scrubbing; assess replacement | Dry dust first |
| Light flickers afterward | Moisture reached electronics | Switch off, remove battery, dry 24-48 hours | Apply solution to cloth |
| Panel stays milky | UV oxidation or internal haze | Test polish or replace cover | Clean regularly |
| Light runs briefly | Weak NiMH battery or poor charge | Test battery and contacts | Replace battery when needed |
| Rubber seal feels sticky | Strong acid or solvent exposure | Rinse, dry, inspect gasket | Use diluted 5% vinegar |
Never use steel wool, scouring powder, a razor blade, or coarse automotive compound on a solar panel. Those tools create permanent scattering surfaces that can reduce optical transmission even when the panel looks visually cleaner.
If liquid reaches the battery compartment, remove the rechargeable battery only when the fixture is safe to open. Let the housing dry for 24-48 hours in a warm, dry room, not against a heater or in an oven. Replace a swollen, leaking, or badly corroded battery rather than reusing it.
Why Is a Clean Solar Light Still Dim?
A clean solar light can remain dim because the rechargeable battery, photovoltaic panel, LED circuit, switch, or installation location is failing. Cleaning improves light transmission, but it does not restore a battery that has lost capacity or a panel that receives inadequate sunlight.
Most small garden lights use rechargeable AA or AAA nickel-metal hydride batteries. A typical service life is approximately 1-3 years, depending on temperature, charging cycles, battery quality, and seasonal sunlight. Check the battery label and replace it with the same chemistry and compatible voltage, commonly 1.2 volts for NiMH cells.
Use this diagnosis sequence:
- Cover the solar panel in daylight to confirm that the light sensor activates the LED.
- Test the fixture after 6-8 hours of direct sun.
- Inspect contacts for green corrosion or white residue.
- Confirm that the switch is in the “on” position.
- Replace an old NiMH battery with the correct size and capacity.
- Compare the light with another fixture in the same sun exposure.
A dirty panel is only one part of the charging system. Shade from foliage, winter sun angle, a failing battery, and a loose internal wire can each produce the same dim-light symptom.
How Often Should You Clean Solar Lights?
Clean solar lights every 2-3 months in ordinary outdoor conditions, or every 4-8 weeks where dust, pollen, salt spray, smoke, or sprinkler scale accumulates quickly. A quick dry-cloth inspection after storms can prevent hard deposits from bonding to the panel.
| Environment | Recommended interval | Extra precaution | Typical annual cleanings |
|---|---|---|---|
| Low-dust suburban garden | Every 3 months | Check leaves and shade | 4 |
| High-pollen location | Every 6-8 weeks | Dry-wipe during pollen season | 6-8 |
| Coastal property | Every 4-8 weeks | Distilled-water rinse | 6-12 |
| Desert or construction dust | Every 4-6 weeks | Remove grit before wet wiping | 8-12 |
| Frequent sprinkler scale | Every 4-6 weeks | Redirect hard-water spray | 8-12 |
| Cold winter climate | Before and after winter | Avoid freezing wet fixtures | 2-4 |
Cleaning at dawn, in the evening, or under shade keeps the panel cooler. Hot plastic can soften slightly, and rapid evaporation can leave concentrated mineral streaks.
How Much Does Vinegar Cleaning Cost?
A typical DIY cleaning costs less than $20 for supplies and covers many fixtures. The recurring cost per light is usually well below $1 when a household already has microfiber cloths and distilled water.
| Supply | Typical retail price | Quantity used per session | Approximate sessions |
|---|---|---|---|
| 1 gallon white vinegar | $3-$5 | 60-120 mL | 32-64 |
| Distilled water, 1 gallon | $1-$2 | 60-240 mL | 16-64 |
| Microfiber cloth pack | $7-$12 | 3 cloths per 4-6 lights | 10-20 sessions |
| Soft nylon brush | $2-$5 | 1 reusable brush | 20+ sessions |
| Plastic polish, optional | $8-$20 | Small amount | 5-15 repairs |
| Total starter setup | $13-$24 | Covers multiple fixtures | Several months |
Prices vary by country, retailer, and package size. Vinegar is economical for cleaning, but replacing a badly degraded panel or an old battery may deliver a better result than repeated chemical treatment.
Situational Variations
For Salt-Air and Coastal Locations
Use the 1:1 vinegar solution for mineral film, followed by a distilled-water rinse. Salt residue is water-soluble, so a plain distilled-water wipe may be sufficient for light deposits; vinegar is most useful when salt combines with hard-water scale.
For Dusty or Sandy Locations
Remove all loose grit with a dry brush before using liquid. Clean every 4-6 weeks when windblown dust visibly coats the panel, because wet wiping over sand creates fine scratches.
For Old or Second-Hand Fixtures
Inspect the battery compartment before polishing the panel. Replace leaking batteries, check the gasket, and test the light after a full charge before investing in plastic restoration.
FAQ
Can I use apple cider vinegar on solar lights?
White distilled vinegar is preferable because it has a predictable color and fewer organic residues. Apple cider vinegar may leave pigment, sugar-like residue, or odor on textured plastic and is not a better mineral cleaner. If it is the only option, dilute it, patch-test the housing, rinse with distilled water, and dry completely.
Can I clean solar lights with lemon juice instead?
Lemon juice can dissolve some mineral residue, but white vinegar is more predictable because household vinegar has a stated acidity near 5%. Lemon pulp, sugars, and natural color compounds can leave residue. Use diluted white vinegar for routine maintenance, then reserve lemon juice for an occasional spot test rather than the entire fixture.
Should I remove the rechargeable battery before cleaning?
Remove the battery when the housing is opened, cracked, wet internally, or showing corrosion. For a sealed fixture that receives only a damp-cloth wipe, switching off the light is usually sufficient. Never allow vinegar or rinse water into the battery compartment, because acidic moisture accelerates contact corrosion.
Can I use window cleaner on a solar panel?
Window cleaner is not the safest default for unknown solar-light plastics because ammonia, alcohol, fragrance, or surfactants may affect coatings and seals. A microfiber cloth with distilled water, followed by diluted 5% vinegar for mineral spots, provides a simpler and more controlled method.
How can I tell whether haze is dirt or UV damage?
Dirt and mineral scale usually appear as spots, rings, or removable streaks that change after a damp wipe. UV damage produces broad, even milkiness that remains after two gentle cleaning passes. Check the panel under angled light, and stop scrubbing when the haze does not change.
Can vinegar damage solar lights?
Household 5% vinegar can damage some coatings, soft seals, or vulnerable plastics when applied repeatedly, left to dry, or forced into seams. Use a diluted solution first, patch-test unfamiliar materials, apply it to a cloth, rinse with distilled water, and keep the battery compartment dry.
The Bottom Line
The most reliable way to clean solar lights with vinegar is a cool, controlled 1:1 wipe using 5% white distilled vinegar and distilled water, followed by a distilled-water rinse and at least 30 minutes of drying. Vinegar removes mineral scale and organic grime, but it cannot repair UV-oxidized plastic, scratches, corrosion, or a failed rechargeable battery.


