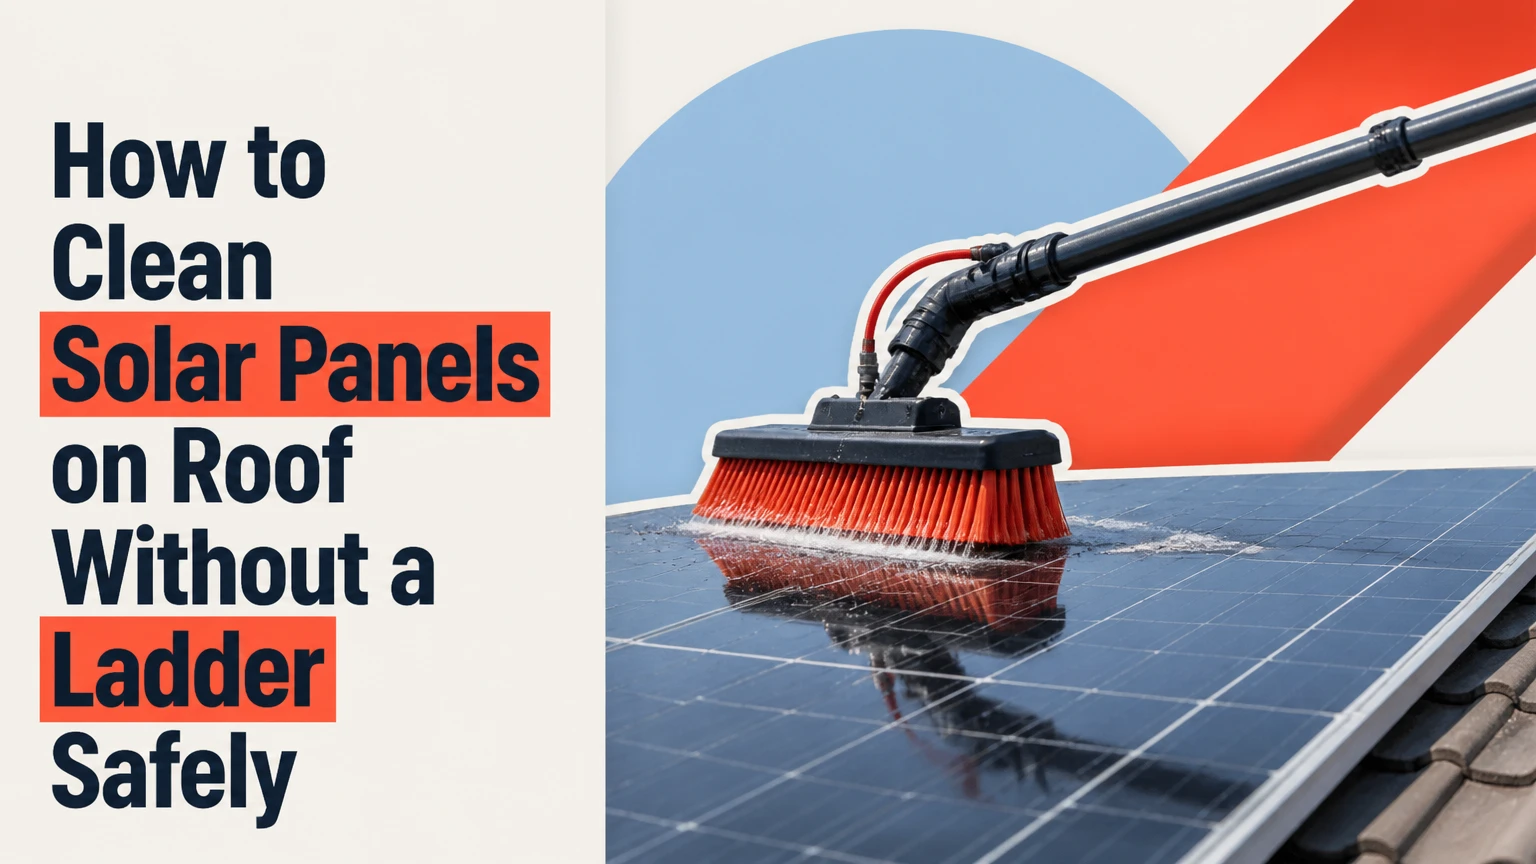
Clean roof-mounted solar panels from the ground in seven steps: inspect, shut down, cool, assemble, pre-rinse, gently scrub, rinse, and restart. A typical array takes 45-90 minutes, with moderate difficulty and equipment costs of $120-$350. The main success factor is controlling a soft brush with purified water, not using force or chemicals.
Before You Start
Time: 45-90 minutes for a small or medium array, plus 30 minutes for cooling if the panels are warm.
Difficulty: Moderate. You need steady pole control, basic hose connections, and the ability to identify your inverter and disconnects.
Typical cost: $120-$350 for a DIY water-fed setup. Existing window-cleaning equipment can reduce that cost.
Do not proceed if you must stand on the roof, work near overhead electrical lines, reach across a fragile skylight, or control the pole in strong wind. Ground cleaning is suitable only when every panel can be reached from stable ground without leaning into a roadway, pool, retaining wall, or electrical equipment.
| Item | Quantity or specification | Typical cost | Purpose |
|---|---|---|---|
| Telescopic water-fed pole | 1, 20-30 feet, with secure locking sections | $50-$180 | Reaches the array from ground level |
| Solar panel brush | 1, soft, non-abrasive, scratch-free head | $25-$80 | Loosens dirt without scratching glass |
| DI or RO filter | 1 inline unit | $40-$150 | Removes dissolved minerals before drying |
| TDS meter | 1 handheld or inline meter | $10-$30 | Checks rinse-water purity |
| Garden hose | 1-2, long enough to reach the array | $20-$50 | Delivers water to the pole |
| Shut-off valve | 1 at the pole base | $8-$20 | Stops flow without walking to the spigot |
| Hose fittings | Correct thread and pole connector | $10-$25 | Prevents leaks and incompatible connections |
| Clean water | Continuous supply at approximately 40-60 PSI | Varies | Carries loosened contamination away |
| Personal protection | Non-slip shoes, gloves, eye protection | $10-$30 | Improves grip and protects against splash |
Use zero gallons of chemical cleaner for routine washing. Soap, detergent, vinegar, abrasive pads, and household glass cleaner can leave residue or conflict with the module manufacturer’s care instructions.
Step-by-Step Ground Cleaning
Step 1: Inspect the Array and Ground Position
Inspect the panels, roof edge, ground, and overhead area before connecting water or extending the pole.
Stand where both feet remain on firm, level ground. Confirm that the fully extended brush can reach the highest panel while the pole stays approximately 45-60 degrees from the ground. Keep the pole away from overhead power lines, service drops, gutters, roof tiles, windows, antennas, and tree branches. Do not work when wind makes the pole difficult to hold, and use 10 mph as a conservative upper limit for a long, flexible pole.
Look for cracked glass, lifted frames, loose cables, exposed connectors, heavy moss, or a panel that has shifted. Stop and arrange a solar technician if you see damage. Water can enter an already compromised module or connector.
You’ll know it worked when you can reach every intended panel from a stable position without stepping onto a ladder, roof, wall, or raised platform.
The common mistake is beginning at the nearest panel without testing reach. Extend the pole while dry, identify its safe maximum mark, and plan your work position before turning on water.
Step 2: Follow the Inverter Shutdown Procedure
Shut down the photovoltaic system only according to the inverter and installer instructions.
Many systems use a sequence that switches off the AC breaker first and the DC isolator second, but the correct order varies by equipment and local installation. Locate the inverter, AC breaker, DC disconnect, and any rapid-shutdown equipment before starting. If the labels are unclear, call the installer or a qualified solar electrician instead of guessing.
Allow approximately 5 minutes for the shutdown procedure and confirm that the inverter display or app shows the expected stopped or standby state. Remember that panels produce voltage whenever light reaches them, even after the inverter is switched off. Shutdown reduces operational risk, but it does not make the array electrically inert.
You’ll know it worked when the inverter’s status matches the manufacturer’s shutdown instructions and no warning light indicates an unsafe fault.
The common mistake is switching disconnects repeatedly or opening electrical covers. Do not remove covers, disconnect MC4 connectors, or spray the inverter, isolators, outlets, or junction boxes.
Step 3: Wait Until the Glass Is Cool
Schedule the wash for early morning or late afternoon and wait until the module glass is cool before applying water.
A typical cooling wait is 30 minutes after direct sun, although dark roofs and hot climates may require longer. Touch only a safe accessible frame or use an infrared thermometer from the ground; never climb up to test the glass. Do not wash during intense midday heat because water can evaporate before it carries minerals away.
Thermal shock is a risk when cold water reaches very hot glass, especially if the module already has damage. The more practical problem is rapid evaporation, which leaves mineral spots and makes bird droppings harder to remove.
You’ll know it worked when the surface no longer feels noticeably hot at the accessible edge and water remains wet long enough to flow downward.
The common mistake is treating a cloudy day as automatically safe. Air temperature, roof color, recent sunlight, and water temperature all affect the panel surface.
Step 4: Assemble and Test the Water-Fed Pole
Connect the spigot, filter, hose, shut-off valve, pole tubing, and soft brush, then test the complete system on the ground.
Connect the garden hose to the spigot, route it through the DI or RO filter, and connect the filter outlet to the pole’s water inlet. Secure the soft brush so its bristles face the glass and its water jets point toward the panel surface. Place the shut-off valve at the pole base where you can operate it without releasing the pole.
Turn on the water slowly. Measure the filtered output with a TDS meter. Aim for below 10 PPM for a spot-free rinse, and replace exhausted DI resin or service the RO system if the reading is higher. Use a practical flow of approximately 0.5-1.0 gallons per minute, enough to wet the glass without creating uncontrollable pole movement.
You’ll know it worked when the brush produces an even flow, every connection stays dry, and the filtered water measures below 10 PPM TDS.
The common mistake is testing only the hose and not the pole. Run water through the fully assembled system, because a blocked connector or kinked internal tube may appear only after extension.
Step 5: Pre-Rinse Loose Debris
Pre-rinse one array block at a time with purified water to loosen dust, pollen, leaves, and dry droppings.
Extend the pole only as far as needed and keep both hands shoulder-width apart. Hold the pole at approximately 45-60 degrees, with the brush hovering just above the glass. Open the valve and allow water to soak the highest accessible section first, then move downward. Spend 5-10 minutes on each array block when dust or droppings are heavy.
Do not drag dry grit across the module. Let water soften contamination before the bristles touch the surface. Work from the top row toward the bottom so dirty runoff does not cross an area you already finished.
You’ll know it worked when loose dirt visibly runs toward the lower edge and the brush can contact the glass without pushing dry particles across it.
The common mistake is using a narrow jet as a substitute for soaking. A concentrated stream may move debris but does not provide the continuous wetting needed for gentle brushing.
Step 6: Gently Scrub Each Panel
Scrub each panel with light, straight strokes using the fully wet soft brush.
Place the brush flat against the upper edge of the highest reachable panel. Apply only enough pressure to keep the bristles in contact with the glass, then pull downward in a straight line. Push the brush upward and repeat, working across the top row from left to right before moving down. Allow approximately 2-3 minutes per panel, moving slower for pollen, bird droppings, or tree sap.
For baked-on contamination, rest the wet brush over the spot for about 2 minutes before repeating gentle strokes. Do not twist the pole, scrub in tight circles, or use a scraper. Solar modules commonly use tempered glass and coatings that can be damaged by abrasive tools; module manuals from manufacturers such as Canadian Solar and REC direct owners toward non-abrasive cleaning methods and manufacturer-specific care instructions.
You’ll know it worked when the glass looks uniformly wet and the remaining marks fade without hard pressure, while the brush moves smoothly rather than catching grit.
The common mistake is pressing harder when a mark remains. Stop, soak the area longer, and inspect the brush for trapped grit before making another pass.
Step 7: Rinse, Air-Dry, and Reactivate
Rinse each cleaned panel with purified water, let it air-dry, then restore the system using the documented startup sequence.
Lift the brush approximately 2 inches above the glass and move from the top edge downward, allowing the water jets to carry loosened grime toward the lower frame. Use about 1 minute per panel for the final rinse, adding time if runoff still appears gray. Keep the brush clear of the glass during this pass so you do not reintroduce dirt.
Let the panels air-dry naturally. Do not wipe them with towels, squeegees, or microfiber cloths unless the module manufacturer specifically permits that method. Inspect the surface from the ground after drying for white spots, streaks, or missed debris.
Once the array is dry, restore the DC disconnect and AC breaker in the order specified by the inverter manual. A common sequence is DC on first and AC on second during startup, but verify your equipment instructions. Allow approximately 5 minutes, then check the inverter display or monitoring app.
You’ll know it worked when the glass dries without mineral spotting and the inverter reports normal operation and power generation.
The common mistake is restarting by memory. Follow the labels and manual because equipment sequences differ.
Step Summary
| Step | Action | Typical time | Most common mistake |
|---|---|---|---|
| 1 | Inspect access, reach, and hazards | 5-10 minutes | Failing to test pole reach |
| 2 | Shut down according to the system manual | 5 minutes | Assuming every inverter uses the same order |
| 3 | Cool the panels | 30 minutes or longer | Washing hot glass in direct sun |
| 4 | Assemble and test filtered water | 10 minutes | Skipping the TDS test |
| 5 | Pre-rinse loose debris | 5-10 minutes per block | Brushing dry grit |
| 6 | Scrub with a soft wet brush | 2-3 minutes per panel | Applying excessive pressure |
| 7 | Rinse, dry, and restart | 1 minute per panel, plus drying | Wiping or restarting incorrectly |
Common Mistakes and How to Fix Them
White Spots or Cloudy Streaks Remain
Stop using the water supply and test the output TDS. If it exceeds 10 PPM, replace the DI resin cartridge or service the RO filter. Rewash the affected panels while the residue is fresh, then rinse with verified purified water. Do not add vinegar or acidic cleaner unless the module manufacturer approves it.
The Pole Flexes or Becomes Uncontrollable
Close the shut-off valve and lower the pole before changing anything. Collapse the upper sections by approximately 10%, move your feet closer to the array, and work with less water flow. Avoid cleaning when wind approaches 10 mph. Carbon fiber poles usually flex less than inexpensive aluminum poles, but either can become difficult to control when fully extended.
Bird Droppings or Sap Will Not Lift
Keep the affected area continuously wet for 2 minutes with the brush resting lightly over it. Repeat straight strokes with a clean brush. For sap, do not use a blade, solvent, or abrasive pad from the ground. Persistent residue, lichen, or hardened mineral scale may require a professional who can follow the module manufacturer’s cleaning specification.
Water Falls to a Weak Trickle
Lower the pole safely and inspect the spigot, filter, hose, shut-off valve, connectors, and internal pole tube. Remove sharp bends and kinks, then reopen the spigot. A fully open household tap may deliver 40-60 PSI, but long hoses, restrictive filters, and elevated rooflines reduce flow.
The Brush Catches or Drags
Close the water valve and inspect the bristles for grit, stones, twigs, or damaged sections. Rinse the brush away from the array and replace it if the bristles have hardened or become contaminated. Never continue brushing when the head feels rough against the glass.
Variations for Different Situations
One-Story Roof With Soft Tap Water
A one-story array may be reachable with a 20-foot pole, but test the angle before buying equipment. If local water has low mineral content, a DI or RO filter may still improve drying, especially on dark glass. Measure TDS rather than relying on the labels “soft” or “hard.” Use the same soft-brush method and avoid spraying the array with an ordinary hose alone.
Two-Story Roof or Deep Roof Overhang
Use a 25-30-foot pole only when you can control it from stable ground. A longer pole increases flex, leverage demands, and the chance of contacting gutters or wiring. Divide the array into smaller blocks, reduce wind exposure, and consider a professional water-fed cleaning service if the top edge remains unreachable without leaning the pole beyond 60 degrees.
Small Array With Light Dust
For a lightly dusty six-panel array, a purified-water rinse may be enough. Hover the brush over each panel, soak it, and inspect the runoff before scrubbing. Do not perform unnecessary agitation if no bonded dirt remains. A typical job may take 30-45 minutes, excluding cooling and drying.
Heavy Moss, Lichen, or Mineral Scale
Do not use a pressure washer, metal scraper, stiff deck brush, or roof chemical. These contaminants can indicate drainage problems, long-term neglect, or damage around the frame. Arrange a professional inspection if growth has entered panel gaps, covers the frame, or requires roof access.
How Long Does It Take and What Does It Cost?
A typical DIY setup costs $120-$350, depending mainly on pole length, filter type, and whether you already own hoses. DI filtration is often simpler for occasional residential use, while RO systems can make sense when water use is high or source-water TDS is substantial.
| Array and conditions | Cleaning time | Equipment range | Best approach |
|---|---|---|---|
| 4-8 panels, light dust | 30-45 minutes | $120-$220 | Purified rinse plus light brushing |
| 8-20 panels, normal dirt | 45-90 minutes | $150-$300 | Seven-step process by array block |
| 20 or more panels | 90 minutes or longer | $220-$350+ | Consider professional equipment |
| Two-story or difficult reach | 60-120 minutes | $250-$350+ | Use a controllable long pole or hire a service |
These figures are typical practitioner ranges, not guarantees. Pole length, wind, roof geometry, water hardness, and contamination determine the final result. Clean when visible dirt, pollen, bird activity, or nearby construction justifies it rather than following an arbitrary monthly schedule.
Frequently Asked Questions
Can I clean solar panels without turning them off?
Follow the inverter and module manufacturer’s instructions. Many installers recommend shutting down the inverter before washing, while some systems are designed for routine exterior cleaning without homeowner-accessible electrical switching. Panels still produce voltage in daylight, so shutdown does not permit connector work or electrical handling. Never spray the inverter, disconnects, or exposed wiring.
Can I use ordinary tap water to wash solar panels?
You can use tap water for an initial wetting step, but hard water may leave calcium and magnesium deposits as it dries. Use DI or RO-filtered water for the final rinse and verify it with a TDS meter. A target below 10 PPM is a practical spot-free benchmark, particularly on large glass surfaces.
How often should roof panels be cleaned?
Inspect them twice a year and clean when visible buildup, bird droppings, pollen, ash, or construction dust covers the glass. Rain removes loose dust but does not reliably remove oily pollution or droppings. Track inverter production before and after cleaning, while accounting for cloud cover and seasonal sunlight.
Will cleaning increase solar power output?
Cleaning can restore output lost to surface contamination, but the gain varies widely with rainfall, dust type, tilt, shading, and panel condition. Compare the monitoring app’s production on similar clear days rather than expecting a fixed percentage. If output remains low after clean glass, investigate shading, inverter faults, wiring, and module degradation.
Can I use a pressure washer on solar modules?
Do not use a pressure washer on the panels, frames, seals, connectors, or roof penetrations. High pressure can force water into seals and damage wiring or adjacent roofing. Use a low-pressure, continuous flow through a water-fed brush instead, keeping the brush soft and the pole under control.
When should I hire a professional?
Hire a qualified solar or exterior-cleaning professional when the array cannot be reached from stable ground, the roof is steep or fragile, electrical damage is visible, overhead lines are nearby, or heavy growth requires scraping. A professional is also appropriate when wind, height, pole flex, or water runoff creates a risk you cannot control.
Conclusion
The safest method for how to clean solar panels on roof without ladder is a ground-based water-fed pole with a soft solar brush and verified purified rinse water. Inspect first, follow the inverter shutdown procedure, wait for cool glass, pre-rinse, scrub gently, rinse from top to bottom, air-dry, and restart according to the manual. Clean only when the pole and ground position remain fully controllable.


