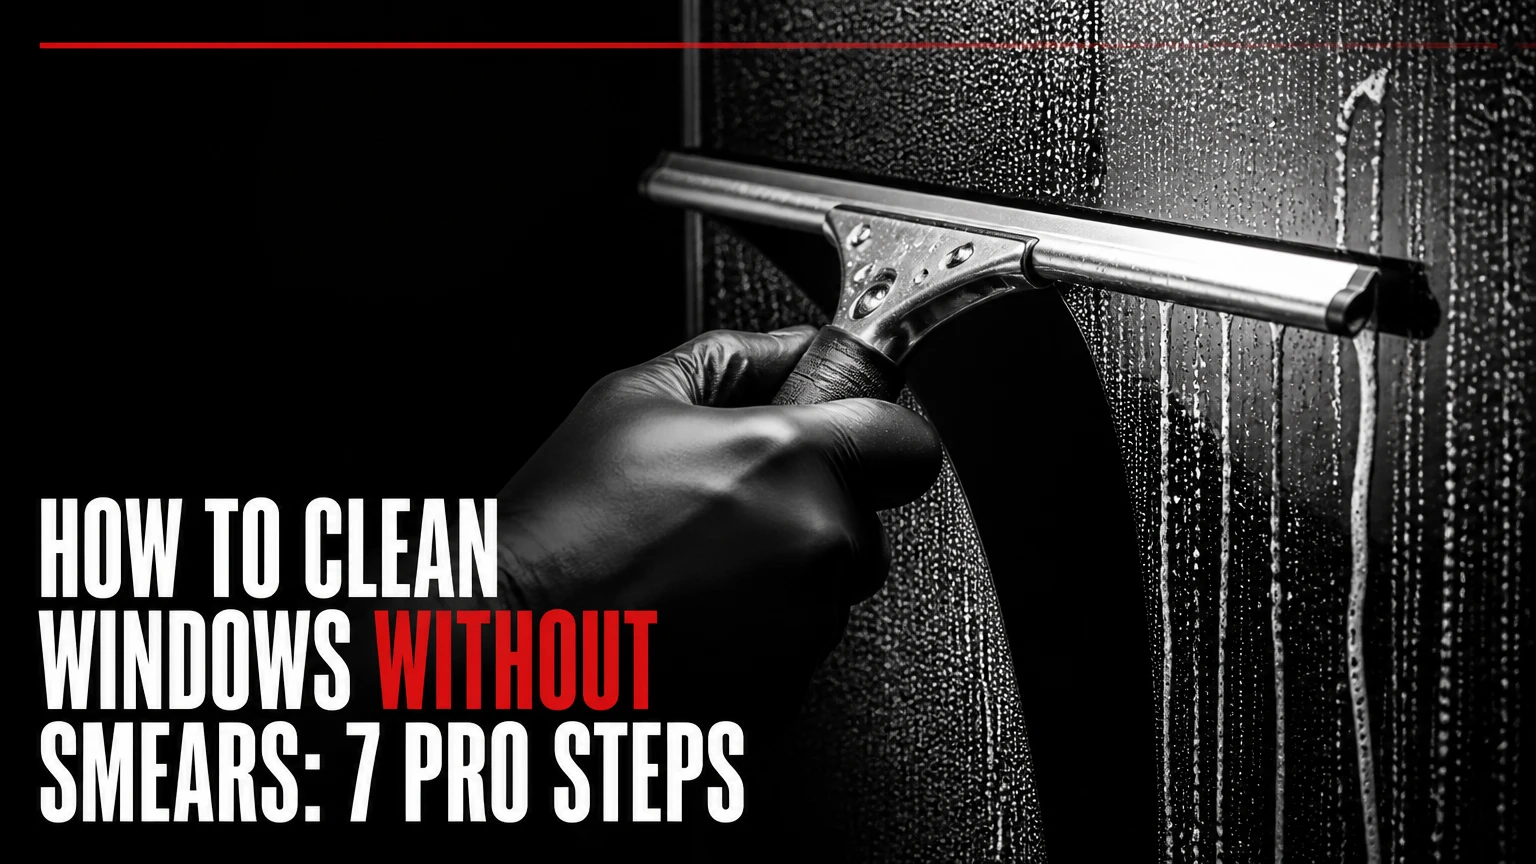
To clean windows without smears, remove loose grit first, use a lightly soapy solution, work out of direct sun, and remove the liquid with a clean squeegee or two fresh microfiber cloths. The finish depends more on controlling residue and evaporation than on using a stronger cleaner.
Key facts at a glance
- A 12-inch squeegee usually cleans a medium pane in about 2-4 minutes after preparation.
- Use approximately 1 teaspoon of dish soap per 5 gallons of water, not a large pour.
- Distilled water prevents new mineral spots, while vinegar helps dissolve some existing mineral deposits.
- A dirty or nicked rubber blade can create a line on every pass across the glass.
- Never scrub dry grit, sand, or construction dust across a window because the particles can scratch the surface.
- Clean one shaded pane at a time and remove the solution before it begins drying.
Why Do Windows Look Smudged After Cleaning?
Window smears usually come from leftover cleaner, loosened grease, mineral deposits, or contaminated wiping materials. A window can look clean while wet but dry with cloudy bands when surfactant, dissolved dirt, or hard-water minerals remain on the glass.
Glass itself is nonporous, so ordinary household grime sits on its surface. Finger oils and cooking residue need a surfactant to detach them; dust and pollen need water and mechanical lifting; mineral spots may require an acidic treatment. A single heavy spray often moves all three contaminants into a thin film.
The practical rule is simple: cleaning removes contamination, while squeegeeing or drying removes the contaminated liquid. A cloth that is already damp with dirty solution can spread residue across an otherwise clean pane.
Sunlight makes the problem worse because warm glass accelerates evaporation. The water disappears first, leaving the dissolved detergent and dirt behind. The International Window Cleaning Association’s professional guidance emphasizes removing solution before it dries, which is the central operating principle for smear-free glass.
What Do You Need Before You Start?
A basic smear-free window-cleaning setup costs approximately $15-$40 for a squeegee, washer, bucket, and microfiber cloths. For a small interior job, a spray bottle and two clean glass cloths can cost $5-$15, but the cloth-only method requires more frequent folding and replacement.
Before-you-start checklist
| Requirement | Typical specification | Why it matters |
|---|---|---|
| Time | 5-10 minutes per standard window | Includes preparation and detailing |
| Difficulty | Low indoors, moderate outdoors | Height and grit increase risk |
| Squeegee | 10-14 inch rubber blade | Fits most residential panes |
| Water | 1-2 gallons per 10 windows | Use distilled water for hard-water areas |
| Soap | 1 teaspoon per 5 gallons | Excess soap leaves surfactant film |
| Cloths | 2-4 lint-free microfiber towels | Separate dirty work from polishing |
| Safety | Stable ground, no unsafe ladder reach | Prevents falls and damaged windows |
Prepare the frame, tracks, sill, and screen before washing the glass. Vacuum loose debris from the tracks, then wipe the sill with a dry microfiber cloth. Place a towel beneath interior windows to catch drips, and remove screens when the window design allows it.
Do not use abrasive powder, a razor blade on coated glass, or a rough household sponge without checking the manufacturer’s instructions. Low-E coatings, tinted films, acrylic panes, and self-cleaning glass can require different care.
Which Cleaning Solution Leaves the Least Residue?
A dilute professional window-washing solution leaves the least residue when paired with complete squeegee removal. For a household mixture, use 1 teaspoon of mild dish soap in 5 gallons of water, or use a manufacturer-labeled glass cleaner according to its dilution instructions.
| Solution | Typical quantity | Best use | Main limitation |
|---|---|---|---|
| Mild dish soap | 1 teaspoon per 5 gallons | Exterior dirt and routine washing | Too much creates film |
| White vinegar | 1 cup per 1 gallon water | Light mineral residue | Does not dissolve heavy grease well |
| Distilled water | Undiluted | Final rinse or hard-water areas | Costs more than tap water |
| Ready-made glass cleaner | Label dose | Small interior panes | Aerosol residue varies by formula |
| Isopropyl alcohol | 1 part to 4 parts water | Fingerprints and oily film | Flammable; test on films |
| Ammonia cleaner | Label dose only | Some uncoated glass | Avoid with films and mixed chemicals |
Vinegar is useful for light mineral scale, but it is not a universal streak-prevention ingredient. Acid can dissolve alkaline deposits, while a surfactant is better at lifting oils. Mixing a large amount of vinegar with soap can also produce a solution that is harder to remove.
Use distilled water when tap water leaves white spots. Reverse-osmosis and deionized water systems can produce a residue-free rinse for exterior glass, but they are expensive for occasional household work. Never mix bleach with vinegar, ammonia, or another cleaner. The U.S. Consumer Product Safety Commission warns, “Never mix bleach or any bleach-containing product with any other cleaning product.”
How Do You Clean Windows Without Smears?
The most reliable process has seven steps: choose shaded conditions, dry-dust the frame, remove heavy grit, wash the glass, squeegee in controlled passes, detail the edges, and inspect from an angle. A medium window typically takes 5-10 minutes, with the squeegee removing the greatest amount of residue.
Step 1: Choose a cool, shaded working period
Clean interior or exterior glass when the pane is cool and out of direct sunlight. Overcast weather is convenient, but a shaded side of the house also works on a bright day.
Avoid freezing conditions, strong wind, and hot glass above roughly 80°F, because solution can dry before the blade reaches the bottom. Work one or two panes at a time rather than wetting an entire wall of windows.
Success checkpoint: The solution remains visibly wet for at least 30-60 seconds.
Common mistake: Washing the sunny side of the house at midday and blaming the cleaner when residue dries into bands.
Step 2: Clean the frame, tracks, sill, and screen
Remove the screen if possible. Vacuum the tracks and corners, then wipe the frame and sill with a dry or slightly damp microfiber cloth.
Screens hold pollen and dust that can fall back onto wet glass. Wash removable screens separately with mild soapy water, rinse them, and let them dry before reinstalling them.
Success checkpoint: No loose dust or grit falls when you tap the frame lightly.
Common mistake: Spraying the glass first, which turns dry track debris into muddy liquid that runs down the pane.
Step 3: Rinse away heavy dirt and grit
Exterior windows with mud, bird droppings, salt, or airborne sand need a pre-rinse. Hose them gently from top to bottom, or press a wet soapy washer against the contamination and allow it to soften for several minutes.
Never drag a dry towel, squeegee, or scraper over gritty glass. Fine particles can create permanent scratches, especially on soft coatings and plastic glazing.
For hardened bird droppings, lay a wet cloth over the spot for 5-10 minutes. Lift the softened material rather than grinding it into the surface.
Success checkpoint: The glass has no loose sand or visible particles before the main wash.
Common mistake: Using a razor immediately. A plastic scraper is safer for many surfaces, but the glazing manufacturer’s instructions take priority.
Step 4: Wet and scrub the entire pane
Add the measured solution to a bucket and saturate a microfiber washer or clean lint-free cloth. Cover the glass from edge to edge, using overlapping strokes that reach the corners.
Circular scrubbing is acceptable during the washing stage because the goal is to loosen contamination. Do not use circular polishing as the only removal method, since it redistributes dirty liquid instead of extracting it.
For interior fingerprints, spray the cloth rather than the pane when the frame, wall, or electrical fittings could be damaged. Use enough solution to lubricate the blade, but avoid flooding the sill.
Success checkpoint: Every area has a continuous wet film, with no dry islands or untouched corners.
Common mistake: Spraying a tiny amount and rubbing hard. Friction spreads grease and makes microfiber cloths shed residue faster.
Step 5: Remove the solution with a clean squeegee
A squeegee removes suspended dirt physically, which is why it usually produces a clearer finish than repeated wiping. Check that the rubber is flexible, straight, and free of grit before starting.
For straight pulls, place the blade at the upper-left corner and pull vertically downward. Overlap each pass by about 1-2 inches, wipe the blade with a clean towel after every stroke, and continue across the pane.
For the professional S-pattern, start near the upper corner, sweep horizontally, curve downward, and reverse direction while keeping consistent pressure. This method is faster on large panes, but straight pulls are easier for beginners and divided-light windows.
Keep the blade at roughly 30-45 degrees to the glass. Too little pressure leaves water behind; excessive pressure can distort the rubber edge and cause skipping.
Success checkpoint: The cleaned area behind the blade has an even, transparent appearance with no standing water.
Common mistake: Completing several passes without wiping the blade. The dirty rubber then deposits a narrow line on every subsequent stroke.
Step 6: Detail the perimeter and corners
Use a dry waffle-weave or tightly woven microfiber cloth to remove the narrow strip of water along the top, sides, and bottom. Fold the towel into quarters and rotate to a dry section as soon as the working surface becomes damp.
For divided-light windows, use a narrow cloth or cotton swab around muntins and corner joints. Keep frame water out of weep holes and avoid forcing liquid into seals.
Success checkpoint: The perimeter is dry, and no bead of solution remains against the gasket or frame.
Common mistake: Using one wet towel for the whole house. Once a cloth absorbs frame grime, it is unsuitable for final glass polishing.
Step 7: Inspect the dry glass from two angles
Inspect the pane after it dries, first facing the window and then viewing it at a shallow angle against daylight. Interior and exterior marks can look identical when viewed straight on, so check each side separately.
Remove a small remaining line with a dry, clean section of microfiber. If the line returns in the exact path of the squeegee, inspect the rubber for a nick or trapped grit rather than adding more cleaner.
Success checkpoint: The glass appears clear from both normal viewing distance and a side angle.
Common mistake: Polishing the entire pane aggressively. Excessive buffing can spread a thin film that was better removed with a fresh wet wash.
Which Window-Cleaning Method Should You Choose?
A traditional washer-and-squeegee method is the best general choice for homeowners because it combines low cost, fast removal, and dependable control. Microfiber and spray cleaning suits small interior panes, while pure-water poles are safer for high exterior windows when the equipment and operator are appropriate.
| Method | Typical cost | Time per medium window | Best situation | Limitation |
|---|---|---|---|---|
| Squeegee and washer | $15-$40 | 2-4 minutes | Ground-floor exterior glass | Requires technique |
| Spray and microfiber | $5-$15 | 3-5 minutes | Small interior panes | Cloths spread residue |
| Pure-water pole | $150-$800+ | 1-2 minutes | Multi-story exterior glass | High equipment cost |
| Magnetic cleaner | $30-$80 | 5-10 minutes | Reach-limited single glazing | Can trap grit |
| Robotic cleaner | $130-$350 | 5-10 minutes | Large reachable panes | Needs monitoring and tether |
A pure-water-fed pole can rinse frames and glass without conventional soap, but the water must have sufficiently low dissolved solids. If the brush encounters grease or heavy bird contamination, a preliminary detergent wash may still be necessary.
Magnetic tools and robots are not automatically safer or cleaner. A magnet can drag grit across the pane, and a robot can miss corners or leave a line if its pads become dirty. Use a safety tether on any device working near a drop, and never operate a tool outside a window when the manufacturer does not permit that use.
What Causes Streaks, and How Do You Fix Them?
The shape and appearance of a streak usually identifies its cause. White powdery marks indicate mineral residue, straight repeated lines indicate a blade problem, and broad greasy haze indicates film or too much detergent.
| Symptom | Likely cause | Recovery method | Prevention |
|---|---|---|---|
| White dots or crust | Hard-water minerals | Vinegar solution, then rinse and dry | Use distilled or purified water |
| Rainbow-like oily haze | Grease, wax, or excess soap | Wash with dilute alcohol solution, then squeegee | Measure detergent |
| Parallel lines | Nicked or dirty rubber | Clean or replace blade | Inspect blade each session |
| Blade chatter | Dry glass or insufficient solution | Re-wet pane and use lighter pressure | Keep washer film continuous |
| Cloudy whole-pane film | Dirty cloth or repeated buffing | Fresh wash with clean towels | Separate frame and glass cloths |
| Marks at edges | Poor corner detailing | Dry perimeter with folded cloth | Finish edges before inspection |
A homemade recovery solution for oily film can contain 1 cup of water, 1 cup of rubbing alcohol, and 1 tablespoon of white vinegar, but test it first on a small inconspicuous area, especially when the window has tint, decorative film, painted trim, or aftermarket coatings. Do not use alcohol near flames, and ventilate the room.
Hard-water spots are not always removable deposits. If minerals have etched the glass, cleaning will not restore the original surface; professional polishing or glass replacement may be required. A rough white spot that remains after careful washing is more likely to be etching than ordinary dirt.
How Should You Adapt the Process for Different Windows?
Window type changes the correct technique, solution, and safety threshold. Interior glass needs controlled spraying, exterior glass needs grit removal, and high windows need a reach method that does not require leaning from a ladder.
Interior windows and mirrors
Spray the cloth instead of the surface, particularly near wood trim, electronics, and painted walls. Use a small amount of low-residue cleaner, wipe fingerprints first, then finish with a dry waffle-weave towel.
Mirrors can develop black edge damage when liquid seeps behind the reflective coating. Keep the lower edge nearly dry and never allow cleaner to pool around the perimeter.
Exterior windows
Start with the frame and a low-pressure rinse. Use a washer with measured detergent, then squeegee from the top while the pane remains wet.
Exterior glass often needs more water than interior glass because pollen, dust, salt, and insect residue require suspension before removal. A clean blade matters more outdoors because grit can lodge beneath the rubber.
Second-story and high-rise windows
Do not overreach from a ladder or lean through an open window. Use a ground-based extension pole for suitable second-story windows, or hire a professional when the pane cannot be reached from a stable position.
High-rise occupants should use only a manufacturer-approved magnetic cleaner or robot with a secured safety tether. Sealed units that do not open are not suitable for improvised exterior cleaning.
Divided-light and delicate glass
Use a smaller 6-10 inch squeegee for muntins and narrow panes. Wash each section separately, wiping the blade after every stroke because small channels collect more dirty solution.
Lead came, antique glass, acrylic glazing, low-E coatings, and applied films need manufacturer-specific instructions. Avoid ammonia, abrasive tools, and aggressive scraping unless the product documentation permits them.
How Often Should You Clean Windows?
Most homes benefit from interior window cleaning every 3-6 months and exterior cleaning twice yearly. Homes near roads, coasts, farms, construction sites, or heavy tree cover may need exterior washing every 1-3 months.
| Environment | Interior interval | Exterior interval | Trigger for earlier cleaning |
|---|---|---|---|
| Low-dust suburban home | 3-6 months | 6 months | Visible pollen or fingerprints |
| Coastal property | 2-4 months | 1-3 months | Salt haze or windblown spray |
| Urban roadside home | 3-4 months | 2-4 months | Soot film and traffic dust |
| Construction area | 1-3 months | 1-2 months | Cement dust or paint specks |
| Home with children or pets | 1-3 months | 3-6 months | Handprints and nose marks |
Regular light cleaning is safer than infrequent aggressive scrubbing. Dried mineral deposits, insect residue, and construction dust demand more mechanical effort, which increases the chance of scratching or damaging seals.
Common Mistakes and How to Fix Them
Avoid newspaper, excess soap, dirty towels, direct sunlight, and dry scrubbing. Modern newspaper ink can transfer dye or oily residue, while an old-fashioned newspaper method offers no advantage over a clean lint-free microfiber cloth.
- Too much dish soap: Rewash with clean water and use a properly measured dose next time.
- Dirty microfiber towel: Replace it immediately; laundering should exclude fabric softener, which reduces absorbency and can leave a coating.
- Drying solution on the pane: Re-wet the entire section instead of spot-polishing dried residue.
- Skipping the pre-rinse: Wash again with a saturated washer before using the squeegee.
- Using a damaged blade: Replace the rubber insert when it has a nick, split, curl, or hardened edge.
- Cleaning frames after glass: Reverse the order. Frame dust should be removed before the pane is washed.
A useful practitioner rule is to keep separate towels for frames, wet washing, and final detailing. Another is to inspect the blade every time it leaves the bucket. Small habits prevent repeated defects across every window.
How Much Time and Money Should You Expect?
A homeowner typically spends $15-$40 on a reusable squeegee setup and 2-4 minutes cleaning each medium pane after preparation. A full house with 15-20 accessible windows usually takes 1.5-3 hours, depending on screens, divided panes, soil, and drying conditions.
| Job size | Typical labor time | DIY supply cost | Professional range |
|---|---|---|---|
| 5 interior windows | 25-50 minutes | $5-$15 | $50-$120 |
| 10 standard windows | 50-100 minutes | $15-$40 | $100-$250 |
| 20 mixed windows | 1.5-3 hours | $20-$60 | $200-$500 |
| 20 high or difficult windows | 2-4 hours | $150-$800 equipment | $300-$800+ |
Professional prices vary by region, access, pane count, screens, tracks, and the condition of the glass. Treat the figures as typical planning ranges rather than universal rates.
For most homeowners, the best value is a 12-inch squeegee, a washer sleeve, a bucket, and four washable microfiber towels. A robotic cleaner is rarely economical for ordinary reachable windows, and a water-fed pole makes more sense when high exterior access is frequent.
FAQ
Can I clean windows with vinegar and water only?
Yes, vinegar and water can clean light mineral residue and ordinary dust, but the mixture is weaker against greasy fingerprints than a mild surfactant solution. Use approximately 1 cup of white vinegar per gallon of water, then remove the liquid completely with a squeegee or clean towel.
Is tap water bad for window cleaning?
Tap water is not inherently bad, but hard tap water can leave calcium and magnesium deposits as it evaporates. If white spots appear after drying, switch to distilled, demineralized, or properly filtered water for the final rinse.
Should I clean windows on a sunny day?
Clean windows on a sunny day only when the pane is shaded and remains cool. Direct sunlight heats the glass and dries cleaner faster than it can be removed, creating residue bands that resemble streaks.
Why do my windows smear when I use microfiber?
Microfiber smears when the cloth is saturated, contaminated with fabric softener, used on a greasy surface, or repeatedly dragged over drying solution. Use separate clean towels for washing and polishing, fold each towel into sections, and change sections as soon as they become damp.
Can I use a razor blade to remove paint from glass?
A razor may remove some paint from plain, uncoated glass when the surface is wet and the blade is used carefully at a shallow angle. Do not use a razor on window film, low-E coatings, acrylic, tinted surfaces, or unknown glazing without manufacturer approval.
When should I hire a window cleaner?
Hire a professional when exterior windows require unsafe ladder work, when glass has construction debris or mineral etching, or when high-rise access requires specialized equipment. A professional is also appropriate when the window cannot be reached from stable ground.
The Bottom Line
To clean windows without smears, control the entire residue chain: remove grit before washing, measure the solution, keep the pane wet, use a clean undamaged squeegee, and dry the perimeter with a fresh cloth. Distilled water helps prevent mineral spots, but technique determines whether the cleaning liquid actually leaves the glass. For ordinary accessible windows, the measured squeegee method gives the clearest finish at the lowest recurring cost.


